

Hamilton Beach 773 Instructions Manual

6HAMILTON
BEACH
l .
Three
Speed
Food
Processor
HOUSEHOLD APPLIANCE
IMPORTANT
SAffGUARDS
When using electrical appliances, basic safety precautions should
always
be followed including
the
following:
1. Read all instructions.
2.
To protect against electrical hazards,
do
not immerse base
or
motor
in water
or
other
liquid.
3.
Close supervision is necessary when any appliance is used
by
or
near children.
4.
Unplug cord from outlet when not in use, before putting
on
or
taking
off
parts, and before cleaning.
5. Avoid contacting moving parts.
6. Do not operate any
appliance with a damaged cord
or
plug
or
after
the
appliance malfunctions,
or
is dropped
or
damaged in
any manner. Return
appliance
to
the
nearest authorized
service
facility
for
examination, repair
or
electrical
or
mechan-
ical
adjustment.
7.
The use of attachments, not recommended
or
sold by
the
appliance manufacturer may cause fire, electrical
shock
or
injury.
8. Do not use outdoors.
9. Do not
let cord hang over
edge
of
table or counter,
or
touch
hot surfaces.
1
0. Never feed food into food
chute
by hand when slicing or
shredding food.
Always use food pusher.
11
. The Blades and Discs are sharp. Handle carefully. Store
out
of
reach of
children.
12. Make sure
the
blade
or
disc has come
to
a full
stop
before
re-
moving cover.
13
. Keep hands and utensils
out
of container while processing to
prevent the
possibility of severe personal injury and/or damage
to
the
Processor. A rubber scraper may
be
used only when the
Processor is not running.
14. To avoid injury, never
place cutting Blade
or
Discs on base
without first putting
bowl properly in place.
15. Be certain cover is securely locked in place before operating
appliance.
16
. Do not attempt
to
defeat
the
cover interlock mechanism.
17.
SAVE
THESE
INSTRUCTIONS
COPYil
iGI II I <)fl 1

KNOW
YOUR
PROCESSOR
Cover With
Food Chute
Cover Locking Tabs
Container Locking Rims
Interlocking Switch
Steel
J
Blade
Control Panel
Slicer
Disc
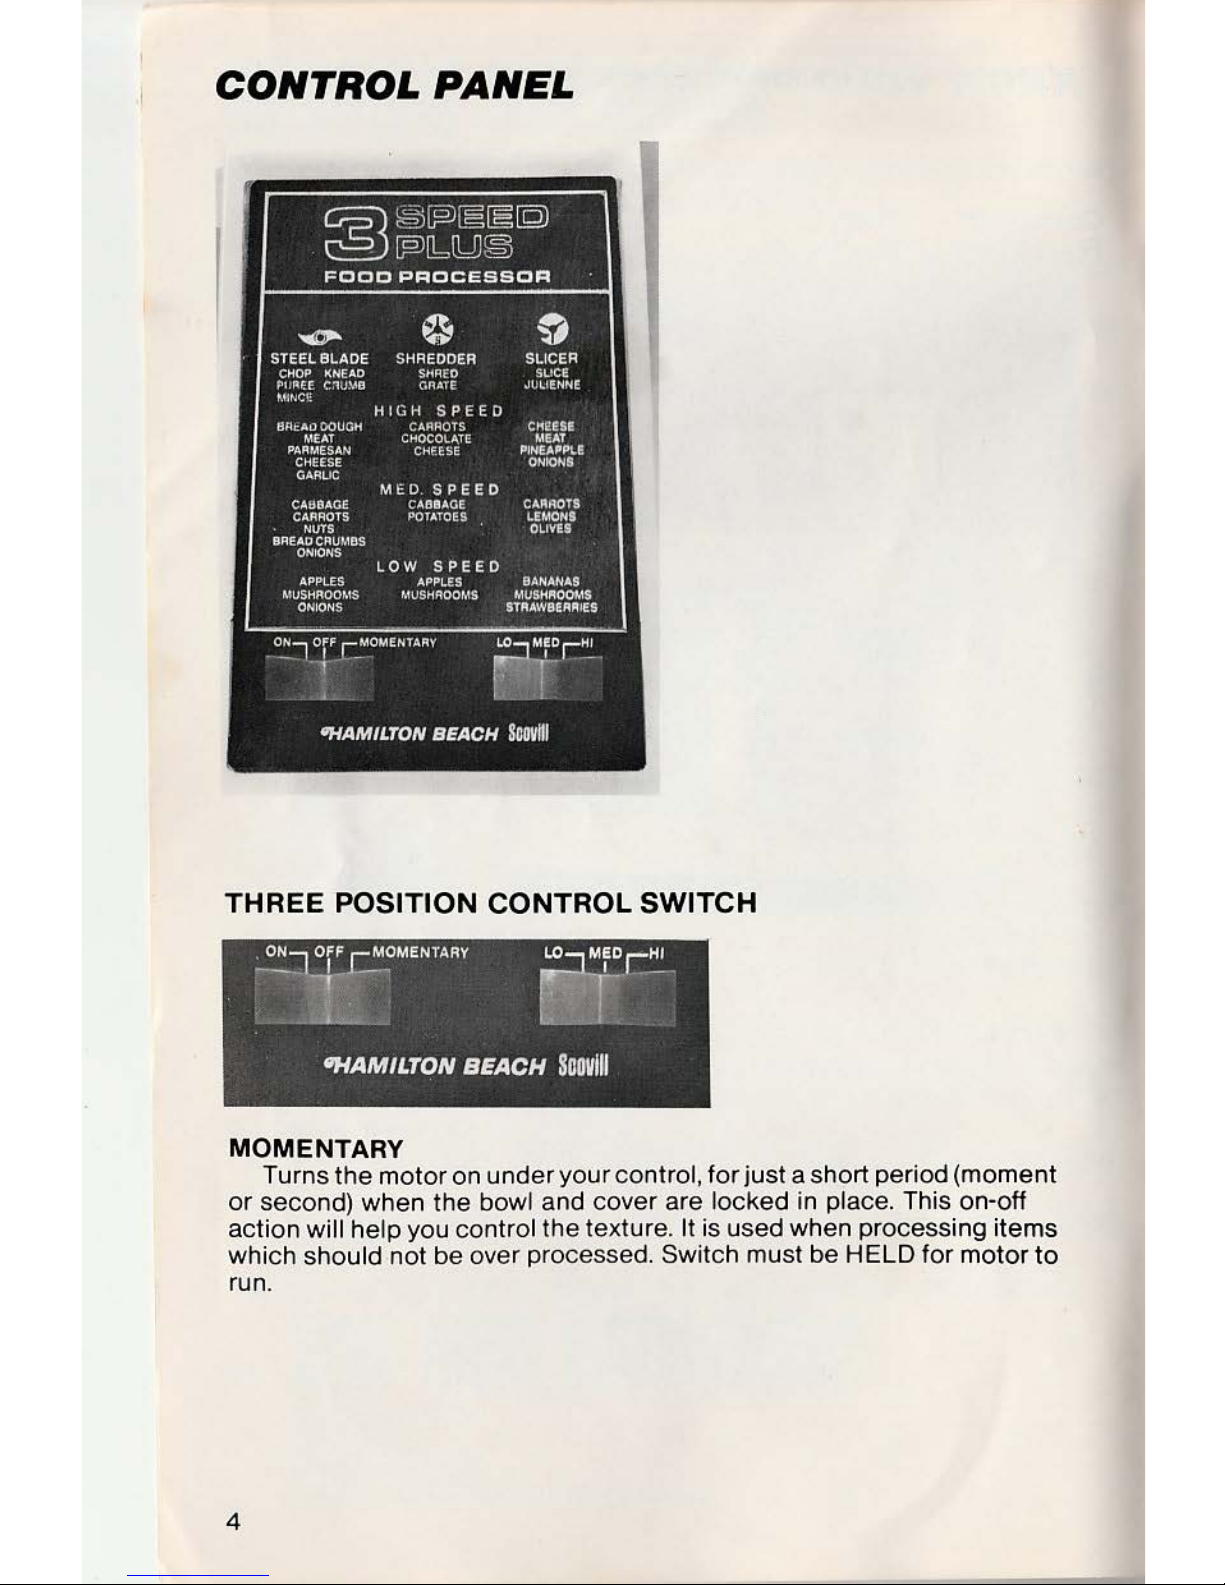
CONTROL
PANEL
THREE
POSITION CONTROL
SWITCH
MOMENTARY
Turns the motor on under your control,
for
just a short period (moment
or
second) when the bowl and cover are locked in place. This on-off
action
will help you control the texture. It is used when processing items
which
should not be over processed. Switch must be HELD for motor
to
run.
4
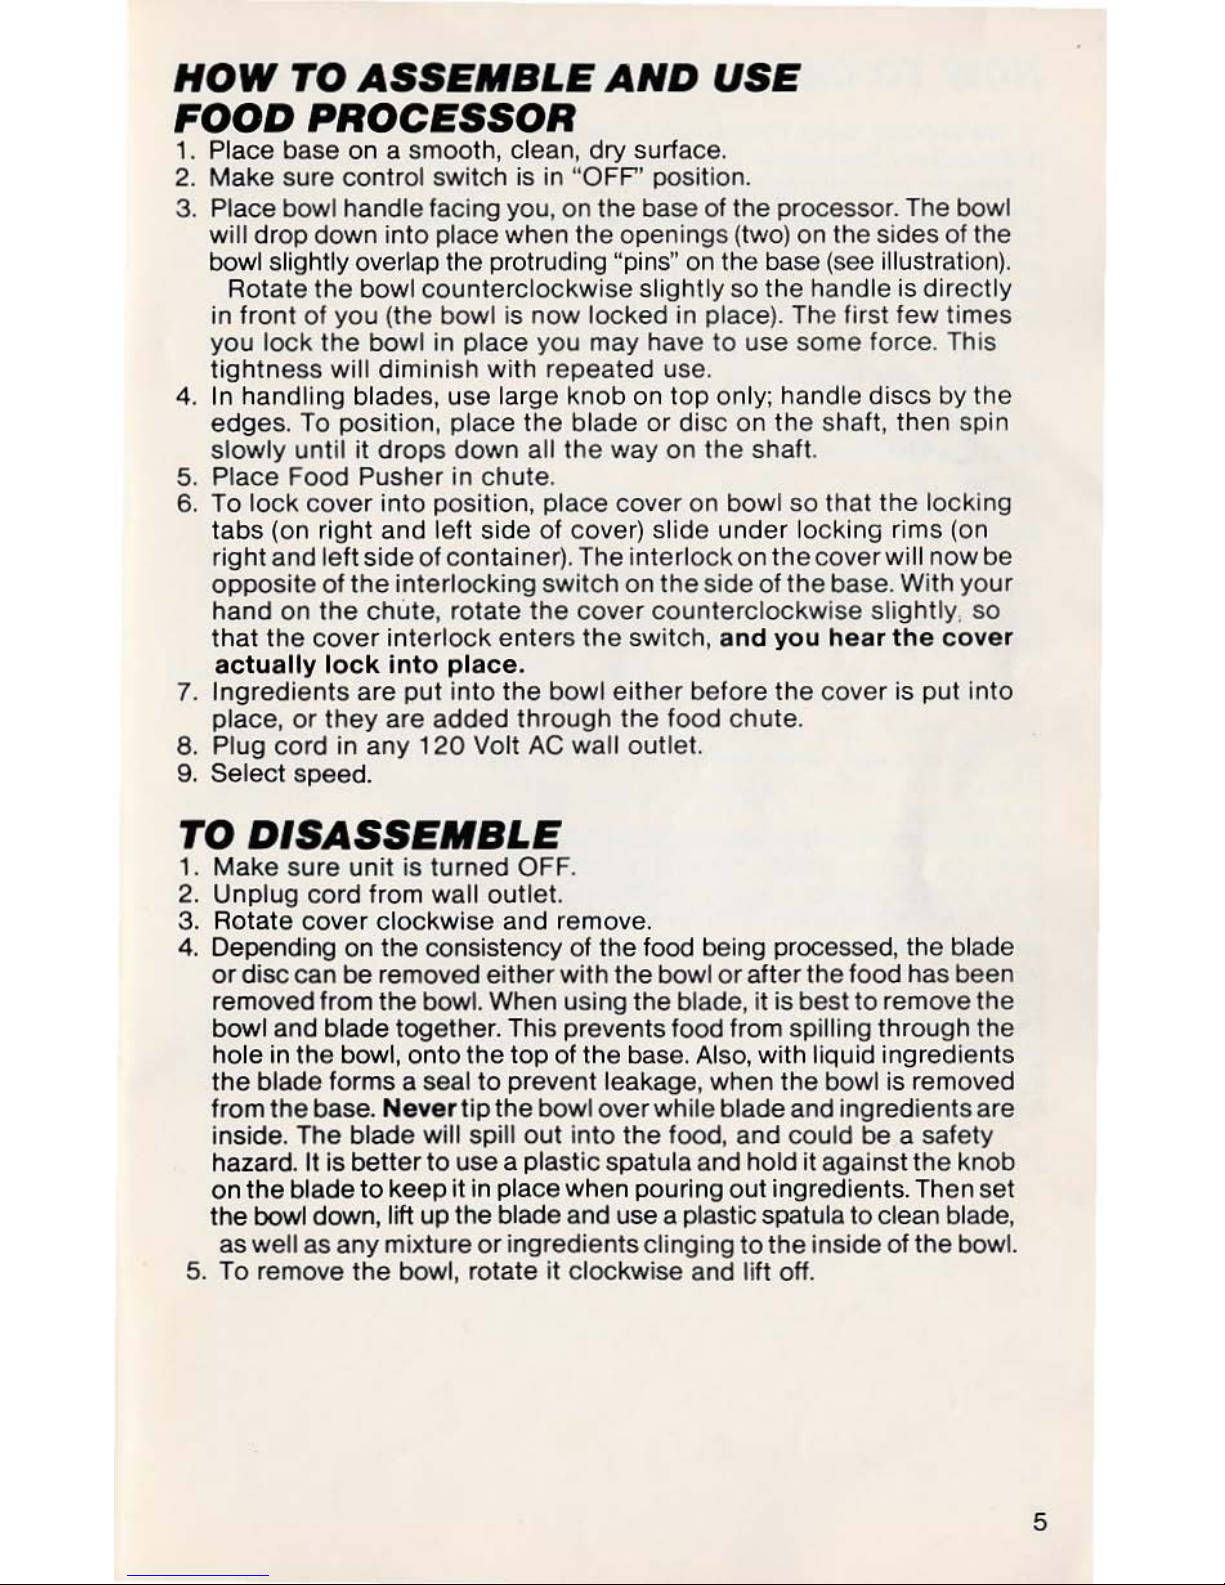
HOW
TO
ASSEMBLE
AND
USE
FOOD
PROCESSOR
1. Place base on a smooth, clean,
dry
surface.
2.
Make
sure control switch is in
"OFP'
position.
3.
Place bowl handle facing you, on the base of the processor. The bowl
will drop down into place when the openings (two} on the sides of the
bowl
slightly overlap the protruding "pins" on the base (see illustration).
Rotate the bowl
counterclockwise
slightly so
the
handle is directly
in front
of
you (the bowl is
now
locked in place}. The first few
times
you
lock
the bowl in place you may have
to
use
some force. This
tightness
will diminish with repeated use.
4.
In handling blades, use large
knob
on
top
only; handle
discs
by the
edges. To position,
place
the
blade
or
disc on
the
shaft,
then
spin
slowly
until
it
drop
s down all the way on the shaft.
5.
Place Food Pusher in
chute
.
6.
To
lock
cover
into position, place cover on bowl so that
the
lock
ing
tabs
(on right and left side
of
cover)
slide
under locking rims (on
right and left
side
of
container). The in
terl
ock on
the
cover
will now be
opposite
of
the
interlocking switch on
the
side
of
the
base. With
your
hand on
the
chute, rotate the
cover
counterclockw
ise slightly, so
that
the
cover
interlock
enters the
switch, and
you
hear the
cove
r
actually lock in
to place.
7.
Ingredients
are
put in
to
the
bowl
either
before
the
cover is
put
into
place,
or
they
are
added
through
the
food chute.
8.
Plug cord in any
120
Volt
AC
wall outlet.
9.
Select speed.
TO
DISASSEMBLE
1. Make sure
unit
is turned OFF.
2.
Unplug
cord
from wall outlet.
3. Rotate cover clockwise and remove.
4.
Depending on the consistency
of
the food being processed, the blade
or
disc can be removed either
with
the bowl
or
after the food has been
removed from the bowl. When using the blade, it is best
to
remove the
bowl and blade together. This prevents food from spilling through the
ho
le in the bowl,
onto
the top
of
the base. Also, with liquid ingredients
the
blade forms a seal
to
prevent leakage, when the bowl is removed
from
the
base. Nev
er
tip the bowl over whi
le
blade and ingredients are
inside. The blade will spill
out
into
the food, and could be a safety
hazard.
It is better to use a plastic spatula and hold
it
against
the
knob
on the blade
to
keep
it
in place when pouring
out
ingredients. Then set
the bowl down,
lift
up
the blade and use a plastic spatula to clean blade,
as well as any mixture
or
ingredients clinging
to
the inside
of
the bowl.
5.
To remove the bowl, rotate
it
clockwise and lift off.
5
HOW
TO
CARE
FOR
FOOD
PROCESSOR
Wash cover, bowl, blades, discs and food pusher in hot sudsy water,
rinse and
dry
thoroughly. Do not allow any part to soak for long periods
of
time. To avoid scratching the bowl
or
cover, use a mild, non-abrasive
cleanser
for
removing the stubborn soil.
It
is a good idea to rinse the bowl
immediately
after using, to prevent any dried on food. Clean
the
blades
and discs with a stiff-bristle dishwashing brush. Don't allow the blade
to
sit in a
sin!<
of
soapy water, as
it
is potentially dangerous to
go
feeling
around under the water to find the blade.
All
parts, with the exception
of
the
Food Pusher and the base, may be
washed in dishwasher.
Use a damp
cloth
to
wipe off the Control Panel.
DO NOTIMMERSETHE
BASE.
To clean it,
wipethebaseand
line cord
with a damp
cloth
or
sponge. To remove stubborn soil, use a mild non-
abrasive cleanser.
The motor
of
your
Food Processor is permanently lubricated and will
require
no
oil.
Don't store the Food Processor with the cover in the locked position.
This may put unnecessary strain on
the
locking switch. Also,
if
the cover is
slightly ajar, food odors won't penetrate and the bowl will be perfectly
dry
inside the next time you want to use it.
TIPS FOR ADAPTING RECIPES
-As
a guideline, the bowl will hold enough dough
to
make one average
size
loaf of bread. Never use more than 3 cups of flour in the bowl when
mixing and kneading the bread. The
bowl will hold thick cake batters
of
up
to four cups.
-Here
are some tips for adapting standard recipes
to
the food processor.
Read the recipe
carefully, looking
for
techniques that can be performed
in the food processor.
Usually,
it
will be easier
to
chop, slice, mince,
grate
and crumb ingredients first, then
set
aside. Then continue with blending,
creaming, mixing, and other combining instructions. When dry ingredients
(nuts, crumbs, coconut and
similar foods)
are
called for, process them
first, then continue in the same processor
bowl with
the
other instruc-
tions called
for
in the recipe. To change
or
adapt standard recipes
for
preparation in the food processor follow this work pattern; process dry
ingredients first, then semi-wet ingredients can be added
or
returned to
the processor
bowl.
6
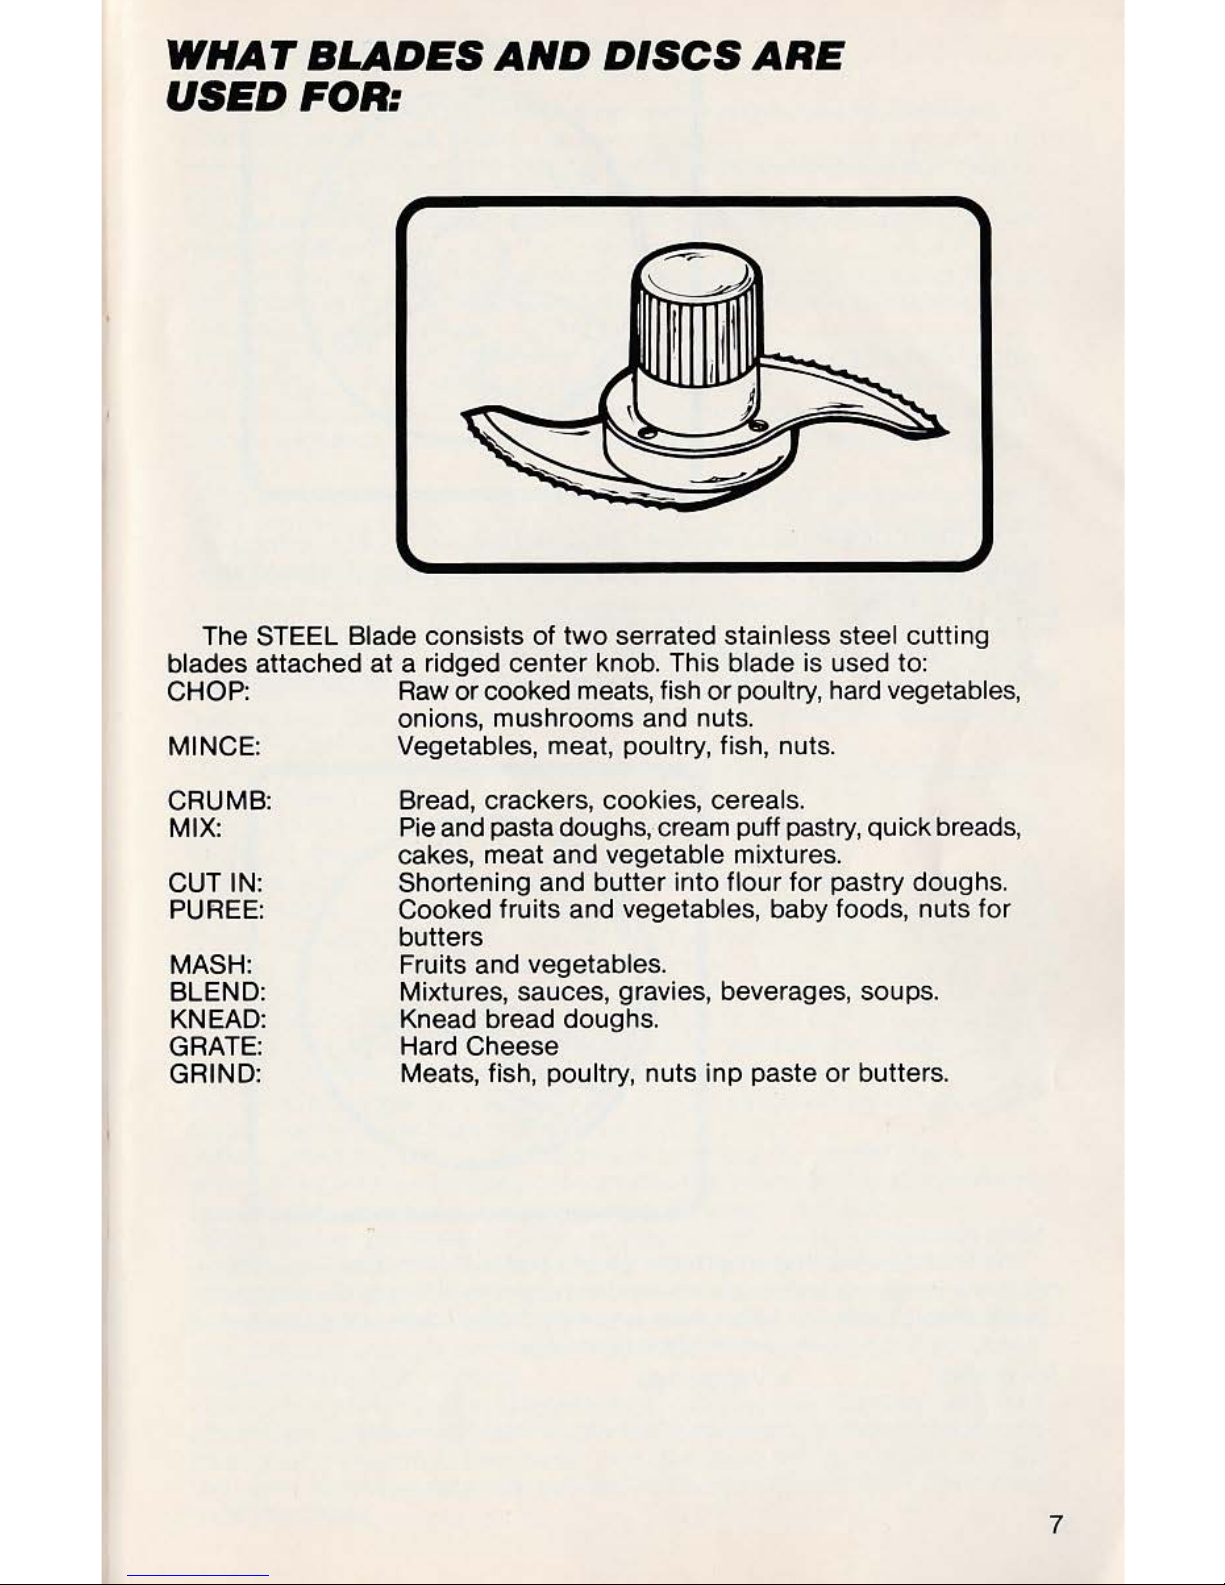
WHAT
BLADES
AND
DISCS
ARE
USED
FOR:
The STEEL Blade consists of
two
serrated stainless steel cutting
blades attached at a ridged
center
knob. This blade is used to:
CHOP: Raw or cooked meats, fish or poultry, hard vegetables,
onions, mushrooms and nuts.
MINCE: Vegetables, meat, poultry, fish, nuts.
CRUMB:
MIX:
CUTIN:
PUREE:
MASH:
BLEND:
KNEAD:
GRATE:
GRIND:
Bread, crackers, cookies, cereals.
Pie and pasta doughs, cream puff pastry, quick breads,
cakes, meat and
vegetable mixtures.
Shortening and butter into flour for pastry doughs.
Cooked fruits and
vegetables, baby foods, nuts for
butters
Fruits and
vegetables.
Mixtures, sauces, gravies, beverages, soups.
Knead bread doughs.
Hard Cheese
Meats, fish,
poultry, nuts inp paste
or
butters.
7
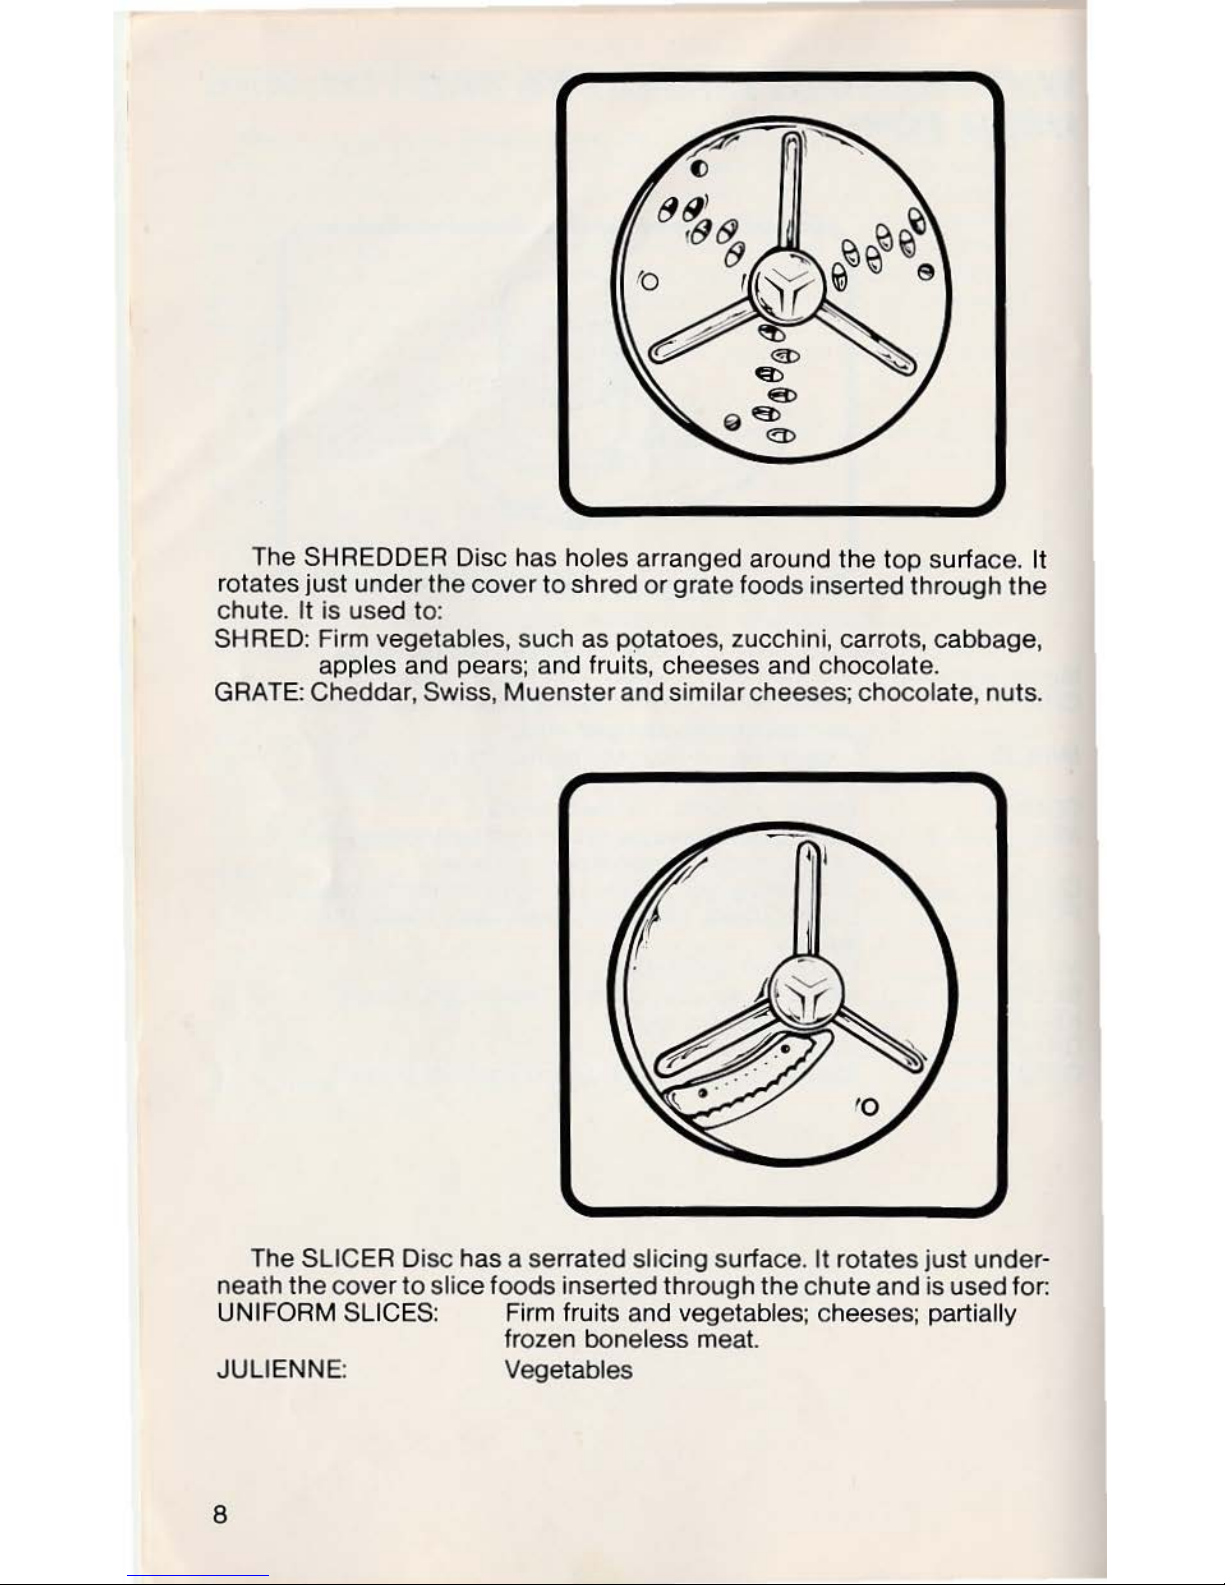
The SHREDDER Disc has holes arranged around the top surface.
It
rotates ju
st
under the cover
to
shred
or
grate foods inserted through the
chute.
It is used to:
SHRED: Firm vegetables, such as p(Jtatoes, zucchini, carrots, cabbage,
apples and pears; and fruits, cheeses and chocolat
e.
GRATE: Cheddar, Swiss, Muenster and similar cheeses; chocolate, nuts.
The
SLICER Disc has a serrated slicing surface. It rotates just
under
-
neath the cover
to
slice foods inserted through the
chute
and is used for:
UNIFORM SLICES: Firm fruits and vegetables; chees
es;
partially
frozen boneless meat.
JULIENNE: Vegetables
8
HINTS
FOR
BEST
USE
-Keep
Food Processor on
counter
so it is ready to use
at
any time.
-Do
not over process food.
-Always position bowl and
lock
on base before putting blade
or
disc in
position. Position blade
or
disc securely.
-Always wait until blade
or
disc has completely stopped turning before
removing cover.
-The bowl
will hold
up
to 4 cups of semi-liquid ingredients (mixture of liquids
and solids)
or
6 cups
of
grated
or
sliced food such as vegetables
or
cheese. Do not overfill.
-Process
dry
or
solid ingredients first before processing moi
st
ingredi-
ents.
Wh
ile
it
is not necessary
to
pre-chop foods
to
be processed,
it
is
advisable
for
finished uniformity that all ingredients be approximately
same size before processing. As a general rule,
cut
food into 1-inch
pieces.
-If
hard foods, such as vegetables
or
cheese become wedged between
blade and side
of
bowl, turn motor off, unp l
ug
from wall,
remove
wedged
piece.
-If
action stops during processing
or
ingredients
stick
to
the sides
of
bowl,
turn motor off, remove cover and use a rubber spatula to gently push
mix-
ture toward blades.
-Your Food Processor works in seconds, not in minutes, therefore, iarge
quantities can be processed in a short time. When preparing large
quantities
of
food, process in small batches and combi
ne.
Be careful not
to
over process food.
-The amount
of
food to put
into
bowl will depend on the food and the
process being used.
- It is not recommended ice be crushed in th is unit as damage may result
to
STEEL Blade.
-For
the most even results, chop on ly one type
of
vegetable at a time.
In
some cases, however,
it
is acceptable to chop a few together, such as
onions, peppers and garlic.
You can
do
this when the texture of the chop-
ping is not critical, as in a
soup
to
be pureed.
-For
perfect slices, pack the Food Chute tightl
y,
so the food can 't fall over
sideways. For
smaller amounts
of
food, such as one carrot,
cut
in pieces
to
fill
up
the chute, (or see page
17for
an alternate method). Be sure
to
cut
a slice off the end
of
the food, so it is flat against the di
sc.
If the food is put
into the chute loosely,
it
may
tip
over and the slices will be elongated,
or
on an angle, rather than perfectly round.
-When
using the Discs, use moderate pressure for harder foods
(examples: carrots, cheese); lighter pressure
for
delicate foods (examples:
strawberries, bananas). Never force food through the discs.
-When
slicing, the more pressure you use on the food pusher, the thicker
the slices
will be;
the
lighter you push,
the
thinner the slices.
- Draw the outline
of
the top and bottom
of
the
chute on a piece of card-
board and
cut
out
the shapes. Take this along when food shopping
to
help
you select vegetables and fruits that are just the right size to fit the chute,
without trimming
or
cutt
ing.
-The
bottom
of
the chute is sli
ght
ly larger than the top. You can use this to
advantage by inserting
wider
foods like cucumbers, potatoes
or
onions,
through the bottom of the chute. Ho ld the food in place, then posit ion
the cover.
In this way you can
get
larger, rounder slices with less trimming
to
fit the
chute
.
9
-Use
the
STEEL Blade to puree cooked fruits, vegetables and meat for
baby food or special diets. Adding some water, fruit juice, broth or cooking
liquid
while
processing, will give a smoother consistency.
-S
ome foods, because of their high water content are liquidy when chop-
ped or shredded; peppers and cucumbers for example.
It
is a good idea to
drain
this
liquid off before using the vegetable in a recipe.
-To
prevent fruit from darkening after being sliced
or
cut, coat the fruit in
an ascorbic acid mixture
(a
national brand is Fruit Fresh). This will keep
the fruit from discoloring if it is used in a
salad
or
in a recipe where it will
not
be cooked immediately.
An
alternate method is
to
brush
or
dip
the
fruit in lemon juice. If the fruit is cooked right after processing, such
tre
atment is not necessary.
-
It
is more efficient and time saving
to
process a quantity of baby food at
one time, and freeze in portions.
-cut
calories by thickening soups and gravies with pureed vegetables.
Pu
ree a few of the vegetables in the
stew
, pot roast,
or
soup. The pureed
vegetables thicken the
liquid, give a richer taste;
there
is no need
to
add
flour.
- When using the discs you may find on occasion a small piece of food
left over on top of the disc. This is normal. It happens because
of
the space
between the end of the chute and the top of
the
disc.
-When
slicing and shredding, the best results will be obtained if the food
is chilled.
-Use
a fork, long skewer, or toaster tongs, to help position foods in
the
chute. This is very useful for placing mushrooms or strawberries
on
their
sides in the chute,
or
positioning olives, when slicing.
- If
gravy has lumps in it, just put it in
the
food processor with
the
STEEL
BLADE. Process at a medium-high to high speed for a few seconds and
the gravy
will be perfectly smooth.
PROCESSING
TECHNIQUES
-
STEEL
BLADE
The STEEL Blade is used to chop, dice, mince , puree, knead , and
crumb. Processing speed and time determine the texture and consistency of
the
food.
Use of the
MOMENTARY
"on/off'
action can help to avoid over-proces-
sing.
Always chop
dry
ingredients first then moist ingredients for best
results .
-Wash, trim and peel food, if necessary.
-cut
food into chu nks
or
pieces.
-Lock bowl in position and insert STEEL Blade.
- Place
chunks
or
pieces of food in bowl, position cover with Food Pusher
in chute, and process food until desired texture. This will be completed in
seconds, depending on type and texture of food.
MOMENTARY setting is
convenient as it
helps
to
redistribute food, and gives you complete control
over processing time.
-chop
the
dry ingredients in a recipe first, then continue with liquid
or
moist ingredients. In this way you won't have to rinse and dry the bowl
between uses.
-S
crape down sides of bowl with rubber spatula as needed.
10
 Loading...