

Hamilton Beach 64652, 64654, 64655 Read Before Use
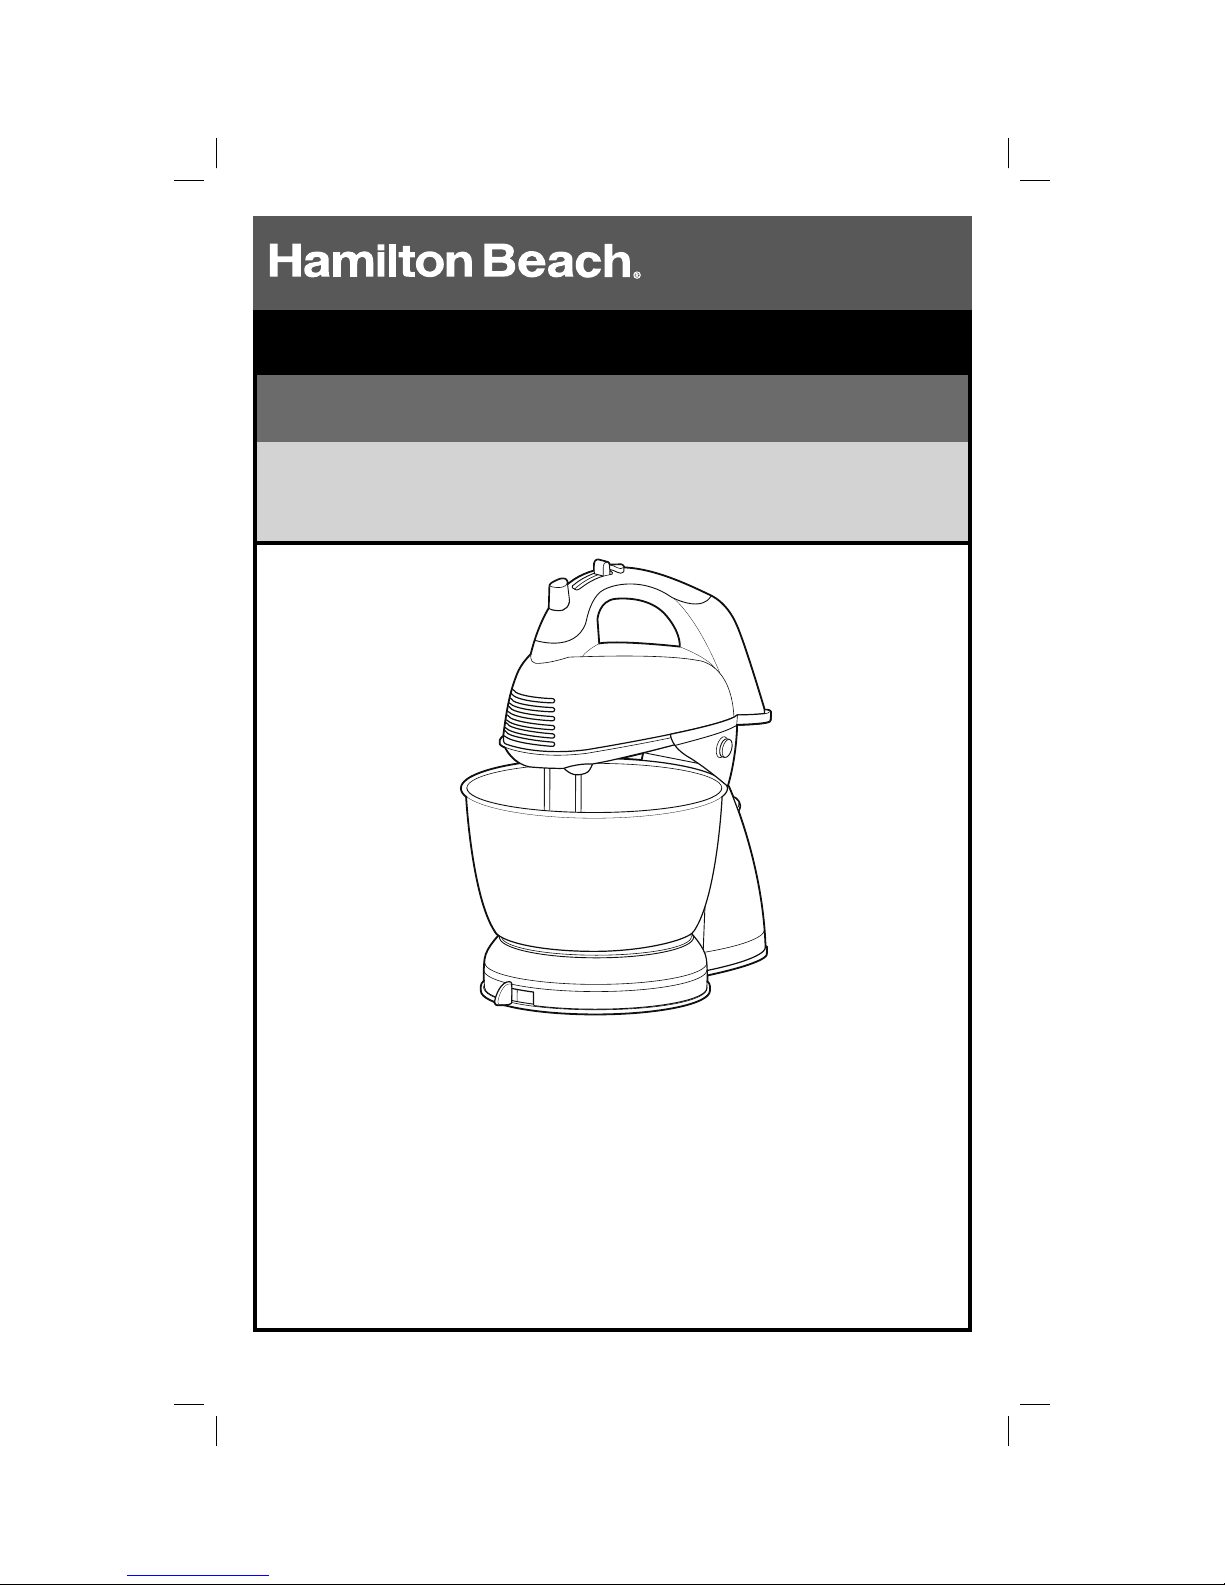
Hand/Stand Mixer
READ BEFORE USE
Batteur sur socle
Batidora de mano/de pie
Le invitamos a leer cuidadosamente este
instructivo antes de usar su aparato.
LIRE AVANT L’UTILISATION
LEA ANTES DE USAR
English .......................................................................................... 2
USA: 1-800-851-8900
Visit hamiltonbeach.com for delicious recipes and to register your product online!
Français ............................................................................................. 8
Canada : 1-800-267-2826
Consulter hamiltonbeach.ca pour des recettes délicieuses et pour
enregistrer votre produit!
Español ....................................................................................... 14
México: 01 800 71 16 100
Visite hamiltonbeach.com.mx para recetas deliciosas y para
registro de su producto en línea.
840162305

IMPORTANT SAFEGUARDS
When using electrical appliances, basic
safety precautions should always be
followed to reduce the risk of fire, electric
shock, and/or injury to persons, including
the following:
1. Read all instructions.
2. This appliance is not intended for use
by persons (including children) with
reduced physical, sensory, or mental
capabilities, or lack of experience and
knowledge, unless they are closely
supervised and instructed concerning
use of the appliance by a person
responsible for their safety.
3. Close supervision is necessary when
any appliance is used by or near
children. Children should be supervised
to ensure that they do not play with the
appliance.
4. To protect against risk of electrical
shock, do not put cord, plug, or mixer
body in water or other liquid.
5. Unplug from outlet when not in use,
before putting on or taking off parts, and
before cleaning.
6. Avoid contacting moving parts. Keep
hands, hair, and clothing, as well as
spatulas and other utensils, away from
beaters during operation to reduce risk
of injury to persons, and/or damage to
mixer.
7. Remove beaters from mixer before
washing.
8. Do not let cord hang over edge of
table or counter, or touch hot surfaces,
including stove.
9. Do not operate any appliance with a
damaged supply cord or plug, or after
the appliance malfunctions or has been
dropped or damaged in any manner.
Supply cord replacement and repairs
must be conducted by the manufacturer,
its service agent, or similarly qualified
persons in order to avoid a hazard. Call
the provided customer service number
for information on examination, repair, or
adjustment.
10. The use of attachments not
recommended or sold by the appliance
manufacturer for use with this model
may cause fire, electric shock or injury.
11. Do not use outdoors.
12. Do not place on or near a hot gas or
electric burner, or in a heated oven.
13. Check that control is off before plugging
cord into wall outlet. To disconnect, turn
control to OFF (O) and then remove plug
from wall outlet.
14. Do not use appliance for other than
intended purpose.
SAVE THESE INSTRUCTIONS
Other Consumer Safety Information
This appliance is intended for household
use only.
w WARNING
This appliance is provided with a polarized
plug (one wide blade) to reduce the risk of
electric shock. The plug fits only one way
into a polarized outlet. Do not defeat the
safety purpose of the plug by modifying the
plug in any way or using an adapter. If the
plug does not fit fully into the outlet, reverse
the plug. If it still does not fit, have an
electrician replace the outlet.
Electrical Shock Hazard:
2
BEFORE FIRST USE: Wash bowl and
beaters in hot, soapy water. Rinse and dry.
NOTICE: Never place mixing bowl in oven,
microwave oven, or on a hot cooking
surface. Mixing bowl is not intended to
be used at high temperatures and should
never be used as cookware, ovenware, or
bakeware.
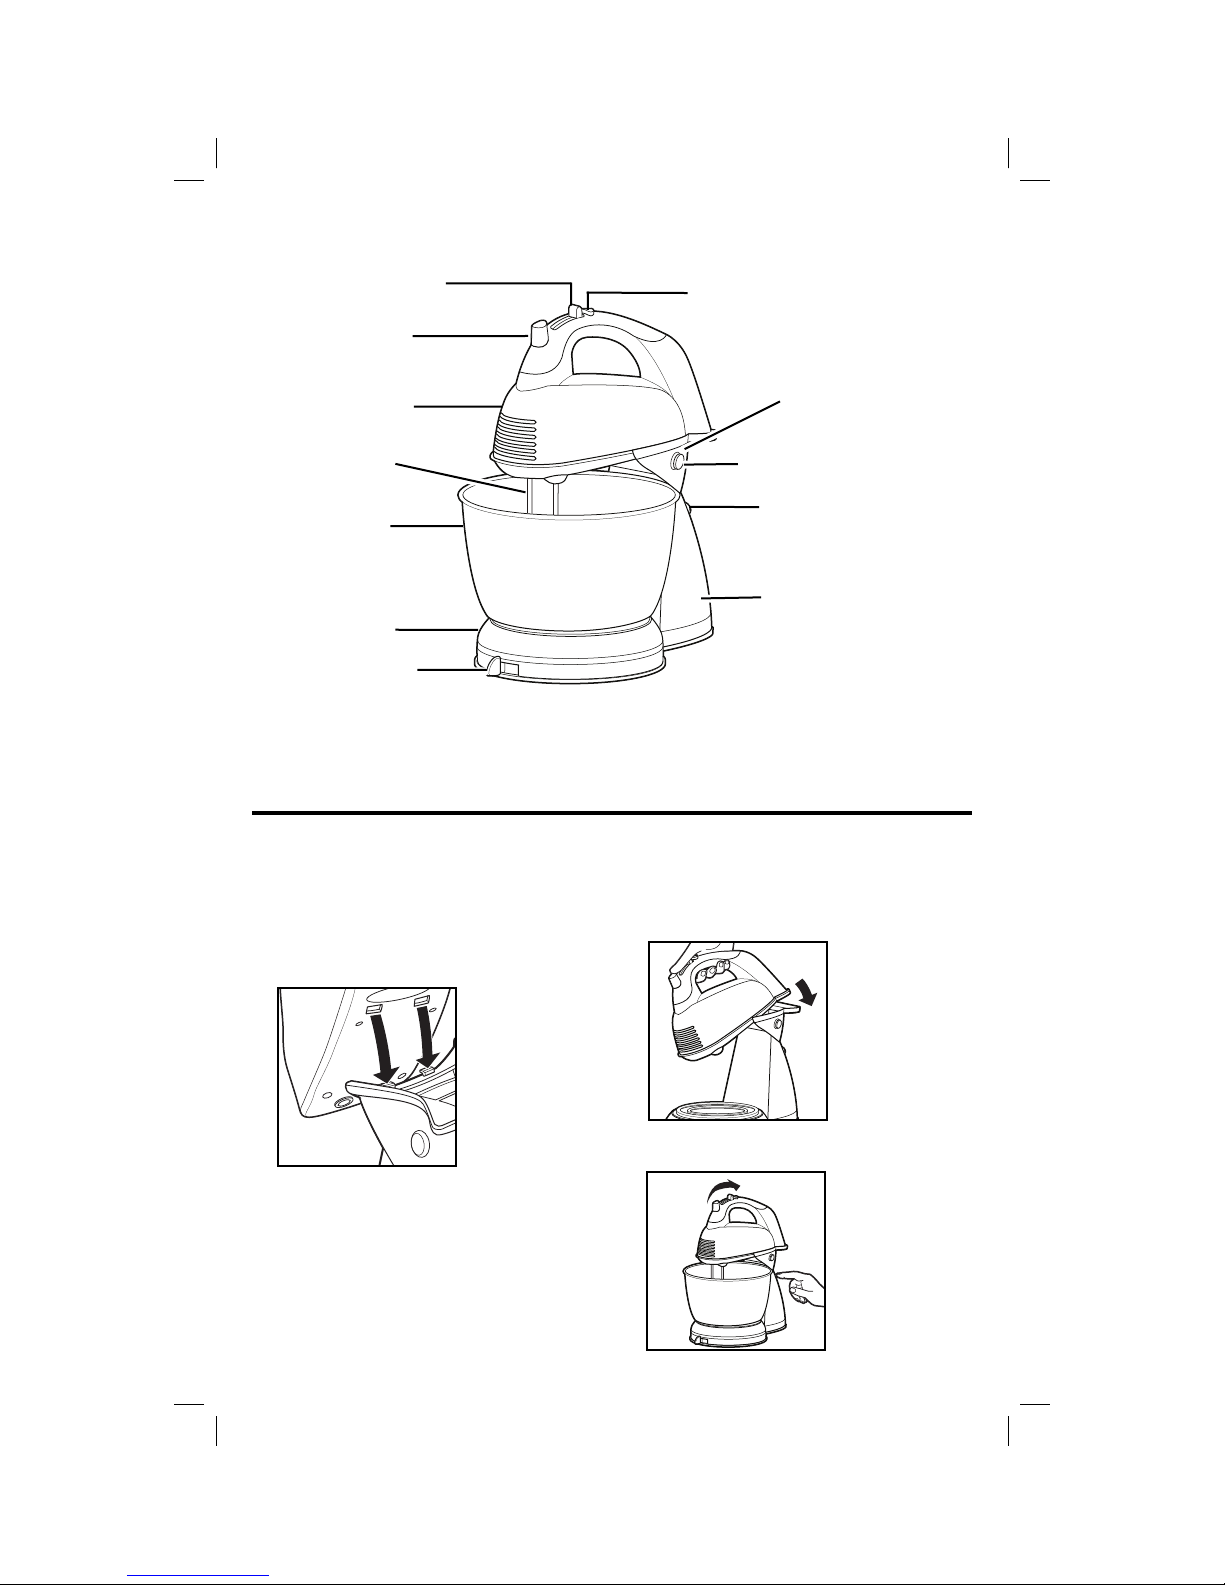
Parts and Features
Speed Control
(ON/OFF)
Eject Button
QuickBurst
™
Mixer
Beaters
Bowl
Turntable
Shift and Stir™
Bowl Lever
Platform
Mixer Release Button
Mixer Tilt Button
(located on rear
of stand)j
Stand
How to Assemble Stand
The stand mixer is very convenient for most recipes. However, small amounts—
like one cup (237 ml) of cream—may not contact the beaters in the stand mixer
mode. In these cases we recommend using as a hand mixer.
NOTE: Attach mixer to stand before
attaching beaters or dough hooks.
1. Set stand on counter. With platform
level and while
holding mixer
as shown,
place the two
small holes on
the bottom of
the mixer into
the two hooks
on platform.
2. As the mixer is lowered, gently press
the back of
the mixer onto
the platform
until it locks in
position. The
mixer can now
be used as a
stand mixer.
3. Push the Tilt Button to tilt the mixer.
3
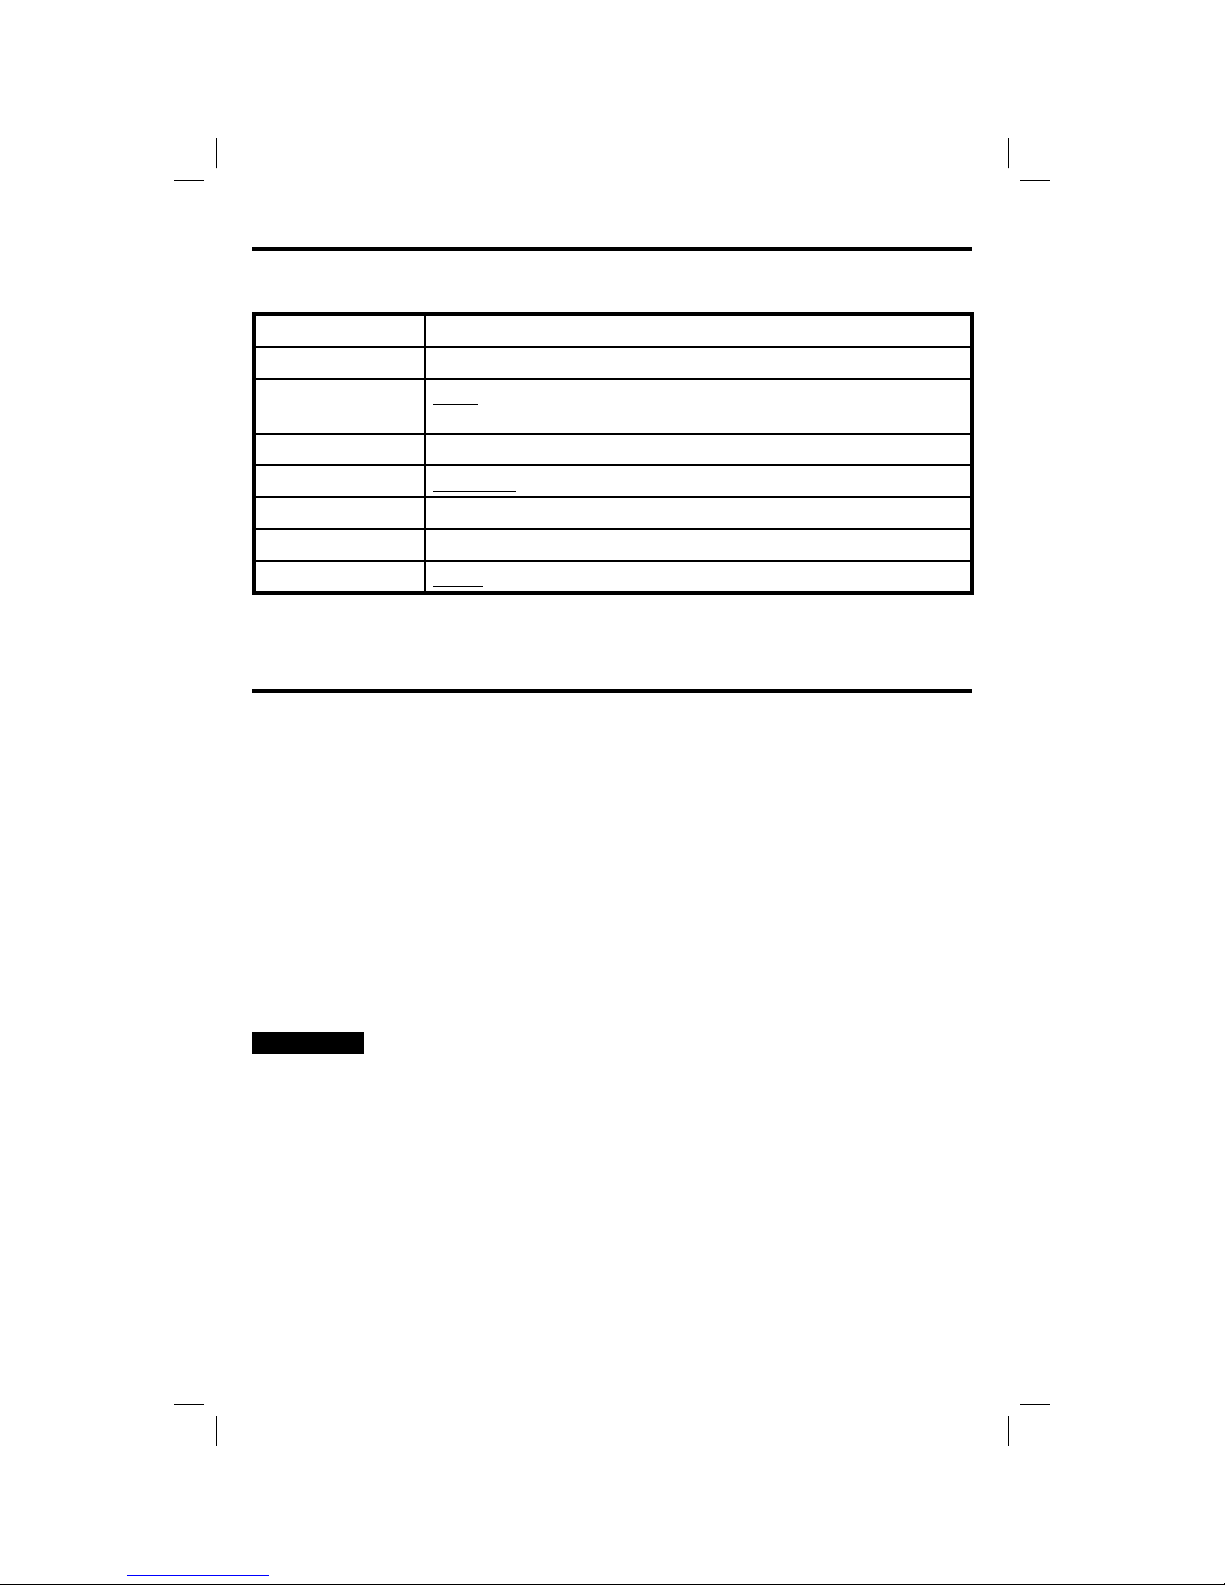
Optional Attachments (available on selected models)
Before first use: wash beaters or attachments in warm, sudsy water; rinse and dry.
Always unplug mixer from electrical outlet before inserting or removing attachments.
This mixer comes with 1 or more of the following attachments:
ATTACHMENT DESCRIPTION
The flat beaters are designed for general
mixing purposes.
The straight wire beaters, which have no center
post for ease in cleaning, are designed for mixing
thick batters and cookie dough.
The single whisk is perfect for whipping cream. The
whisk may be inserted into either opening.
The twisted wire beaters, which have no center
post for ease in cleaning, are designed for mixing
thick batters and cookie dough.
The dough hooks can perfectly knead a one
loaf bread recipe. Always use dough hooks
on speed 4, 5, or 6 in the hand mixer mode.
Do not use dough hooks in the stand mixer mode.
To Insert Attachments
Flat Beaters, Straight Wire
Beaters, and Whisk
1. Always make sure mixer is unplugged
and speed control is set to OFF (O).
2. Insert a beater or attachment into an
opening on the
bottom of the
mixer. Push
until it clicks
into place.
Repeat with
other beater or
attachment.
Twisted Wire Beaters and
Dough Hooks
1. Always make sure mixer is unplugged
and speed control is set to OFF (O).
4
2. Insert the wire beater or the dough
hook with the
Collar
3. Align tabs on the beater or dough
Tab
Slot
collar into the
larger opening.
hook with the
slots in the
opening. Push
until it clicks
into place.
Repeat with
other beater or
dough hook.
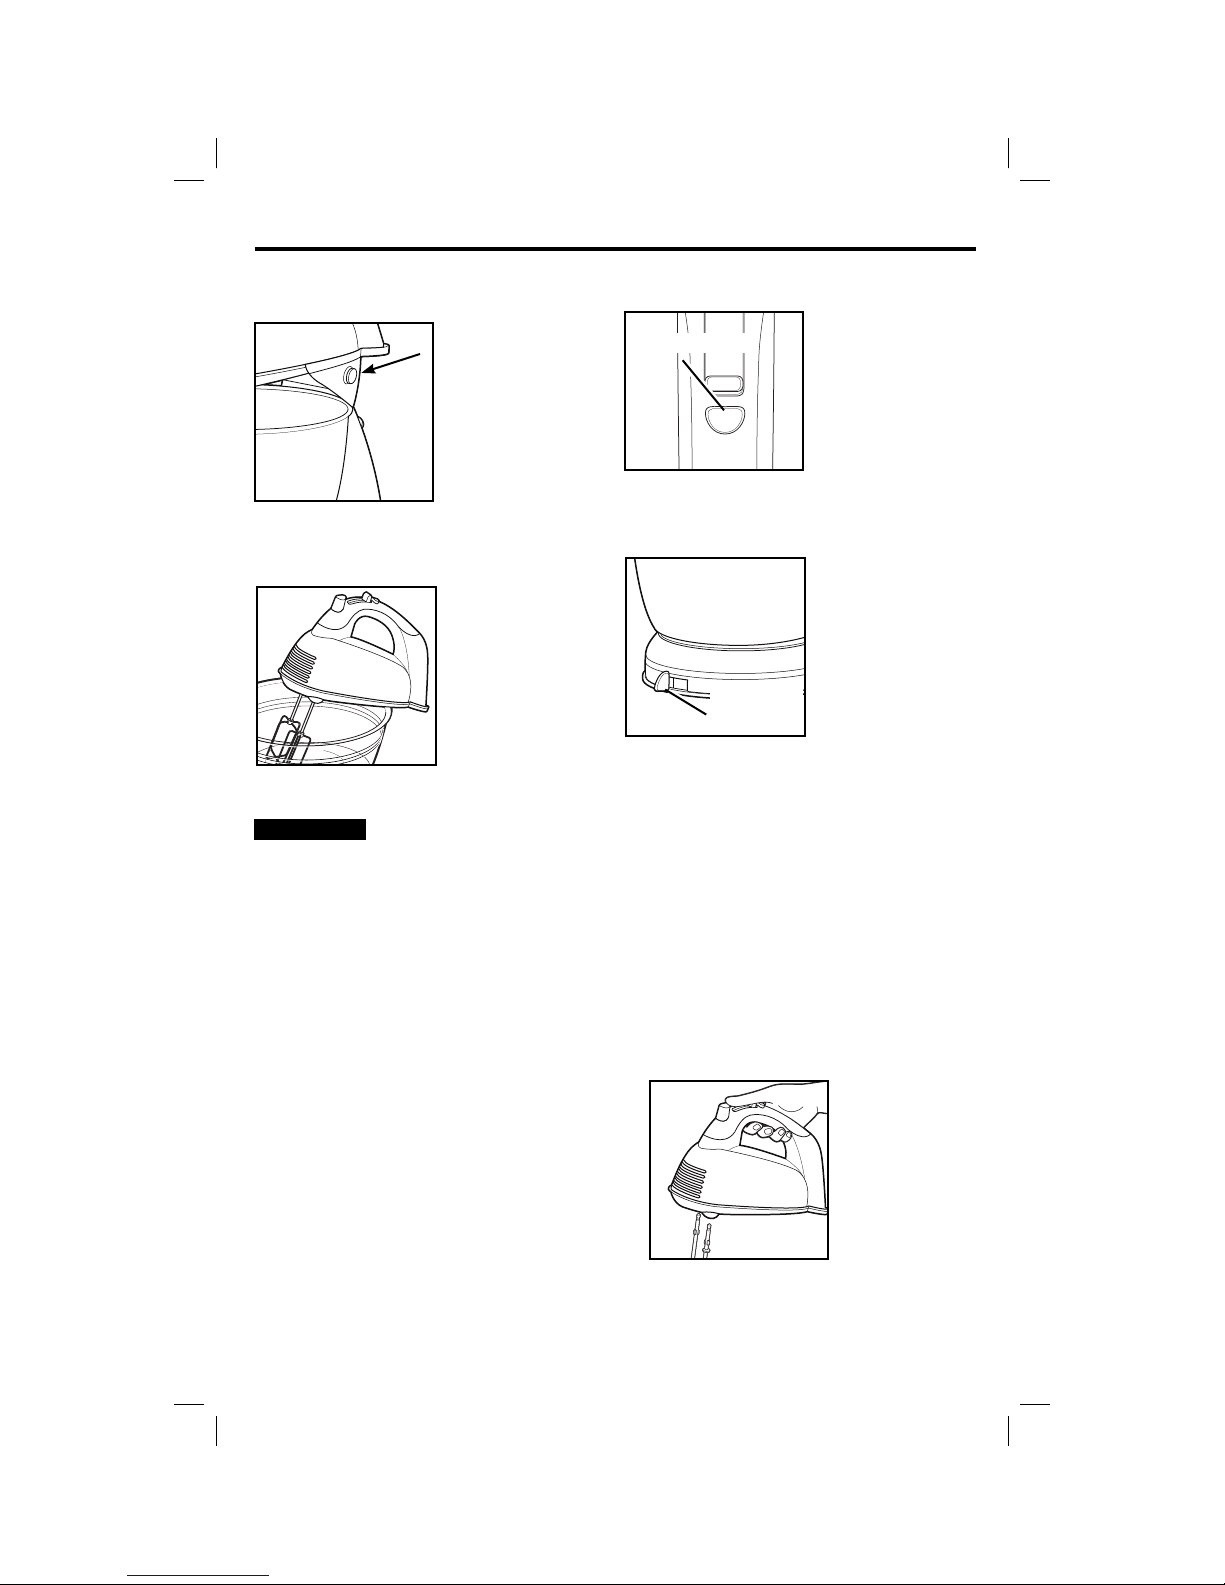
Features
Mixer Release Button
Use this feature to release the mixer
from the “locked”
position on the
stand.
Bowl Rest
This feature can be used on most
the edge of the bowl.
w CAUTION
Bowl Rest when mixer is on.
NOTE: Do not use Bowl Rest on small
(11⁄2 quart [1.4 L]) mixing bowls or
plastic mixing bowls.
™
large mixing
bowls. Use
the Bowl Rest
while adding
ingredients
or checking a
recipe. To use,
TURN MIXER
OFF (O) and then
set the mixer on
Pinch Hazard. Never use
QuickBurst
Press and hold down the button for
QuickBurst™
™
additional power
at any speed.
NOTE: Never use
QuickBurst
for more than
two minutes at
a time or motor
may overheat.
Shift and Stir™ Bowl Lever
Use the lever to move the turntable.
This allows you
to position the
beaters near the
edge of the bowl
or in the center
for better mixing
Bowl
Lever
performance.
Using Your Mixer
1. Always make sure mixer is unplugged
and OFF (O) before inserting beaters,
using as a hand mixer or assembling
on the stand.
2. Plug mixer into electrical outlet.
3. Move the speed control to desired
speed, starting at 1 and increasing to
a higher speed as necessary.
4. If using as a stand mixer do not
leave mixer unattended. Always
monitor the progress of the mixing.
5. When finished mixing, move the
speed control to OFF (O) and unplug
mixer.
6. To eject beaters, push straight down
on the eject
button.
7. To remove mixer from stand, hold
mixer and press mixer release
button. Pull mixer to release from
stand.
5
Mixing Guide
The following mixing guide is a suggestion for selecting mixing speeds. Begin on
speed 1 and increase to desired speed depending on the recipe consistency.
6 SPEED FUNCTION
O OFF (O) and/or Eject
1 LOW speed for folding or mixing in dry ingredients, muffins,
or quick breads
2 To cream butter and sugar; most cookie dough
3
4 Frosting and mashed potatoes; kneading dough
5 Beating egg whites; kneading dough
6
MEDIUM speed for most packaged cake mixes
HIGH speed for whipping cream; kneading dough
Mixing Tips
Cookie dough is one of the thickest
doughs to mix. Make it easier by
following these tips:
• Use a large mixing bowl so that
ingredients spread out for easier
mixing.
• Have butter or margarine at room
temperature.
• Add ingredients one at a time and
thoroughly mix after each addition.
• Add flour one cup at a time.
• To add chips or nuts to a very thick
dough or batter, we recommend
stirring them in by hand at the very
end of the recipe.
Cleaning Your Mixer
w WARNING
Do not immerse base, cord or plug
in water or any other liquid.
1. Always unplug mixer from electrical
outlet and eject the attachments
before cleaning.
Electrical Shock Hazard:
2. Wash attachments in hot, soapy
water; rinse and dry.
3. Wipe the mixer body and cord with a
clean, damp cloth.
NOTE: Do not use abrasive cleaners or
scouring pads.
6
 Loading...