

Page 1
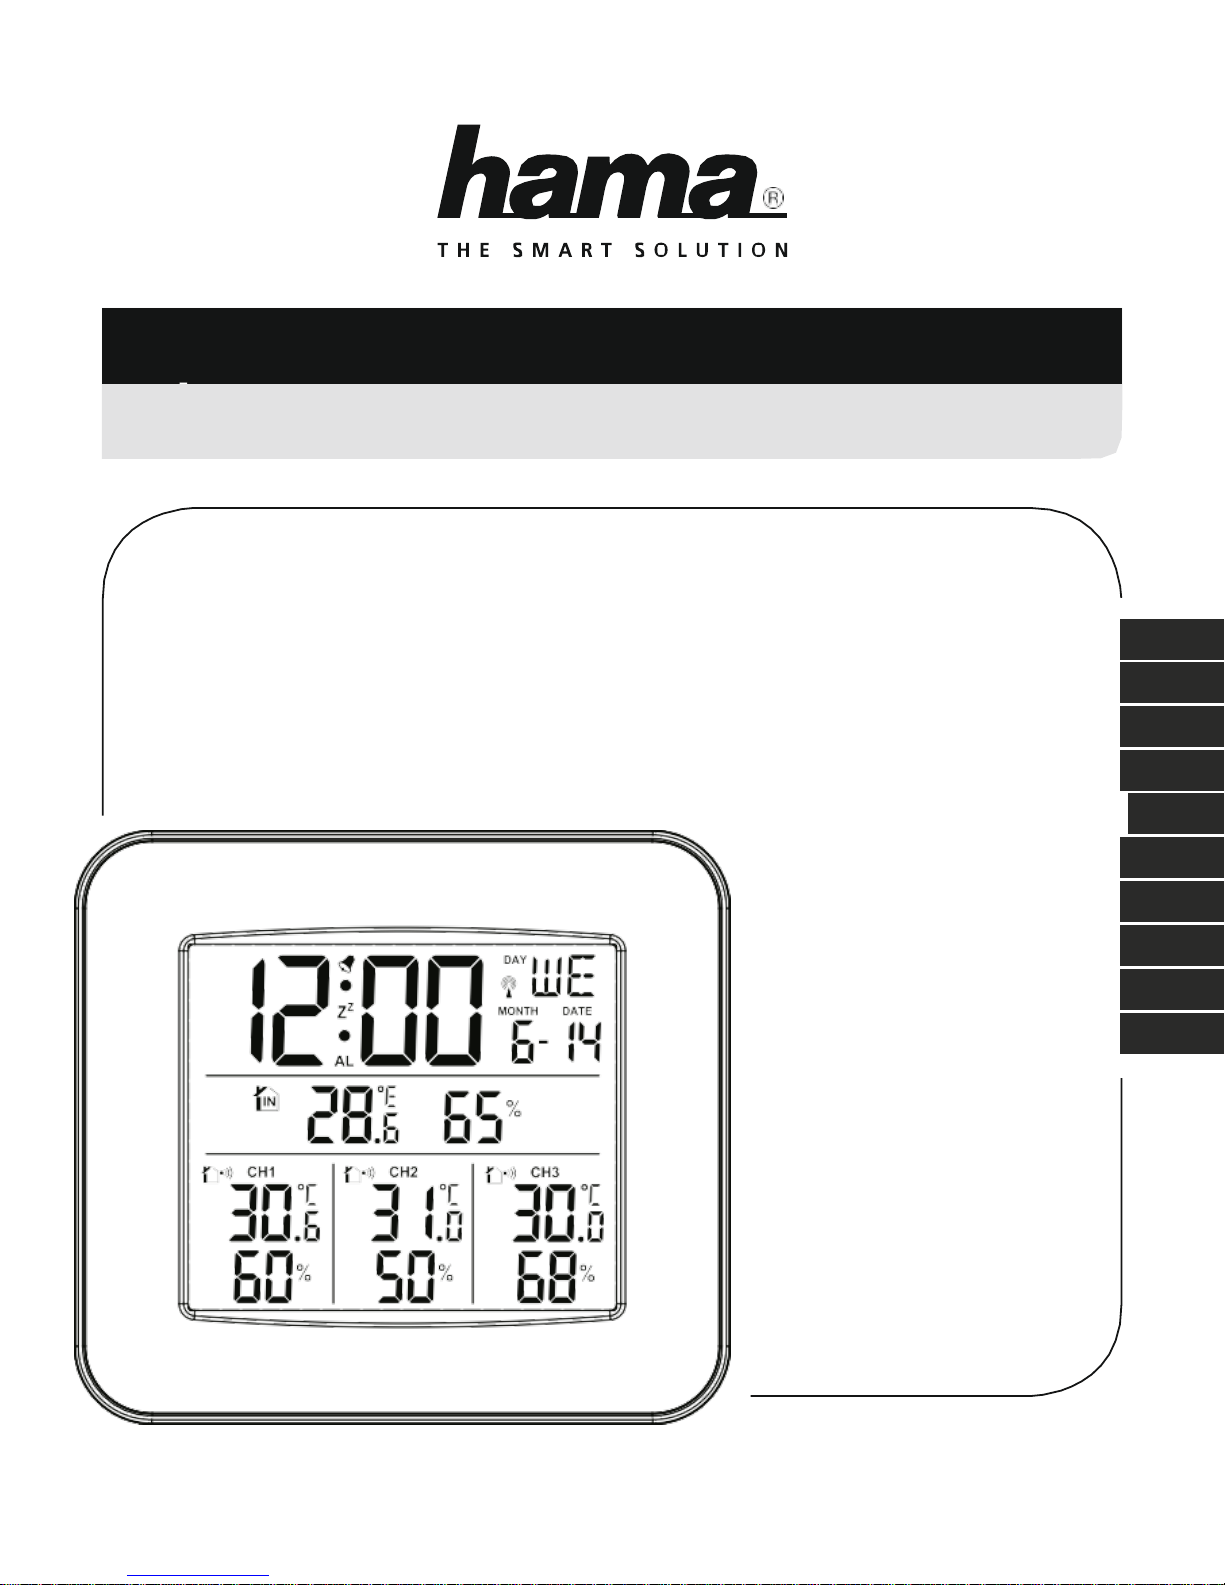
Wetterstation
Weather Station EWS-
00
136293
Operating Instructions
Bedienungsanleitung
Mode d‘emploi
Instrucciones de uso
Руководство по эксплуатации
Istruzioni per l‘uso
Instrukcja obsługi
Návod k použití
Návod na použitie
Manual de utilizare
GB
D
F
E
RUS
I
PL
CZ
SK
RO
Page 2
A B
17
1
3
2 4
5 6 7
8 9
10 11
12 13
19
18 20
21
14 15 16
Page 3

Page 4
2
Operating instruction
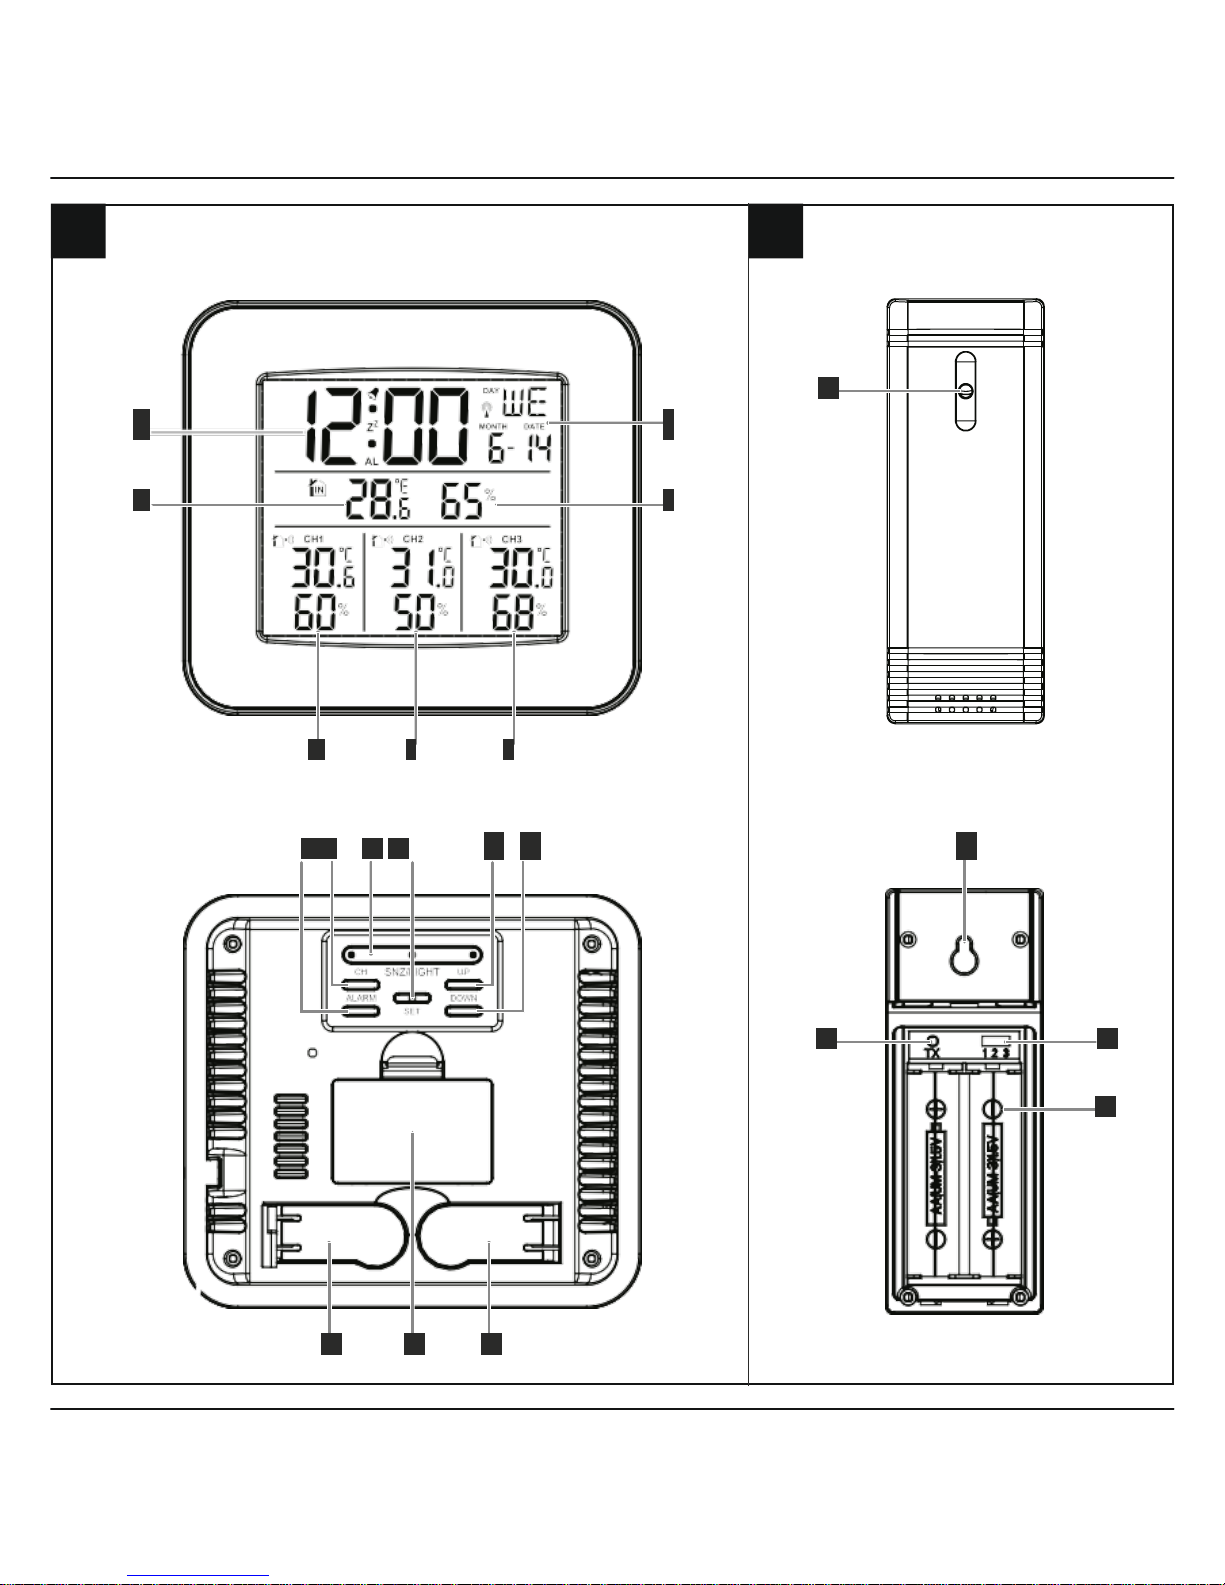
Controls and
Displays A Base
station
1.
Time
2.
Room temperature
3.
Day of the week + date + calendar month DCF
signal radio symbol
4.
Room humidity
5.
Outdoor temperature/outdoor humidity channel 1
(
CH1
), low battery level display for measuring
Thank you for choosing a Hama product.
Take your time and read the following instructions and
information completely. Please keep these instructions in a
safe place for future reference. If you sell the device, please
pass these operating instructions on to the new owner.
1. Explanation of Warning Symbols and Notes
station 1
6.
Outdoor temperature/outdoor humidity channel 2
(
CH2
), low battery level display for measuring
station 2
7.
Outdoor temperature/outdoor humidity channel 3
(
CH3
), low battery level display for measuring
station 3
8.
ALARM
button = displaying/setting/deactivating/
activating the alarm functions
9.
CH
button = manual search for a signal from
the
measuring station/channel selection
10.
SNZ/LIGHT
button = temporarily interrupts
the
alarm (snooze)/activates the backlight
11.
SET
button = settings/confirms the setting
12.
UP
button = increases the current set
value/recalls the saved maximum/minimum
values (MAX/MIN)
13.
Down
button = decreases the current set
value/
toggles between °C and °F /
activates/deactivates
manual DCF radio signal
reception
14. + 16. Fold-out bases
15. Battery compartment
B Measuring station
17.
Transmission indicator light
18.
TX
button = manual connection to the
base
station
19.
Recess for wall mounting
20.
Slide switch = selects channel 1, 2 o r3
21.
Battery compartment
2.
Package Contents
•
Trio weather station (base station for indoors)
•
3 measuring stations for outdoors
•
3 AAA batteries
•
6 AA batteries
•
These operating instructions
3.
Safety Notes
•
The product is intended for private, non-commercial use
only.
•
Do not operate the product outside the power limits given
in the specifications.
•
Do not use the product in moist environments and avoid
splashes.
•
Do not use the product in the immediate vicinity of heaters
or other heat sources or in direct sunlight.
•
Do not use the product in areas where the use of electronic
devices is not permitted.
•
Do not place the product near interference fields, metal
frames, computers, TVs, etc. Electronic devices and window
frames can negatively affect the product’s functionality.
•
Do not drop the product and do not expose it to any major
shocks.
This symbol is used to indicate safety instructions or to
draw your attention to specific hazards and risks.
Warning
This symbol is used to indicate additional information or
important notes.
Not
Page 5
3
•
Do not open the device or continue to operate it if it
becomes damaged.
•
Do not attempt to service or repair the product yourself.
Leave any and all service work to qualified experts.
•
Keep the packaging material out of the reach of children
due to the risk of suffocation.
•
Dispose of packaging material immediately according to
locally applicable regulations.
•
Do not modify the product in any way. Doing so voids the
warranty.
•
Use the
slide switch
(20) to select the channel that
the
respective measuring station is to use for
transmission. Each of the three measuring stations must
use a different
channel!
•
Close the battery compartment.
4.2
Base station
•
Open the
battery compartment
(15) and insert
three
AAA batteries with the correct polarity into the
battery
compartment.
•
Then close the battery compartment cover.
4.3
Replacing the batteries
4. Getting started
4.1 Measuring station
•
Open the
battery compartment
(21) and insert
two
AA batteries with the correct polarity into the
battery
compartment.
Measuring station
•
If the
symbol is displayed on the basis station in the
measurement values area of one of the three measuring
stations (5/6/7), replace the two AA batteries of the
affected measuring station with two new ones.
•
Open the battery compartment (21), remove and properly
dispose of the depleted batteries, and insert two new AAA
batteries with the correct polarity. Then close the battery
compartment cover.
Base station
•
If the
symbol is displayed on the base station in the
indoor values area (2), replace the three AAA batteries in
the base station with three new ones.
•
Open the battery compartment (15), remove and properly
dispose of the dead batteries and insert three new AAA
batteries with the correct polarity. Then close the battery
compartment cover.
•
Note that the stations have to be resynchronised each
time after you change the batteries in the measuring
or base station.
•
To do this, remove the batteries from the other station
and then reinsert them, or change them as required.
Note – Replacing the batteries
•
Immediately remove and dispose of dead batteries from
the product.
•
Only use batteries (or rechargeable batteries) that
match the specified type.
•
Do not mix old and new batteries or batteries of a
different type or make.
•
When inserting batteries, note the correct polarity (+
and - markings) and insert the batteries accordingly.
Failure to do so could result in the batteries leaking or
exploding.
•
Do not charge batteries.
•
Keep batteries out of the reach of children.
•
Do not short circuit the batteries/rechargeable batteries
and keep them away from uncoated metal objects.
Warning – Batteries
Before use, make sure that you insert the batteries in the
measuring station first and then in the base station.
Not
Page 6
4
5. Installati
on
5.1
Base station
•
Use the base to position the base station on a level
surface.
5.2 Measuring station
•
You can also position the measuring station on a level
outdoor surface.
•
We recommend installing the measuring station securely
on an outdoor wall using the opening (19).
6. Operation
6.1
Connection to the measuring station
After you have inserted the batteries, the base station
automatically searches for a connection to the three
measuring stations and performs initial setup.
•
If a signal from the measuring station is still not received,
select one of the three channels by pressing the
CH
button
(9). Then hold the
CH
button (9) for
approximately 3 seconds to start the manual search
for the signal.
•
Press the
TX
button (18) on the desired measuring
station
to initiate the transmission of a signal that can be
received
by the base station.
•
Remember that each of the three measuring stations
must use a different channel.
•
Initial setup takes approximately 3 minutes.
•
During the connection attempt, the measuring station
radio symbol will flash.
•
Do not press any buttons during setup. Otherwise,
values may not be transmitted correctly and there is a
risk of value errors and inaccuracies.
•
The process is completed when the indoor (2/4) and
outdoor (5/6/7) measurement data is displayed.
Not
•
We recommend initially placing the base station and
measuring station(s) in the intended locations without
installing them and making all the settings described in
6. Operation
.
•
Only install the stations once the appropriate settings
have been made and a stable wireless connection is
established.
Note – Installation
•
The wireless transmission range between the measuring
and base stations is up to 50 m in open spaces.
•
Before installation, ensure that wireless transmission
will not be disrupted by interference or obstacles like
buildings, trees, vehicles, high-voltage lines, etc.
•
Before the final installation, ensure that there is
sufficient reception between the intended installation
locations.
•
When installing the measuring station, ensure that it is
protected from direct sunlight and rain.
•
The international standard height for measuring air
temperature is 1.25 m (4 ft) above ground.
Not
•
Buy special or suitable installation material from a
specialised dealer for wall-mounting.
•
Ensure that no faulty or damaged parts are installed.
•
Never apply force during installation. This could
damage the product.
•
Before installation, ensure that the chosen wall is
suitable for the weight to be mounted, and make sure
that there are no electrical wires, water, gas or other
lines at the installation site on the wall.
W
arning
Page 7
5
6.2
Basic and manual settings
Automatic setting using the DCF signal
(radio- controlled clock)
•
When the base station has been switched on for the first
time and successful transmission has been established
between the base station and the measuring station, the
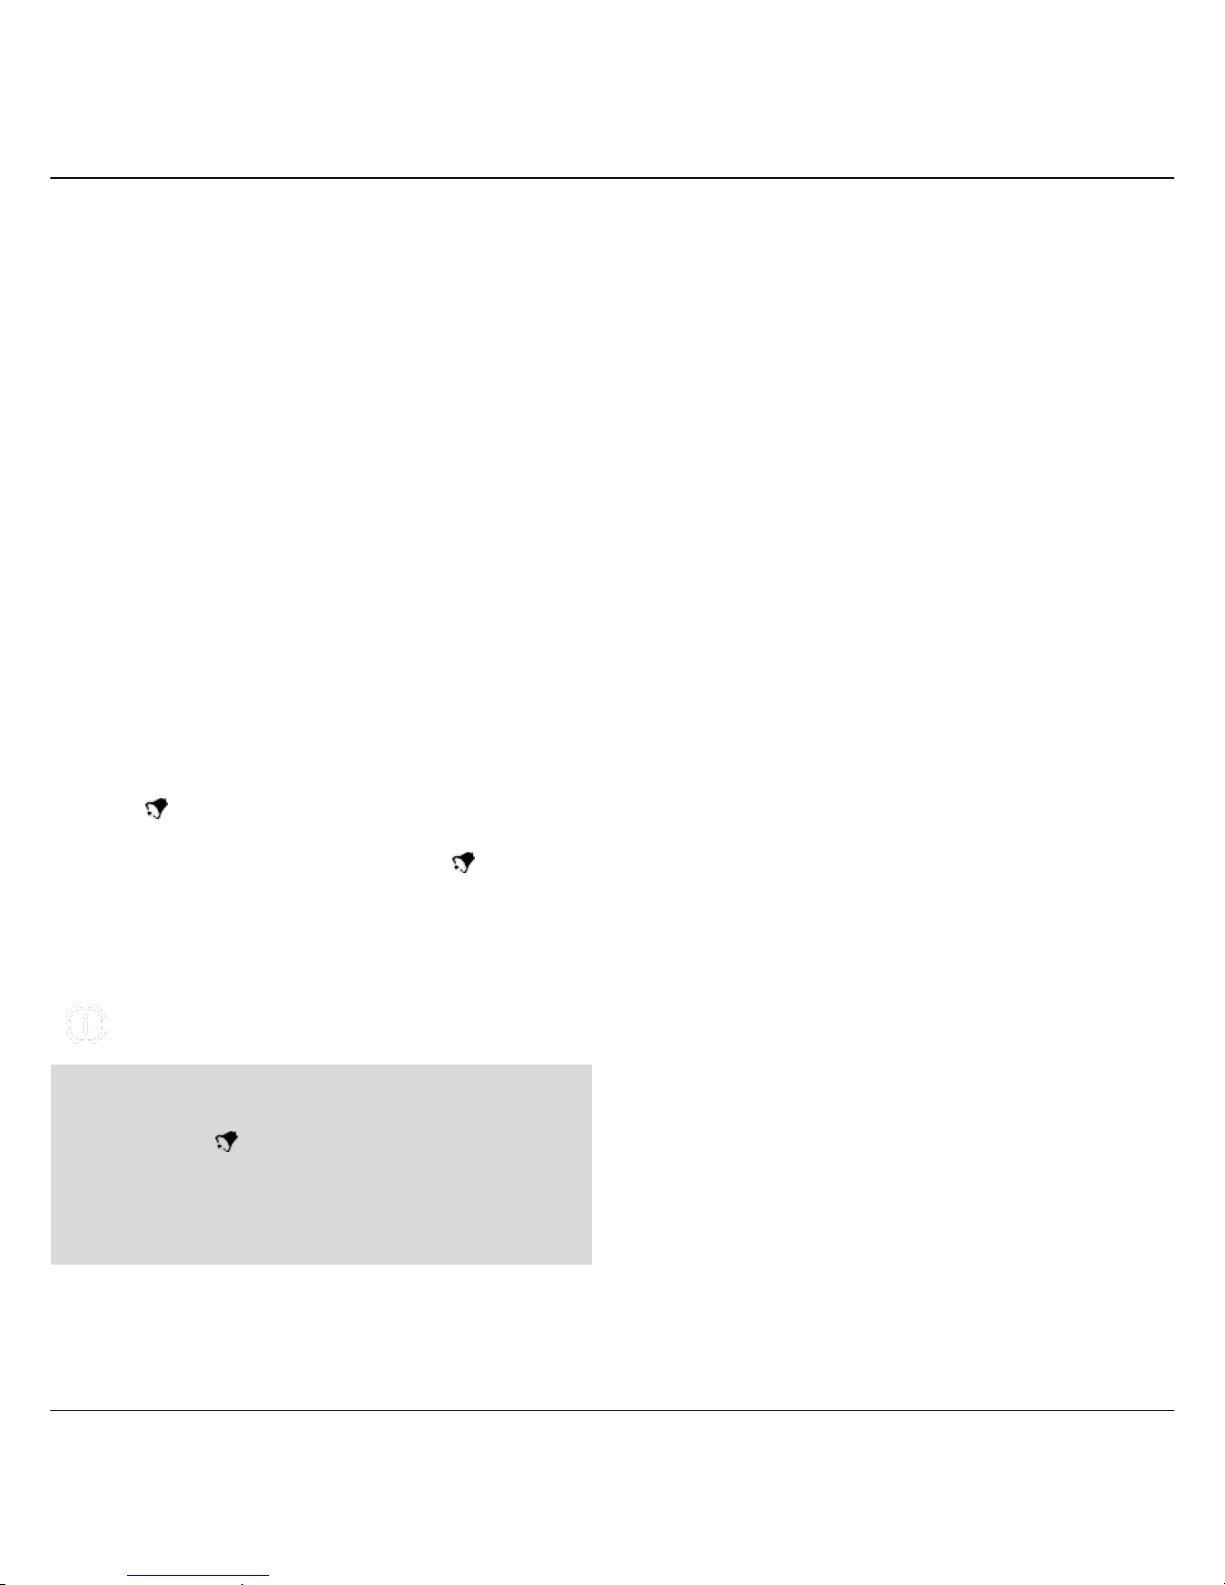
clock will automatically search for the DCF signal. During
the search, the radio symbol for DCF reception flashes.
Display (8)
Searching for the DCF signal
Display flashing
Active
Displayed continuously
Successful – signal is being received
Not displayed
Deactivated
•
If the station still does not receive a signal, press and hold
the
DOWN
button (13) until the radio symbol begins
to flash, to start the manual search for the DCF
signal.
Manual settings
•
Press the
SET
button (11) to make the following
settings
in order:
•
Time zone
•
Year
•
Calendar month
•
Date
•
Hour
•
Minute
•
12/24-hour format
•
To select individual values, press the
UP
button (12) or
the
DOWN
button (13) and confirm each selection by
pressing
the
SET
button (11).
•
Press the
SET
button (11) to adopt the set value
displayed
and to skip.
•
If you do not make an entry for 20 seconds, you
automatically exit the setting mode.
•
Press and hold the
DOWN
button (13) again for
approximately 3 seconds to stop the manual search.
•
Hold the
UP
button (12) or the
DOWN
button (13)
to
select the values faster.
Not
•
The clock automatically switches to summer time.
Note – Summer time
•
The search process takes about 3 minutes. If the search
fails, it ends and is repeated at the next clock hour. The
radio symbol ( ) goes out.
•
It is not possible to manually set the time and date
during the search for the DCF signal.
•
The clock automatically continues to search for the DCF
signal on a daily basis (between 1 am and 5 am) to
correct any deviations.
•
If the signal is received successfully, the manually set
time and date are overwritten.
Note – Time settings
•
The DCF signal can be received over long distances, but
always transmits the current Central European Time in
Germany. Please note that for countries with a different
time zone, you must set the time difference manually.
•
If you are in Moscow, for example, the time is 3 hours
later than in Germany. This means that you should
set +3 for the time zone. The clock then sets the time
automatically to 3 hours ahead after receiving the DCF
signal or according to the manually set time.
Note – Time zone
Page 8
6
Celsius / Fahrenheit
•
Press the
DOWN
button (13) to switch between °C and
°F
for the temperature display.
6.3
Alarm
Alarm mode
AL
is displayed between the hours and
minutes
of the time display.
•
Press the
ALARM
button (8) once to call up alarm
mode.
•
Press and hold the
ALARM
button (8) for
approximately
3 seconds to set the alarm time. The
hours display begins
to flash.
•
Press the
UP
button (12) or the
DOWN
button
(13)
to select the hour for the alarm time and
confirm your
selection by pressing the
ALARM
button (8). The
minutes
display begins to flash.
•
Repeat the process to set the minutes for the alarm time.
•
If you do not make an entry for approximately 5 seconds,
you automatically exit the setting mode.
•
Press the
DOWN
button (13) to activate or
deactivate the alarm. An active alarm is displayed by
the alarm symbol ( ). The alarm symbol goes out
when the alarm
is deactivated.
•
If the alarm is triggered, the alarm symbol ( ) will begin
to flash and an alarm will sound.
•
Press any button (except the
SNZ/LIGHT
button (10))
to
stop the alarm. Otherwise, it will stop automatically
after
2 minutes.
6.4 Maximum and minimum
temperature and humidity values
The base station automatically stores the maximum and
minimum outdoor/indoor temperature and humidity values.
•
Repeatedly press the
UP
button (12) to switch the
display between the current temperature and humidity,
maximum temperature and humidity (MAX) and minimum
temperature and humidity (MIN).
6.5
Backlight
•
Press the
SNZ/LIGHT
button (10) to light up the
display
for approximately 5 seconds.
7.
Care and Maintenance
• Only clean this product with a slightly damp, lint-free cloth
and do not use aggressive cleaning agents.
• Make sure that water does not get into the product.
8.
Warranty Disclaimer
Hama GmbH & Co KG assumes no liability and provides no
warranty for damage resulting from improper installation/
mounting, improper use of the product or from failure to
observe the operating instructions and/or safety notes.
9.
Service and Support
Please contact Hama Product Consulting if you have any
questions about this product.
Hotline: +49 9091 502-115 (German/English)
Further support information can be found here:
www.hama.com
•
While the alarm signal is sounding, press the
SNZ/
LIGHT
button (10) to activate the snooze function.
The alarm symbol ( ) will start to flash on the display.
The alarm signal will stop for 5 minutes, after which it
will
sound again.
•
Press any button (except the
SNZ/LIGHT
button)
to
stop the snooze function and the alarm.
Note – Snooze function
Page 9
7
10.
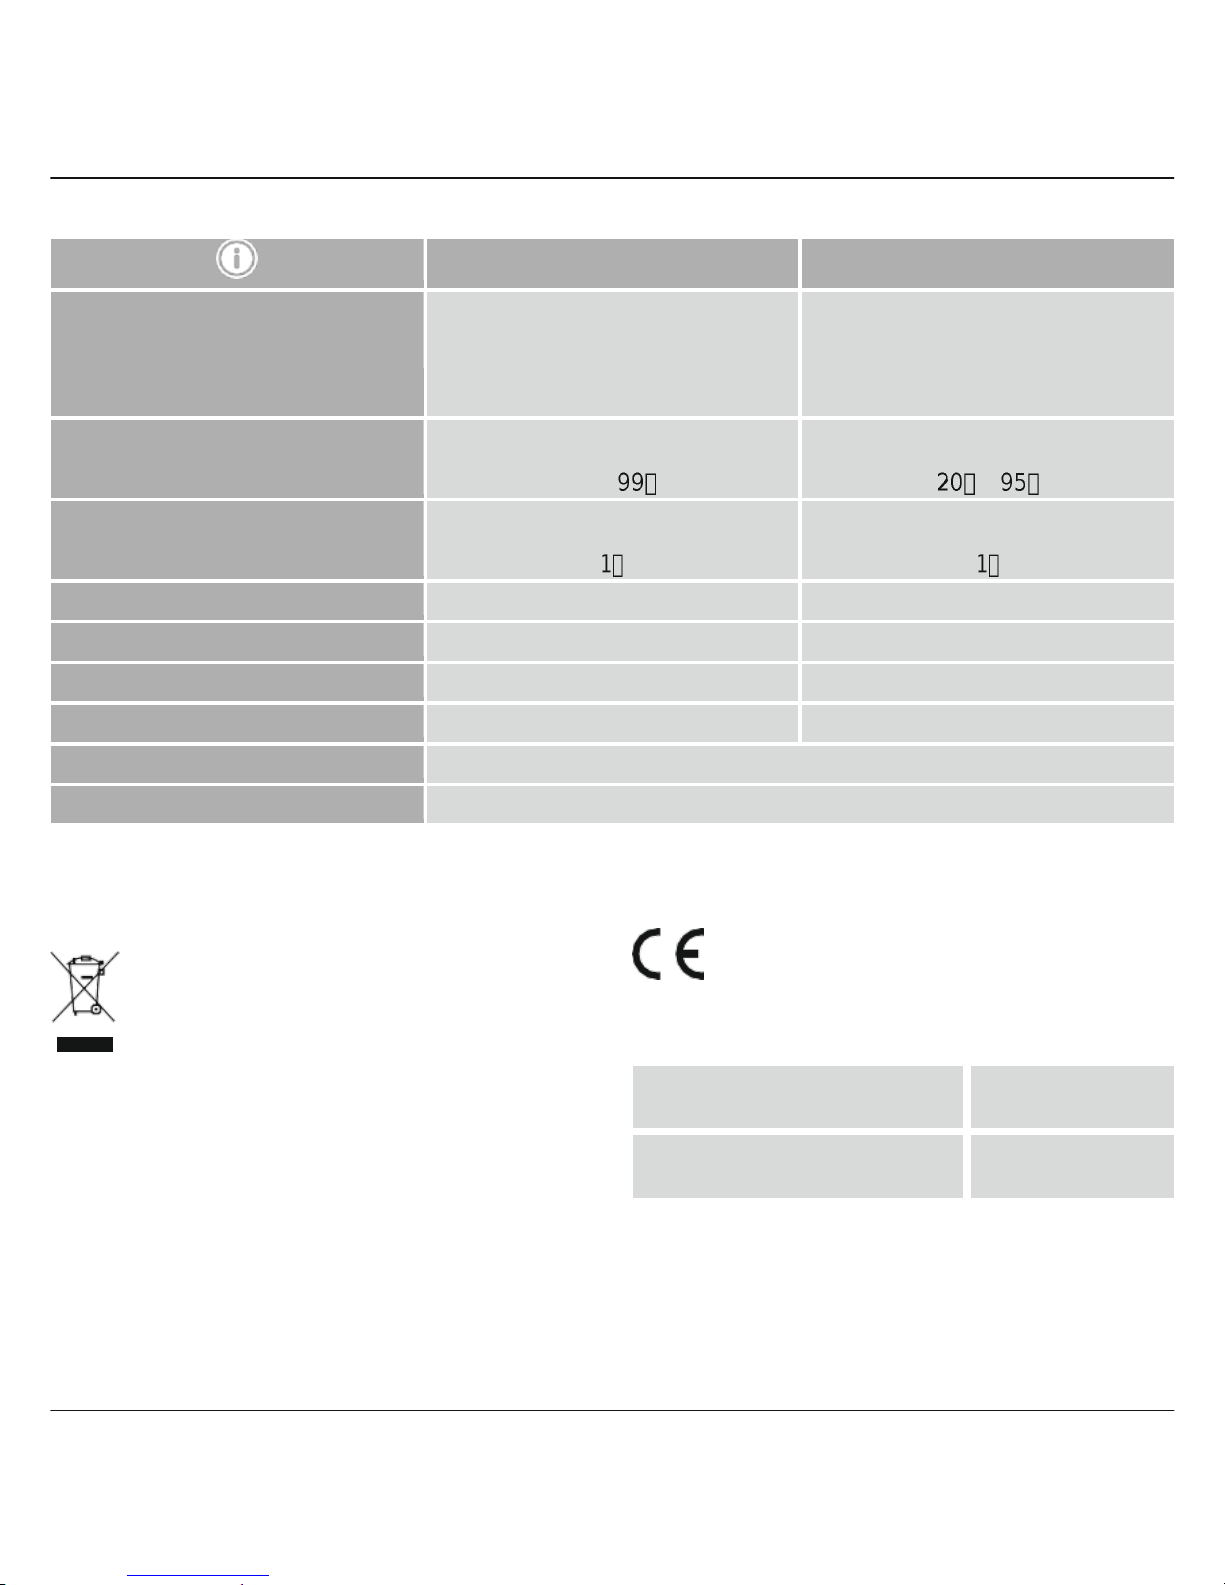
Technical Data
Base station
Measuring station
Power supply
4.5 V
3x AAA batteries
3.0 V
2 x AA batteries
We recommend using AA lithium batteries for
the outdoor sensors when outdoor
temperatures are below 0°C/32°F.
Measuring range:
Temperature
0°C – +50°C / 32°F – +122°F
-40°C – +70°C / -40°F – +158°F
Humidity
10 – –
Measurement increments:
Temperature
0.1°C/ 0.2°F
0.1°C/ 0.2°F
Humidity
Radio-controlled DCF clock
Yes No
Thermometer
Yes Yes
Hygrometer
Yes Yes
Alarm function
Yes No
Max. number of measuring stations 3
Range
≤ 30m
11.
Recycling Information
Note on environmental protection:
After the implementation of the European Directive
2012/19/EU and 2006/66/EU in the national legal
system, the following applies: Electric and electronic
devices as well as batteries must not be disposed of
with household waste. Consumers are obliged by law to
return electrical and electronic devices as well as batteries at the
end of their service lives to the public collecting points set up for
this purpose or point of sale. Details to this are defined by the
national law of the respective country. This symbol on the product,
the instruction manual or the package indicates that a product is
subject to these regulations. By recycling, reusing the materials or
other forms of utilising old devices/batteries, you are making an
important contribution to protecting our environment.
12. Declaration of Conformity
Hereby, Hama GmbH & Co KG declares that the
radio equipment type [00136293] is in compliance
with Directive 2014/53/EU. The full text of the EU
declaration of conformity is available at the following internet
address: www.hama.com -> 00136293 -> Downloads.
Frequency band(s)
433 MHz
Maximum radio-frequency power
transmitted
9,419 mW
Page 10

8
 Loading...