

Page 1
00062862/05.07
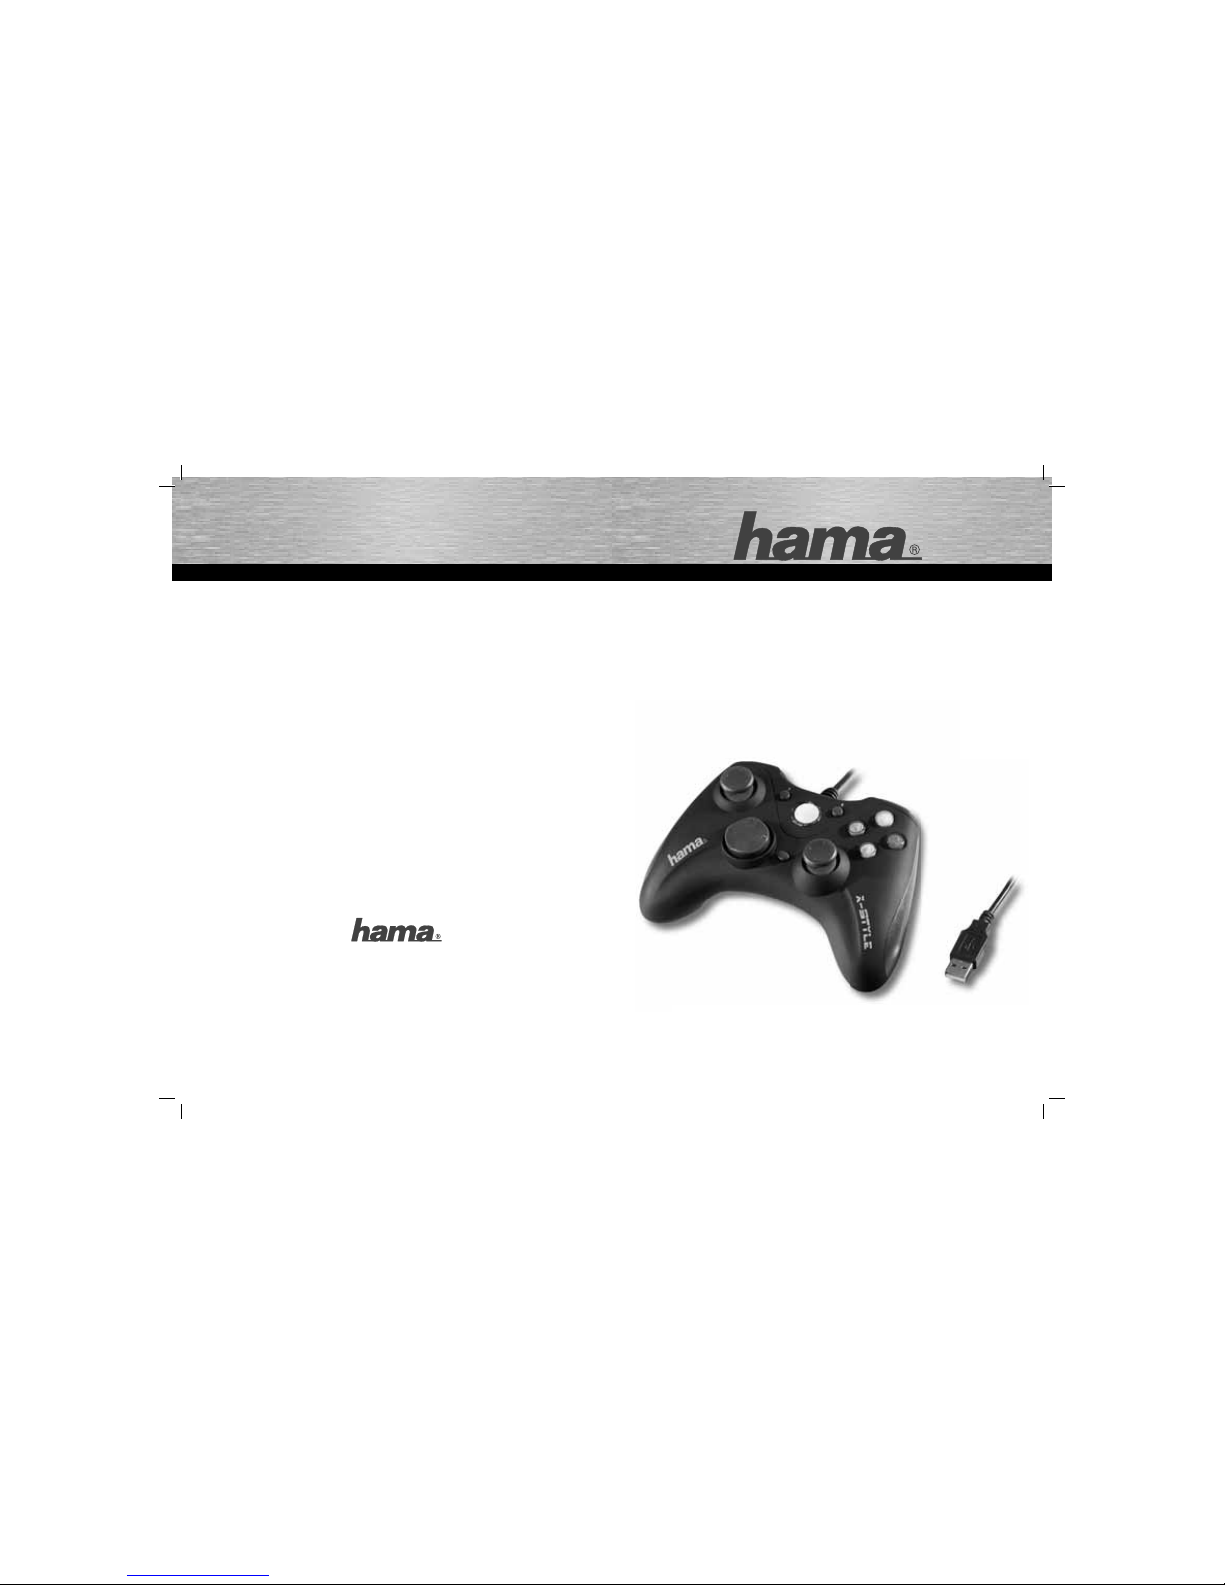
PC-Gamepad
»X-Style«
PC-GAME
All listed br ands are trade marks of the cor responding co mpanies. Errors and omissions excepted,
and subject to technical changes. Our general terms of delivery and payment are applied.
PO Box 80 · 86651 Monheim/Germany
Phone: +49 9091 502-0
Fax: +49 9091 502-458
http://www.hama.com
00062862
Page 2
2
3
d
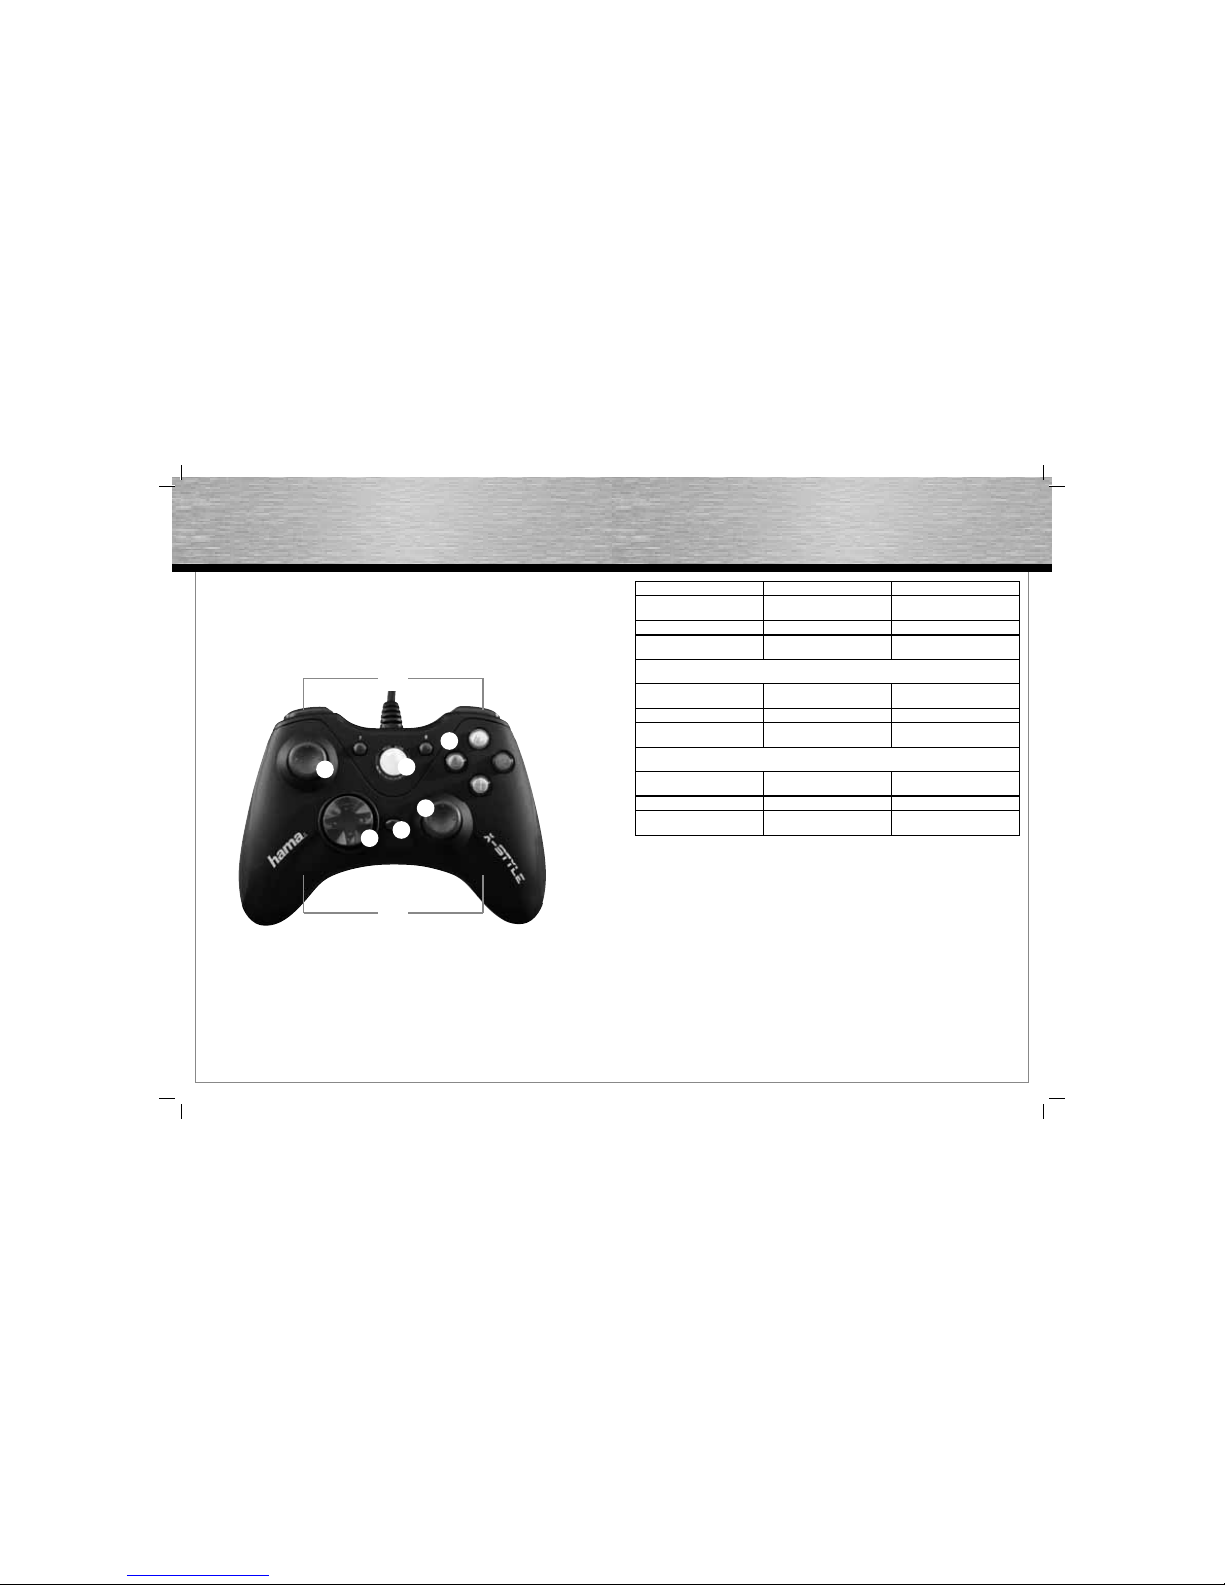
1. 2 Schultertasten und
2 Triggertasten
2. 2 Analog-Sticks mit Tastenfunktion 3. Umschalttaste: Analog/Digital
4. 6 Aktionstasten 5. 8 Wege-Steuerpad 6. Turbo-Taste
7. eingebaute Motoren für Dual
Vibration
g
1. 2 shoulder buttons and 2 trigger
buttons
2. 2 analogue sticks with a button
function
3. Toggle button: (analogue/digital)
4. 6 action buttons 5. 8-way controller 6. Turbo button
7. Integrated motors for dual
vibration effect
f
1. 2 gâchettes et 2 touches trigger 2. 2 sticks analogiques avec fonction
de touche
3. Touche de commutation: analogi
que/numérique
4. 6 boutons d´action 5. Croix octodirectionnelle 6. Touche Turbo
7. Moteurs intégrés pour une
vibration binaire
햲
햸
햳
햴
햵
햶
햷
햳
Page 3
4
5
d
Bedienungsanleitung
I. Einleitung
Wir freuen uns, dass Sie die das Hama X-Style Gamepad
gewählt haben und gratulieren Ihnen zu dieser
Entscheidung.
Wir sind überzeugt, dass Ihnen unser Produkt in den
nächsten Jahren eine Menge Spaß beim Spielen bereiten
wird.
Diese Kurzanleitung enthält wertvolle Hinweise zur
Bedienung und Konfi guration des Gamepads. Bitte
bewahren Sie diese Anleitung zum Nachschlagen an
einem sicheren Ort auf.
II. Produkt-Eigenschaften
• 12 programmierbare Tasten
• 2 Analog-Sticks 360° mit Tastenfunktion
• Analog-/Digitalfunktion umschaltbar
• 2 eingebaute Motoren für Vibration
• zusätzlich Turbo-/Autofeuer-Taste
III. Systemvoraussetzungen
• für Windows 98SE/ME/2000/XP/Vista
• USB-Port
Hinweis:
Bitte beachten Sie, dass USB-Betrieb nicht von Windows
95 / NT unterstützt wird.
IV. Installation
Software Installation
1. Legen Sie die mitgelieferte Treiber-CD in Ihr Laufwerk
ein.
2. Das Installationsprogramm wird automatisch gestartet.
3. Sollte dies nicht der Fall sein, so führen Sie folgende
Aktion durch:
START > Ausführen > Durchsuchen
Und wählen Sie Ihr CD-Laufwerk aus.
4. Doppelklicken Sie dann auf die Datei setup.exe.
5. Folgen Sie nun den Schritten des
Installationsprogramm.
6. Starten Sie Ihren PC neu.
Hardware Installation
1. Verbinden Sie das USB-Kabel Ihres Gamepads nach
der Softwareinstallation mit dem USB-Anschluss Ihres
Computers. Unter Umständen wird Ihr Betriebssystem
Sie auffordern Ihre Windows-CD einzulegen, um die
neue Hardware-Komponente zu installieren.
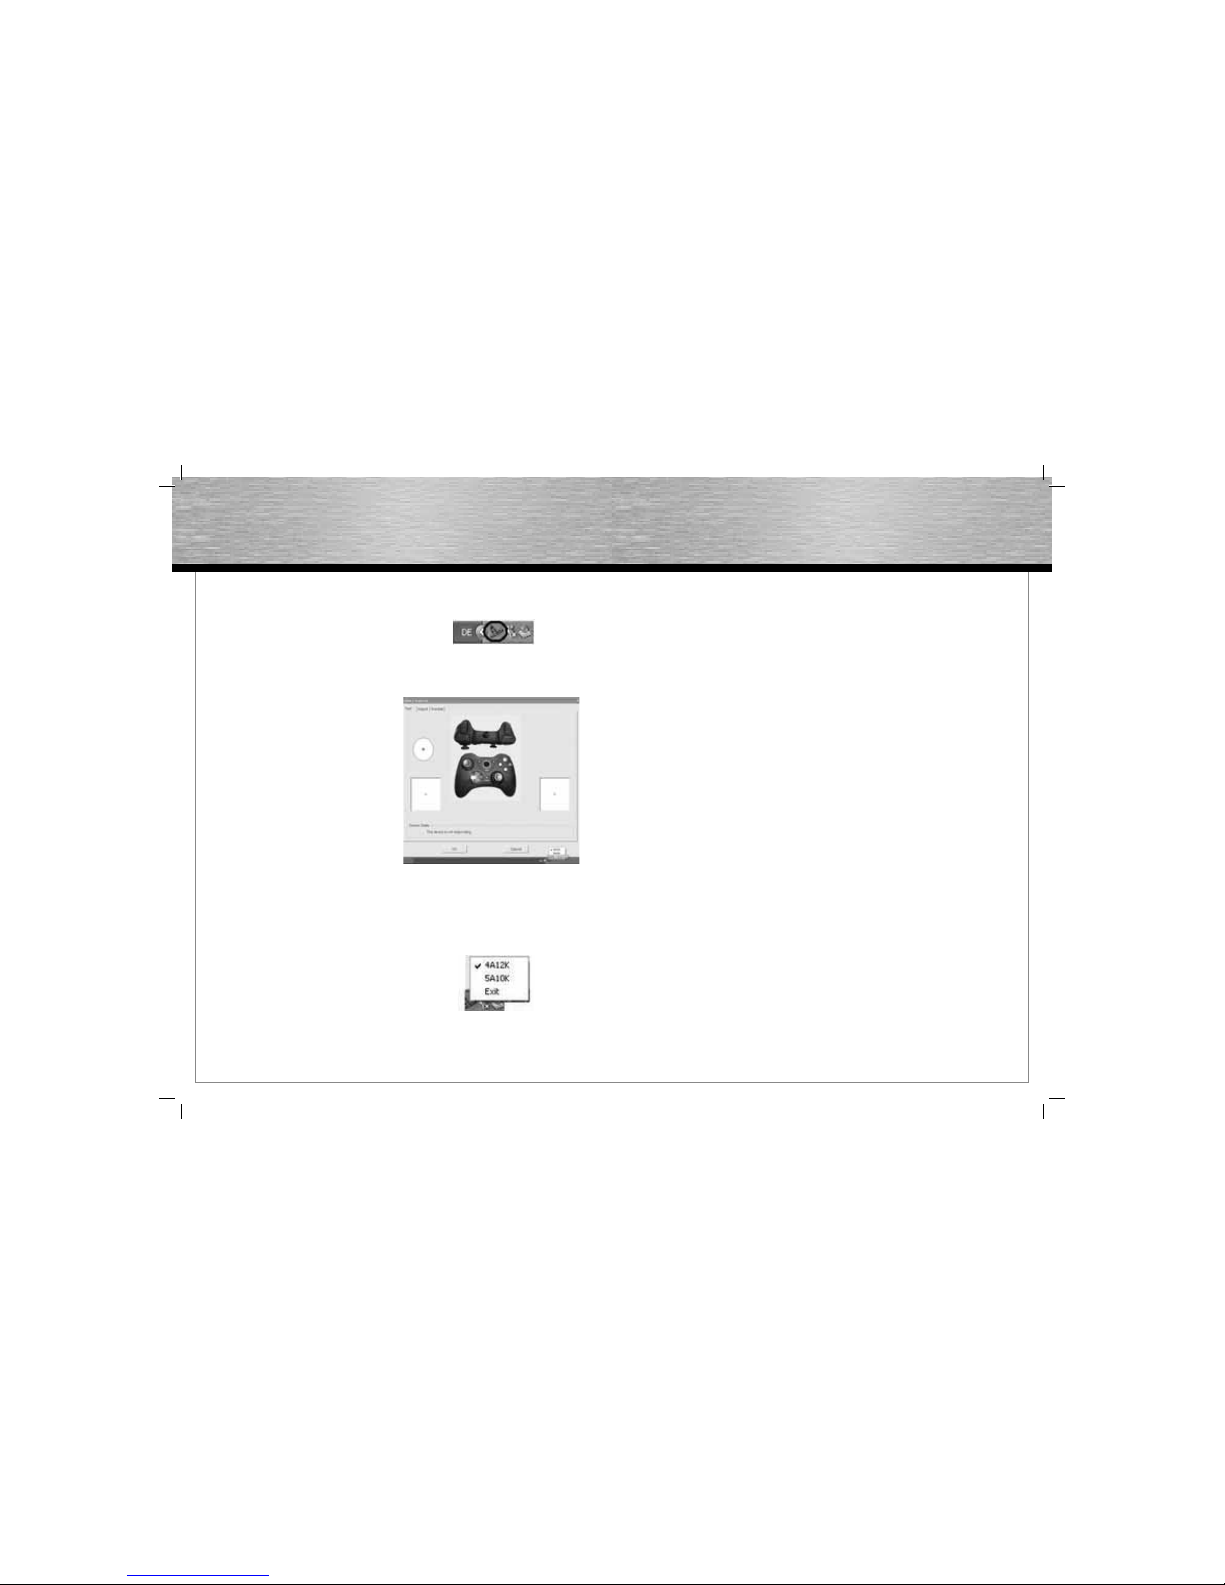
2. Zur Konfi guration doppelklicken Sie auf die
Desktopverknüpfung Hama X-Style Pad und klicken
Sie mit der rechten Maustaste in das neue Symbol in
der Autostartleiste.
3. Wählen Sie nun „4A12K“ oder „5A10K“ (Dazu mehr im
Themenpunkt „Funktionen – Funktionstastenänderung“.)
4. Wählen Sie nun die gewünschte Testseite aus, um im
Menü alle Funktionen inklusive Vibration zu testen und
zu kalibrieren.
V. Funktionen
Achsen-Tasten-Funktion
Ganz speziell besteht am Hama X-Style Pad die
Möglichkeit, das Pad mit unterschiedlicher Anzahl an
Achsen und Tasten zu versehen. Sie haben die Wahl
zwischen 4A12K (4 Achsen und 12 Tasten) und 5A10K (5
Achsen und 10 Tasten), die Sie mit einen Rechtsklick auf
das Autostartsymbol auswählen können.
- 4A12K
Entscheiden Sie sich für diese Auswahl, so haben sie
12 Feuertasen zur Auswahl.
Diese sind für die meisten Spiele angedacht, in denen
Sie viele verschiedene Funktionen ausführen müssen.
(z.B.: Sportspiele oder Actionspiele)
- 5A10K
Der Vorteil ist hier, dass die unteren Schultertasten
auch als Schubregler für Gas und Bremse in
Renn- oder Flugsimulationen verwendet werden
können. Die Trigger können dann nicht für andere
Funktionen im Spiel verwendet werden.
Hinweis:
Vergewissern Sie sich stets welche Funktion Sie für das
zu spielende Spiel für besser erachten und wählen Sie
dies schon vor dem Spielstart aus.
Turbo-/Autofeuer-Funktion
Mit dem X-Style Pad haben Sie die Möglichkeit Tastenfunktionen durch gedrückt halten der Taste mehrfach
ausführen zu lassen (Turbofeuer) oder ohne Drücken eine
Taste automatisch zu feuern (Autofeuer).
Aktivieren des Turbofeuers:
1. Drücken Sie die Turbo-Taste und halten Sie sie
gedrückt.
2. Betätigen Sie nun eine der 12 Tasten, die Sie belegen
wollen und halten Sie sie gedrückt.
3. Lassen Sie nun beide Tasten los.
4. Betätigen Sie nun die Taste die Sie belegt haben, um
zu testen, ob der Turbo aktiviert wurde.
Deaktivieren des Turbofeuers und aktivieren von
Autofeuer:
1. Drücken Sie die Turbo-Taste und halten Sie sie
gedrückt.
2. Betätigen Sie nun die Taste, die von Turbo auf
Autofeuer umgestellt werden soll und halten Sie sie
gedrückt.
3. Lassen Sie nun beide Tasten los.
4. Nun sollten die belegte Taste dauerhaft blinken, bis sie
die Taste wieder drücken und gedrückt halten
Deaktivieren von Autofeuer:
1. Drücken Sie die Turbo-Taste und halten Sie sie
gedrückt.
2. Betätigen Sie nun die Taste, die deaktiviert werden soll
und halten Sie sie gedrückt.
3. Lassen Sie nun beide Tasten los.
4. Betätigen Sie die Taste um zu testen, ob sowohl
Turbo- als auch Autofeuer inaktiv ist.
Hinweis:
Nicht alle Spiele unterstützen die Turbo- oder
Autofeuer-Funktion, so dass dann das Betätigen der
Tasten keinen Effekt auslöst.
Vibrations-Funktion
Das X-Style Pad verfügt über zwei interne Motoren, die
nur in Spielen funktionieren, die auch Force Feedback
unterstützen und wenn alle beiliegenden Treiber
installiert sind.
Informationen ob das Spiel Vibration unterstützt, sollten
Sie im Handbuch des Spieles fi nden.
Sollten weiterhin Probleme auftreten, kontrollieren Sie
in den Spieloptionen, ob die Vibrations-Unterstützung
aktiviert wurde.
Mode-Funktionen
Das Hama X-Style Pad lässt Ihnen die Wahl zwischen
zwei Modi:
1. Digital
Hier können Sie speziell über das
8-Wege-Steuerkreuz die Aktionsrichtungen
bestimmen – die Sticks sind zumeist deaktiviert
2. Analog
Im Analog-Modus sind die Sticks die perfekte
Unterstützung für 3D-Spiele. Neben dem linken Stick,
der für die Bewegungen zuständig ist, können weitere
Funktionen über den rechten Stick, wie z. B. Drehen
ausgeführt werden. Das Steuerkreuz kommt dabei für
schnelle Rundumsicht zur Hilfe.
Anmerkungen
1. Vergewissern Sie sich, dass Ihre Spielesoftware
Gamecontroller unterstützt.
2. Zur Nutzung der Vibrations-Funktion muss Ihre
Spielesoftware Force Vibration / Force Feedback
unterstützen.
3. Sollten einige Tasten im Spiel nicht funktionieren,
prüfen Sie im Optionsmenü die Tastenbelegung,
zumeist kann diese dort auch konfi guriert werden.
Lesen Sie dazu auch im zugehörigen Handbuch des
jeweiligen Spiels.
Sicherheitshinweise
• Versuchen Sie nicht, das Gerät selbst zu warten oder
zu reparieren. Überlassen Sie jegliche Wartungsarbeit
dem zuständigen Fachpersonal.
• Nehmen Sie keine Veränderungen am Gerät vor.
Dadurch verlieren sie jegliche
Gewährleistungsansprüche.
Page 4
6
7
g
Operating Instruction
I. Introduction
Thank you for choosing the Hama X-Style Gamepad and
congratulations on your decision.
We are certain that our product will provide you with
plenty of gaming pleasure for years to come.
These instructions contain valuable information on
operating and confi guring the gamepad. Please keep
these instructions in a safe location for future
reference.
II. Product features
• 12 programmable buttons
• 2 360° analogue sticks including button function
• Switchable analogue/digital function
• 2 integrated motors for vibration
• Additional turbo/auto-fi re button
III. System requirements
• Windows 98SE/ME/2000/XP/Vista
• USB port
Note:
Please note that USB operation is not supported by
Windows 95/NT.
IV. Installation
Software installation
1. Insert the driver CD provided into your drive.
2. The installation program starts automatically.
3. If it does not start, proceed as follows:
START > Run > Browse
Select your CD drive.
4. Double-click the setup.exe fi le.
5. Follow the steps in the installation program.
6. Restart your PC.
Hardware installation
1. After installing the software, plug the USB cable of
your gamepad into a USB port on your computer. The
operating system may prompt you to insert your
Windows CD to install new hardware components.
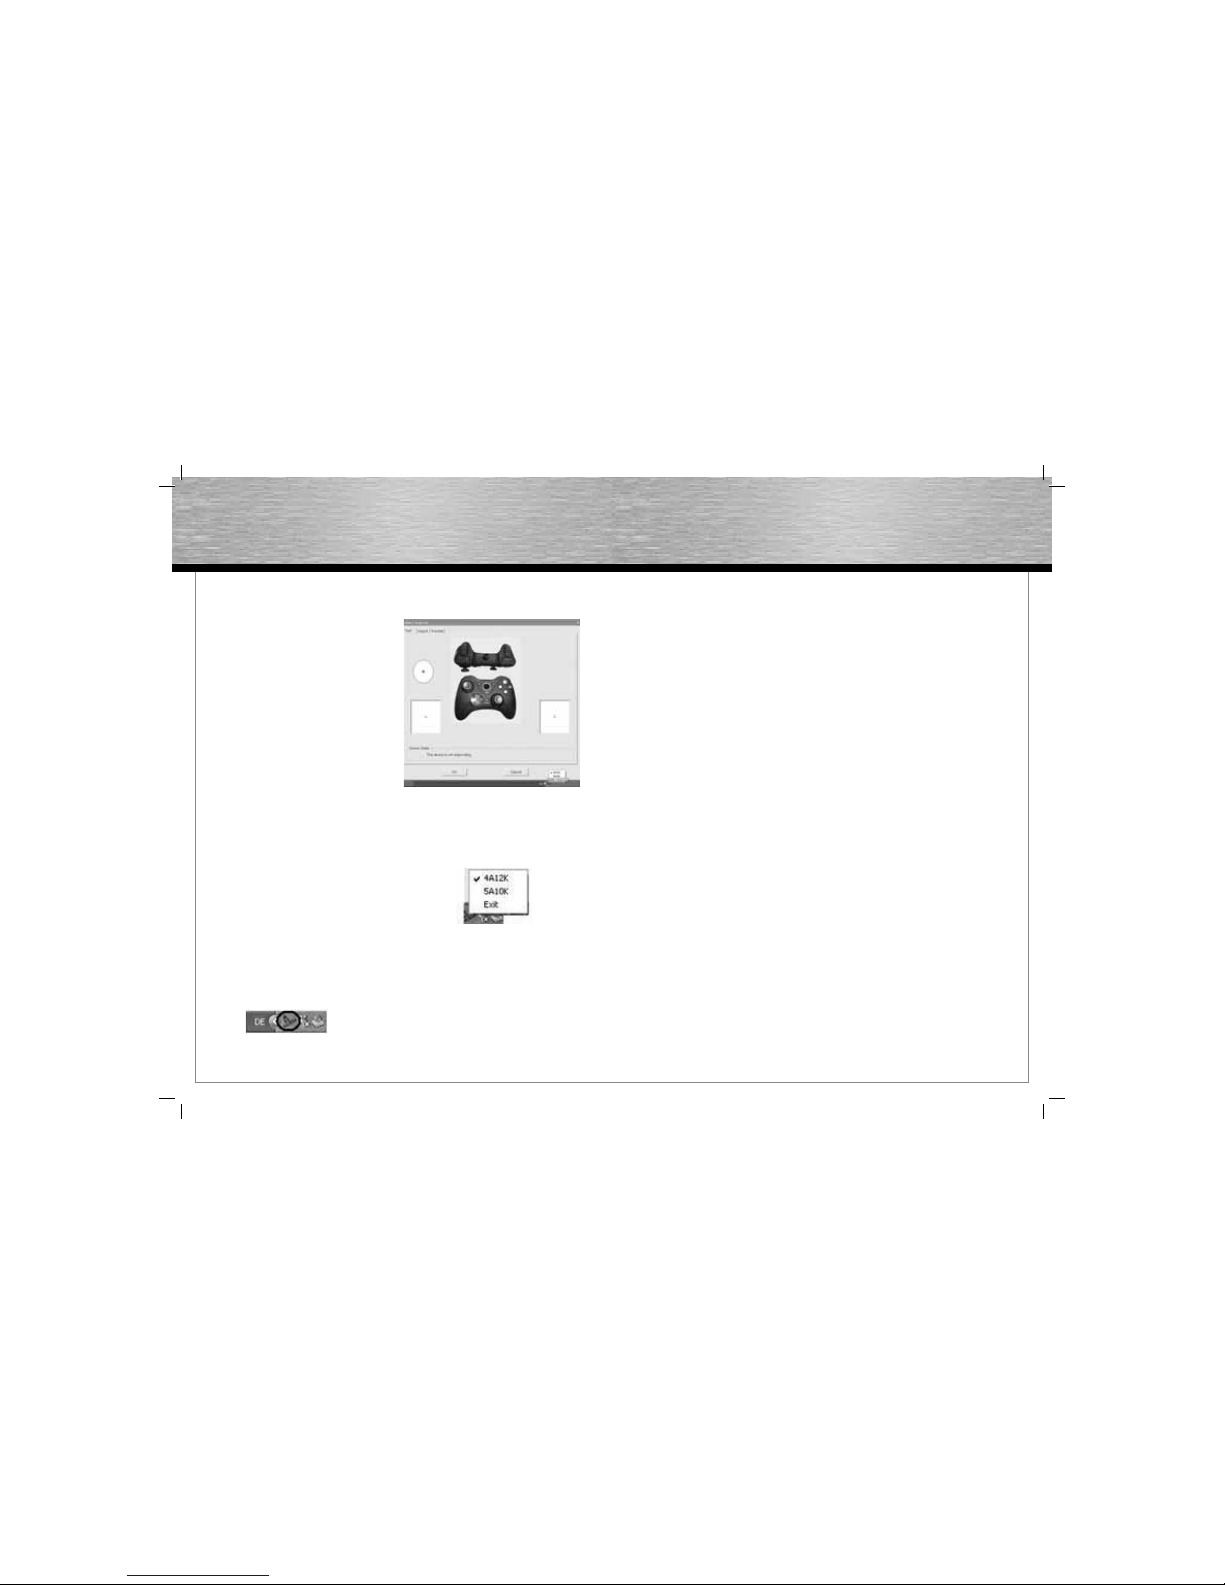
2. To confi gure, double-click the shortcut on your
desktop (Hama X-Style Pad) and right-click the
new icon in the notifi cation area (system tray).
3. Now select “4A12K” or “5A10K” (for more details see
“Functions – changing function buttons”).
4. Select a test page of your choice to test and calibrate
all functions in the menu, including vibration.
V. Functions
Axis button function
A special feature of the Hama X-Style Pad is that it lets
you assign different numbers axes and buttons to the pad.
You can choose between 4A12K (4 axes and 12 buttons)
and 5A10K (5 axes and 10 buttons) by right-clicking the
icon in notifi cation area.
- 4A12K
Choosing this gives you a choice of 12 fi ring buttons.
This is designed for most games which require you
to perform a variety of functions (e.g. sports or action
games).
- 5A10K
The advantage here is that you can use the lower
shoulder buttons for throttling gas and the brake in
racing or fl ying simulators. In this case the trigger
buttons cannot be used for any other function in the
game.
Note:
Always check which function you think is better for the
game in question, and select the appropriate one before
starting the game.
Turbo/auto-fi re function
With the X-Style Pad you can opt to perform certain
functions multiple times by pressing and holding a button
(turbo-fi re), or you can fi re automatically without pressing
a button (auto-fi re).
To activate turbo-fi re:
1. Press and hold the turbo button.
2. Press and hold one of the 12 buttons that you wish
to set.
3. Release both buttons.
4. Press the button that you set to test if turbo-fi re is
active.
To deactivate turbo-fi re and activate auto-fi re:
1. Press and hold the turbo button.
2. Press and hold the button that you wish to reset
(i.e. change from turbo to auto-fi re).
3. Release both buttons.
4. The button that you set should now fl ash continuously
until you press and hold it again.
To deactivate auto-fi re:
1. Press and hold the turbo button.
2. Press and hold the button that you wish to deactivate.
3. Release both buttons.
4. Press the button that you set to test if turbo and
auto-fi re are now inactive.
Note:
Not all games support the turbo/auto-fi re function, in
which case pressing the buttons in question has no
effect.
Vibration function
The X-Style Pad has two internal motors, which only
function in games that support Force Feedback and when
all the drivers provided have been installed.
Refer to the manual of your game to fi nd out if it supports
the vibration function.
If problems persist, check the game options to see if
vibration support is activated.
Mode functions
The Hama X-Style Pad lets you choose between two
modes:
1. Digital
This mode lets you control the direction of action using
the 8-way directional pad – the sticks usually remain
deactivated.
2. Analogue
In analogue mode, the sticks assist perfectly for 3D
games. In addition to the left stick, which controls
movement, you can perform other functions using the
right stick, such as rotation. The directional pad can
help you by providing a quick all-around view.
Notes
1. Ensure that your game software supports game
controllers.
2. In order to use the vibration function, your game
software must support Force Vibration/Force
Feedback.
3. If some buttons do not work during the game, check
the button settings in the option menu. They can
usually be confi gured there as well. Also refer to the
manual of the game in question.
Safety instructions
• Do not attempt to service or repair the device yourself.
Leave any service work to qualifi ed experts.
• Do not modify the device in any way. Doing so voids
the warranty.
Page 5
8
9
I. Introduction
Nous vous remercions et vous félicitons d´avoir choisi la
manette de jeux style X d´Hama.
Nous sommes convaincus que notre produit va vous
procurer beaucoup de plaisir pendant les jeux toutes ces
prochaines années.
Ce court manuel d´utilisation contient des remarques de
valeur pour la confi guration et l´utilisation de la manette
de jeux. Veuillez conserver ce guide dans un endroit sûr
pour pouvoir le feuilleter à tout moment.
II. Propriétés du produit
• 12 touches programmables
• 2 sticks analogiques 360° avec fonction de touche
• Fonction analogique/numérique commutable
• 2 moteurs de vibration intégrés
• Touche turbo/feu automatique supplémentaire
III. Systèmes requis
• Pour Windows 98SE/ME/2000/XP/Vista
• Port USB
Remarque :
Veuillez noter que Windows 95 / NT ne supporte pas le
fonctionnement USB.
IV. Installation
Installation du logiciel
1. Insérez le CD-pilote fourni dans votre lecteur.
2. Le programme d´installation va démarrer
automatiquement.
3. Si ce n´est pas le cas, procédez comme suit :
START > Exécuter > Rechercher
Puis sélectionnez votre lecteur CD.
4. Double-cliquez alors sur le fi chier setup.exe.
5. Suivez à présent les étapes du programme
d´installation
6. Redémarrez votre PC.
Installation du matériel
1. Après l´installation du logiciel, reliez le cordon
USB de votre manette de jeux à l´interface USB
de votre ordinateur. Il se peut que votre système
d´exploitation vous demande d´installer votre
CD-Windows afi n d´installer les nouveaux
composants du matériel.
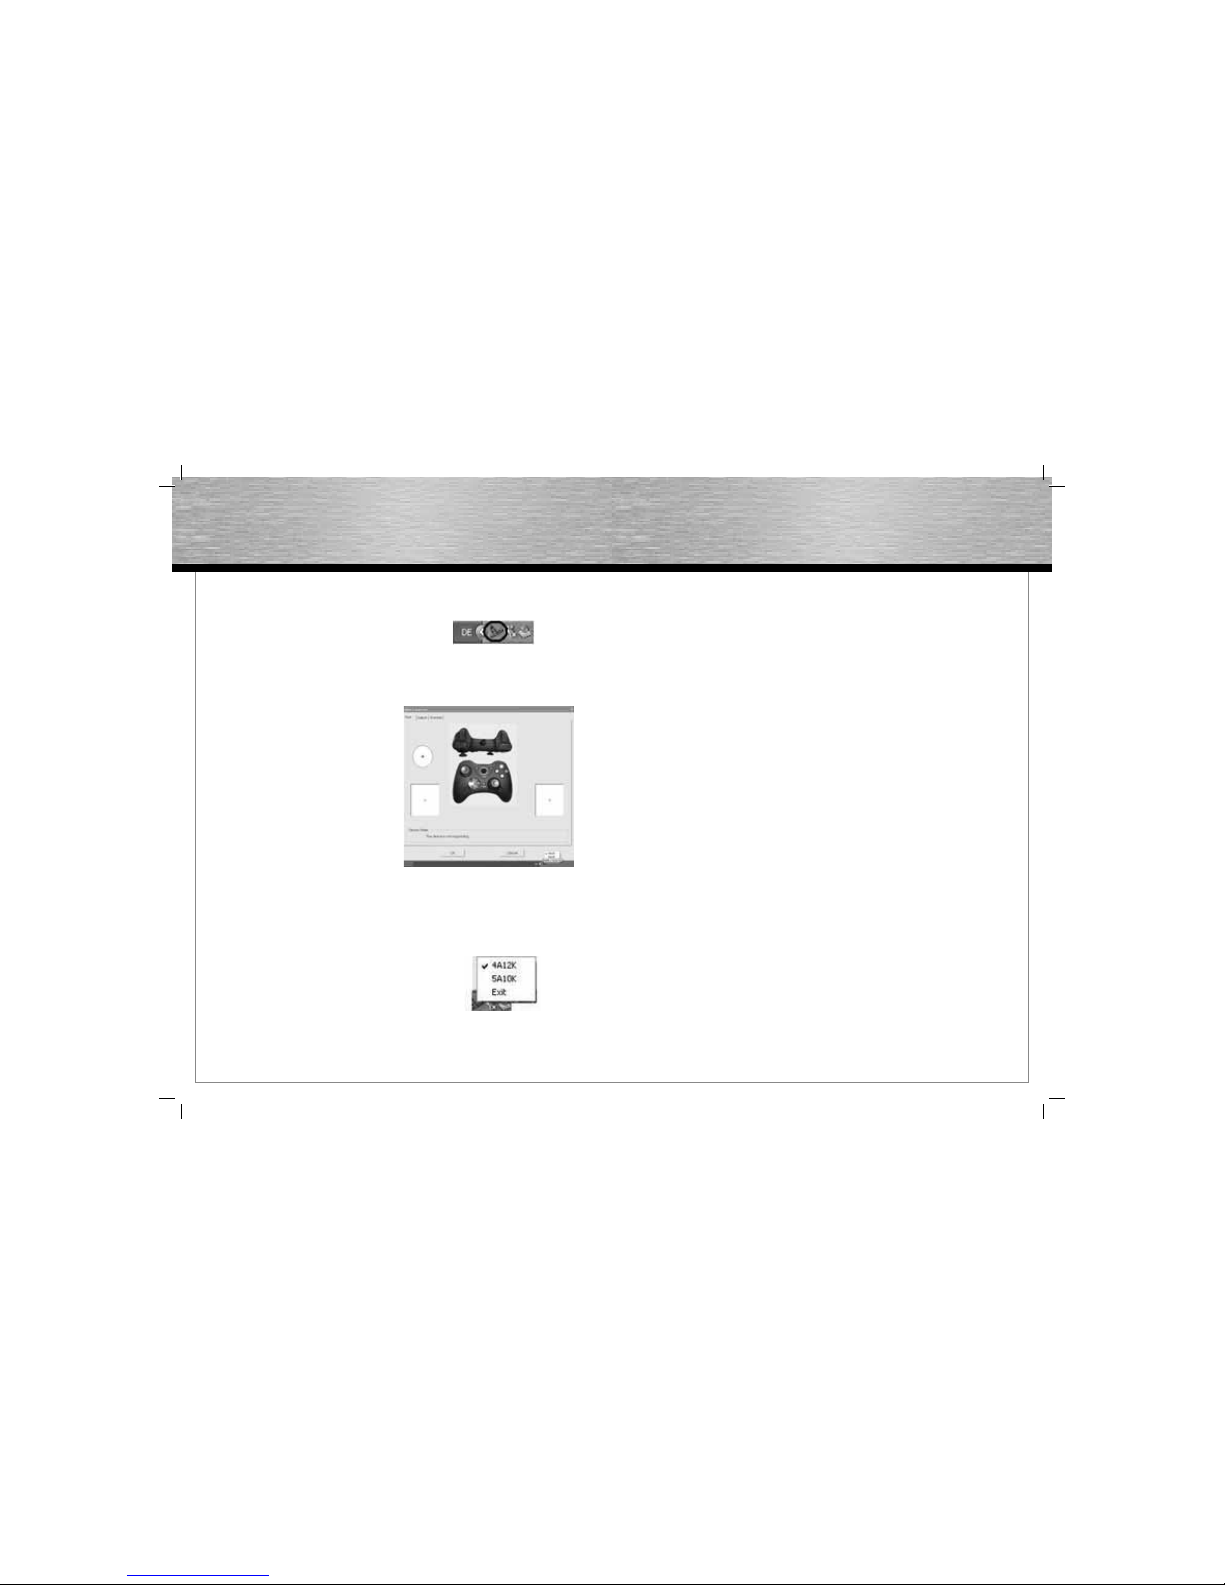
2. Pour la confi guration, veuillez double-cliquer sur la
liaison Desktop de la manette style X d´Hama puis cliquez
avec le bouton droit de la souris sur le nouveau symbole
dans la barre de démarrage automatique.
3. Sélectionnez à présent „4A12K“ ou „5A10K“
(davantage de détails dans la rubrique
„Fonctions – Changement des touches de fonction“.)
4. Sélectionnez à présent la page de test souhaitée pour
tester toutes les fonctions dans le menu, y comprise la
vibration et pour le calibrage.
V. Fonctions
Fonction des touches axiales
La manette style X d´Hama a la possibilité d´avoir des
quantités différentes d´axes et de touches.
Vous avez le choix entre 4A12K (4 axes et 12 touches)
et 5A10K (5 axes et 10 touches), que vous pouvez
sélectionner en cliquant sur le bouton droit de la souris
sur le symbole de démarrage automatique.
- 4A12K
Si vous choisissez cette version, vous avez 12 touches
feu au choix.
Ces touches sont utiles dans la plupart des jeux pour
lesquels vous devez exécuter différentes fonctions.
(par ex. : les jeux sportifs ou les jeux d´action)
- 5A10K
Ici, l´avantage est que vous pouvez utiliser les
gâchettes ainsi que le bouton-poussoir pour
l´accélération et le frein dans des simulations de
course et de. Les gâchettes ne peuvent alors pas être
utilisées pour d´autres fonctions dans le jeu.
Remarque :
Assurez-vous toujours de la fonction que vous trouvez la
plus adaptée pour le jeu à jouer et sélectionnez-la avant
de commencer le jeu.
Fonction Turbo/Feu automatique
Avec la manette style X, vous avez la possibilité
d´exécuter plusieurs fois les fonctions de touche en
maintenant la touche appuyée (Turbo feu) ou sans
appuyer de mettre automatiquement feu à une touche
(feu automatique).
Activer le feu turbo :
1. Appuyez sur la touche Turbo et maintenez-la appuyée.
2. Actionnez à présent une des 12 touches que vous
souhaitez assigner et maintenez-la appuyée.
3. Lâchez à présent les deux touches.
4. Actionnez à présent la touche que vous avez assignée
pour tester si le turbo a été activé.
Désactiver le feu turbo et activer le feu automatique :
1. Appuyez sur la touche Turbo et maintenez-la appuyée.
2. Actionnez à présent la touche qui a été commutée de
turbo en feu automatique et maintenez-la appuyée.
3. Lâchez à présent les deux touches.
4. A présent, les touches assignées devraient clignoter
d´une manière permanente jusqu´à ce que vous
réappuyez sur la touche et la maintenez appuyée.
Désactiver le feu automatique :
1. Appuyez sur la touche turbo et maintenez-la appuyée.
2. Actionnez à présent la touche qui doit être désactivée
et maintenez-la appuyée.
3. Lâchez à présent les deux touches.
4. Actionnez la touche pour tester si la touche turbo ainsi
que la touche feu automatique sont bien inactives.
Remarque :
Tous les jeux ne supportent pas la fonction turbo ou feu
automatique, ce qui explique que l´actionnement des
touches dans certains cas ne produise aucun effet.
Fonction de vibrations
La manette style X dispose de deux moteurs internes
qui fonctionnent seulement dans les jeux qui supportent
également Force Feedback et quand tous les pilotes
fournis sont installés. Dans le manuel d´utilisation du
jeu vous pourrez voir si celui-ci supporte la fonction de
vibration.
S´il se produit d´autres problèmes, veuillez vérifi er dans
les options des jeux si le support vibration a été activé.
Fonctions Mode
La manette style X d´Hama vous laisse le choix entre
deux modes :
1. Numérique
Ici, vous pouvez décider des déplacements d´action
avec la croix octodirectionnelle , les sticks sont le plus
souvent désactivés.
2. Analogique
Dans le mode analogique, les sticks sont le support
parfait des jeux 3D. En plus du stick gauche qui est
responsable des déplacements, d´autres fonctions
peuvent être exécutées avec le stick droit, comme par
exemple tourner. La croix directionnelle est utile pour
un tour rapide.
Remarques
1. Vérifi ez que votre logiciel de jeux supporte la manette
de jeux.
2. Pour l´utilisation de la fonction de vibration, votre
logiciel de jeux doit supporter Force Vibration /
Force Feedback.
3. Si certaines touches ne fonctionnent pas dans le
jeu, vérifi ez dans le menu d´options l´assignement des
touches, la plupart du temps celles-cies peuvent
également être confi gurées. Pour cela, lisez le manuel
du jeu.
Mesures de sécurité
• N´essayez pas d´entretenir ou de réparer vous-même
l´appareil. Laissez faire les travaux d´entretien à du
personnel spécialisé.
• Ne procédez à aucune modifi cation de l´appareil. Vous
perdrez dans ce cas tous les droits de garantie.
f
Mode d‘emploi
 Loading...