

Page 1

www.hama.de
Hama GmbH & Co KG
Postfach 80
86651 Monheim/Germany
Tel. +49 (0)9091/502-0
Fax +49 (0)9091/502-274
www.hama.de
00039751-04.06
Page 2
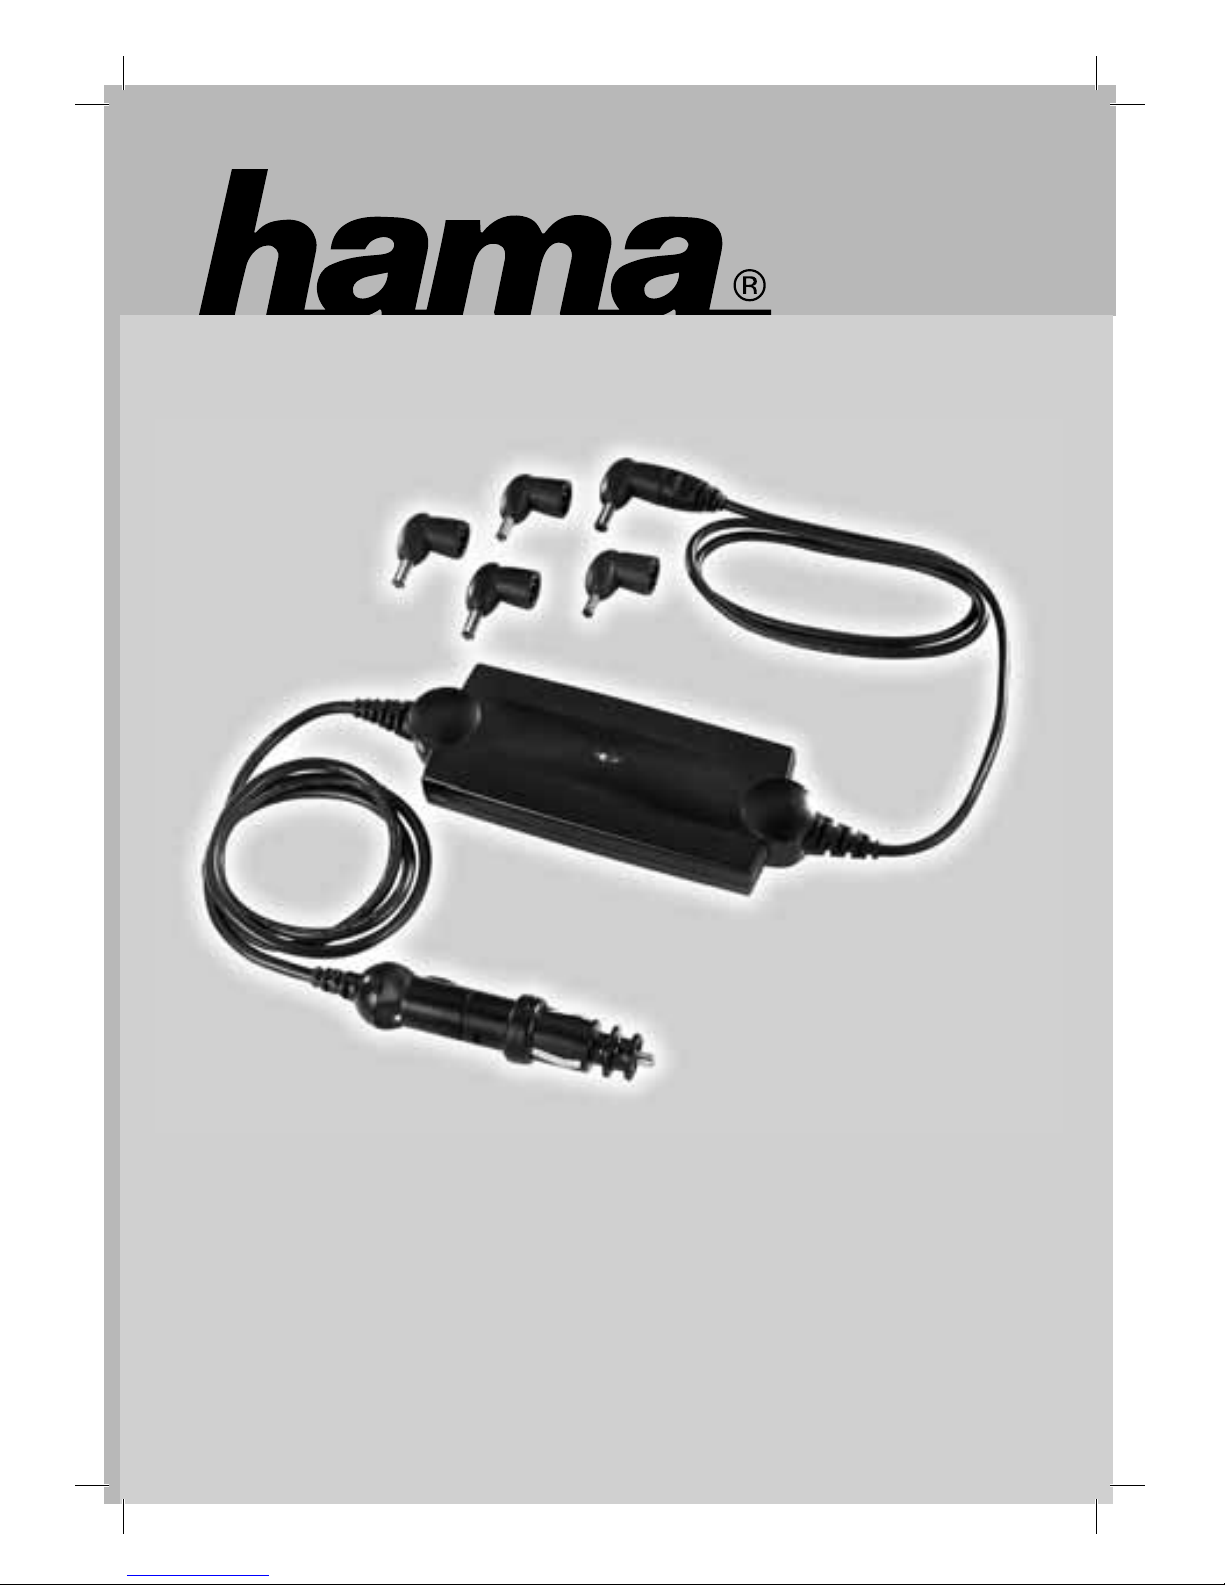
Muster
Universal Notebook-Netzteil
Notebook Power Supply
Bloc d‘alimentation pour ordinateur
00039751
Page 3
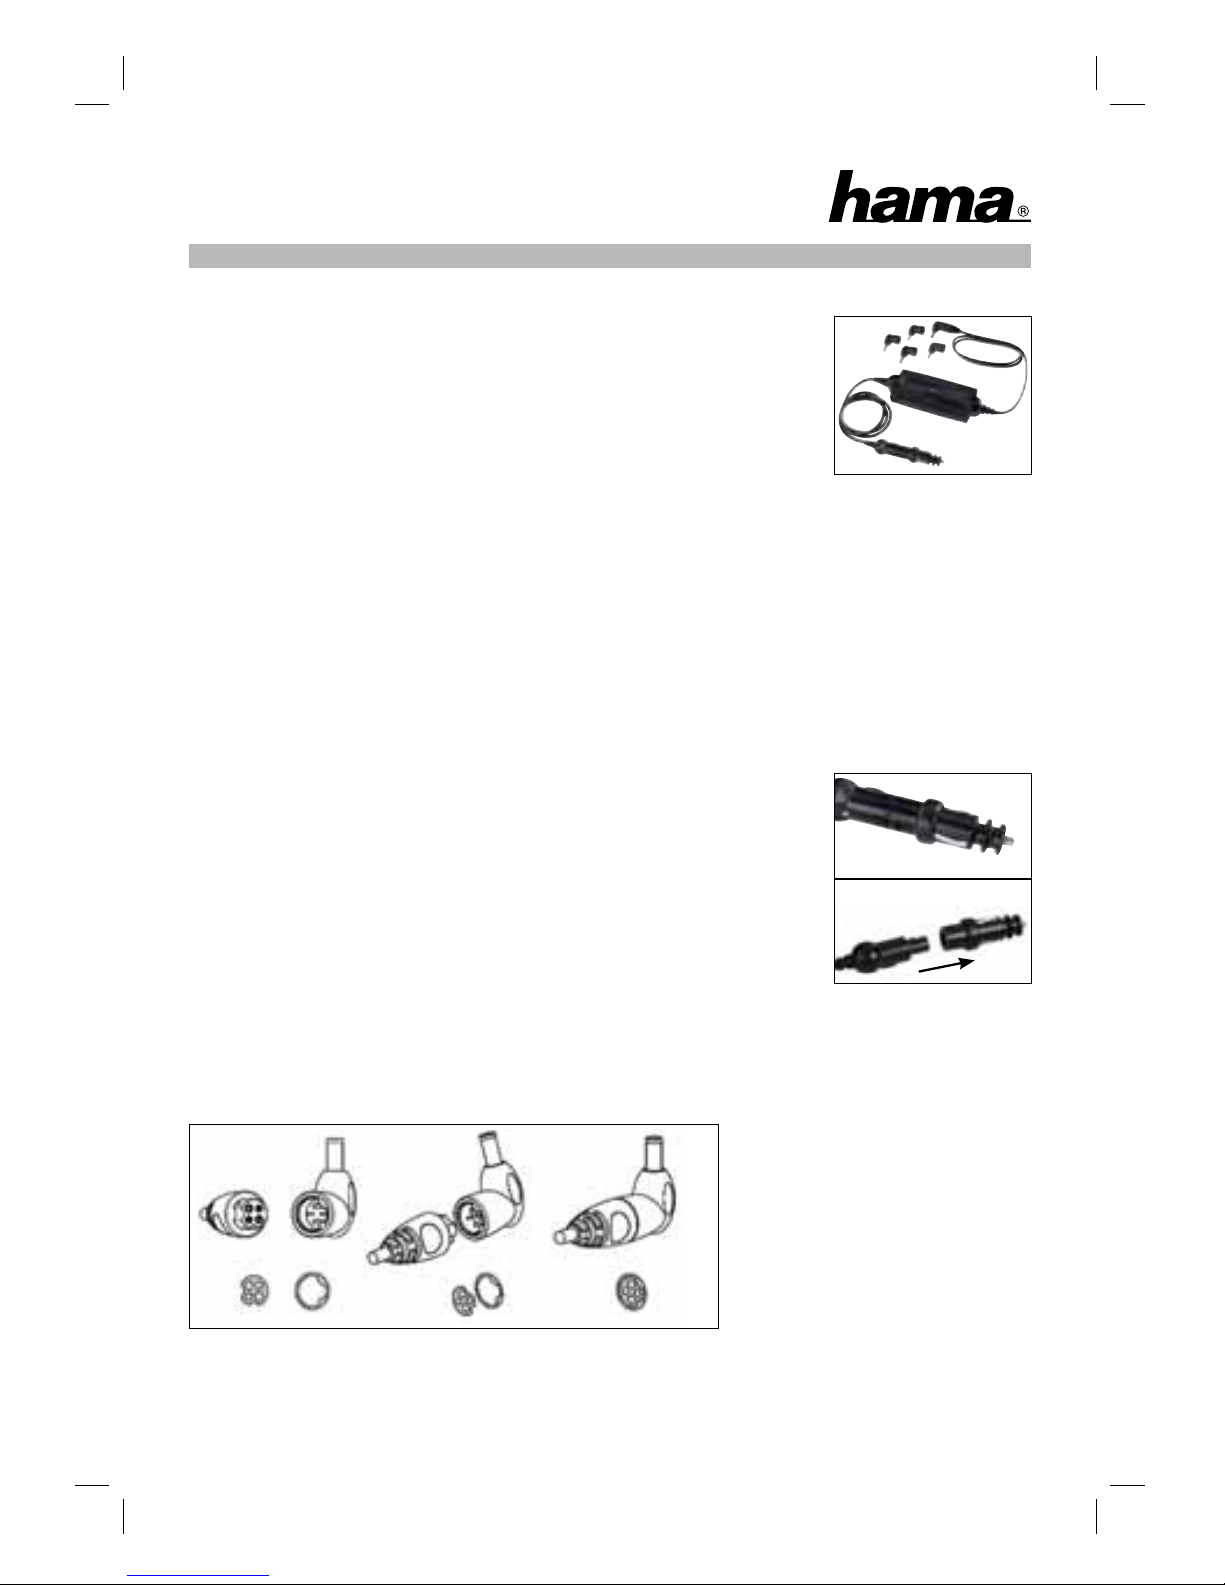
Wir danken Ihnen herzlich, dieses Netzteil gewählt zu haben. Es gewährleistet den
sicheren und zuverlässigen Betrieb von tragbaren elektronischen Geräten über die 12
V- bzw. 24 V-Bordstromversorgung PKWs, LKWs, Booten, Wohnwagen usw. Das Netzteil erfüllt zwei grundlegende Funktionen: (1) das Aufl aden und Betreiben des Geräts
durch Transformation der Bordstromspannung (11-32 V). (2) Schutz des angeschlossenen Geräts vor Interferenzen.
Betrieb
Sie können die Stecker (2) und (3) in beliebiger Reihenfolge anschließen. Stecken Sie wie in Abbildung 1 den Systemstecker (3) in die Gleichstrombuchse des Notebooks. Folgen Sie den Anweisungen des Geräteherstellers für
den Betrieb mit externen Netzteilen. Stecken Sie den Zigarettenanzünder-Adapter (2) in die Bordstromversorgung
des Fahrzeugs (Zigarettenanzünder). Stellen Sie sicher, dass alle Anschlüsse fest sind und richtig sitzen.
Betrieb im Flugzeug
Bitte beachten: Das Netzteil verfügt über eine spezielle zum Patent angemeldete Technologie, mit Hilfe derer er
erkennt, dass er an eine Steckdose am Flugzeugsitz angeschlossen ist. Daraufhin beschränkt er die Stromlast
automatisch auf unter 75 Watt, um sicheren, ununterbrochenen Betrieb während des Fluges zu gewährleisten.
Lösen Sie den Zigarettenanzünder-Adapter (2), indem Sie den Verschluss (5) niederdrücken und ihn abziehen. Sie
können dann die Stecker (5) und (3) in beliebiger Reihenfolge anschließen. Stecken
Sie wie in Abbildung 1 den Systemstecker (3) des Flugzeug- und Autoadapters in die
Gleichstrombuchse des Geräts. Folgen Sie den Anweisungen des Geräteherstellers
für den Betrieb mit externen Netzteilen. Stecken Sie den Flugzeugstecker (5) in die
Steckdose am Flugzeugsitz. Stellen Sie sicher, dass alle Verbindungen fest sind und
richtig sitzen, und dass der Strom am Sitz eingeschaltet ist.
Tipp: Bitten Sie das Flugpersonal um Erlaubnis für die Verwendung des Adapters und
Ihres Geräts. Bevor Sie Ihren Flug buchen, sollten Sie in Erfahrung bringen, ob die
gewählte Fluggesellschaft Stromversorgungen im Sitz anbietet.
Auswahl des richtigen Systemsteckers
Schließen Sie den Systemstecker wie in Abbildung 3 gezeigt an. Der Systemstecker kann nur in einer bestimmten
Richtung mit dem Adapter-Stecker verbunden werden. Wenn Sie versuchen, den Systemstecker in falscher
Richtung auf das Adapter-Kabel zu drücken, könnte er beschädigt werden.
Abbildung 3
l
Anleitungen
2
Abbildung 2
Abbildung 1
2
3
2
5
Page 4

LED-Anzeige
Grün Rot Status
an aus Normalbetrieb
blinkt aus Kein Systemstecker angeschlossen
Unterspannung Eingang
Überspannung Eingang
Überspannung Ausgang (> 25 V)
aus an Kurzschluss Ausgang
Übertemperatur PCB
Übertemperatur im Zigarettenanzünder-Stecker
an an Strombeschränkung (< 75 W) wegen Übertemperatur im Zigarettenanzünder-Stecker
Sicherheitshinweise
• Vor Feuchtigkeit schützen, Grenzwerte für Betriebs-und Lagerungstemperaturen berücksichtigen (siehe
technische Daten).
• Keiner direkten Hitze oder Sonneneinstrahlung (Fensterbrett) aussetzen. Nicht auf oder neben
hitzeempfi ndliche Materialien legen (z.B. Fußbodenbeläge).
• Nicht öffnen oder modifi zieren. Im Gehäuse sind keine vom Anwender zu reparierende Teile oder
Sicherheitselemente. Nichtbefolgung nichtet die Garantie.
• Das Netzteil nur mit ausdrücklich angegebenem Gerät verwenden, für das es gemacht wurde.
• Das Netzteil nur an die oben genannte Bordstromversorgungen anschließen.
• Bei schlecht sitzenden Anschlüssen können die Metallkontakte im Zigarettenanzünder-Stecker sehr heiß
werden. Daran könnten Sie sich verbrennen!
• Den Netzteil während des Betriebs nicht unbeaufsichtigt lassen.
• Das Gerät darf nicht im fahrenden Fahrzeug vom Fahrer verwendet werden (Unfallgefahr durch Ablenkung
des Fahrers).
• Das Gerät nicht verwenden, wenn das Kabel beschädigt ist oder das Gerät fallengelassen oder beschädigt
worden ist.
• Das Stromkabel nicht gewaltsam biegen oder einen schweren Gegenstand darauf legen. Dies kann zu
Beschädigungen am Kabel führen und Feuer oder einen elektrischen Schlag verursachen.
• Bei Nichtbefolgen erlischt jeglicher Garantie- sowie Gewährleistungsanspruch.
• Das Netzteil darf nur mit den Geräten verwendet werden, für die es zugelassen ist.
Autostromversorgung
• Ermitteln Sie zunächst die maximale Stromleistung des Stromnetzes des Autos, in dem Sie dieses Netzteil
verwenden möchten.
• Lesen Sie hierfür das Anwenderhandbuch Ihres Autos, fragen Sie Ihren Autohändler oder setzen Sie sich mit
dem Hersteller Ihres Autos in Verbindung.
• Sollte der KfZ Hersteller am Zigarettenanzünder und/oder Steckdose einen geringeren Stromverbrauch
angeben, als es dem Eingangsstrom des Netzteils entspricht, darf das Gerät nicht in diesem Fahrzeug
betrieben werden.
3
Page 5

Gebrauchsanleitungen
• Je nach Zustand der Fahrzeugbatterie kann es zu einem Stromausfall kommen. Das kann daran
angeschlossene Geräte zurücksetzen.
• Um ein unnötiges Entladen der Batterie zu vermeiden, verwenden Sie das Netzteil nur bei laufendem Motor.
• Das Netzteil schaltet sich automatisch ab, wenn ein bestimmtes zum sicheren Betrieb notwendiges
Spannungsniveau unterschritten wird.
• Bei bestimmten Fahrzeugentypen kann das Netzteil nur verwendet werden, wenn die Zündung
eingeschaltet ist. Bitte schlagen Sie im Benutzerhandbuch für Ihr Fahrzeug nach oder setzen Sie sich für
weitere Informationen mit Ihrem Autohändler in Verbindung.
• Das Netzteil erwärmt sich während des Betriebs. Das ist normal. Der Adapter ist mit einem
Übertemperaturschutz ausgestattet.
• Die Metallteile des Ausgangssteckers (3) des Netzteils nicht mit metallischen Gegenständen berühren.
Falls dies geschieht, kann es zu einem Kurzschluss kommen und das Gerät beschädigt werden.
• Ziehen Sie das Stromkabel am Stecker heraus. Ziehen Sie niemals am Stromkabel selbst.
Wechseln der Sicherung
• Das Netzteil sowohl vom Netz als auch von jedem angeschlossenen Gerät trennen.
• Die Sicherung ist im Flugzeugteil (5) des Zigarettenanzünder-Steckers (2) unter einer schwarzen
Gummiabdeckung. Nehmen Sie die schwarze Gummiabdeckung ab.
• Drehen Sie den Stecker (5) nun um 180° von sich weg, so dass Sie jetzt auf die entgegengesetzte Seite des
Zigarettenanzünder-Steckers (5) schauen und die Sicherung nicht mehr sehen können.
• In der Fassung sehen Sie ein kleines Loch. Schieben Sie einen passenden Gegenstand durch das Loch und
drücken Sie, bis die Sicherung herausgestoßen wird.
• Tauschen Sie die alte Sicherung durch eine neue gleichen Typs aus und überdecken Sie die neue Sicherung
wieder mit der Gummiabdeckung.
Technische Daten
4
Eingangsspannung 11,0 bis 32 V ± 0,5 V
Eingangsstrom 15A
Sicherungstyp ATS 15A
Bereitschaftsstrom max. 90mA
Ausgangsspannung abhängig vom Typ
Ausgangsstrom abhängig vom Typ
Ausgangs-Dauernennleistung (bei 25° C) 100 Watt
Betriebstemperatur -20 bis 40° C
Lagerungstemperatur -40 bis 40° C
Maße (LxBxH) 140 x 62 x 19 mm
Gesamtgewicht 360 g
Page 6
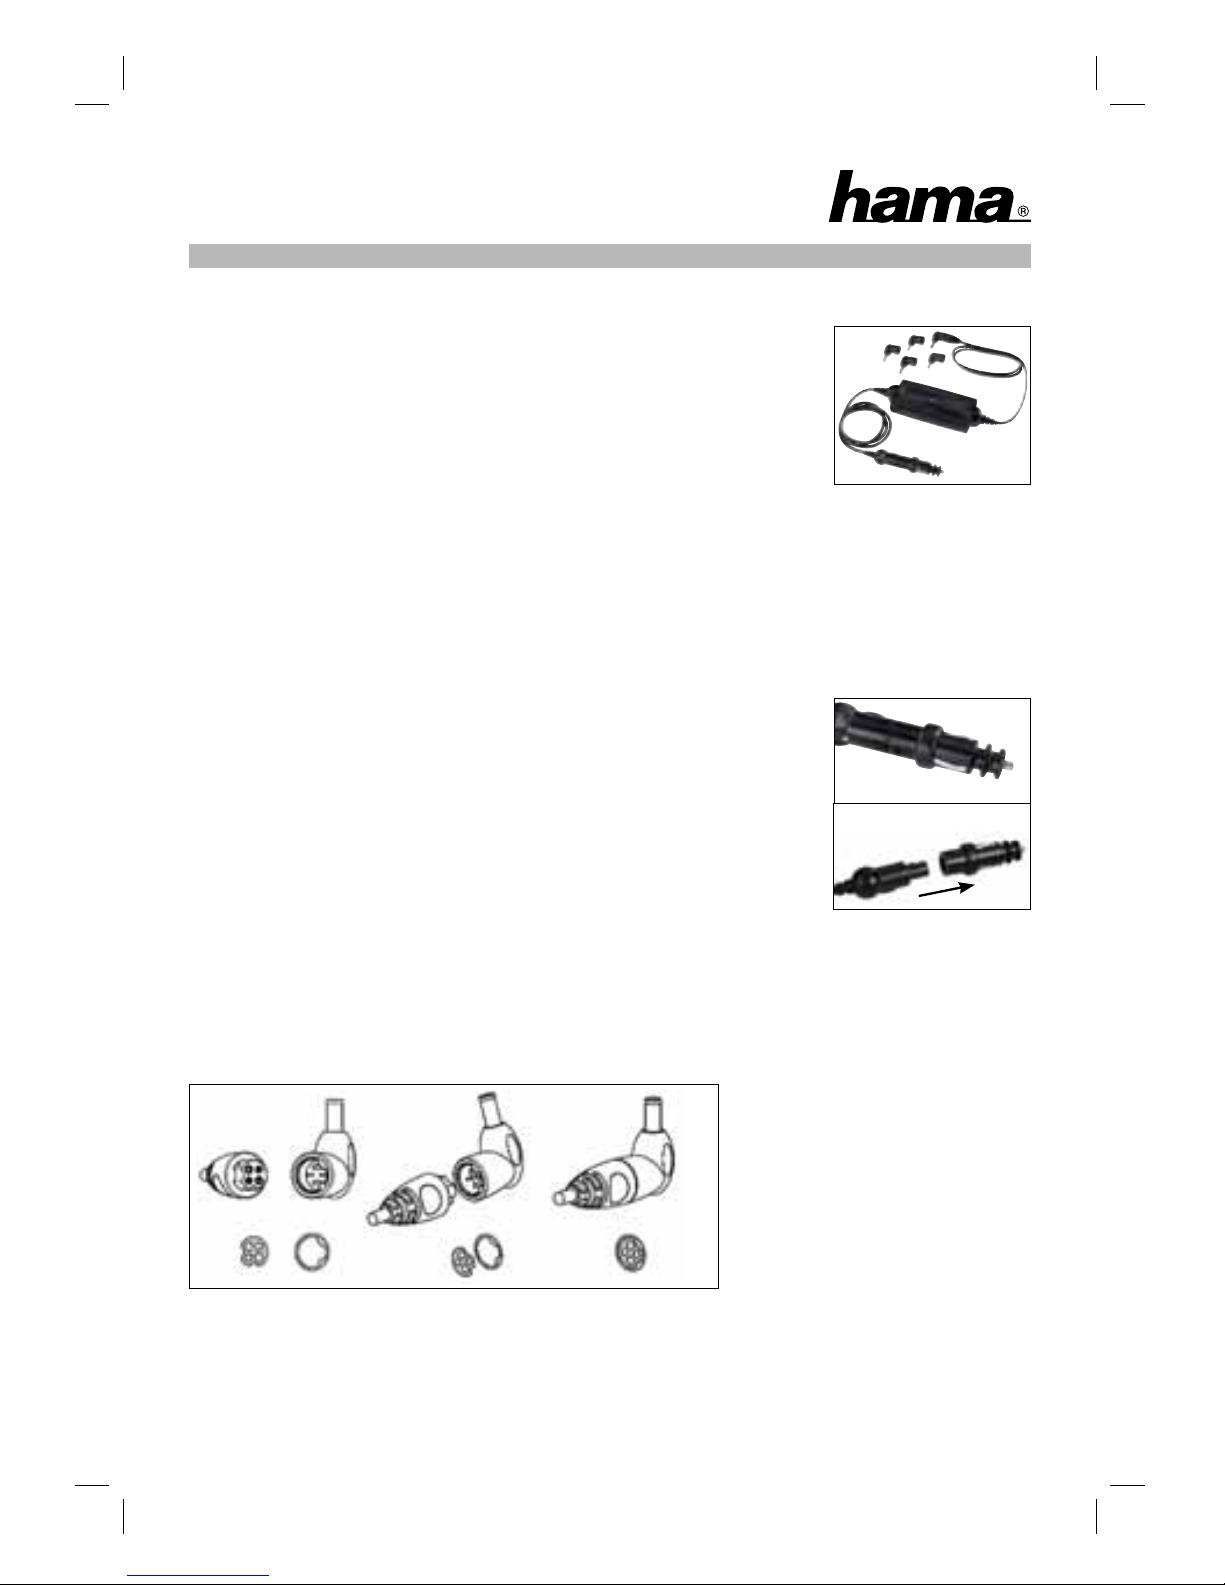
Many thanks for choosing this power supply. It allows the safe and reliable
operation of portable electronic devices from 12V and 24V on-board power
supplies in cars, lorries, boats and caravans etc... The power supply fulfi ls two
basic functions: (1) charging and powering of the device through transformation
of the on-board voltage (11-32V). (2) protection of the connected device against
interference.
Operation
You may connect the plugs (2) and (3) in any order. Connect, as in picture 1, the
system connector (3) of the power supply to the DC-IN plug of the device. Follow
the device manufacturers’ instructions for operation with external power supplies. Plug the cigarette lighter
adapter (2) into the vehicle‘s interior power supply (cigarette lighter). Ensure that all connections are fi rm and
are sitting correctly.
Operation in Aircraft
Note: The power supply has special patent pending technology that allows it to identify that it is connected
to an aircraft in seat power supply and will automatically limit the power drawn to below 75 Watts, thereby
helping to ensure safe, uninterrupted working whilst in fl ight.
Detach the cigarette lighter adapter (2) by depressing the locking mechanism (5)
and pulling apart. You may then connect the plugs (5) and (3) in any order. Connect,
as in picture 1, the system connector (3) of the air & power supply to the DC-IN plug
of the device. Follow the device manufacturers’ instructions for operation with
external power supplies. Plug the air connector (5) into the in seat power supply
receptacle. Ensure that all connections are fi rm and are sitting correctly and that
the in seat power supply is activated.
Tip: request permission from the fl ight crew to use the adapter and your device.
Prior to reserving or booking your fl ight you should check that the chosen airline
offers in seat power supplies.
Selecting the Correct System Connector
Proceed to connect the system connector as described in picture 3. The system connector can only be
mounted in one direction onto the adapter connector . Attempting to force the system connector in the wrong
direction onto the adapter cable could damage it.
Picture 3
L
Instruction manual
5
Picture 2
Picture 1
2
3
2
5
Page 7

6
LED Display
Green Red Status
On Off Normal Operation
Blinking Off No system connector connected
Input under-voltage
Input over-voltage
Output over-voltage (>25V)
Off On Output short circuit
PCB Over-temperature
Over-temperature in cigarette lighter plug
On On Power limitation (<75W) due to over-temperature in cigarette lighter plug
Safety Instructions
• safeguard from moisture, respect operating and storage temperature limits (see technical data)
• do not subject to direct heat or direct sunlight (window sill). Do not cover. Do not place upon or next to heat
sensitive materials (e.g. fl oor coverings).
• do not open or modify, there are no user serviceable components or safety elements inside; otherwise the
guarantee and warranty will be withdrawn.
• only use the power supply with the specifi cally defi ned device(s) for which it has been designed.
• only connect the power supply to the above mentioned on-board power supplies.
• in the case of a bad connection, the metal contacts in the cigarette lighter connector can become very hot.
It may be possible to burn yourself!
• do not leave the power supply unattended whilst in use.
• never use the appliance while driving your car; always remain focused on your driving in all circumstances,
in order to avoid an accident.
• do not operate the unit with a damaged cord or if the unit has been dropped or damaged.
• do not bend the power cord forcibly or place a heavy object on it. This will damage the cord and may cause
fi re or electrical shock.
• failure to comply with these instructions will result in withdrawal of the guarantee and warranty
• use the power supply with only devices for which it has been approved by applicable law
Automobile Power Supply Network
• it is essential that you fi rst verify the maximum power rating of the power supply network of the automobile
in which you intend to use this power supply.
• you can do this by reading the instruction manual of your automobile, consulting your automobile reseller
or contacting the original manufacturer of your automobile.
• some older automobiles or even newer budget models may have a lower power rating on their power
supply network which provides power to the cigarette lighter connector or power outlet. If the power
rating is insuffi cient then you may not use this product in your automobile.
Usage Instructions
• dependent upon the status of the vehicle’s battery, it is possible to experience a power outage. This can
cause the connected device to reset.
• in order to avoid unnecessarily discharging the battery use the power supply with the motor running.
• for safety reasons, the power supply automatically switches off if a certain low voltage level is reached
(under-voltage protection).
Page 8

7
• in certain types of vehicles the power supply can only be used if the ignition is turned on. Please consult the
user manual for your vehicle or contact your vehicle reseller for more information.
• the power supply will become warm during use. This is normal. The adapter is fi tted with an over temperature
protection.
• prevent metallic objects from coming into contact with the metal parts of the system connector (3) of the power
supply. If this happens, a short may occur and the unit may be damaged.
• to disconnect the power cord, pull it out by the plug. Never pull the power cord itself.
Changing the fuse
• disconnect the power supply from both the power source and any connected device.
• the fuse is located in the air portion (5) of the cigarette lighter connector (2), underneath a black rubber cover.
Remove the black rubber cover.
• rotate the connector (5) 180° away from you so that you are now looking at the opposite side of the cigarette
lighter connector (5) and can no longer see the fuse.
• there is a small hole in the housing. Insert a suitable object through the hole and push until the fuse is ejected.
• replace the old fuse with one of the same type and value, and replace the black rubber cover in order to cover
the new fuse.
Technical Data
Input voltage 11.0 to 32V ±0.5V
Input current 15A
Fuse type ATS 15A
Standby current max. 90mA
Output voltage type dependent
Output current type dependent
Continuous output power rating (at 25°C) 100 Watts
Operating temperature -20 to 40°C
Storage temperature -40 to 85°C
Measurements (LxBxH) 140 x 62 x 19 mm
Total weight 360 g
Page 9
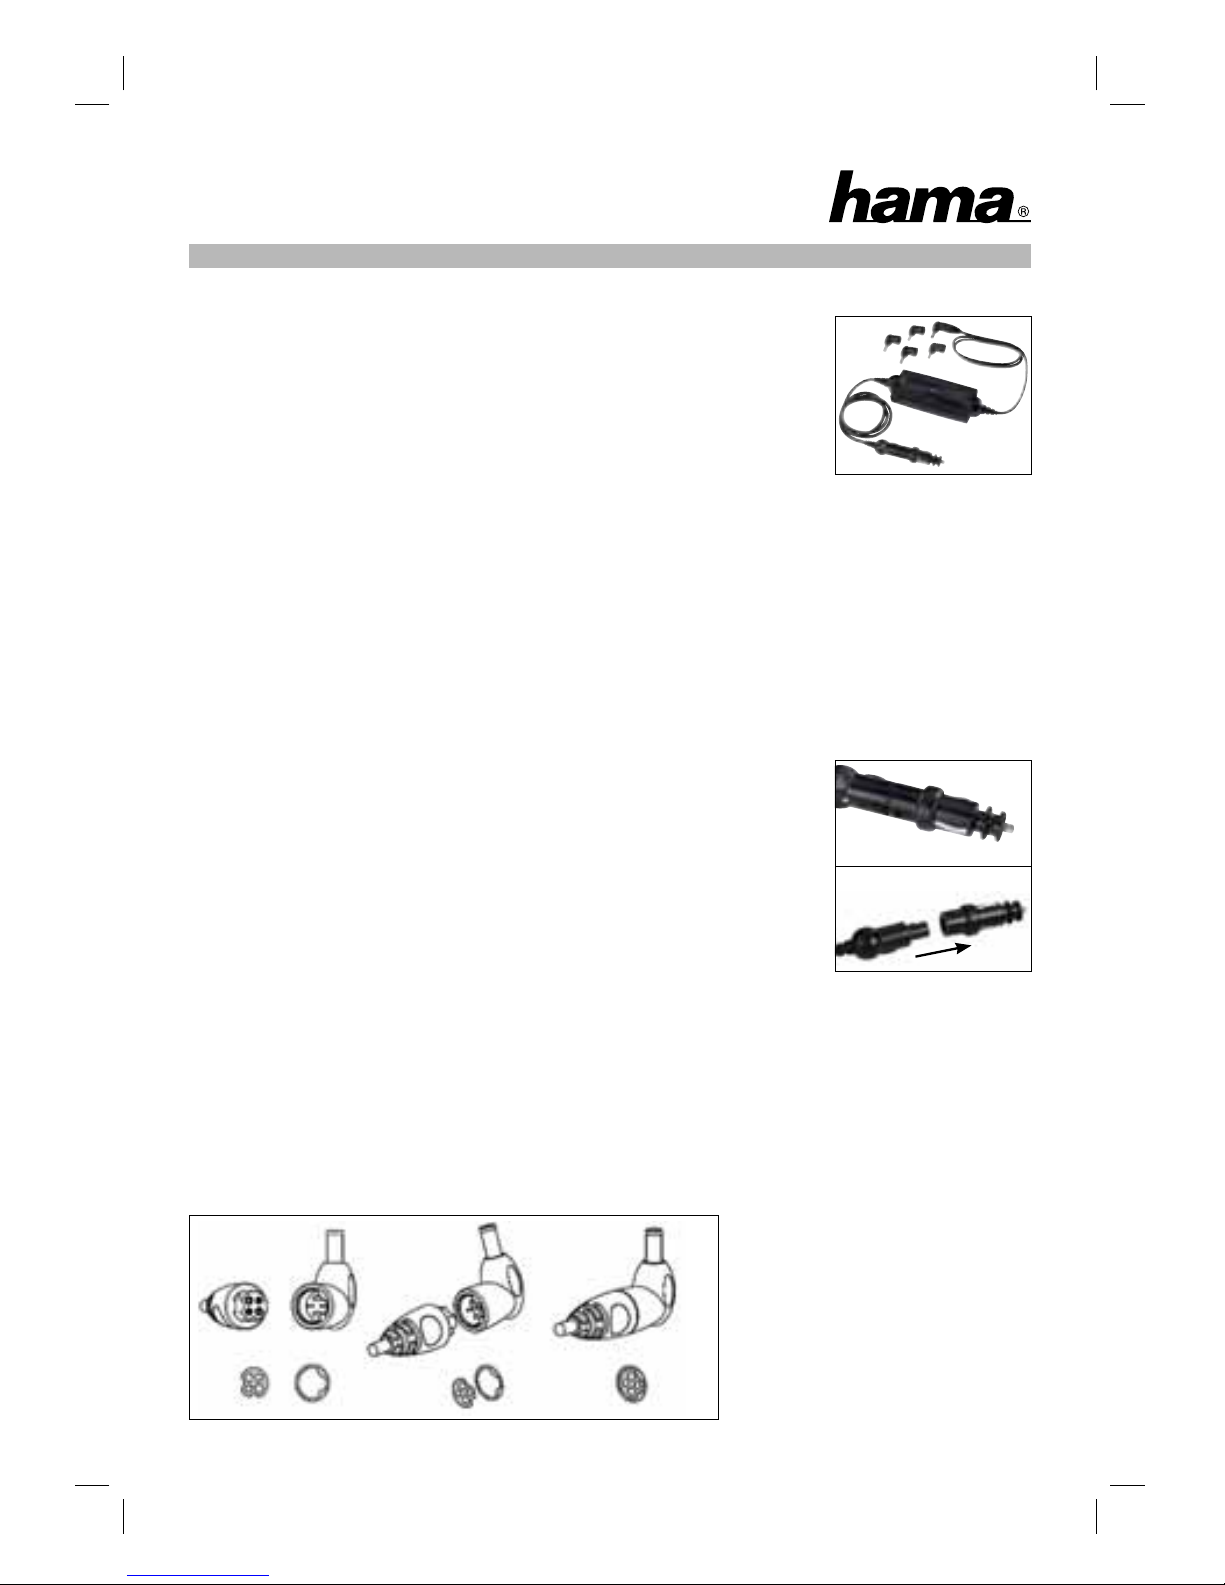
Nous vous remercions d’avoir choisi cet adaptateur allume-cigare. Grâce à lui,
vous pouvez en effet utiliser, de manière sûre et fi able, des appareils électroniques
portables en les branchant aux sources d’alimentation de 12 V et 24 V disponibles à
bord de certains moyens de transport (voitures, camions, bateaux, caravanes...). Cet
adaptateur remplit deux fonctions principales : (1) charger et alimenter un appareil en
transformant la tension fournie à bord (11-32 V) ; (2) protéger l’appareil connecté des
interférences.
Fonctionnement
Vous pouvez connecter les fi ches (2) et (3) dans n’importe quel ordre. Branchez, comme l’illustre la fi gure 1, le
connecteur système (3) de l’adaptateur allume-cigare à l’alimentation CC (DC-IN) de l’appareil. Suivez également
la notice d’utilisation du fabricant de l’appareil pour savoir comment le faire fonctionner avec une alimentation
externe. Branchez ensuite l’adaptateur allume-cigare (2) à la prise électrique interne du véhicule (allume-cigare).
Assurez-vous que toutes les connexions sont bien en place et correctement enclenchées.
Fonctionnement à bord d’un avion
Remarque : l’adaptateur est doté d’une technologie spéciale en cours d’obtention de brevet lui permettant
de déterminer s’il est branché à la source d’alimentation d’un siège d’avion. Si tel est le cas, il plafonne alors
automatiquement la puissance utilisée à 75 watts ; par ce biais, il assure une utilisation sûre et ininterrompue tout
au long du vol.
Détachez l’embout pour allume-cigare en appuyant sur le mécanisme de verrouillage
(5) et dissociez-le du reste de l’adaptateur (2). Vous pouvez maintenant brancher les
fi ches (5) et (3) dans n’importe quel ordre. Branchez, comme l’illustre la fi gure 1, le
connecteur système (3) de l’adaptateur pour avion et véhicule à l’alimentation CC
(DC-IN) de l’appareil. Suivez également la notice d’utilisation du fabricant de l’appareil
pour savoir comment le faire fonctionner avec une alimentation externe. Branchez
ensuite le connecteur pour avion (5) à la prise de votre siège. Assurez-vous que
toutes les connexions sont bien en place, correctement enclenchées et que la source
d’alimentation du siège est activée.
Conseil : demandez à un membre d’équipage l’autorisation d’utiliser l’adaptateur et votre appareil. Avant de
réserver ou d’acheter un billet d’avion, vous devriez aussi vérifi er que la compagnie en question propose effectivement des sièges équipés de prises électriques.
Choisir le bon connecteur système
Branchez le connecteur système comme indiqué sur la fi gure 3. Le connecteur système ne peut être branché que
dans un seul sens sur la fi che de l’adaptateur. Si vous essayez de l’enfoncer sur le câble de l’adaptateur dans le
mauvais sens, vous risquez de l’endommager.
Figure 3
¬
Manuel d’utilisation
8
Figure 2
Figure 1
2
3
2
5
Page 10
Témoin LED
Vert Rouge État
Allumé Éteint Fonctionnement normal
Clignotant Éteint Aucun connecteur système branché
Entrée en sous-tension
Entrée en surtension
Sortie en surtension (>25 V)
Éteint Allumé Sortie en court-circuit
Surchauffe du circuit imprimé
Surchauffe dans la prise de l’allume-cigare
Allumé Allumé Limitation de la puissance (<75 W) due à une surchauffe dans la prise de
l’allume-cigare
Consignes de sécurité
• Conserver à l’abri de l’humidité, respecter les températures maximales de fonctionnement et de stockage
(cf. données techniques)
• Ne pas exposer directement à la chaleur ou à la lumière du soleil (rebords de fenêtre). Ne pas couvrir ni
placer sur ou près de matériaux sensibles à la chaleur (ex. revêtements de sol)
• Ne pas ouvrir ni modifi er ; aucun composant ou autres éléments de sécurité internes ne peuvent être réparés
par l’utilisateur. En cas d’intervention de l’utilisateur, la garantie sera annulée.
• Utiliser l’adaptateur allume-cigare uniquement avec les appareils pour lesquels il a précisément été conçu.
• Ne brancher l’adaptateur allume-cigare qu’aux sources d’alimentation embarquées ayant été mentionnées
ci-dessus.
• En cas de mauvaise connexion, les plots métalliques du connecteur allume-cigare peuvent devenir très
chauds. Vous risquez même de vous brûler !
• Ne pas laisser l’adaptateur allume-cigare sans surveillance pendant son utilisation.
• N’utilisez jamais l’appareil durant la conduite. Restez attentif à la circulation en toutes circonstances afi n de
ne pas avoir d’accident.
• Ne pas utiliser l’unité si son câble est endommagé ou si elle est, elle-même, tombée ou endommagée.
• Ne pas tordre le cordon d’alimentation de force et ne pas y poser d’objet lourd. Le cordon serait alors abîmé
et pourrait causer un incendie ou un choc électrique.
• Le non-respect des instructions entraînerait l’annulation pure et simple de la garantie.
• N’utilisez l’adaptateur que pour des appareils conformes aux lois en vigueur.
Faisceau électrique d’une automobile
• Il est primordial que vous commenciez par vérifi er l’intensité maximale supportée par le faisceau électrique
de l’automobile sur laquelle vous avez l’intention de vous brancher.
• Vous pouvez vous en informer en lisant le manuel d’utilisation de votre automobile, en vous adressant à son
vendeur ou en contactant le fabricant.
• Certaines automobiles plus anciennes ou des modèles récents d’entrée de gamme peuvent être dotés d’un
faisceau électrique dont l’intensité maximale est inférieure à celle requise pour alimenter un connecteur
allume-cigare ou une prise d’alimentation. Si l’intensité maximale est insuffi sante, vous ne pouvez pas utiliser
ce produit avec votre automobile.
9
Page 11

Mode d’emploi
• En fonction de l’état de la batterie du véhicule, vous pouvez subir une coupure de courant provoquant
éventuellement une réinitialisation de l’appareil connecté.
• Afi n d’éviter la décharge inutile de la batterie, utilisez l’adaptateur en maintenant le moteur allumé.
• Pour des raisons de sécurité, l’adaptateur s’éteint automatiquement si la tension s’affaiblit au point
d’atteindre un seuil déterminé (protection contre la sous-tension)
• Dans certains types de véhicules, l’adaptateur ne peut être utilisé que si le contact est mis. Pour plus
d’informations, veuillez consulter le manuel d’utilisation de votre véhicule ou contacter son revendeur.
• L’adaptateur tiédira pendant son utilisation. C’est normal, vous n’avez rien à craindre d’autant que l’adaptateur
est doté d’une protection contre la surchauffe.
• Empêcher des objets métalliques d’entrer en contact avec les parties métalliques du connecteur système (3)
de l’alimentation. Si cela se produisait, un court-circuit pourrait survenir et l’unité pourrait être endommagée.
• Pour débrancher le cordon d’alimentation, sortez-le en le tenant par la fi che. Ne tirez jamais directement sur
le cordon.
Remplacer le fusible
• Débrancher l’adaptateur de la source d’alimentation ainsi que de tout appareil connecté.
• Le fusible est situé dans la partie externe (5) du connecteur de l’allume cigare (2), sous un cache en
caoutchouc noir que vous devez retirer.
• Faites tourner le connecteur (5) de 180° vers l’extérieur. Vous aurez alors la partie opposée du connecteur (5)
de l’allume-cigare sous les yeux et vous ne verrez plus le fusible.
• Un petit orifi ce se trouve dans le logement. Insérez-y un objet suffi samment fi n et appuyez jusqu’à ce que le
fusible soit éjecté.
• Remplacez le vieux fusible par un autre de même type et de calibre identique et remettez le cache en
caoutchouc noir en place afi n de protéger le nouveau fusible.
Données techniques
10
Tension d’entrée de 11,0 à 32 V ±0,5 V
Courant d’entrée 15A
Type de fusible ATS 15A
Courant de veille 90 mA maximum
Tension de sortie selon le type
Courant de sortie selon le type
Puissance de sortie en continu (à 25°C) 100 watts
Température de fonctionnement de -20 à 40°C
Température de stockage de -40 à 85°C
Dimensions (Lxlxh) 140 x 62 x 19 mm
Poids total 360 g
 Loading...