

Page 1
f
Mode d‘emploi
00052485_86bda.indd 2-300052485_86bda.indd 2-3 20.09.2007 15:53:47 Uhr20.09.2007 15:53:47 Uhr
Page 2

3
d
Bedienungsanleitung
g
Operating Instruction
2
Anschließen der Maus
a) Verbinden Sie den USB-Stecker der
Maus mit der USB-Buchse am PC oder
einem USB-Hub. Die Maus wird vom
Betriebssystem selbstständig erkannt
und installiert. Dieser Vorgang kann
einige Sekunden in Anspruch nehmen.
Hinweis:
Mittels Software lässt sich die 3. Taste
(Radtaste) mit zusätzlichen Funktionen
belegen. Bitte laden Sie dazu den
notwendigen externen Maustreiber unter
www.hama.com herunter und installieren
ihn anschließend.
b) Die Maus ist nun mit Standardfunktionen
(linke und rechte Maustaste,
Scrollfunktion) sofort einsatzbereit.
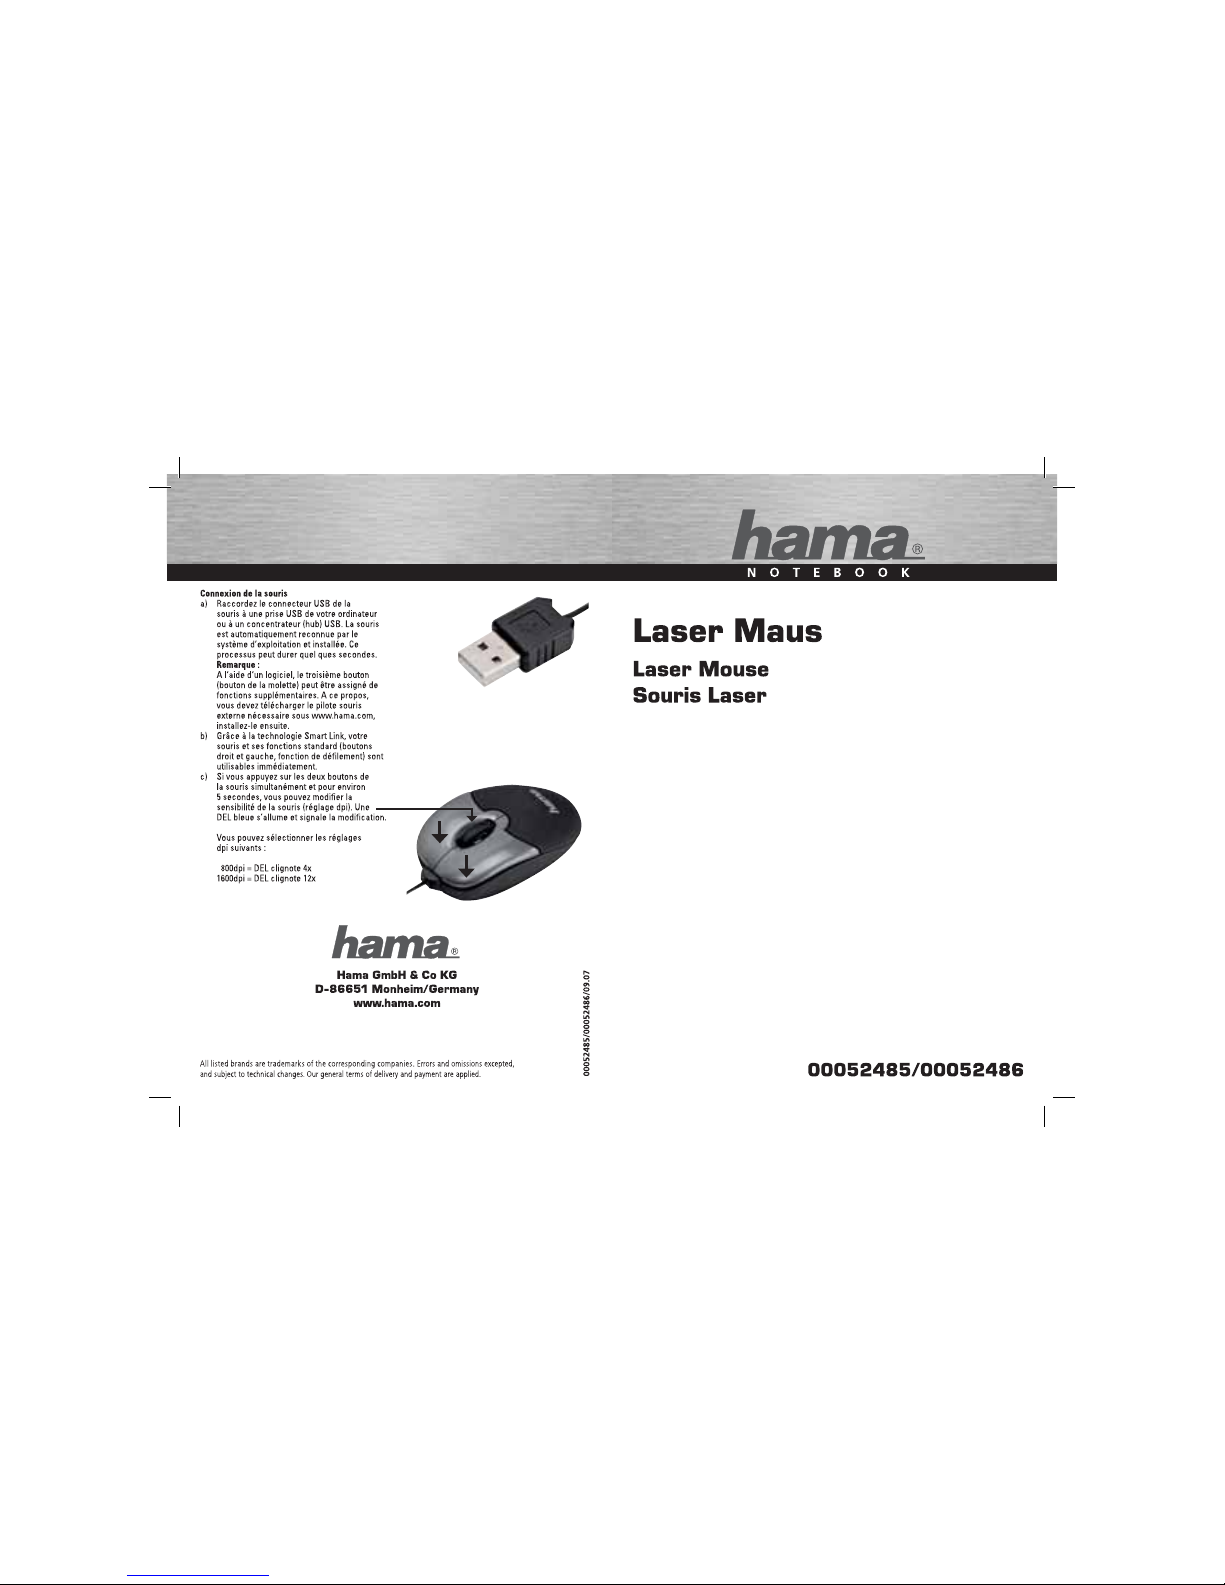
c) Durch das gleichzeitige Betätigen der
beiden Maustasten für ca. 5 Sekunden
können Sie die Empfi ndlichkeit der Maus
(dpi-Einstellung) ändern. Die Änderung
wird durch das Blinken einer blauen
LED signalisiert.
Folgende dpi-Einstellungen stehen zur
Auswahl:
800dpi = LED blinkt 4x
1600dpi = LED blinkt 12x
d
Bedienungsanleitung
Connecting the mouse
a) Insert the USB plug of the mouse into the
USB socket on the PC or a USB hub.
The mouse is automatically detected by
the operating system and installed. This
process can last several seconds.
Remark:
The third button (wheel button) can be set
with additional functions by means of a
software. For this purpose, you have to
download the required external mouse
driver at www.hama.com and install it
afterwards.
b) The mouse is now immediately usable
with the standard functions (left and right
mouse button, scroll function).
c) If you press both mouse buttons simulta
neously for about 5 seconds, you can
modify the sensitivity of the mouse
(dpi adjustment). A blue LED lights up and
signalizes the modifi cation.
The following dpi adjustments can be
selected:
800dpi = LED fl ashes 4x
1600dpi = LED fl ashes 12x
g
Operating Instruction
00052485_86bda.indd Abs1:2-Abs1:300052485_86bda.indd Abs1:2-Abs1:3 20.09.2007 15:53:48 Uhr20.09.2007 15:53:48 Uhr
 Loading...