

Hama 00034310 Operating Instructions Manual

00034310-01.07
00034310
Hama GmbH & Co KG
Postfach 80
86651 Monheim/Germany
Tel. +49 (0) 90 91/502-0
Fax +49 (0)9091 /502-274
hama@hama.de
www.hama.com
Controller 3in1 Triple Black
www.hama.com
C)
Anschluss an den PC:
Installieren Sie bitte den Tr eiber, der sich auf der beiliegenden CD befindet, bevor Sie den 3in1 Controller an den PC anschließen.
Danach müssen Sie den Controller mit dem Controller Adapter verbinden und den USB-Stecker anschließen.
Wenn dieser Schritt abgeschlossen ist schließen Sie
bitte den 3in1 Controller an die Microsoft Xbox an.
Schritt 1)
Alle Betriebssysteme:
Legen Sie die Tr eiber CD in das CD-Rom Laufwerk Ihres PCs ein. Die Installation sollte nun automatisch beginnen. We nn dies nicht der Fall
ist, öffnen Sie bitte das entsprechende CD-Rom Laufwerk im Arbeitsplatz und führen Sie die Datei setup.exe aus. Nun erscheint das
Installations-Menü. Fahren Sie bitte mit <Weiter> fort. Wenn Sie das nächste erscheinende Fenster mit <Weiter> bestätigen wird der
Treiber automatisch installiert. Mit <Finish> wird die Installation abgeschlossen. Stecken Sie nun den USB Stecker des 3in1 Controllers in
eine freie USB-Buchse Ihres PCs.
Schritt 2)
Windows 2000/XP:
Der 3in1 Controller wird nun automatisch installiert. Ob der Controller ordnungsgemäß in das System eingebunden wurde, können Sie im
Gerätemanager unter „Eingabegeräte“ überprüfen, dort muss der Eintrag „HID-konformer Gamecontroller“ ohne gelbes Ausrufezeichen
vorhanden sein.
Windows Me:
Der 3in1 Controller wird nun automatisch installiert. Ob der Controller ordnungsgemäß in das System eingebunden wurde, können Sie im
Gerätemanager unter „HID“ überprüfen, dort muss der Eintrag „USB-HID“ ohne gelbes Ausrufezeichen vorhanden sein.
Windows 98SE:
Wenn Sie den 3in1 Controller eingesteckt haben erscheint der „Hardware-Assistent“ und sucht nach neuen Tr eibern für „USB HID
(Human Interface Device)“ <Weiter>. Markieren Sie „Nach dem besten Tr eiber für das Gerät suchen (empfohlen)“ We iter > Weiter >
Weiter. Sie werden nun aufgefordert die Windows98 CD in das CD-Rom Laufwerk
einzulegen. Legen Sie bitte die Windows98 CD ein und bestätigen Sie mit <OK>. Bei manchen Betriebssystemversionen kann es vorkommen, dass eine Tr eiber-Datei die sich bereits auf dem PC befindet durch eine ältere Ve rsion ersetzt werden soll. Sollte dies der Fall sein
bestätigen Sie die Frage ob die neuere Datei beibehalten werden soll mit <Ja>. Mit Fertigstellen wird die Installation abgeschlossen. Ob
der 3in1 Controller ordnungsgemäß in das System eingebunden wurde, können Sie im Gerätemanager unter „HID“ überprüfen, dort muss
der Eintrag „USB-HID“ ohne gelbes Ausrufezeichen vorhanden sein.
Schritt 3)
Alle Betriebssysteme:
Die korrekte Funktion des 3in1 Controllers können Sie überprüfen, indem Sie unter Start > Einstellungen > Systemsteuerung >
Gamecontroller (Windows XP in der Standard-Ansicht: Start >Systemsteuerung > Drucker und andere Hardware > Gamecontroller
nachsehen. Dort muss sich der Eintrag „Hama 3in1 Controller“ befinden. Der Status dieses Gerätes sollte auf „OK“ stehen.
Markieren Sie nun den Eintrag „Hama 3in1 Controller“ und klicken Sie mit der Maus auf „Eigenschaften“.
Nun erscheint ein neues Fenster, in diesem können Sie den Controller testen. Die Stärke des „Force Feedback Effektes“ können Sie
verändern, indem Sie auf
den Reiter „Effect Page“ klicken. In diesem Fenster können Sie nun die gewünschte Stärke wählen. Ihre Einstellungen bestätigen Sie mit
> OK. Der Adapter ist jetzt ordnungsgemäß installiert und kann verwendet werden.
I. Einführung
Wir freuen uns, dass Sie den 3in1 Controller gewählt haben und gratulieren Ihnen zu dieser Entscheidung. Wir sind überzeugt, dass Ihnen
unser Produkt in den nächsten Jahren eine Menge Spaß beim Spielen bereiten wird.
Diese Kurzanleitung enthält wertvolle Hinweise zur Bedienung und Konfiguration des Adapters. Bitte bewahren Sie diese Anleitung zum
Nachschlagen an einem sicheren Ort auf.
II. Produkt-Eigenschaften
- Controllers kann an:
- die Psone und PS2
- die USB-Schnittstelle des PC’s
- die Microsoft Xbox (alle Standardfunktionen werden unterstützt)
- Analog-Funktion des Controllers wird auch auf dem PC unterstützt
- Vibration bei DualShock kompatiblen Controllern wird ebenfalls unterstützt
III. Systemvoraussetzungen
PC:
· Windows 98SE / ME / 2000 / XP / Vi sta
· USB-Port
Xbox:
· freier Controller Steckplatz
PS2:
· freier Controller Steckplatz
Hinweis:
Bitte beachten Sie, dass USB-Betrieb nicht von Windows 95 / NT unterstützt wird
IV. Installation
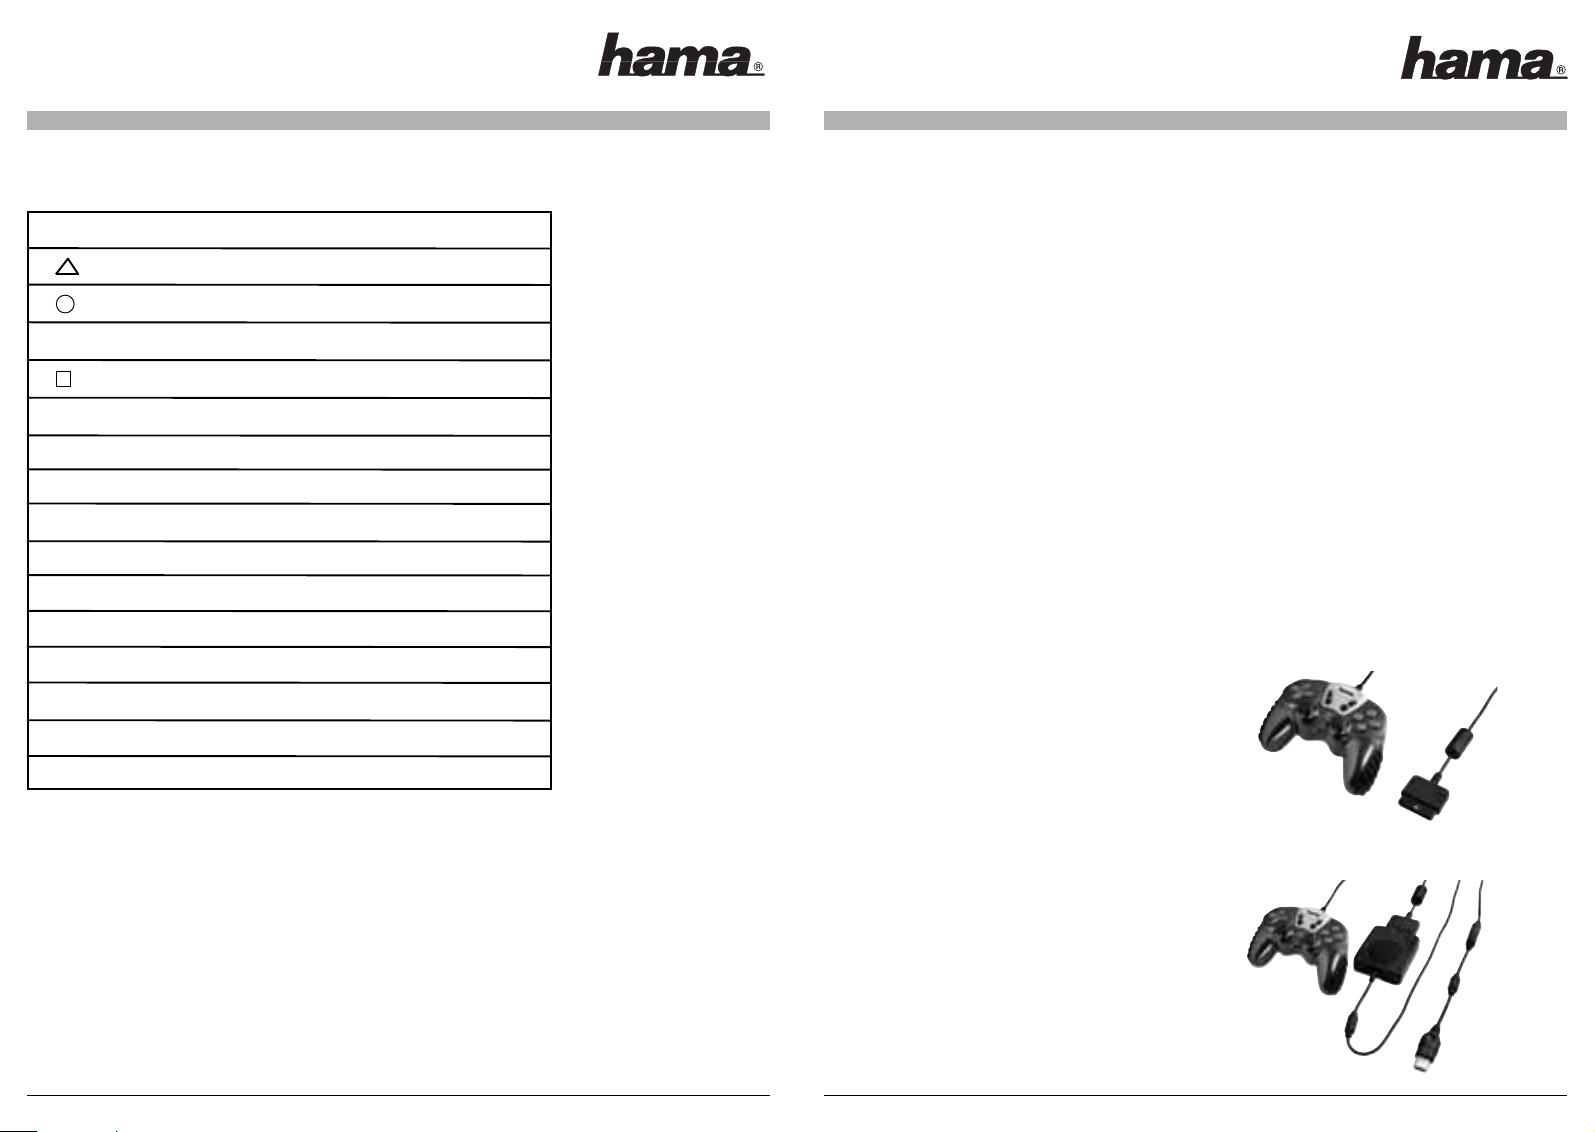
A)
Anschluss an die PS2:
Zum Anschluss des 3in1 Controllers an eine PlayStation2 verbinden sie den PlayStation2 Stecker mit einem freien
Controller-Steckplatz an der PlayStation2.
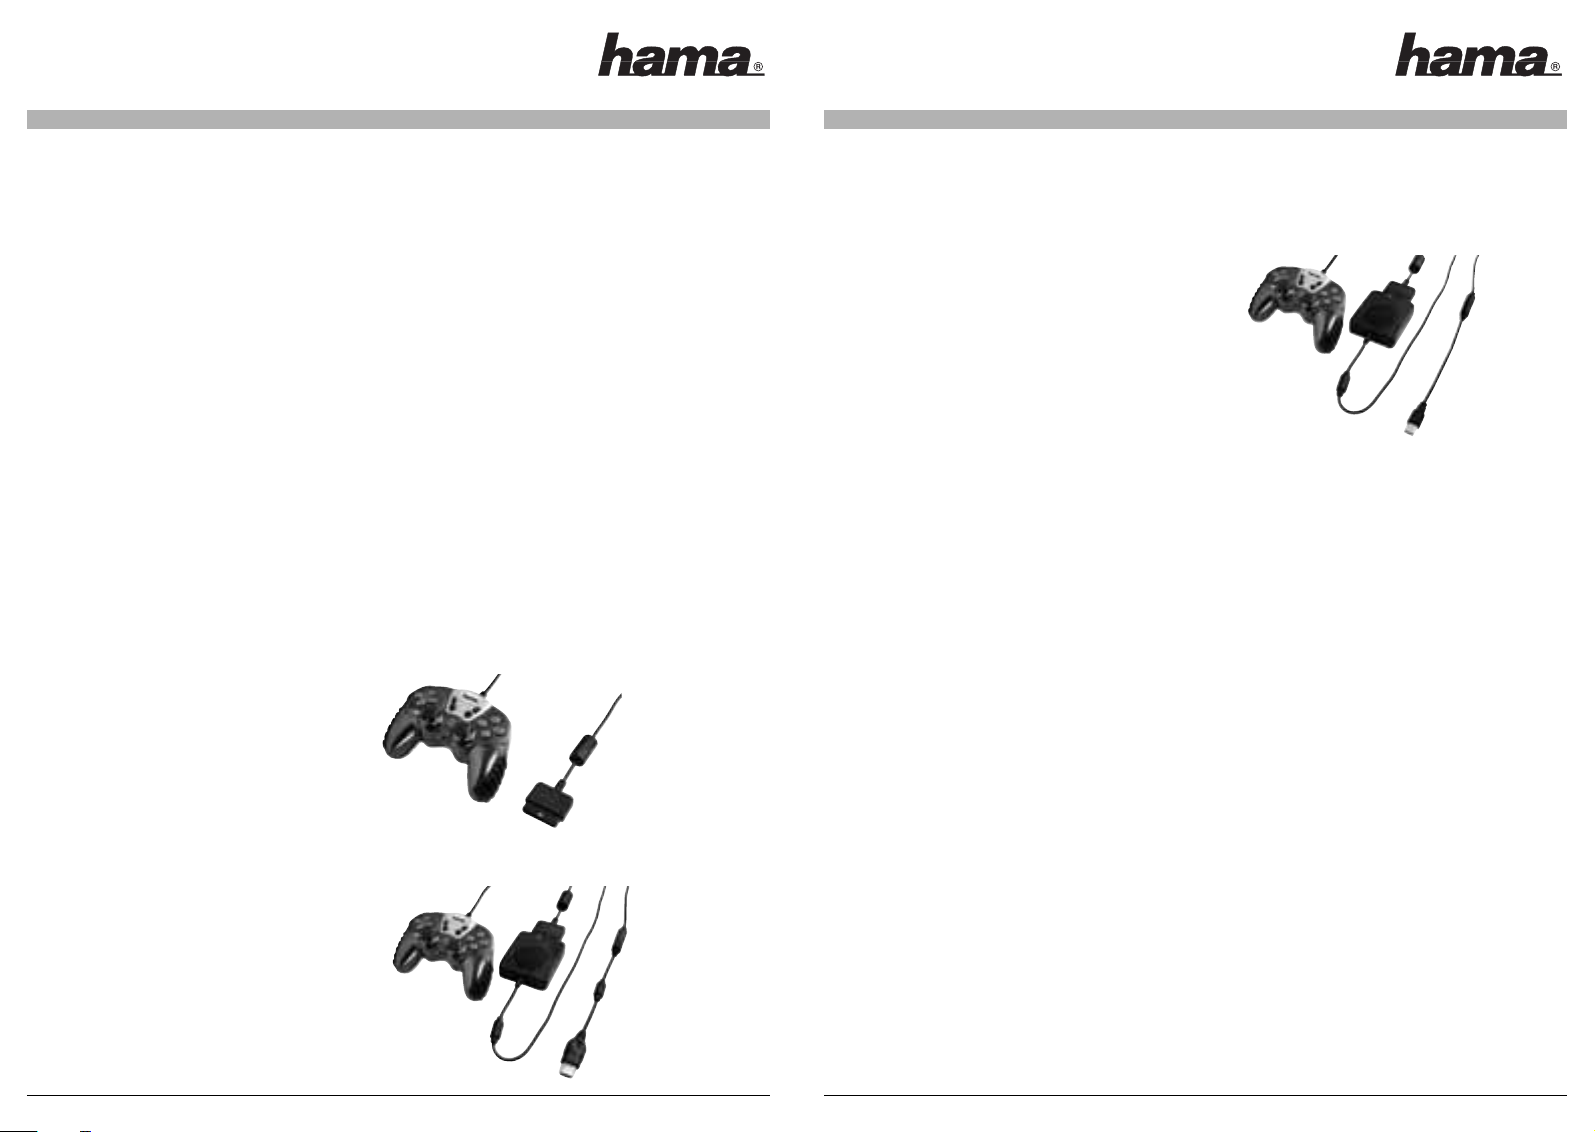
B)
Anschluss an die Microsoft Xbox:
Wenn Sie den 3in1 Controller an eine Microsoft Xbox anschließen wollen, müssen Sie zuerst den Controller mit dem Controller Adapter
verbinden und den Microsoft Xbox-Stecker anschließen. Wenn dieser Schritt abgeschlossen ist schließen Sie bitte den 3in1 Controller an
die Microsoft Xbox an.
2
3
l
l
Bedienungsanleitung
I. Introduction
We are pleased that you have chosen the 3in1 controller and congratulate you on this decision. We are convinced that our product will
give you a lot of pleasure during the next few years.
This quick reference guide contains important information about the operation and configuration of the adapter. Please keep these
instructions in a safe place so that you can reread them if necessary.
II. Features of the product
- The controller can be connected to:
- the Psone and PS2
- the USB interface of a PC
- the Microsoft Xbox (all standard functions are supported)
- The analogue function of the controller is also supported on a PC
- The vibration of DualShock compatible controllers is supported as well
III. System requirements
PC:
• Windows 98SE / ME / 2000 / XP / Vi sta
• USB port
Xbox:
• Free controller slot
PS2:
• Free controller slot
Remark:
Please note that USB operation is not supported by Windows 95 / NT
IV. Installation
A)
Connection to the PS2:
If you want to connect the 3in1 controller to a PlayStation2, you have to connect the PlayStation2 plug with a free
controller slot of the PlayStation2.
B)
Connection to the Microsoft Xbox:
If you want to connect the 3in1 controller to a Microsoft Xbox, you have to connect the controller with the controller adapter first;
connect the Microsoft Xbox plug then. Please connect the 3in1 controller to the Microsoft Xbox afterwards.
V. Tastenbeschreibung
ACHTUNG
• Verwenden Sie diesen Controller ausschließlich, wie in der Bedienungsanleitung beschrieben. Lesen Sie vor der
Bedienung des Controllers alle Anweisungen.
• Um Stromschläge und Brandgefahr zu vermeiden, darf der Controller weder Regen noch Feuchtigkeit ausgesetzt werden.
• Das Gerät darf nicht zerlegt werden. Wenden Sie sich bei Reparaturbedarf an qualifiziertes Personal.
• Der Controller darf ausschließlich mit der auf dem Controller angegebenen Spannungsquelle betrieben werden. Wenn Sie sich nicht
sicher sind, über welche Spannungsversorgung Ihr Haushalt verfügt, wenden Sie sich an Ihr Energieversorgungsunternehmen.
• Stecken Sie keinerlei Gegenstände in das Gerät (außer den zugelassenen Elementen). Anderenfalls könnten unter gefährlicher
Spannung stehende Te ile berührt oder Kurzschlüsse ausgelöst werden, die möglicherweise zu einem Brand oder Stromschlag führen.
• Die Vibrationsfunktion des Controllers kann bereits vorhandene Leiden verschlimmern. Verwenden Sie den Controller nicht, wenn Sie
Verletzungen oder bestimmte Leiden an Händen oder Armen haben.
• Die Kabel dürfen nicht an Stellen gelegt werden, wo die Gefahr besteht, dass Personen auf sie treten oder über sie stolpern könnten.
Die Kabel dürfen weder eingeklemmt oder beschädigt, noch um Gegenstände oder Personen gewickelt werden.
• Achten Sie darauf, dass Kinder nicht mit Kabeln spielen.
• Die Nichtbefolgung dieser Anweisungen kann zu einem Erlöschen der Garantie führen.
PS2 PC XBOX
1Y
2X
X 3A
4B
L1 7White
L2 5LT
R1 8Black
R2 6RT
Select 9Back
Start 10 Start
PADPOV PAD
L stick X-Achse, Y-Achse L stick
R stick Z-Achse, Rz-Achse R stick
L3 11 L-T
R3 12 R-T
4
L
L
Operating instructions
5
V. Key description
CAUTION
• Use this controller only as instructed. Read all instructions before operating controller.
• To prevent fire or shock hazard, do not expose this controller to rain of moisture.
• Do not disassemble. Refer to qualified personnel only.
• This controller should only be operated from the power source indicated on the controller. If you are not sure of the type of electrical
power supplied to your home, contact your local power company.
• Never push objects of any kind, other than authorized items, into the product as they may touch dangerous voltage points or short out
parts that could result in fire or electrical shock.
• The controller‘s vibration function can aggravate injuries. Do not use the controller if you have any injuries or ailments in your hands or
arms.
• Avoid leaving cords in places where they are likely to be walked on or tripped over. Do not pinch, damage, or wrap cords around objects
or people.
• Do not allow children to play with cords.
• Failure to follow these directions may violate the warranty.
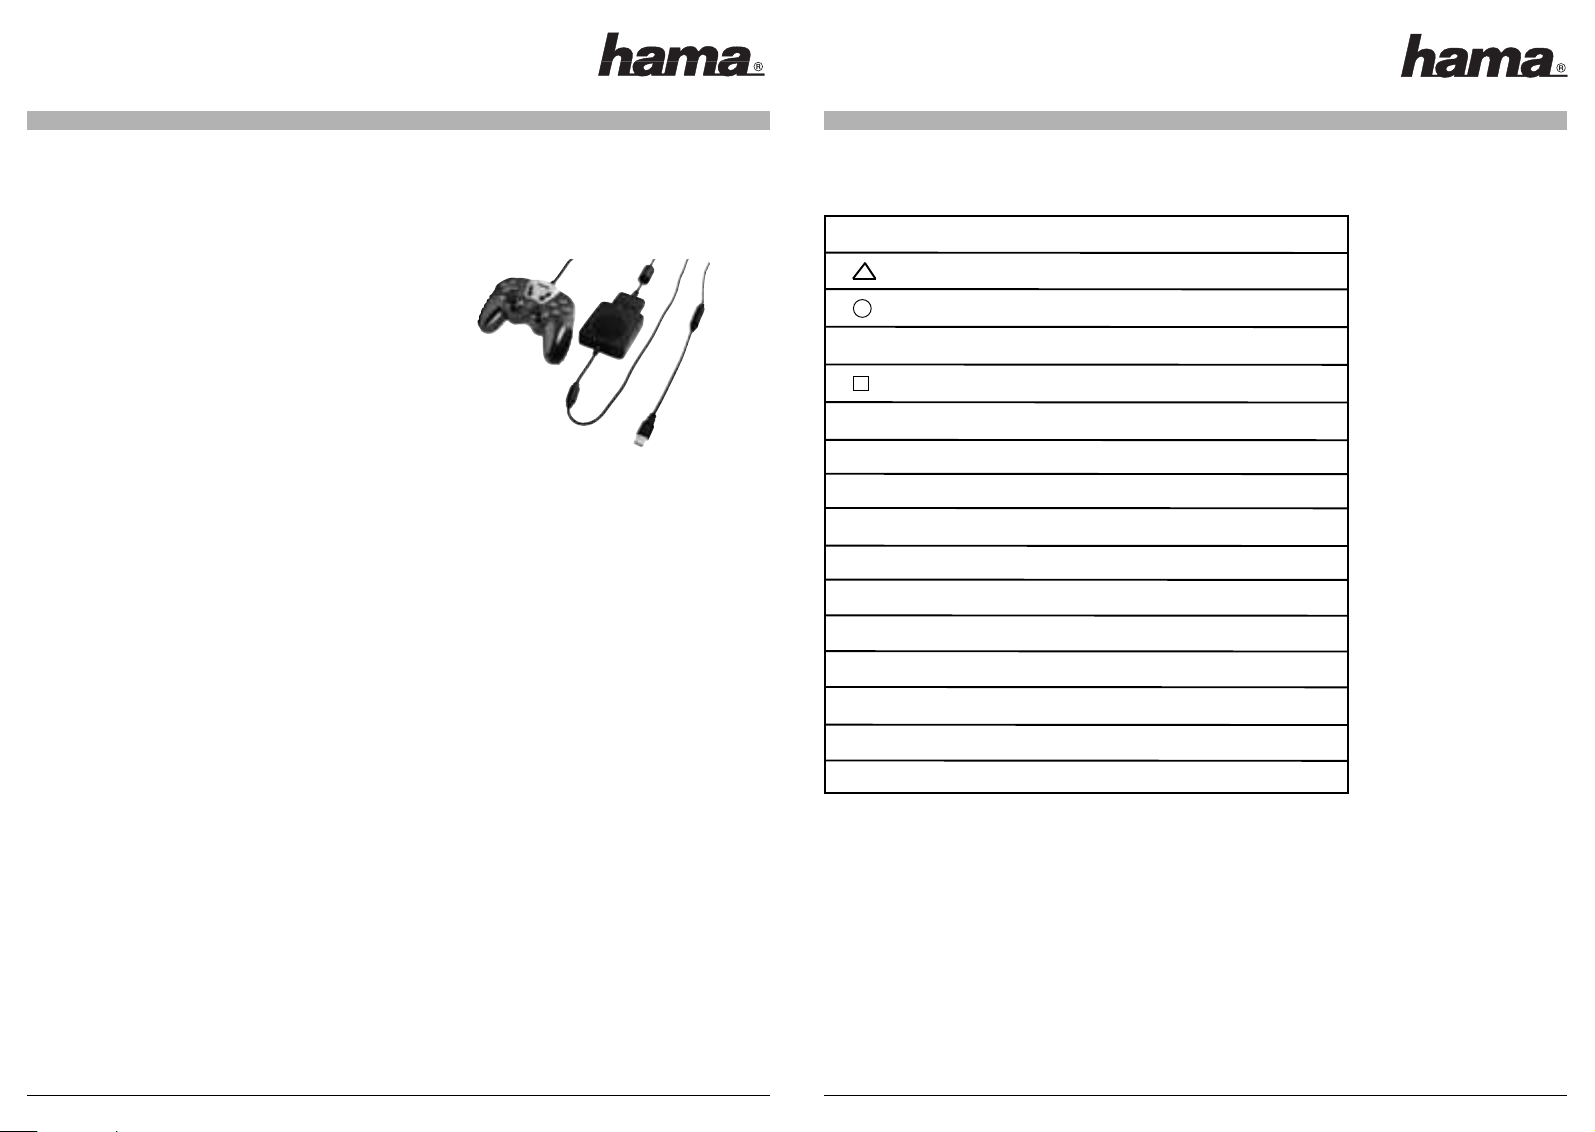
C)
Connection to the PC:
Please install the driver on the enclosed CD before connecting the 3in1 controller to the PC. Connect the controller with the controller
adapter afterwards and connect the USB plug. Please connect the 3in1 controller to the Microsoft Xbox afterwards.
Step 1)
All operating systems:
Insert the driver CD in the CD-Rom drive of your PC. The installation should begin automatically now. If this is not the case, you have to
open the appropriate CD-Rom drive in My Computer; run the setup.exe file. The installation menu appears now. Continue with <Next>. The
driver will be installed automatically if you confirm the window opening now with <Next>. The installation is finished with <Finish>. Plug
the USB plug of the 3in1 controller into a free USB socket of your PC.
Step 2)
Windows 2000/XP:
The 3in1 controller is automatically installed now. In the Device Manager you can check under “Input Devices” whether the controller has
been properly integrated into the system; the entry “HID Compliant Game Controller” has to appear without a yellow exclamation point.
Windows Me:
The 3in1 controller is automatically installed now. In the Device Manager you can check under “HID” whether the controller has been
properly integrated into the system; the entry “USB-HID” has to appear without a yellow exclamation point.
Windows 98SE:
When you have plugged in the 3in1 controller, the “Hardware Assistant” opens and searches for new drivers for “USB HID (Human
Interface Device)” <Next>. Select “Search for the best driver for your device (recommended)” Next > Next > Next. Now you are asked to
insert the Windows98 CD in the CD-Rom drive. Please insert the Windows98 CD and confirm with <OK>. As far as certain operating
systems are concerned, it can happen that a driver file which is already on the PC is to be replaced by an older version. If this is the case,
you have to confirm the question if the newer file is to be kept with <Yes>. The installation is finished with Finish. In the Device Manager
you can check under “HID” whether the 3in1 controller has been properly integrated into the system; the entry “USB-HID” has to appear
without a yellow exclamation point.
Step 3)
All operating systems:
You can check whether the controller is functioning properly by selecting Start > Settings > Control Panel > Game Controller (Windows XP
in standard view: Start > Control Panel > Printer and Other Hardware > Game Controller). The entry “Hama 3in1 Controller” must appear
there. The status of this device should be set to “OK”.
Select the entry “Hama 3in1 Controller” and click “Properties” with your mouse.
A new window opens; in this window, you can test the controller. You can modify the strength of the “Force Feedback Effect” by clicking
the tab “Effect Page”. In this window, you can adjust the desired strength. Confirm your settings with > OK. The adapter is installed
properly now and can be used.
6 7
PS2 PC XBOX
1Y
2X
X 3A
4B
L1 7White
L2 5LT
R1 8Black
R2 6RT
Select 9Back
Start 10 Start
PADPOV PAD
L stick X-Axis, Y-Axis L stick
R stick Z-Axise, Rz-Axis R stick
L3 11 L-T
R3 12 R-T
 Loading...