

Halsey Taylor HTHB-HRF-RF Installation Manual
HTHB-HRF-RF HTHBWF-HRF-RF
Halsey Taylor Owners Manual
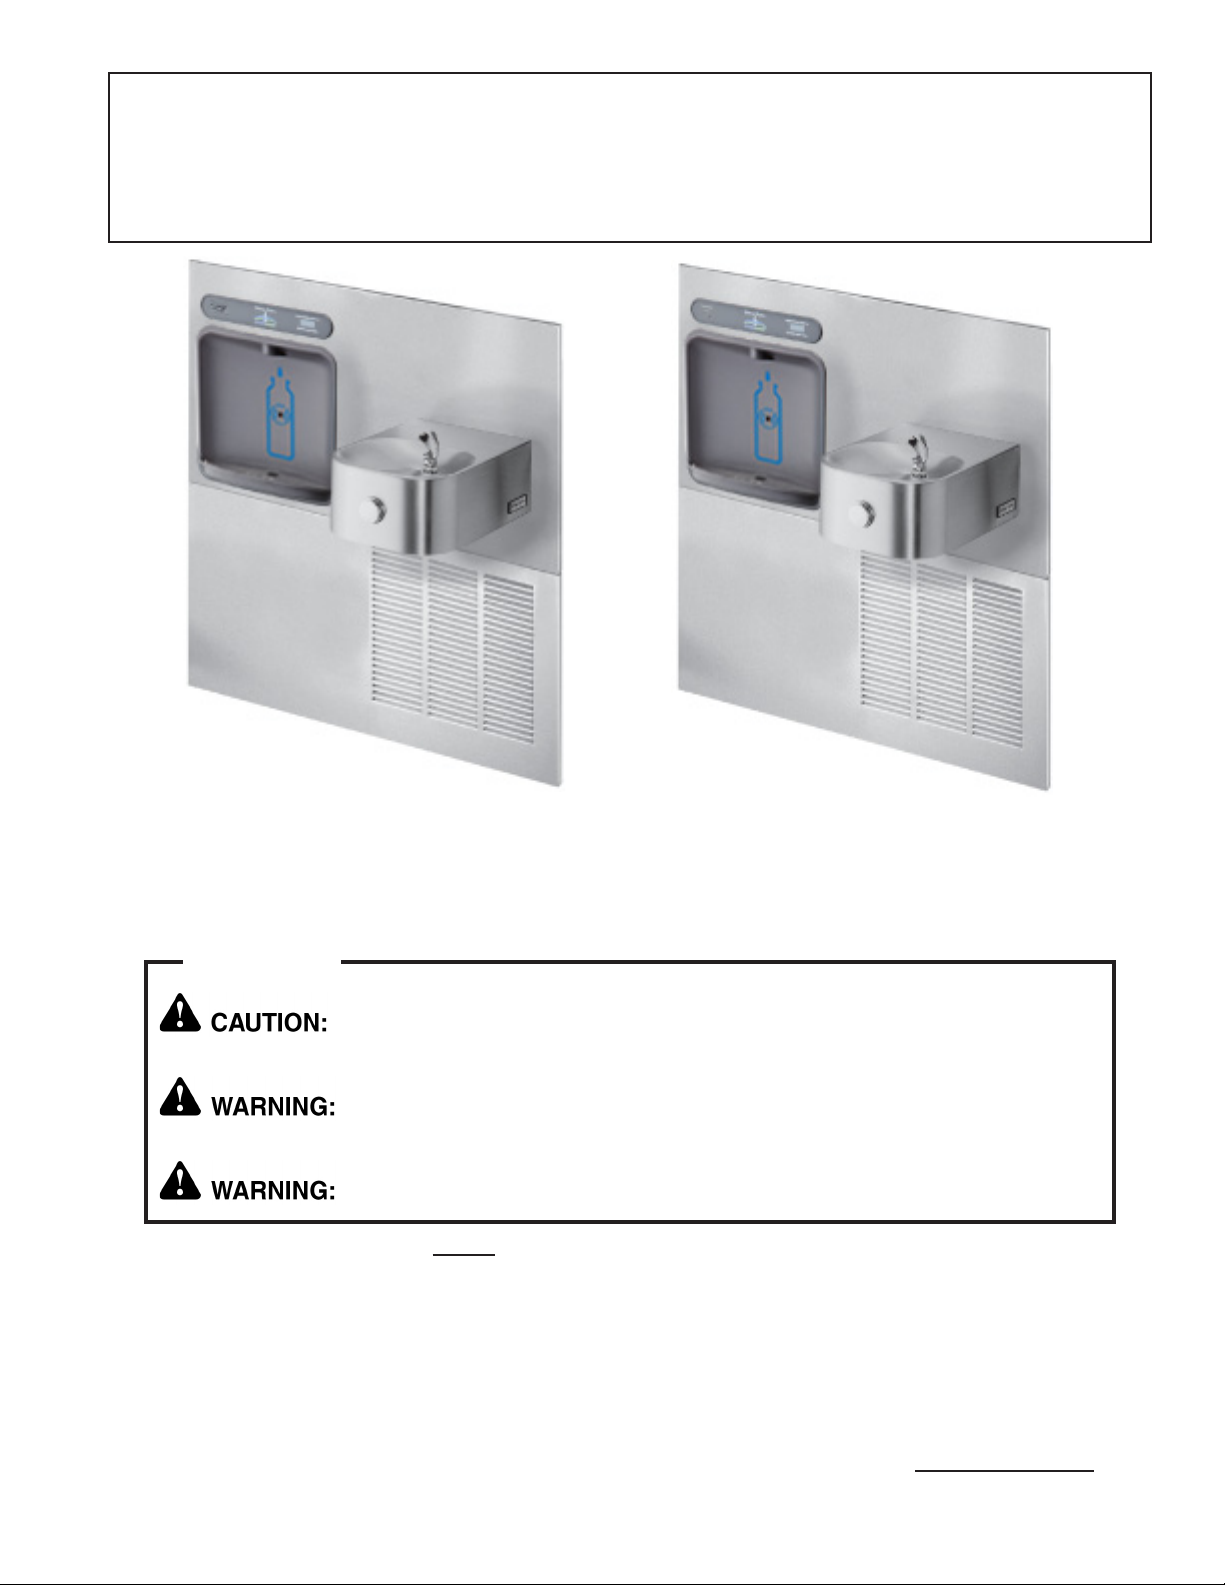
Contour™ Refrigerated Fountains
with Double-Bubbler™ and HydroBoost® Bottle Filler
HTHB-HRF-RF
HTHBWF-HRF-RF
IMPORTANT
THIS IS AN INDOOR APPLICATION ONLY.
ALL SERVICE TO BE PERFORMED BY AN AUTHORIZED SERVICE PERSON.
INSTALLER
Review these instructions before beginning installation. Be sure that installation
conforms to all plumbing, electrical and other applicable codes.
When installation is complete, ensure these instructions are left in the plastic bag
provided inside the installed unit for future reference.
Service to be performed by authorized service personnel only.
NOTE: It is common practice to ground electrical hardware such as telephones, computers and other devices
to available water lines. This can, however, cause electrical feedback in the plumbing circuit, which
results in an “electrolysis” effect occurring in the fountain. This may result in water which has a
metallic taste to it or has a noticeable increase in the metallic content of the water.
When inspecting plumbing circuit, remember the line may be grounded some distance from the
installation, and may occur outside the building or area in which the unit is being installed.
This condition can be avoided (in most cases) by using recommended materials during installation.
Any drain ttings provided by the installer should be made of plastic which will electronically isolate
the fountain from the remainder of the building’s plumbing circuits.
Page 1
0000001062 (Rev. B - 09/14 )
HTHB-HRF-RF HTHBWF-HRF-RF
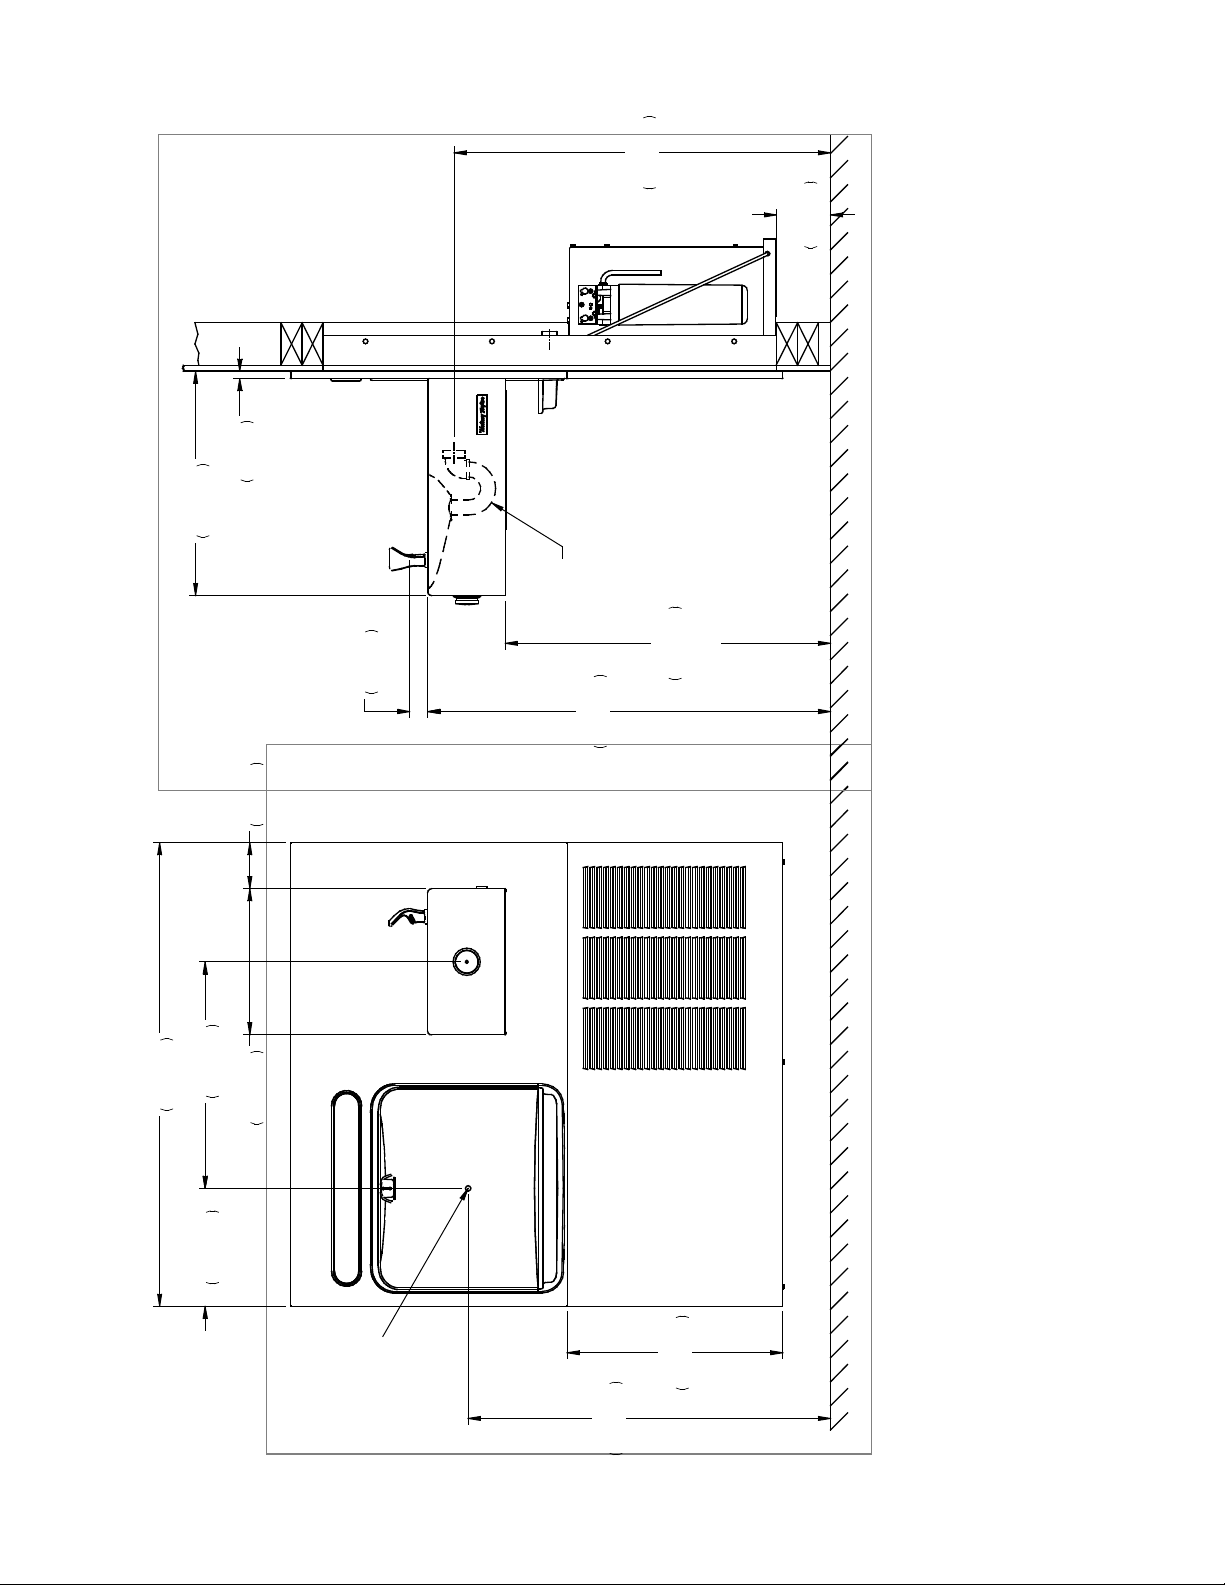
31 1/4"
794mm
4 1/2"
114mm
16mm
5/8"
473mm
18 5/8"
A
1 1/2"
38mm
3 13/16"
97mm
Model HTHBWF-HRF-RF
18 13/16"
38 1/2"
478mm
978mm
12 1/8"
308mm
ADA
27"
686mm
REQUIREMENT
849mm
33 7/16"
9 13/16"
249mm
0000001062 (Rev. B - 09/14 )
Sensor
Activation
30 1/16"
764mm
Figure 1 – Rough-in Dimensions
Page 2
455mm
17 7/8"
LEGEND
A = 1-1/4” Waste Tube
**NEW INSTALLATIONS MUST USE GROUND FAULT CIRCUIT INTERRUPTER *GFCI)
HTHB-HRF-RF HTHBWF-HRF-RF
BOTTLE FILLER / FOUNTAIN RETRO-FIT CONVERSION
REQUIRED TOOLS AND MATERIALS
These tables show special tools and/or additional materials
(not provided) which are necessary to complete installation
of these units:
Tools Not Provided
Description
Safety Glasses
Gloves
Electric Drill / 5/32” Bit
Wrenches, Crescent Wrench,
Channel Lock Type Pliers
5/16” Nut Driver
Hammer / Center Punch
Sockets & Ratchet Wrench
Quantity
1
1
1
1
1
1
1
1
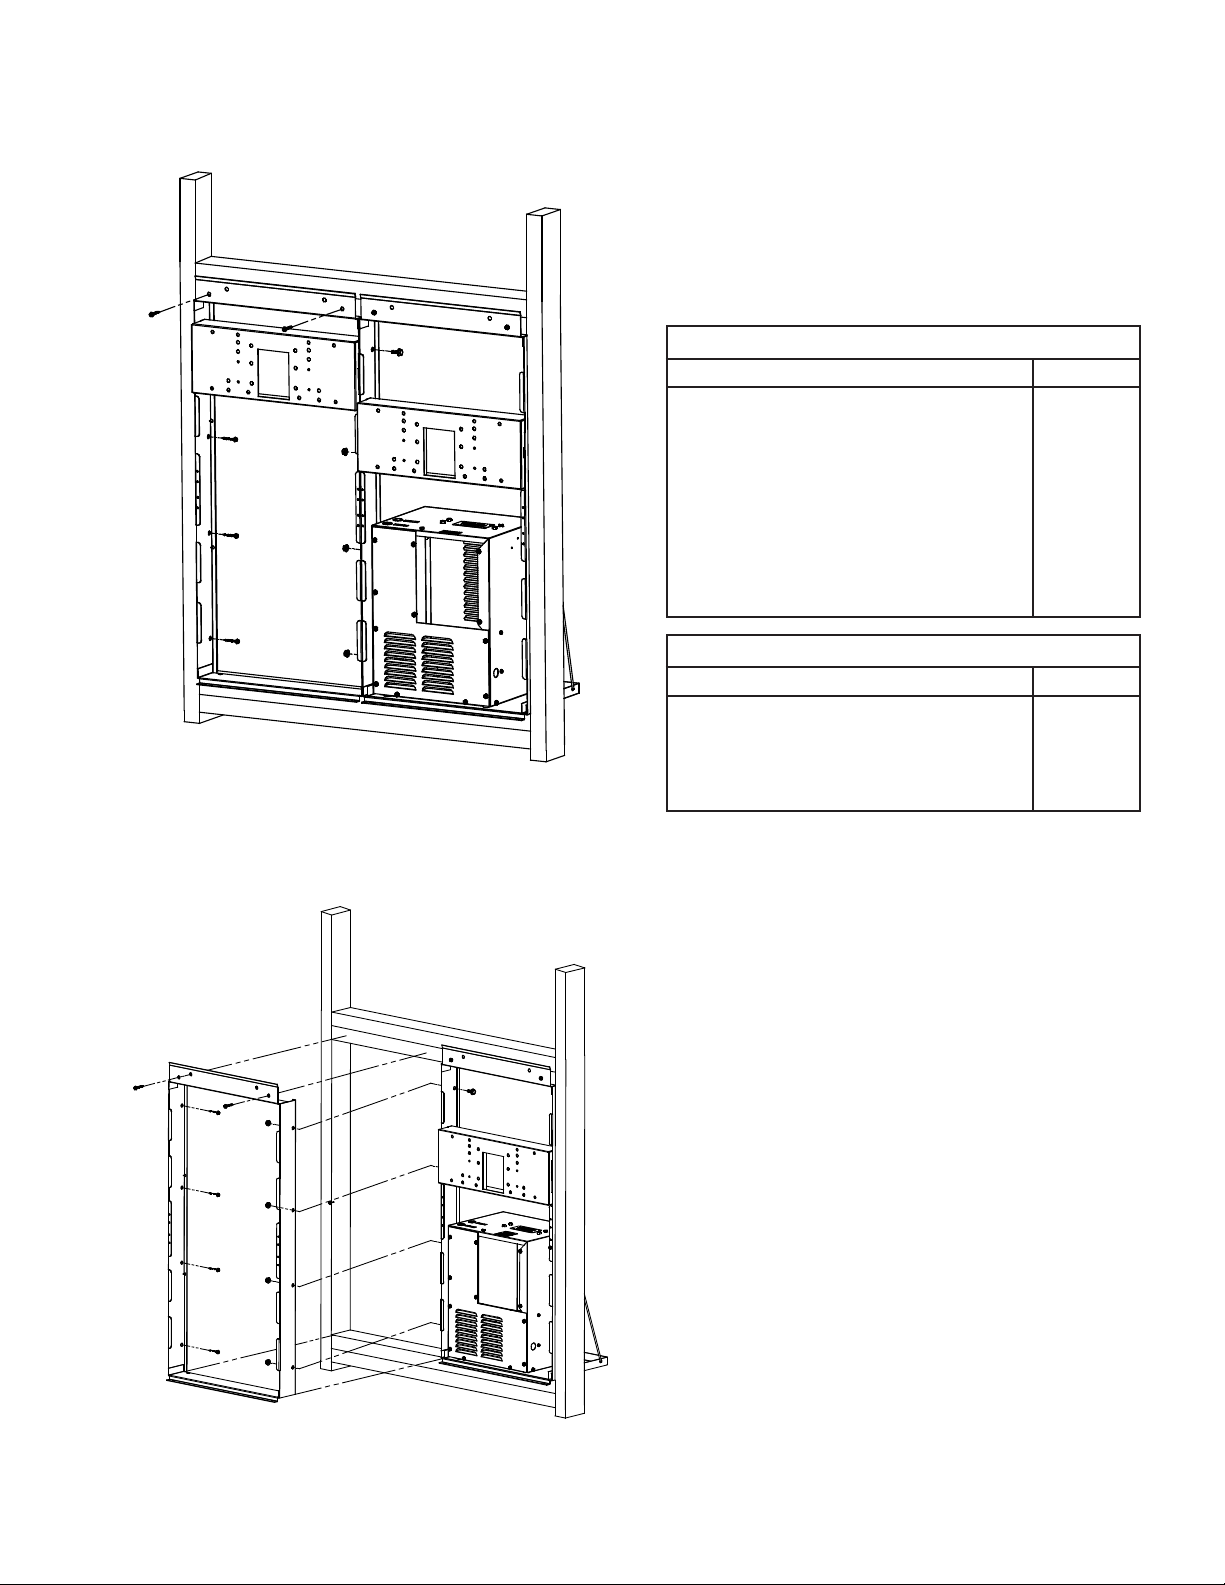
Typical current installation with fountains and panels removed.
Disassemble current Bi-Level Refrigerated fountain installation
Figure 2
Additional Materials Not Included
Item
1
Unplated copper inlet pipe
2
Service Stop/Shut-off Valve
3
90° 1-1/4” Drain Line
4
1-1/4” Tee Drain Line
1. Prepare for conversion. Turn off electrical power and water
supply to existing installation.
2. Disassemble the current installation (See Fig 2).
• Remove existing fountains and plumbing connection lines.
• Remove upper and lower panels
• Remove left hand mounting frame
3. Install new mounting frame into left hand side of wall opening.
• Secure mounting frame to wall opening and adjacent frame.
• Use all fastener holes to secure the frame properly.
Description
Quantity
1
1
2
1
Remove left hand mounting frame, replace with new open frame (included).
Figure 3
Page 3
0000001062 (Rev. B - 09/14 )
 Loading...