


Owner's Manual
THE CHIEF
11HP Gas Pump
CUSTOMER CHECK LIST:
Please do the following immediately upon receipt of your pump:
• Inspect pump for shipping damage.
(Report any damage to freight company.)
• Check to see that any/all accessories that you ordered are
included.
• Record the pump serial number. This can be found stamped on
the top housing, and on the yellow sticker located on the side of
the engine.
• Fill out and return warranty card.
NOTE: Warranty is validated upon the receipt of the
completed Warrranty Registration Card.
• Read all operating and maintenance instructions.
Hale Products Inc, A Unit of IDEX Corporation
700 Spring Mill Avenue
Conshohocken, PA 19428 USA
Phone (610) 825-6300 Fax (610) 825-6440
Page 1
TABLE OF CONTENTS
Introduction & Applications ................................2
Pump Operation ..................................................3
Maintenance ....................................................... 4
Storage................................................................4
Warnings/Safeguards.......................................... 5
Troubleshooting................................................... 5
Revised 4/27/05
Specifications ..........................................6
Pump Curve ............................................7
Accesories ..............................................7
Parts list and Diagrams...........................8-10
Warranty: Briggs & Stratton:..................11
Otterbine...............................12
INTRODUCTION
CONGRATULATIONS! You have just purchased the best pump on the market. At Otterbine®/Barebo, Inc. we
are committed to quality products and service. If you have any problems or questions regarding your new pump,
please contact your qualified Otterbine distributor or call us at 800-237-8837.
Your new pump is a rugged, well-tested tool, but it requires some routine care and maintenance. Please read this
manual before operation.
WARRANTY
The Otterbine® pump is covered by a one-year limited warranty. The engine is warranted by Briggs & Stratton.
Both warranties are enclosed, see inside and outside back cover. The enclosed warranty card must be filled
out and returned for your warranty to be valid.
NOTICE: Pump is shipped with no oil in the engine. Fill with oil before first use.
(See Page 3, Step 1 for more details)
CAUTION: The 1/8" diameter weep hole in the endcap must be kept clear for
proper priming and operation. During normal operation, there will be a stream of
water coming out of this weep hole.
Hale Model #545-4091-07-0 (National Hose Thread Discharge)
Hale Model #545-4091-08-0 (ISO Thread Discharge)
Page 2

Pump Operation
1. Important: Fill crankcase with oil (There is no oil in the crankcase when you receive the pump).
Approx. 1.5 quarts/1.4 liters (verify oil level with the oil dipstick)
• Summer: use SAE 30 Oil.
• Winter (under 40
o
F or 4oC): use SAE 5W-20 Oil.
2. Fill gas tank. Briggs & Stratton recommends using a lead-free gasoline (minimum of 85 octane). Allow
1/4" or 6 mm of tank space for fuel expansion.
3. To Start Engine
A. Open fuel line valve. Turn fuel line valve to "ON" position. It is located above the throttle control.
B. Move throttle control to "FAST" position. The throttle control is located on the side of the engine. Move
the throttle lever to the full right position.
C. Grasp rope handle and pull slowly until resistance is felt. Then pull cord rapidly to overcome compression,
prevent kickback and start engine. Repeat if necessary.
D. After engine is warmed up, adjust throttle as needed FAST or SLOW.
NOTE: Minor adjustments to the carburetor and governor may be necessary to get pump running to specs.
Please refer to Briggs & Stratton engine Owner's Manual which was enclosed with this document.
4. Place pump in water and start for fastest prime.
A. Pump may fail to prime properly if started in fast idle position on shore first.
5. To Stop Engine
A. Move throttle control to "SLOW" position (throttle lever to full left position)
Operating Notes:
• Do not submerse the muffler in water. May cause damage to the engine.
• Use a 3" dia. discharge hose. Chief pumps are low pressure/high volume. Anything less than 3" dia. will
restrict flow and reduce GPM output.
Page 3
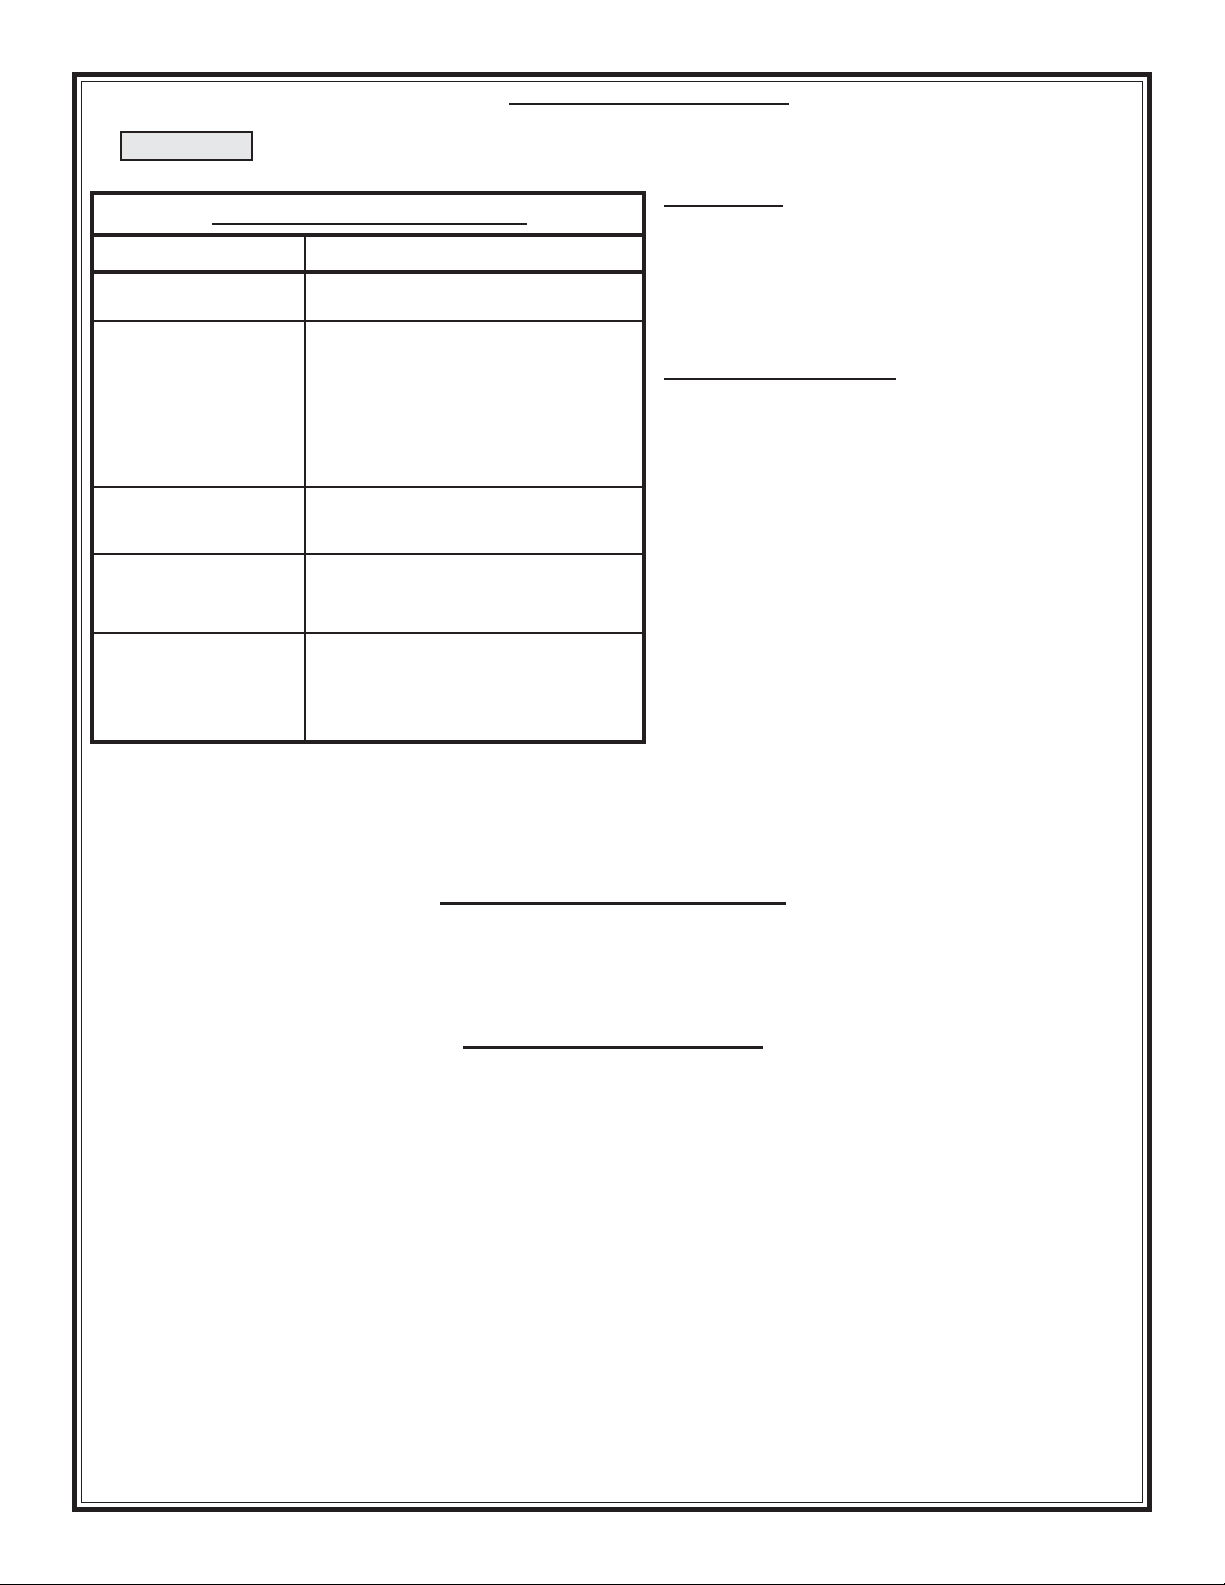
ENGINE MAINTENANCE
CAUTION: Always remove spark plug first. (This prevents accidental starting during servicing.)
MAINTENANCE SCHEDULE
TIME ACTION
After first 5 hours •Change Oil
After every 5 hours •Check Oil Level
•Remove dirt & debris from air
cleaner with a cloth or brush. Cleaning
with a forceful spray is not
recommended as water can contaminate
the fuel system
Every 25 hours/3 months • Clean air cleaner filter
Every 50 hours/ • Change oil
Each season:
Every 100 hours/yearly • Remove blower housing & clear
debris from cooling system.
• Spark plug - clean & reset gap at .03"
• Replace IN-LINE fuel filter.
Change Oil: Drain oil from bottom of the engine.
Change oil while engine is warm, after first 5 hours
& every 50 hours/season thereafter. Change every
25 hours if operated under heavy load, or in high
ambient temperatures.
Clean air cleaner filter:
(Every 25hours/3 months)
1. Lift handle on air cleaner cover and remove.
2. Clean or replace air cleaner filter as necessary.
3. Reinstall air cleaner filter. Reinstall air cleaner
cover and secure into place with the handle.
SALT WATER MAINTENANCE
Otterbine floating pumps may be used in salt water applications providing the pump is immediately flushed with fresh
water after use for 7-10 minutes at full throttle. The exterior hardware must be rinsed and wiped dry.
STORAGE INSTRUCTIONS
If the Otterbine pump is to be stored for 30+days, do the following:
1. To prevent dirt or gum deposits in the fuel system, drain engine of fuel. Run the engine until it stops from lack of
fuel.
2. Float assembly should be removed for easier maintenence. To remove the float assembly, disengage the
hold-down straps (see parts breakdown pages 8 - 10) and lift engine/pump assembly up and away from the float.
3. While engine is still warm, drain oil from crankcase. Refill with oil.
4. Remove spark plug. Pour approximately .5 ounce/15ml of engine oil into cylinder and crank slowly to
distribute oil. Replace spark plug.
5. Clean dirt and chaff from cylinder, blower housing, rotating screen, and muffler area.
6. Store the pump in a clean and dry area.
Page 4

Important Warnings and Safeguards
WARNING:
CAUTION:
DO NOT TOUCH HOT MUFFLER: Contact may cause burns.
DO NOT SUBMERSE ENGINE AND/OR MUFFLER: This may allow water
to enter to engine and damage the pump.
CAUTION:
DO NOT FILL FUEL TANK WHILE THE ENGINE IS HOT: Potential fire
Hazard.
WARNING:
ENGINE EXHAUST FROM THIS PRODUCT CONTAINS CHEMICALS
KNOWN, IN CERTAIN QUANTITIES, TO CAUSE; cancer, birth
defects, or other reproductive harm.
Pump will not prime:
Unit will not pump properly:
Pump will not start:
TROUBLESHOOTING
Systematic order of RepairSymptom
a. Check the weep hole in the endcap. It must be kept clear.
b. Check that hose is not kinked
c. Hose may have some flat, compressed areas. Squeeze
these areas to open the hose and alleviate back pressure.
a. Check the weep hole in the endcap. It must be kept clear.
b. Check the intake for debris.
c. Check oil; if there is water in the oil, change it.
d. Using hose smaller than 2.5" (63mm) diameter will reduce
output. Verify hose diameter.
e. If starting pump on shore, make sure idle is set low when
placed in water.
f. If pump does not prime while starting on shore, place pump
in water prior to starting engine.
g. Check engine speed. Throttle should be fully open. Engine
speed should be 3600 rpm at no load.
a. Check spark plug wire.
b. Check gas level and fuel line valve is open.
Too much oil or grey colored oil:
Pump no longer achieves manufactureres
performance spec.s
a. Drain oil. Refill and run engine for about 5 min. Drain oil
and refill. Continue procedure until oil is no longer discolored.
b. Next time pump is operated, check oil for greyish color, if
this persists, take pump to an authorized Briggs & Stratton
repair center to have engine seal changed.
a. Remove discharge flanges and or end plug. Remove
bottom housing bolts and seperate bottom housing from top
housing. (you will need to pry apart silicone seal)
b. Inspect impeller, bottom and top housing for wear or
damage. Replace as needed. Note: Be sure to inspect top
housing if impeller has significant wear.
Page 5

Chief 11.5HP Pump Specifications
UNIT SIZE
Shipping Weight
Net Weight
Engine Capacities
Engine Specifications
Pump Body
30" x 30" x 23" (76cm x 76cm x 58.5cm)
In box fully assembled:
131 lbs (59.4 Kilograms)
118 lbs (53.5 Kilograms)
Pump: 86 lbs (39.0 Kilograms)
Float: 32 lbs (14.5 Kilograms)
Gas tank 3 Quarts / 2.8 Liters
O i l 1.5 Quarts / 1.4 Liters
Briggs & Stratton Intek Series
11.5HP, 3600 RPM @ no load
21 cubic inch / 344 cc
Single cylinder
Overhead Valve (OHV) Design
Advanced Anti-Vibration System (AVSTM)
.5" / 1.2cm cast aluminum alloy. Built-in suction guard and skids
Discharge
Float
Pump Performance
Lubricant
and
Fuel
2.5" NST male / ISO 228/1-G21/2A Parallel Pipe
3" / 8mm hose diameter recommended for full output. 2.5"/6.5mm
minimum.
High density polyethylene shell filled with closed-cell polyurethane
foam.
Chief - 1 Discharge (See Page 7 for Pump Curve)
Max head pressure 50 psi (3.4 Bars)
Max. head 115 feet (35 meters)
Max. output 425 GPM (1609 LPM) @ 7 psi
Above 40
Below 40
o
F / 4OC SAE 30
o
F / 4oC SAE 5W-30, 10W-30
Lead-free, minimum of 85 Octane
Note: Use detergent oil classified for service, SC, SC, SE, SF, SG.
Page 6

PSI
at
Port
Chief 1 1.5HP Pump Curve
Gallons per Minute
Optional Accesories
Description
#
1
Intake screen for stopping small debris: 1/8" dia. openings in screen
2
25', (7.62 m), Hose assembly
3
50', (15.24 m), Hose assembly
4
100', (30.48 m), Hose assembly
5
2.5" NST x 3" NPSH Adaptor
Standard engine has a one (1) year limited warranty on entire engine.
Part #
12-0025
F-203-H25
F-203-H50
F-203-H100
46-0021
See back page for Briggs & Stratton warranties
Page 7

OTTERBINE® CHIEF 11.5HP PORTABLE FLOATING PUMP
REPLACEMENT PARTS LIST
DIAGRAM
NUMBER
1
2
5
6
7
8
9
10
11
12
13
14
15
16
17
18
19
20
21
22
23
24
25
PART DESCRIPTION
Engine, Briggs & Stratton, 11.5HP
Lower & Upper Housing Assembly
Discharge Flange
Hex Bolt, S/S, 5/16"-18 x 1"
Hex Bolt, S/S, 1/4"-20 x 1"
Discharge/Plug Gasket
End Cap/Plug
Handle, (with keepers)
Handle Brace
Hex Bolt, S/S, 1/4"-20 x 1.25"
Nylon Lock Nut, S/S, 1/4"-20
Square Nut, S/S, 5/16"-18
Internal Star Washer, S/S, 1/4"
Impeller, 10.5HP High Volume
Lock Washer, S/S, 7/16"
Hex Bolt, S/S, 7/16"-20 x 1.5"
Hex Bolt, Plated, 5/16"-18 x 1.25"
Internal Star Washer, S/S, 5/16"
Hex Bolt, S/S, 1/4"-20 x 7/8"
Fender Washer, S/S, 5/16"
Lip Seal, Self-Adjusting
Engine Gasket
Silicone Grease (not shown) - applied between lip seals
QTY
1
1
1
2
16
2
1
1
1
1
2
2
16
1
1
1
4
4
1
2
2
1
---
OTTERBINE
PART NUMBER
30-0026-011
10-0077
41-0009
MP2008
EP5100
EP2503
41-0010-001
60-0009
60-0010
101-001
C2-112
26-0002
927-001
41-0135
EP6401
22-0030
EP5001
927-005
101-016
28-0008
49-0025
49-0029
48-0014
Page 8

Chief 11.5HP Parts Breakdown
Pumping Assembly
11
21
13
12
1
10
20
19
14
13
5
8
18
7
24
23
17
2
9
7
16
15
8
15
2
6
22
Page 9

Chief Parts Breakdown
Float Assembly (P/N 01-0002-002)
Item
Number
1
2
3
4
5
6
7
Description
Float, 2 sections
Flex Draw Latch
Well Nut, 10 - 32
Carriage Bolt, S/S, 5/16" - 18 x 5 3/4"
Cap Nut, Brass, 5/16" - 18
Phillips Screw, S/S, 10 - 32 x 3/4"
Flat Washer, S/S, 5/16"
Qty
2
2
4
2
2
4
2
Part
Number
42-0035
46-0015
21-0010
22-0008
BP2811
24-0003
28-0018
1
3
5
7
4
2
6
Page 10

NOTE: This is a reprint of Briggs & Stratton Corporation printed warranty. The engine installed on this pump is warranted by
Briggs & Stratton Corporation.
Page 11

OTTERBINE® PORTABLE PUMP LIMITED ONE YEAR WARRANTY
Otterbine Portable Pump Serial #____________________________
Please note that this limited one year warranty applies to all components of the OTTERBINE PORTABLE
PUMP except for the gasoline engine, which is warranted separately and exclusively by the manufacturer, Briggs
& Stratton Company. See accompanying warranty information provided by Briggs & Stratton.
WARRANTY: BAREBO, INC. located at 3840 Main Road East, Emmaus, PA 18049 USA, hereby warrants,
subject to the conditions hereinbelow set forth, that should this OTTERBINE PORTABLE PUMP prove
defective by reason of improper workmanship or materials at any time during one (1) year of date of delivery to
the Purchaser at retail only that BAREBO will repair or replace the said OTTERBINE PORTABLE PUMP as
may be necessary to restore it to satisfactory operating condition, without any charge for materials or labor
necessarily incident to such repair or replacement, provided that:
(a) The enclosed Warranty Registration Card must be mailed to BAREBO within fifteen (15) days of original
receipt by the Purchaser at retail.
(b) The OTTERBINE PORTABLE PUMP must be delivered or shipped, prepaid, in its original container or a
container offering an equal degree of protection, to BAREBO or a facility authorized by BAREBO to render the
said repair or replacement services, or, if purchased from an authorized OTTERBINE dealer, to such dealer:
(c) The OTTERBINE PORTABLE PUMP must not have been altered, repaired, or serviced, by anyone other
than BAREBO, a service facility authorized by BAREBO to render such service, or by an authorized
OTTERBINE dealer, and the serial number of the OTTERBINE PORTABLE PUMP must not have been
removed or altered; and
(d) The OTTERBINE PORTABLE PUMP must not have been subjected to lightning strikes, vandalism,
freezing-in, accident, misuse or abuse, and also installed, operated, and maintained in accordance with guidelines
in the Owner's Manual shipped with this OTTERBINE PORTABLE PUMP.
No implied warranties of any kind by BAREBO in connection with this OTTERBINE PORTABLE PUMP and
no other warranties, whether expressed or implied, including implied warranties of merchantability and fitness for
a particular purpose, shall apply to this OTTERBINE PORTABLE PUMP.
Should this OTTERBINE PORTABLE PUMP prove defective in workmanship or material, the retail
Purchaser's sole remedy shall be repair or replacement as is hereinabove expressly provided and, under no
circumstances, shall BAREBO be liable for any loss, damage or injury, direct or consequential, arising out of the
use of, or inability to use, this OTTERBINE PORTABLE PUMP, including but not limited to retail Purchaser's
cost, loss of profits, goodwill, damages due to loss of product or interruption of service, or personal injuries to
Purchaser or any person.
Page 12
 Loading...