

Haier XQG50-RC1000TXB, XQG50-RC600TXBS, XQG50-RC800TXBS Operational Manual

Operational Manual
Haier
Automatic Drum Washing Machine
Model: XQG50-RC800TXBS
XQG50-RC600TXBS
XQG50-RC1000TXB
Patent No.: 196.000.017.00
• Please read this manual
carefully before use
• Keep this manual in a safe
place.
Table of Contents
Before Use
Washing Machine Diagram ..… Inside front cover
Matters Needing Attention ……………... 1-3
Installation ……………………………….. 4
Control Panel …………………………..… 7
Operational Functions ……………………. 8
During Use
Operational Programming Guide ………… 9
Preparation ……………………………… 10
Washing Methods ……………………….. 11
Hints for Saving Energy ………………… 12
Maintenance
Maintenance …………………………….. 13
Troubleshooting ……..…………………. 14
Electric Circuit Diagram ………………… 15
Specifications ..………………… Back cover

Washing Machine Diagram
Detergent distribution drawer Top
Operational buttons Programming knob
Door Door button
Porthole Wash temperature knob
Power cable Anti-vibration U steel
Spare earth terminal Drainage hose clip
Back plate screw (×3) Packing bolt (×3)
Drainage hose Back plate
Safety Signs
For your safety, any
instructions in this
manual with this
“Warning” sign shall
be strictly followed.
For your safety and
to prevent damages to
the washing machine,
any instructions in
this manual with this
“Stop” sign shall be
strictly followed.

Matters Needing Attention
Safety
1. A separate earthed socket is required
for the power supply. The socket
should be reachable by the power
cable of the machine.
2. Hold the plug and not the electric
cable when unplugging the washing
machine.
3. Fuses in the power circuit should be
rated for 15A. Refer to a washing
machine technician or a Haier
designated service point for power
cable replacement.
4. Do not touch or use the washing
machine bare-footed or when the
hands or feet are wet.
5. Do not use flammable detergent or
dry cleaning agent; do not use
flammable spray in close vicinity to
the washing machine; do not remove
or insert the plug in the presence of
flammable gas.
6. The door of the washing machine
will become hot during the heating
process. Avoid contact with the door
during the heating process. For
safety, keep children away from the
washing machine.
7. Keep children away from the packing materials after unpacked.

Matters Needing Attention
8. The washing machine should not be
installed outdoors or in a damp place. In
the event of water leakage or splashes
allow the machine to dry naturally.
9. Do not place the washing machine
directly on a carpet, or close to a wall
or furniture.
10. Keep away from heat sources and
direct sunlight to prevent plastic and
rubber components from aging.
11. During installation, ensure that the
electric cable is not trapped by the
washing machine and avoid damage to
the electric cable.
During Use
1. Before use, check the discharge hose, the
tap and the joints for possible problems
fro m water pressure fluctuations. If joints
are loose or there is leak, turn off the tap
and repair. Do not use the washing
machine until the hoses are properly
fixed.
2.
After turning the power off, turn the
programming knob clockwise to select a
washing mode.

Matters Needing Attention
3. Do not place heavy, heating source or
wet articles on the top of the washing
machine.
4. Do not hot wash foam rubber or
sponge-like materials.
5. Before washing, do up zippers,
buttons and clothes straps and put
small articles, such as socks, laces or bras,
into a washing bag or a pillow.
Steel wires in bras
will pop out during
washing; never wash
bras containing steel
wires.
6. Bleaching powder should be put into
the designated box.
7. Do not open the detergent
distribution drawer during the wash
cycle.
8. The door is fitted with a self-lock
device and will not open until 2~3
minutes after the washing machine
stops. Do not force the door open. Do
not open the door if water level can
reach the porthole.
9. After washing, turn off the tap to
prevent leakage; unplug the washing
machine and wipe clean the lower
part of the porthole.
10. Keep the door slightly open when the
washing machine is not in use to
prevent the formation of odors; do
not cover the washing machine with
plastic cover so that inside dampness
cannot be kept in.
Installation
As shown in Fig. 1, remove all the
packing materials (including the foam
base).
Fig. 1
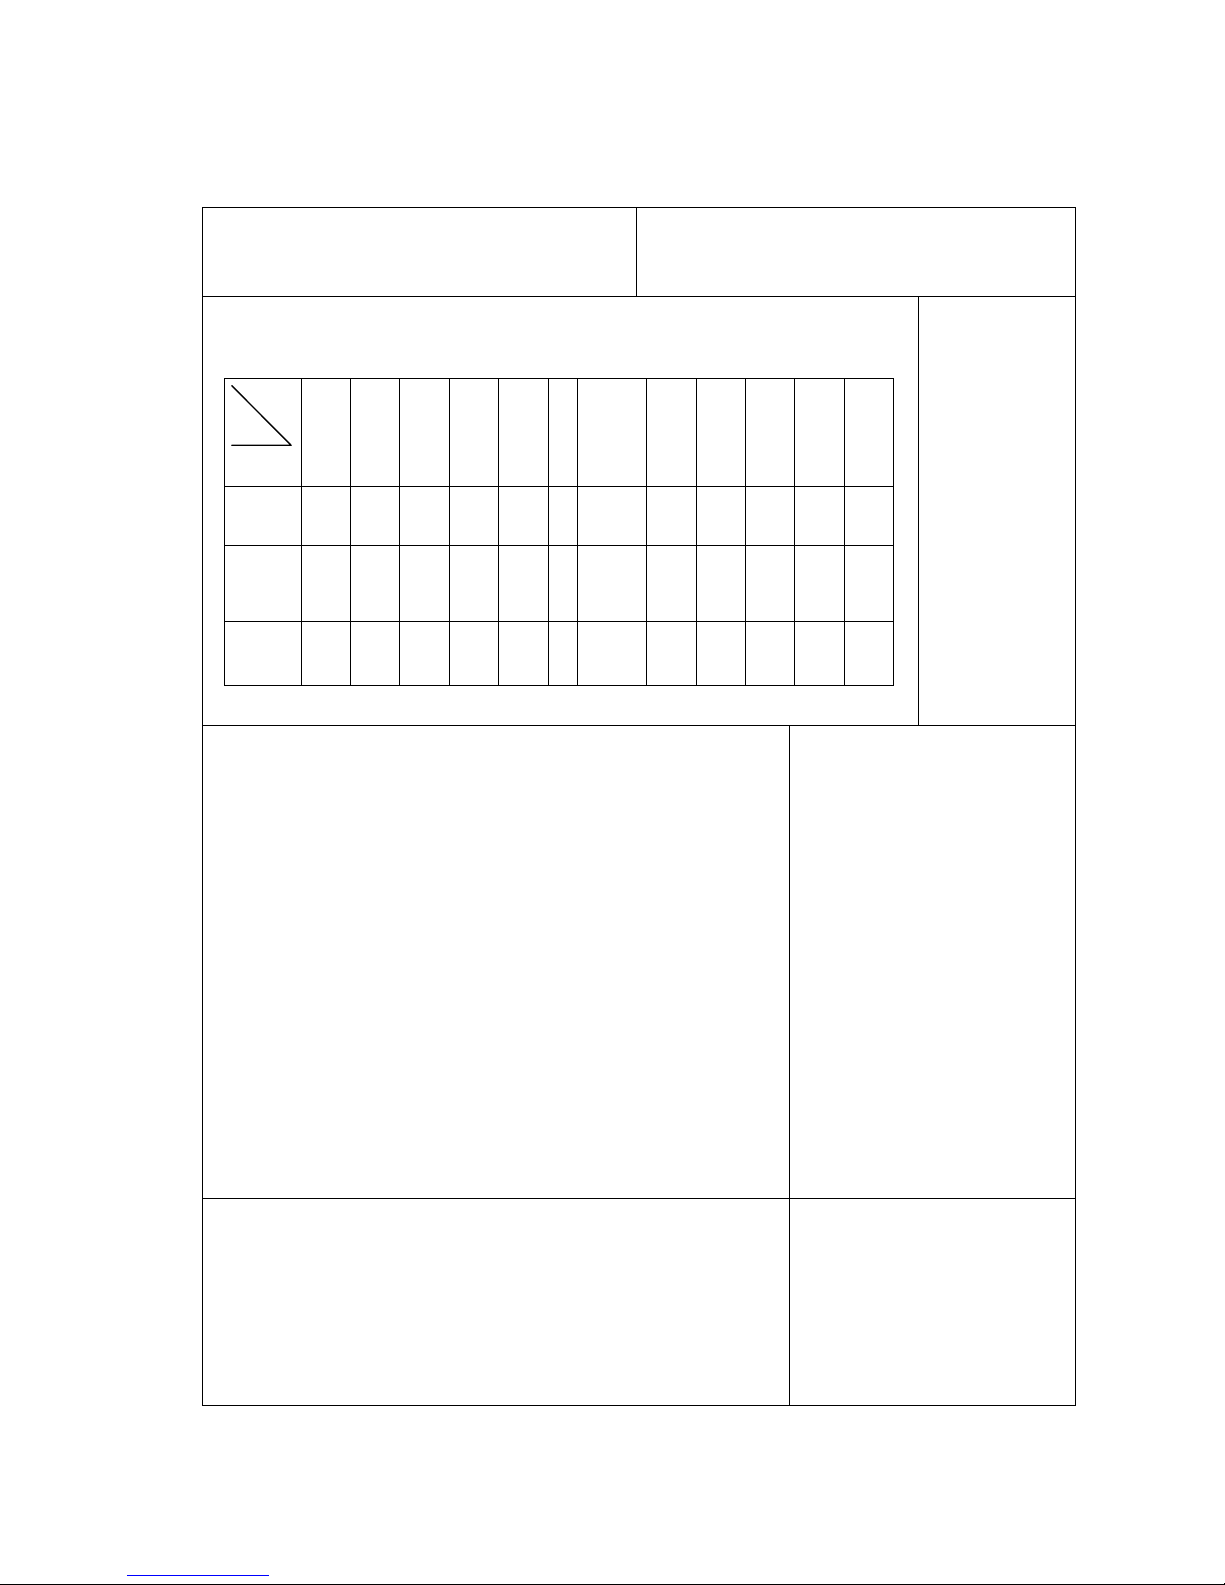
Check attachments and materials with reference to the Packing List, as
shown in Fig. 2.
Name
Qty
Model
Service
manual
User
re
g
istr
y
car
d
Quality
certificate
Reminding
card
Guarantee
car
d
S
p
anne
r
Friendly
reminding
car
d
Inlet hose
ssembla
g
e
Drainage
hose holde
r
Earth cable
Anti-splash
p
lu
g
Distribution
box
XQG50RC800T
XBS
1 1 1 1 1 1 1 1 1 1 3 1
XQG50RC600T
XBS
1 1 1 1 1 1 1 1 1 1 3 1
XQG50RC1000T
XB
1 1 1 1 1 1 1 1 1 1 3 1
1)Drainage hose
holder
2) Quality
certificate
3)Guarantee card
4)User registry card
5)Spanner
6)Operational
manual
7)Reminding card
8)Anti-splash
plastic plug
9)Friendly
Reminding card
10) Distribution
box
11) Inlet hose
assemblage
12) Earth cable
(Fig. 2)
Dismantle the packing bolts as shown in Fig. 3.
The packing bolts are designed for clamping anti-vibration
components inside of the washing machine during the
transportation process. Before use:
1. Remove the back plate;
2. Remove the three packing bolts on the back plate and take
out the rubber hose;
3. Reinstall the back plate;
4. Fill the holes left by the packing bolts with plastic plugs.
(Attention: The packing bolts and rubber hose should be kept in a
safe place for later use)
(Fig. 3)
Adjusting the washing machine
There are adjustable feet under the bottom of the washing
machine. Before use, the washing machine should be adjusted, as
shown in Fig. 4, so that it is level.
(Fig. 4)

Joining the inlet hose to the washing machine
1. Connect the nut on the inlet hose to the connector on the water valve.
2. Tighten the nut to secure the hose
nut
connector
Drainage hose
The height of the drainage outlet must be 80cm ~ 100 cm. To prevent the drainage hose from
dropping off, fix it to the drainage hose clip at the back of the washing machine.
Use the drainage holder to keep the end of the drainage hose retained and prevent the outflow of
water. It is recommended that the length of the drainage hose not be increased; if an increased length
hose is required, please consult a serviceman. The additional hose should be no more than 250
cm (overextended hoses could lead to siphonage). Note: The drainage hose should not be submerged
in water and should be securely fixed and leak-free.
Connecting to the power supply
Before connecting to the power supply, check:
The socket is adequate for the maximum power of the washing machine (For safety, fuses in the
power circuit should be rated for no less than 15A).
The voltage should meet the requirement.
The power outlet should be capable of accepting the washing machine plug.
The washing machine must be earthed before use.
If the power socket is earthed, no need to use the spare earth cable.
If the power socket is not earthed, use the spare earth cable. Connect one end of the earth cable to
the terminal at the back of the washing machine, and make sure another end is earthed properly.
Caution: Never connect the earth cable to water pipes or heating pipes.
 Loading...