

Page 1
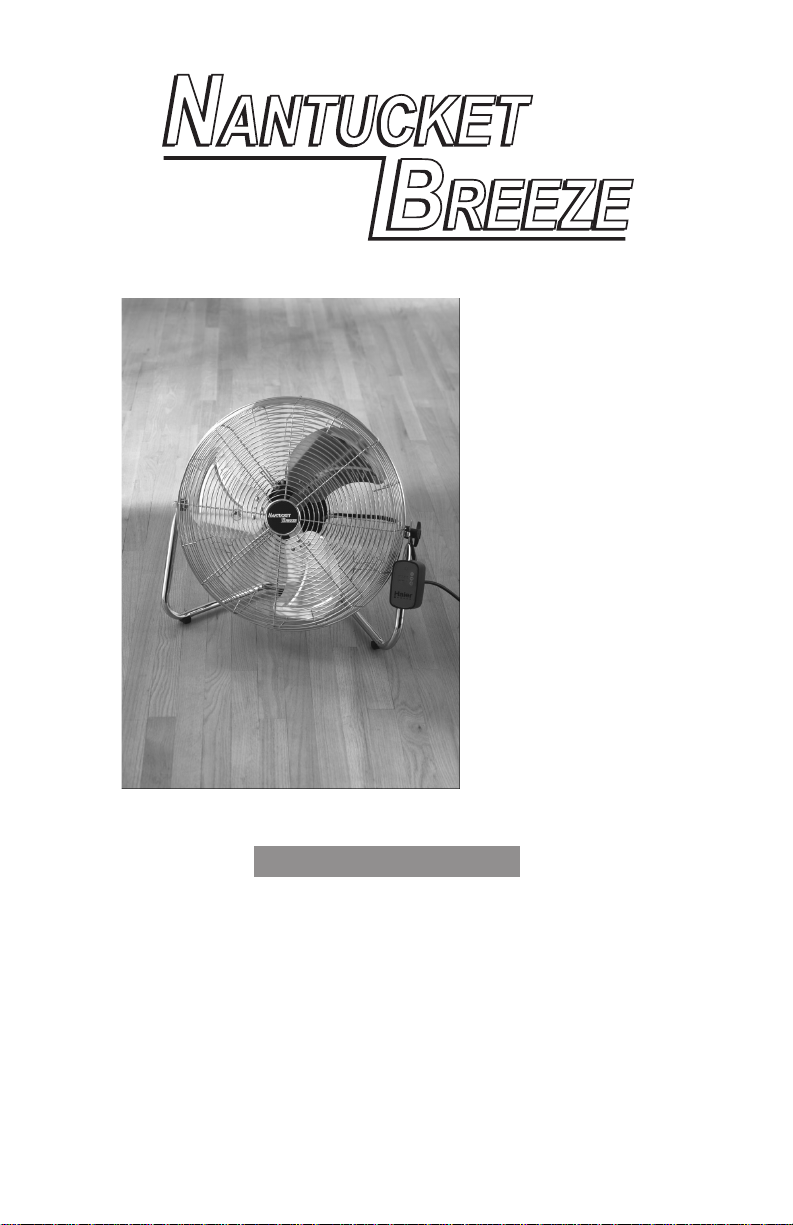
20” High
Velocity
Floor Fan
with Remote
Control
BEFORE OPERATING THIS PRODUCT, READ UNDERSTAND AND FOLLOW
THESE INSTRUCTIONS.
User Manual -
Model # NBFFMR02
Page 2

1
English
IMPORTANT SAFEGUARDS
Warning! When using electrical appliances, basic safety precautions should always
be followed to reduce the risk of fire, electric shock, and injury to
persons, including the following:
• READ ALL INSTRUCTIONS BEFORE USING THIS APPLIANCE.
• To reduce the risk of fire or electric shock, DO NOT use this fan with any
solid-state speed control device.
• Keep unit away from heated surfaces and open flames.
• Keep the cord away from heavy traffic areas. DO NOT let the cord hang over
the edge of a table or counter. To avoid fire hazard, NEVER put the cord under
rugs, near heaters, radiators or stoves.
• To avoid fire or shock hazard, plug the appliance directly into a 120 Volt AC
electrical outlet.
• To protect against electrical hazards, DO NOT immerse in water or other liquids.
Do not use near water or place near a window where rain may enter and come
in contact with the unit.
• Close supervision is necessary when any appliance is used by or near children, or
by disabled persons.
• DO NOT operate any appliance with a damaged cord or plug, if motor fan fails
to rotate, after the appliance malfunctions, or if it has been dropped or damaged
in any manner.
• DO NOT attempt to repair or adjust any electrical or mechanical functions on this
unit. Doing so will void your warranty. Return the appliance to the manufacturer
for examination, electrical or mechanical adjustment, or repair.
• DO NOT operate in the presence of explosive and/or flammable fumes.
• Use appliance only for its intended household use as described in this manual.
Any other use not recommended by the manufacturer, such as commercial or
industrial use, may cause fire, electric shock, or injury to persons.
• DO NOT use outdoors.
• Always unplug the fan before assembly or disassembly, when moving from one
location to another, before cleaning, or whenever the fan is not in use.
• To disconnect, grip the plug and pull it from the wall outlet. Never pull on the
cord.
• Always use on a dry, level surface.
• Avoid contact with moving parts. DO NOT operate without fan grills properly in
place.
SAVE THESE INSTRUCTIONS!
WARNING: This fan is equipped with a polarized alternating current line plug (one
blade is wider than the other). This plug fits into the power outlet only
one way. This is a safety feature. If you are unable to insert the plug
fully into the outlet, try reversing the plug. If the plug still fails to fit,
contact an electrician to replace the obsolete outlet. Do not defeat the
safety purpose of the polarized plug.
Page 3

2
English
STAND ASSEMBLY
1. Connect the 2 legs together and tighten the fixing screw.
2. Unscrew the flat washer and nut from the shock resistant block.
3. Align the hole of stand to the shock resistant block and tighten the flat washer and nut. Do the same
procedure on the other side.
OPERATION INSTRUCTIONS
1. Set the fan base on a dry, level surface. Plug the cord into the 120V outlet.
2. Press ON/SPEED on the remote control or on the control panel to switch the fan on. The fan speed Low,
Medium, or High can be selected by pressing SPEED on the remote control or on the control panel. The
light on the indicator will come on to show the speed selected.
3. The fan can be used continuously or on a timer. To select the timer, press TIMER on the remote control or
on the control panel and continue to press to cycle through the settings (0.5 to 7.5 hrs). The lights will
come on to show the time selected.
4. Press OFF on the remote control or on the control panel to switch the fan off.
5. To ADJUST AIRFLOW UPWARD OR DOWNWARD: Tilt fan head to the desired angle. This high velocity
fan can be used alone or in conjunction with air conditioning. Rotating the fan head upward serves to
pull air from the floor and circulate it throughout the entire room.
Note: Batteries are not included in this fan. To replace batteries, press the indentations on back of the
remote control and remove the cover, insert 2 AAA batteries inside the remote and replace cover.
HOW TO ADJUST TILT
1. Place knob over tilt nut.
2. Use knob to loosen tilt nut by turning counter clockwise.
3. Adjust fan head to desired tilt.
4. Tighten the tilt nut by turning clockwise.
5. Keep knob for future use.
CLEANING
WARNING: Unplug from electrical supply source before cleaning.
1. Use soft damp cloth to clean. Then wipe with dry cloth.
2. Do not use a cleaning solution that is harmful to paints or plastics.
3. Do not bend the blades.
4. The motor bearings are permanently sealed and do not require additional lubrication.
Control Panel
Page 4

Issue: November. 04
Limited Warranty
This item is warranted to be free from defects in materials or workmanship for a period of five (5) years
from the original date of purchase under normal household use. Within the warranty period, we will
replace the product. This warranty extends only to the original retail purchaser, and excludes any damage
to the product resulting from accident or misuse. The product is not warranted when used in a commercial
or business environment. The above warranty is complete and exclusive. The warrantor expressly disclaims
liability for any special, incidental, indirect, or consequential damages in connection with the purchase or
use of this product or costs over the original purchase price. Any implied warranties arising by operation of
law shall be limited in duration to the terms of this warranty. This warranty gives you specific legal rights
and you may have other rights, which vary by jurisdiction. This warranty is valid only within the United
States of America.
IMPORTANT! Do not return this product to your retailer. If for any reason this product malfunctions, please
follow the directions below and return the product to the manufacturer to receive areplacement product of
equal or greater value. 1-877-337-3639
Cut the power cord off the product. (MAKE SURE THAT THE PRODUCT IS REMOVED FROM THE POWER
OUTLET.) Remove the rating tag/label from the back or bottom of the product. Return both items to the
closest return center with a check for $5.99 to cover shipping and handling. Please be sure to include your
return address. Allow 10-15 working days for shipment.
Haier Return Center
1356 Broadway
New York, NY 10018
 Loading...