

Haier LC-2710D Operating Instructions Manual
LC-2710D
LC-3210D
LC-2710D
LC-3210D
COLOR TELEVISION
OPERATING
INSTRUCTIONS
◆LCD Display
◆Wide View-angle Display, high contrast
◆HDMI input
◆Parental guidance
◆CCD function
◆MTS
0090508203

CONTENTS
Warning and caution............................................................................................1
Important safety instructions................................................................................4
Buttons and interface position...............................................................................5
Base disassembly method and preparation for wall mount bracket......................6
Preparation for remote control..............................................................................7
Remote control panel............................................................................................8
Basic operation......................................................................................................9
Screen display......................................................................................................10
TV program setting..............................................................................................11
Picture control......................................................................................................12
Sound control.......................................................................................................13
Screen setting.......................................................................................................14
CCD functions.....................................................................................................15
Parental guidance.................................................................................................16
Parental control....................................................................................................17
Other functions....................................................................................................18
External audio and video equipment connection.................................................21
Using your TV as a computer display..................................................................22
Specifications.......................................................................................................23
Trouble shooting guide........................................................................................24
1
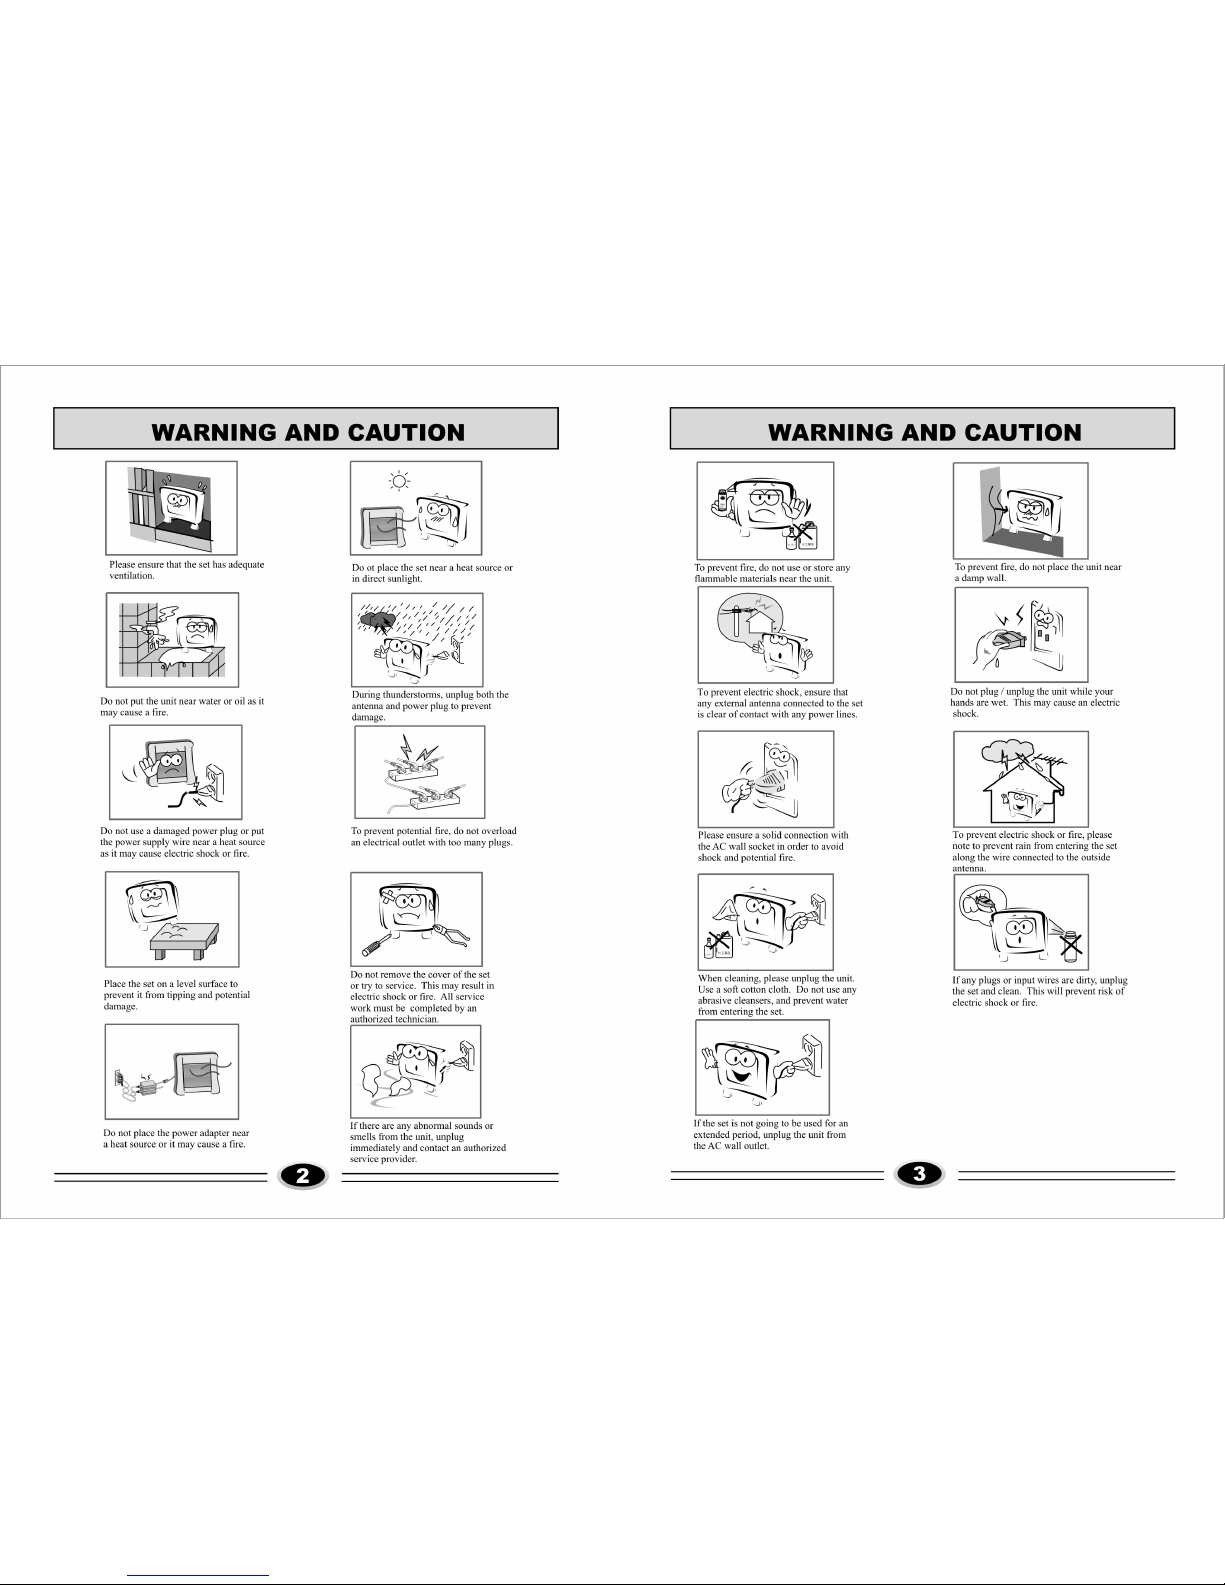
WARNING AND CAUTION
CAUTION:
TO REDUCE THE RISK OF ELECTRIC SHOCK, DO NOT REMOVE
COVER (OR BACK). NO USER SERVICEABLE PARTS INSIDE.FOR
ANY PROBLEM, REFER SERVICING TO QUALIFIED SERVICE
PERSONNEL.
THERE IS A LIGHTNING ARROW SYMBOL IN THE TRIANGLE:
THIS SYMBOL INDICATES HIGH VOLTAGE IS PRESENT INSIDE.
IT IS DANGEROUS TO MAKE ANY KIND OF CONTACT WITH ANY
INSIDE PART OF THIS PRODUCT.
THERE IS A EXCALMATION MARK IN THE TRIANGLE: THIS
SYMBOL ALERTS YOU THAT IMPORTANT LITERATURE
CONCERNING. OPERATION AND MAINTENANCE HAS BEEN
INCLUDED WITH THIS PRODUCT.
CAUTION
DO NO T OPENDO NO T OPEN
RIS K OF ELEC TRIC SH OCK RIS K OF ELEC TRIC SH OCK
!!
!!
CAUTION:
TO REDUCE THE RISK OF ELECTRIC SHOCK AND FIRE,
DO NOT PUT THE TV SET NEAR SOURCES OF HUMIDITY.
DO NOT USE ANY ABRASIVE CLEANSERS WHICH MAY
SCRATCH OR DAMAGE THE LCD SCREEN. AVOID CONTACT
WITH OBJECTS THAT MAY SCRATCH THE LCD SCREEN.
NOTE: SERVICING THE UNIT YOURSELF IS UNAUTHORIZED
AND COULD LEAD TO INJURY OR PRODUCT DAMAGE.
IMPORTANT SAFETY INSTRUCTIONS
1) Read these instructions.
2) Keep these instructions.
3) Heed all warnings.
4) Follow all instructions.
5) Do not use this apparatus near water.
6) Clean only with a dry cloth.
7) Do not block any ventilation openings. Install in accordance with the
manufacturer's instructions.
8) Do not install near any hear sources such as radiators, heat registers, stoves, or
other apparatus (including amplifiers) that produce heat.
9) Do not defeat the safety purposes of the polarized or grounding type plug. A
polarized plug has two blades with one wider than the other. A grounding type
plug has two blades and a third grounding prong. The wide blade or the third
prong is provided for your safety. When the provided plug does not fit into your
outlet, consult an electrician for replacement of the obsolete outlet.
10) Protect the power cord from being walked on or pinched particularly at plugs,
convenience receptacles, and the point where they exit from the apparatus.
11) Only use the attachments/accessories specified by the manufacturer.
12) Use only with the cart, stand, tripod, bracket, or table specified by the
manufacturer, or sold with the apparatus.
When a cart is used, use caution when moving the cart/apparatus combination
to avoid injury from tip-over.
13) Unplug this apparatus during lightning storms or when unused for long periods
of time.
14) Refer all serving to qualified service personnel. Servicing is required when the
apparatus has been damaged in any way, such as power supply cord or plug is
damaged, liquid has been spilled or objects have fallen into the apparatus,
the apparatus has been exposed to rain or moisture, does not operate normally,
or has been dropped.
64
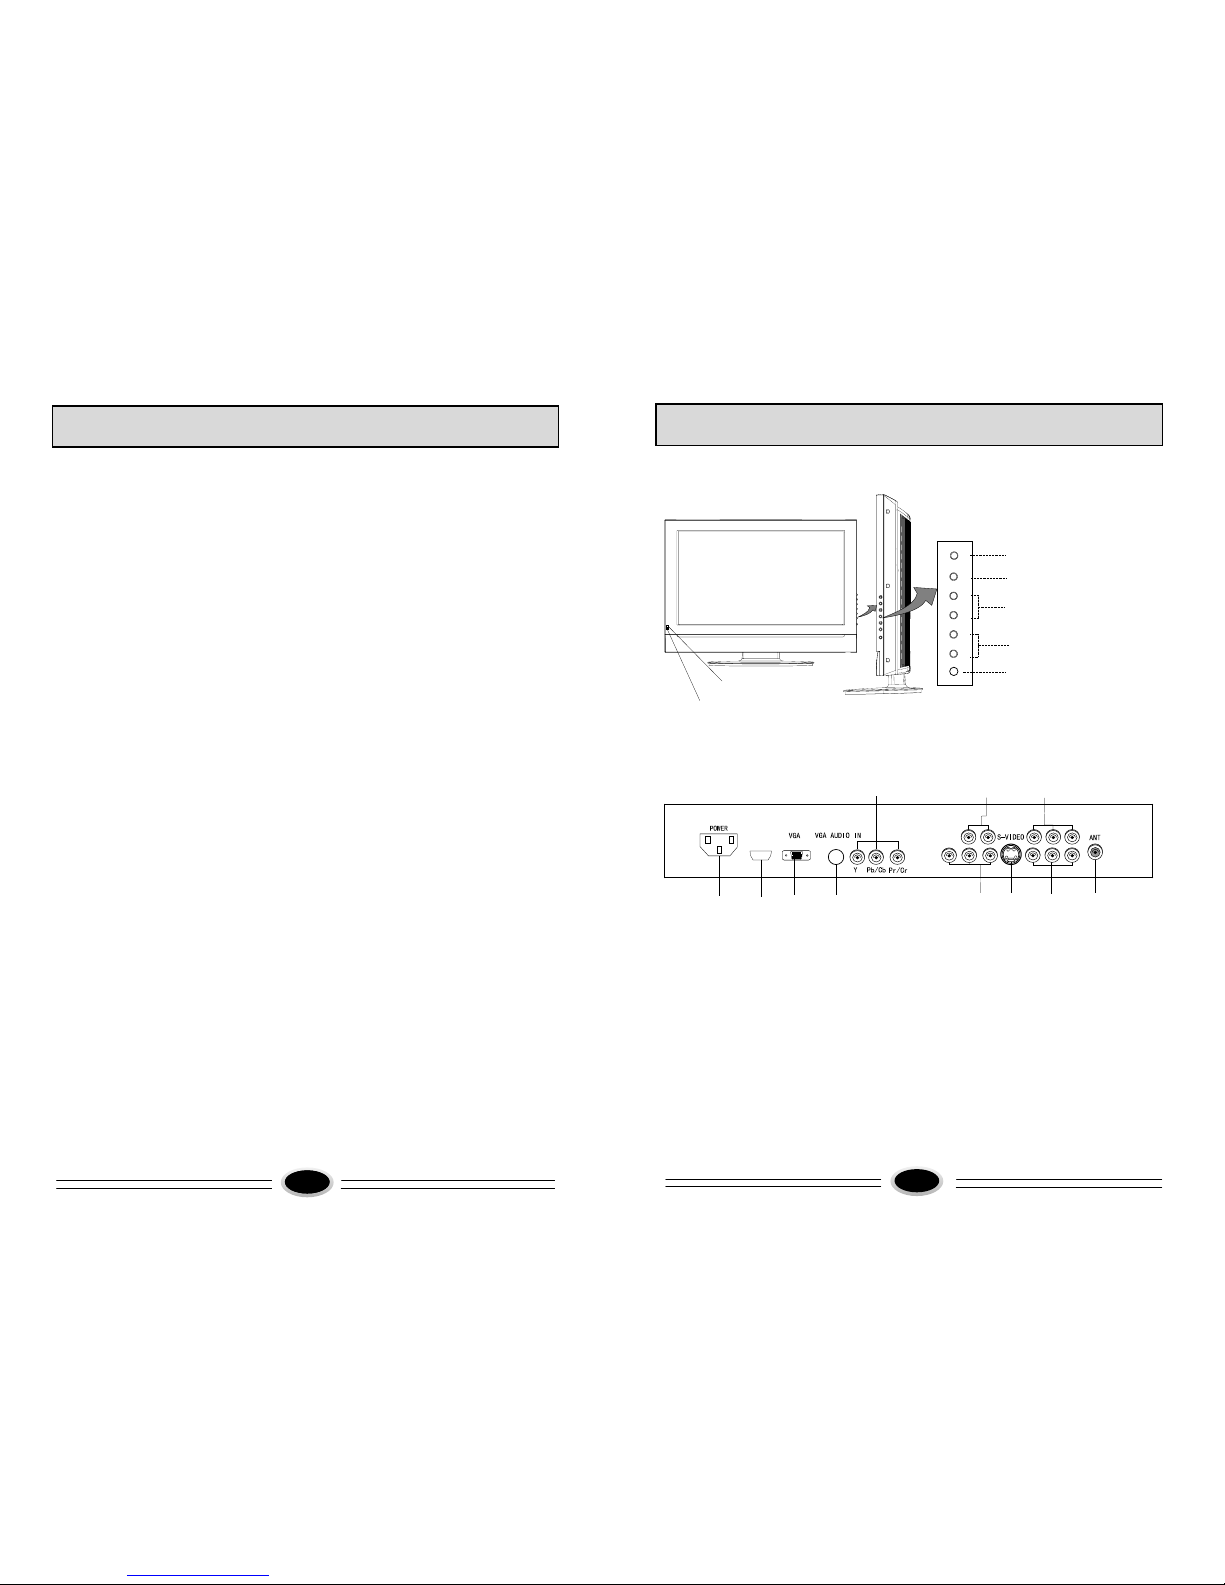
BUTTONS AND INTERFACE POSITION
5
CH-
TV/AV
MENU
1
2
457
9
10
8
6
3
Front control panel
Power button
Program down/up button
Volume down/up button
TV/AV switch button
Menu button
Power indicator
Remote sensor
Back interface
1. Power input socket
2. Antenna input
3. Video input 2
4. Video input 1
5. S-VIDEO input
6. HDTV or S-VIDEO audio input
7. Video output
8. HDTV input
9. VGA audio input interface
10. VGA input
11. HDMI input
CH+
VOL-
VOL+
POWER
HDMI
11
CH-
TV/AV
MENU
CH+
VOL-
VOL+
POWE R
(Y/Pb/Pr)- L-IN R-IN
V-OUT L-OUT R-OUT
AV2 L R
AV1 L R
7
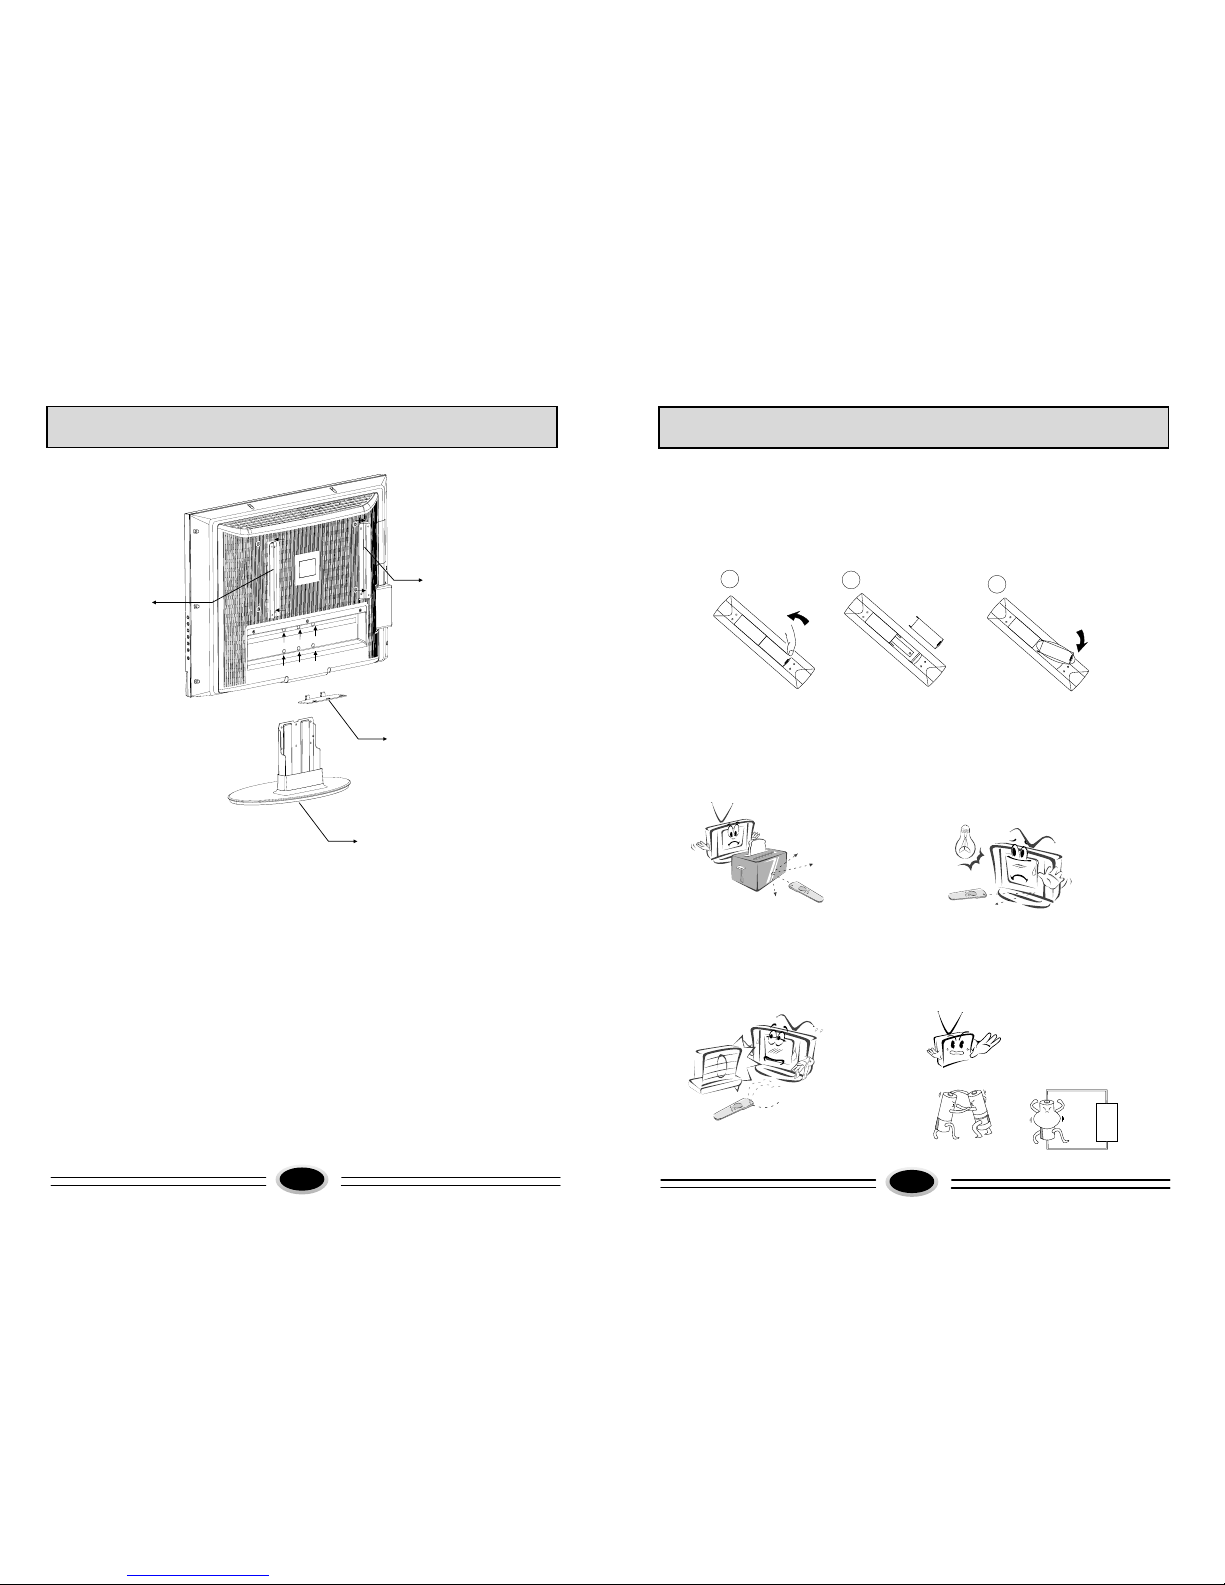
PREPARATION FOR REMOTE CONTROL
3
2
1
++
Remote control installation
1. According to the figure display below, place the remote control with face down,
then open the cover of battery apartment.
2. As in the figure display below, install two AA batteries. (The + and - symbol of
battery must match with the marks on the remote).
3.Close the cover of battery apartment.
Cautions for using remote control
Confirm there is no object between the
remote control and the remote sensor
of TV set.
Sunshine or other strong light will
interfere the signal sent by the remote
control. In this situation turn the TV
set to avoid the direct light source.
Do not put the remote control in direct
heat or a damp place, or potential
damage to the remote may occur.
Please use two AA 1.5V batteries.
Do not mix battery types.
Install the batteries as the correct
polarities.
Do not use the rechargeable batteries.
6
BASE DISASSEMBLY METHOD AND PREPARATION FOR WALL MOUNT BRACKET
(1) In order not to scratch the TV set, it is recommended putting the TV set
with the face down on the soft and clean blanket.
(2)Disassemble the six screws from base and remove the base.
(3)Mount the airproof board as figure.
(4)Take out the switching support from accessory bag, and use four M5×16
screws(included in the accessory bag) to fix the switching support on the
back of complete set.
Note
1. The arrow indicates the position of screw.
2. The remaining four M5×16 screws in the accessory bag are used to mount the
wall mount parts.(replace the four M4×20 screws in the packing carton of wall
mount bracket.)
3. This operation is only used before mounting the bracket.
4. Wall mount bracket is sold separately.
Base
Switching support
Switching support
Airproof board
 Loading...