

Page 1

Spin-dryer
This manual is for
HWS60-40
HWS60-50
User's manual
Please read this manual
carefully before using.
Retain it for future reference.
Page 2
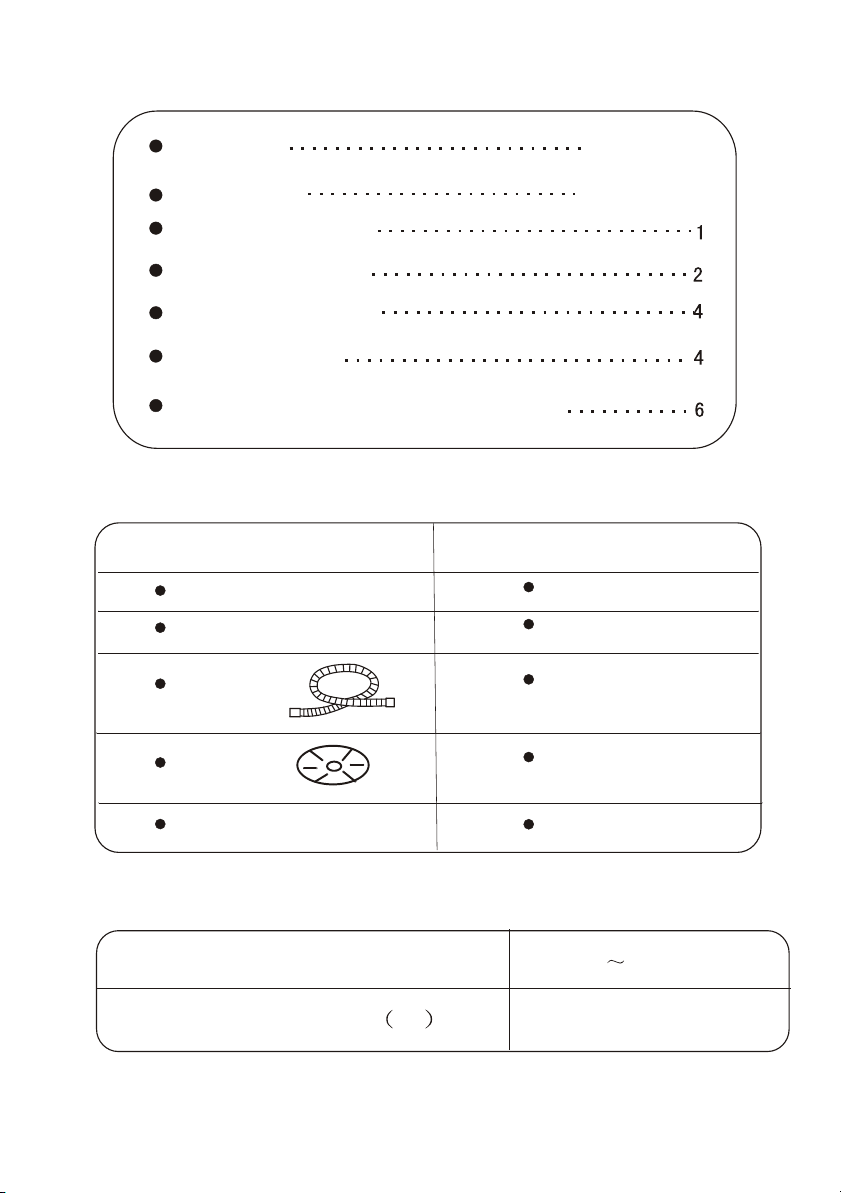
Contents
Pcking list
Specification
Names of the parts
Safety precautions
The musts in using
Using sequence
Trouble-Shooting *Answers to question
Packing list
×°Ïä˵Ã÷
Name
User's manual
Warranty card
Water inlet hose
The 2nd cover
The 2nd cover
Quantity
One piece
One piece
One piece
Gland
Spin-drier
Specification
Injection pressure(MPa)
Rated spinning capacity kg
One piece
One set
0.02 0.2
6.0
Page 3
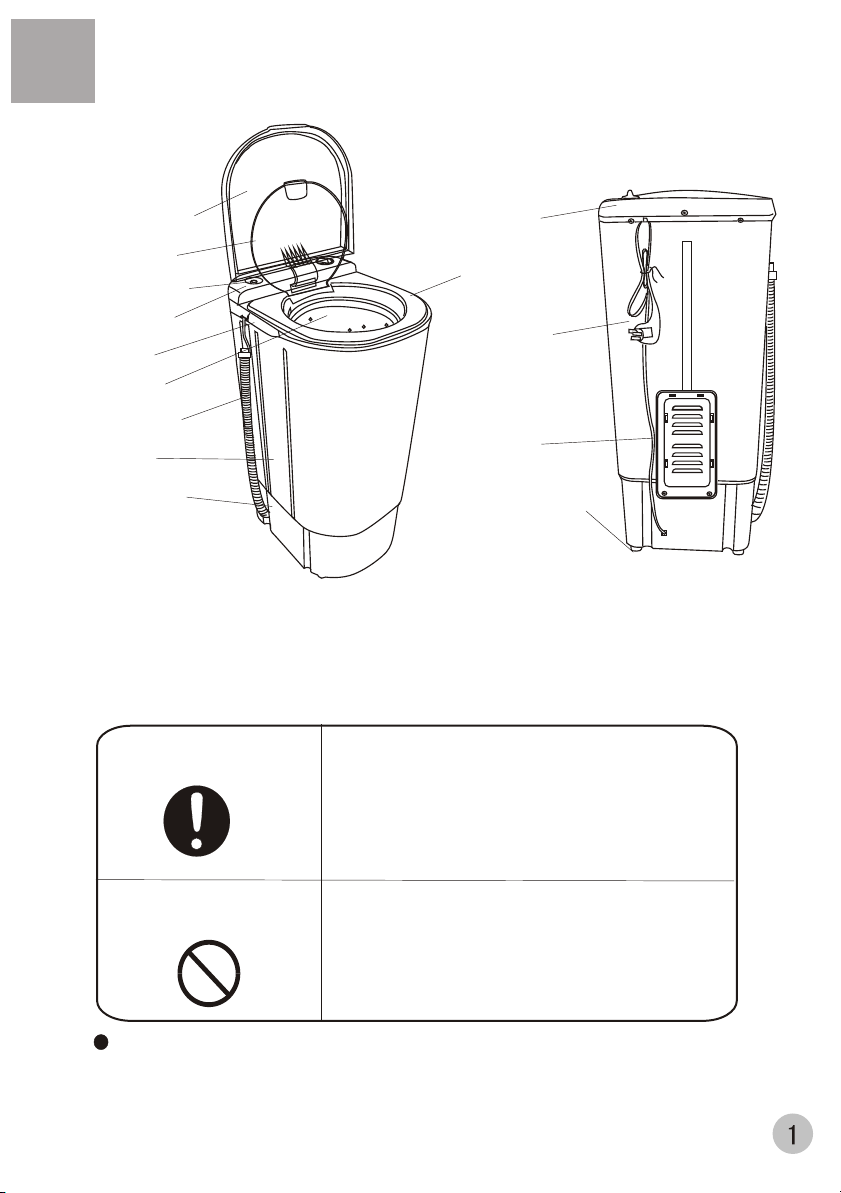
Names of the parts
Cover of the spin tub
Inner cover
Water-filling entrance
Control panel
Handle
Spin tub
Drain hose
Cabinet
Base frame
Note:The figures in this manual can only be regarded as diagrammatic sketches.
Please understand that, due to constant improvement of design, the extractor
and its accessories that you have purchased may be inconsistent with these
figures in the manual.
Knob of spin timer
Panel support
Power line
Back cover
Fixing leg
(four pieces)
Meaning and description of the symbols
Warning sign
Forbidding sign
Contents marked with that symbol are related
to the safety of the product and the personal
safety of the users. Please operate in strict
conformity to the contents, otherwise it may
cause damage of the machine or injure the
personal safety of the user.
Contents marked with that symbol are actions
forbidden to perform. Performing of those
actions may result in damage of the machine
or injure the personal safety of the user.
Please check if the power receptacle has good earthing
condition before using to guarantee your safety.
Page 4

Safety precautions
Please insert the power cord into special
receptacle with rated voltage.Be sure to
use single-phase three pins receptacle.If
possible,please adopt electric leakage
protector.
Do not bend, stretch, twist, bind the power cord by force,
or reform it. Do not press or clamp it with heavy items.
When the machine is normally using,
please put the power plug at the location easily to be inserted and extracted
by hand. Be sure to pull the plug off when
there's power failure, or the machine is
being moved, cleaned or when it is idle.
Keep the prong of the power plug clean.
If dust is found on the power plug, please wipe it off with dry cloth.
If the power cord and power plug are bad, or the receptacle is loose,
be sure to have it replaced by the technicians of our special shop
or our agent, or the after-sale service department for the sake
of avoiding any risk.
In case the spin dryer is installed
on ground with carpet , do not block
the ventilation hole with carpet.
Ventilation hole at
the bottom of the
spin dryer
Do not share one receptacle with other
electric appliances. Do not use it in
case that the power plug is damaged
or the inserting into the receptacle is
loose.
Do not put the machine at damp place
like the bathroom . Never wash it with
water. Do not place wet laundries on the
control panel.
Do not wash water-proof laundries
such as the raincoat, bicycle shelter
etc. To avoid abnormal vibration
during spinning.
Page 5

Safety precautions
Do not stretch hands into the working
machine. It is dangerous even if the
rotation is slow. Take special care of
the children.
Do not put any hot or heavy items
( such as the kettle with hot water )
on the washing machine.
Handicapped or children without care
shall not use the machine.
Do not decompose, repair or alter the
machine by yourself.
Do not wash laundries with volatile
materials (such as thinner, petrol etc.).
l
Petro
Thinner
Keep the machine away from direct
sunlight and heat source like the
heater.
Slanting or uneven ground may result in unstable working or abnormal noise.
Please make the machine stand horizontally.
Page 6

The musts in using
Usage of the panel
OFF
5
4
WATER INLET
Water-added rinsingspinning,to be used
during defoaming
-spinning.
SPIN TIMER
Set the spinning duration
depending on the category
and amount of the articles.
To set to below 1 minute, first
set to 2 minute then turn it
back. it can increase the
service life of the timer
HWS60-40
Usage of the drain hose
The drainage shall be smooth with the drain hose.
1.The height of the drain hose shall be less than
10cm , or the drainage will not be smooth enough
and cause incomplete drainage.
2. Do not tramp or press the drain hose.
1
2
3
OFF
10
8
SPIN TIMER
2
4
6
Set the spinning duration
depending on the category
and amount of the articles.
To set to below 2 minute, first
set to 4 minute then turn it
back. it can increase the
service life of the timer
HWS60-50
<10cm
3. If the drain hose is too long, cut it at mid point.To make
smooth drainage, cut the front end of the hose slantingly.
4.If extra drain hose is needed , please make separate
purchase. The inner diameter of the extra hose shall
> 30mm
not less than 30mm, and the length shall not exceed
1.5m.
<1.5m
Using sequence
Preparation before spinning
Please make the machine stand horizontally.
Confirm that the washing machine is earthed reliably . Then insert the power plug
Into the receptacle. Do not connect the earth terminal to the gas pipe and tap
water pipe.
Put down the drain hose .
Page 7

Spin process
1 Put the laundries in properly
2 Put the gland in properly
3 Close the inner and outer cover of the spin tub
4 Do you need water-added Rinsing-spinnning
Water-added rinsing-spinning has an effect that can remove the surplus liquid dirt,
It works in a way as follows:
Spin
Spin for about
1~2 minutes
Remove most of
the foam extra
detergent liquid.
Fill water for
about 1 minutes
Remove the detergent
liquid remained
Spin for about
1~2 minutes
Note: If there needs no water-added rinsing-spinning , set the duration for
spinning directly.
The effect is best when the laundries quantity is below 80% of the rated value.
5 Take the laundry out when the spinning ends.
When the spinning ends, open the top lid and the interior lid. Then take out
the depression cover and laundry after the spinning drum has stopped
rotation completely.
Note:
Refer to the Notes on Spinning carefully.
If you need water-added rinsing-spinning , please check the connection
between the water hose and filling inlet.
Install the water inlet hose
Foam-removing
spinning
The water hose should be connected
as shown in the right figure.
Notes on Spinning
Use the foam-removing spinning to remove the extra detergent liquid. It can both shorten
the washing time and save the
water consumption.
Please put in the gland properly even if the laundries
quantity is small.
.
Do not leave any articles above the depression cover.
Push
Proper
Water inlet hose
Gland
The laundries
are slanting
Push
Proper
Water inlet entrance
No gland
Page 8

Disposal after spinning
1
Hang up the drain hose.
2
Pull off the power plug and hang up the power cord.
3
Wipe the complete unit with soft cloth twisted dry.
4
Open the inner/outer cover of the spin tub for some time (about one hour),
then close them.
Maintenance
12Wipe off the water drops on
the surface and inside the
tub with clean soft cloth.
Be sure to pull off the power
plug before maintenance.
If the cabinet is dirty, wipe it with wet soft cloth
Do not wash it directly by water.
Wipe with neutral detergent if too dirty
Thinner
Do not wipe with thinner, petrol,
alcohol, etc.
Alcohol
Petrol
Trouble-shooting Answer to question
(If there's breakdown, please pull off the power plug before checking) The following
phenomena are not breakdowns sometimes. Please confirm again before sending
it to repair. If there are real breakdowns, please come to the special maintenance
department or after-sale service department of our company. Do not repair it by yourself.
Phenomena The reason-How to solve
The machine does not act.
There's abnormal sound
and violent vibration
during spinning
Is there power failure--Please use it when there's power supply.
Is the power plug loose--
Is the machine slanting--Adjust the machine to be even
Is the gland pressed evenly-Check if the laundry is inclined to one side--Take it
out and replace it evenly.
Check if there are any metal articles in the laundry.
-- take them out.
Check if it is too full with the laundry-- load the laundry
only in the right amount.
Check if there are any articles out of the spinning drum
-- put them into the drum.
Insert the power plug tightly.
Put the gland in properly
 Loading...