

Haier HWM90-98 User Manual
User's manual
Please read this manual carefully before using.
Retain it for future reference
Please check if the power receptacle has good earthing
condition before using to guarantee your safety.
The manufacturer will not bear the responsibility for
those risks occurred from not obeying this manual.
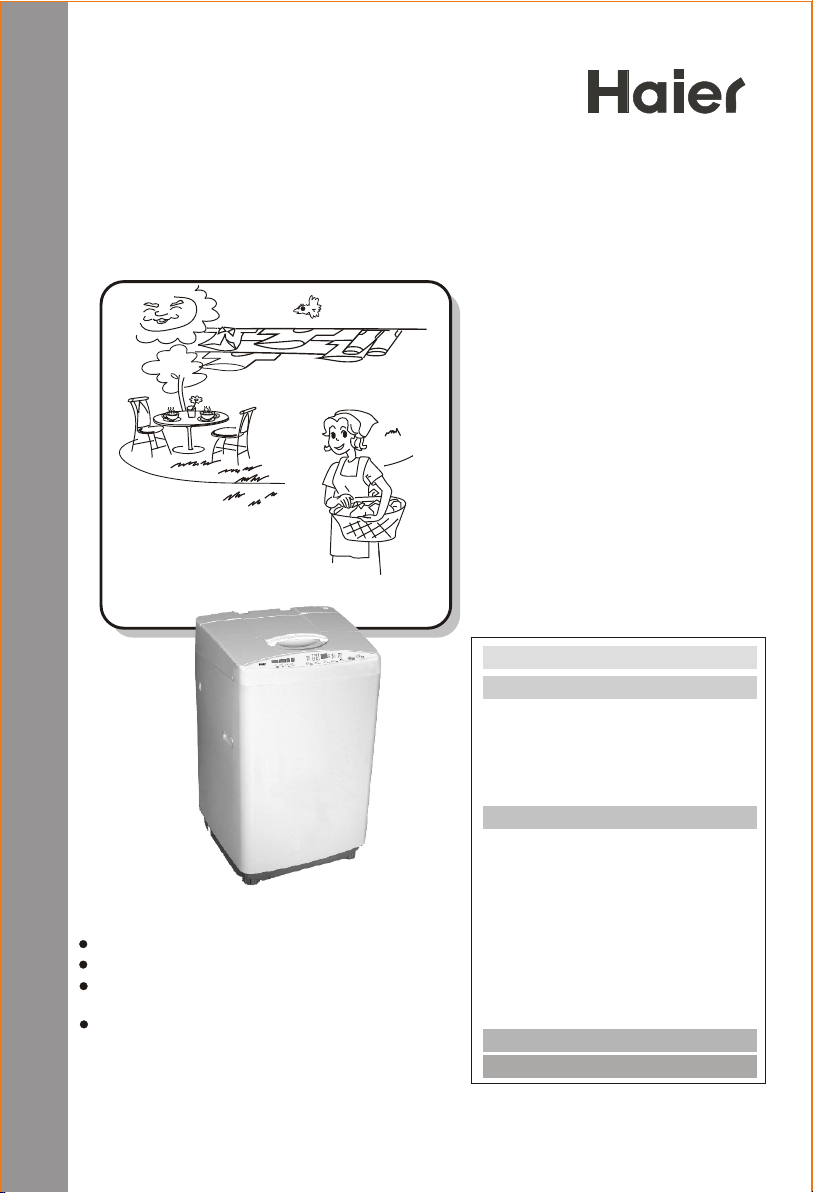
HWM90-98
Computerized Full-auto
Washing Machine
Contents
Before using
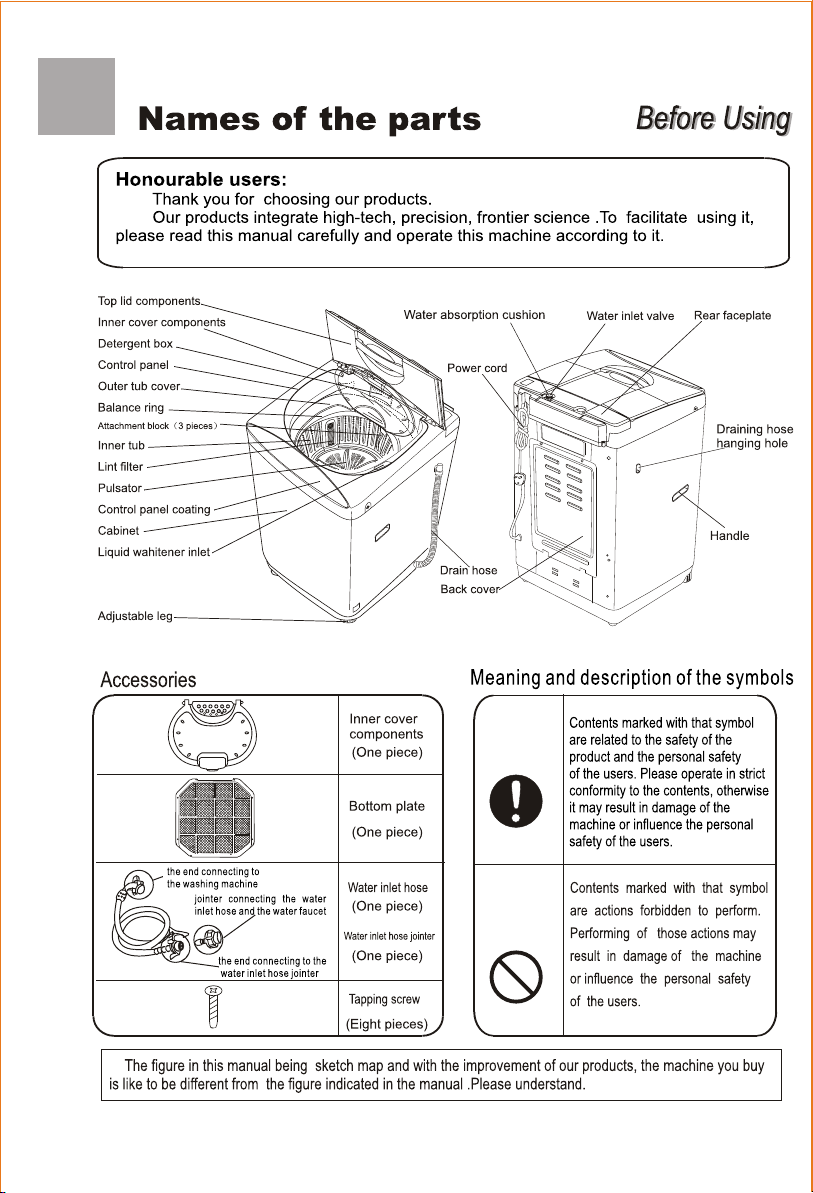
Names of the parts..........................The 2nd cover
Safety precautions...............................................1
Installation and adjustment.................................3
Install the water inlet hose....................................5
Using Process
Preparation before washing.................................7
Put in the laundries..............................................8
Use of the detergent...........................................9
Use the operation buttons.................................10
Close the top lid................................................14
Finish washing..................................................14
Disposal after washing......................................15
Trouble shooting answer to question................16
Packing list................................................17
Specification table The back cover

Safety precautions
Before Using
Before Using
Please plug the power plug on special
receptacle. Be sure to use three-pins
power receptacle. Ensure that the earthing
prong of the power receptacle is earthed
reliably. Use leakage protector if possible.
Earth
Do not bend ,extend,twist,bind by force.Do not press or nip it with weight.
Keep the pin of the power plug clean,if the power plug is polluted with dust,please wipe with
dry cloth carefully.
If the power cord or the power plug is bad, to avoid risk it is
required to have it replaced by the technicians of our
special shop or the after-sale service department.
In case the washing machine is installed on ground with
carpet, do not block the ventilation hole with carpet.
The ventilation
holes at the bottom
Soft object
The washing machine must be positioned
so that the plug is accessible. Be sure to pull the
plug off and close the water faucet in
following cases: power failure, delivering
the machine, setting the machine idle or
cleaning the machine. Do not plug
or pull the power plug with wet hand.
Do not use water hotter than 50
Do not put the machine at damp place like
the bathroom. Never wash it with water. Do
not put wet laundries on the control panel.
Do not wash water-proof laundries like
the raincoat, bike covers etc. to avoid
abnormal vibrations in spinning.
Do not let the machine share one receptacle with other
electric appliances. If the plugging into the receptacle
is loose, do not use the plug any more.
1
Safety precautions
Before Using
Before Using
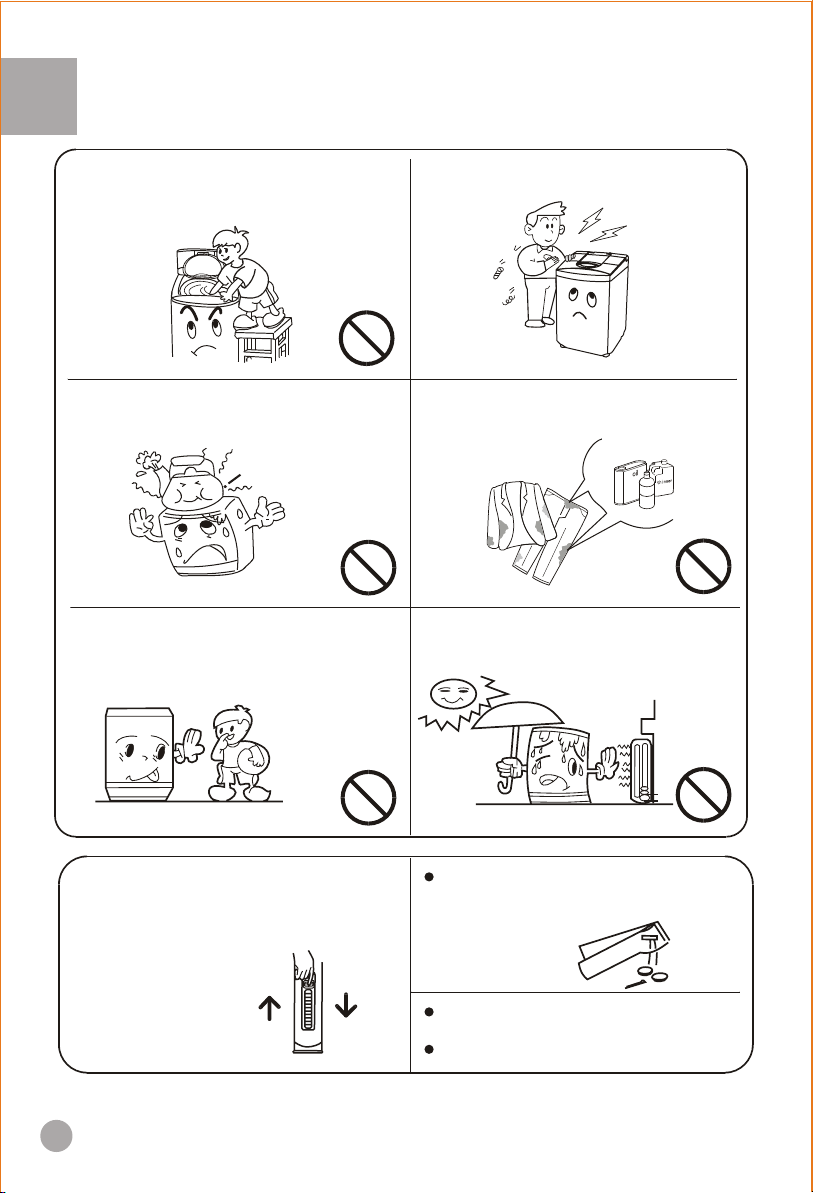
Do not stretch hands into the working machine.
It is dangerous even if the rotation is slow.
Take special care of the children.
Do not put any hot or heavy items (such as the kettle
with hot water) on the washing machine
The appliance is not instruct for use of
young children of infirm persons without
supervision.Young children should be
supervised to ensure that they do not
play with the appliance.
Do not decompose, repair or alter the machine
by yourself.
Do not wash laundries with volatile materials
(such as thinner, petrol etc.).
Benzene
Keep the machine away from direct sunlight and
heat source like the heater.
The lint filter shall be kept in good condition, and
installed to proper position. If the lint filter is lost
or damaged, please contact the local after-sales
service department of our company.
Dismantle
2
Install
To prevent your laundries and washing machine from
damages, be sure to take out all of the foreign materials
from your pocket, such as coins, buttons, sandor hair
pins etc.
Before washing, please check if the water tap is open,
and if the water inlet pipe is connected properly.
It is suggested to use low-foaming washing powder.
Installation and adjustment
Before Using
Before Using
Please install and adjust the machine according to the requirement of the manual.
It is very important to your security and correct operating the machine.
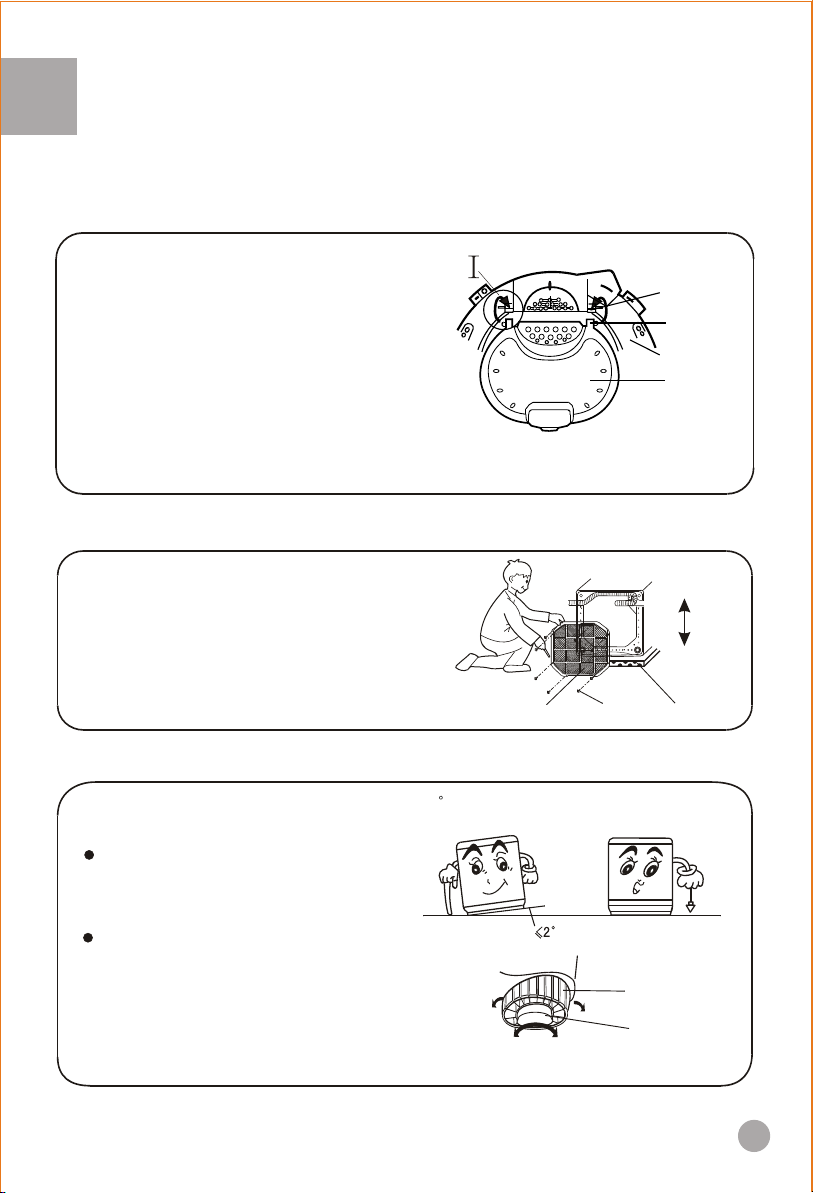
Install the inner cover components
1.Open the top lid of the washing machine.
2.Put the inner cover component on the outer tub cover, aiming
the inner cover shaft to the installation hole of the corresponding
outer tub cover shaft groove.
3.Firstly insert the inner cover shaft of I side into the correspon
-ding outer tub cover shaft groove, then push the another inner
cover shaft into the corresponding outer tub cover shaft groove.
Please install to designated position to guarantee there are no
dropping or abnormal sound in opening and closing of the inner
cover, and the operation shall be smooth. Do not dismount the
inner cover component after washing.
Install the bottom plate
Outer tub cover
shaft groove
Inner cover shaft
Outer tub cover
Inner cover
After opening the package, please lean
the washing machine gently down on
soft items (like towel cloth, blanket, etc.).
Install the bottom plate to the bottom
of the machine with eight screws by a
cross screwdriver, then lift the
machine up gently. See to the figure:
Bottom plate
Screw
Soft items
Adjust the Installation position
The largest allowed slope of the shank base of the machine is 2 . The slanting or rough ground will result in
unstable running or stoppage of the machine. Please adjust it with following methods:
Confirm it's horizontal
Hang the plumb to confirm it's
Adjust the adjustable foot
(1) To twist the adjustable foot at the right front of
the cabinet (front the sight of front), please first
lift up the side of the foot slightly, loosen the
adjustable nut, and twist the foot.
(2) Fasten the nut after adjustment.
horizontal
Loosen
High
adjustable nut
Fasten
adjustable foot
Low
Back
Front
3
Before Using
Before Using
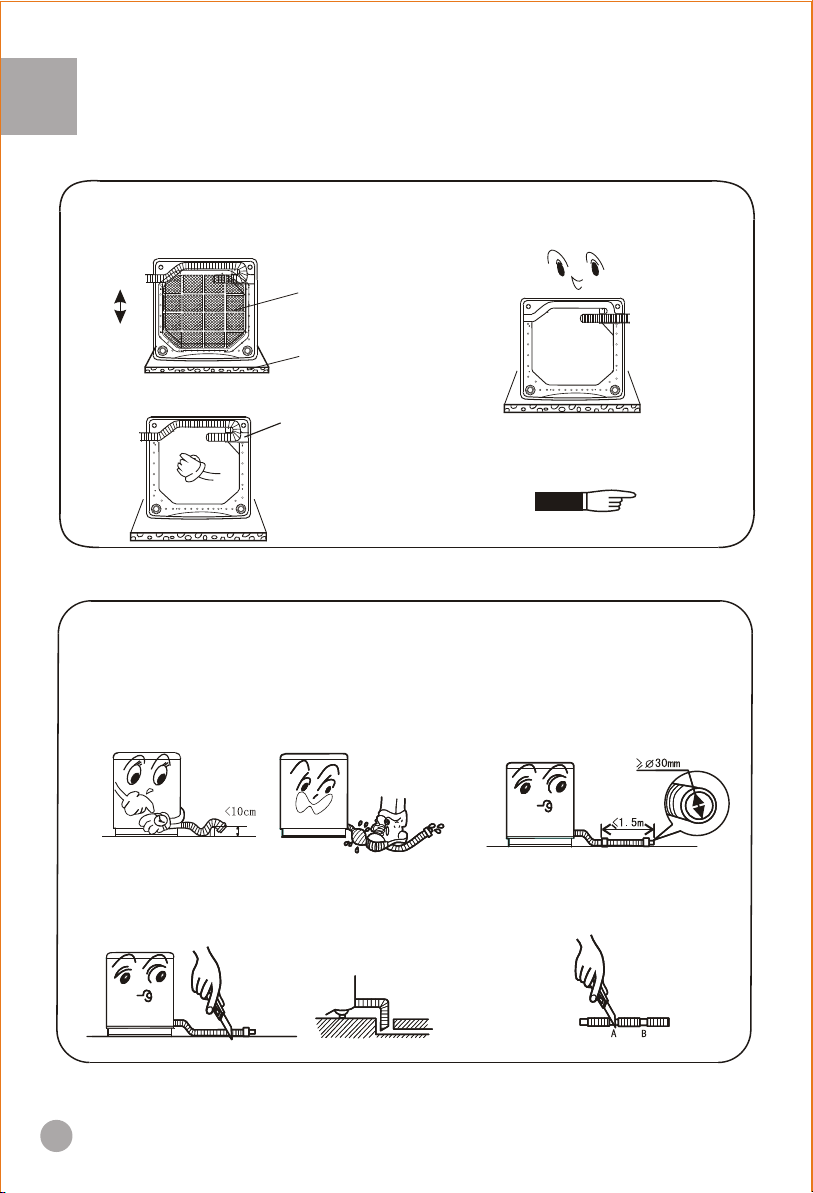
How to change the direction of the drain hose
1.Lean the machine down gently with the front
surface facing the ground. Loosen the eight
screws by a cross screwdriver.
Back
Front
2.Pull out the drain hose from the groove at the left side.
Bottom plate
Soft item
Use groove at
this side after
direction changing
Usage of the drain hose
The drain hose shall drain smoothly
1.The height of the drain hose shall be
less than 10cm, or the drainage will not
be smooth, and cost such long time that
the machine may stop at mid way.
2.Do not ramp or press the drain hose.
3.Extend the drain hose from the right side. Push the
drain hose into the groove with hands.
4.Install the bottom plate (as per indicated before),
then lift the machine up gently.
Page 3
4.If extra drain hose is needed, please
make separate purchase. The inner
diameter of the extra hose shall not
less than 30mm, and the length shall
not exceed 1.5m.
3.If the drain hose is too long, cut it at mid
point. To make smooth drainage, cut the
front end of the hose slantingly.
4
5.If the extra hose is too long, cut it
either atA or at B point.
 Loading...