

Haier HWM88VA User Manual
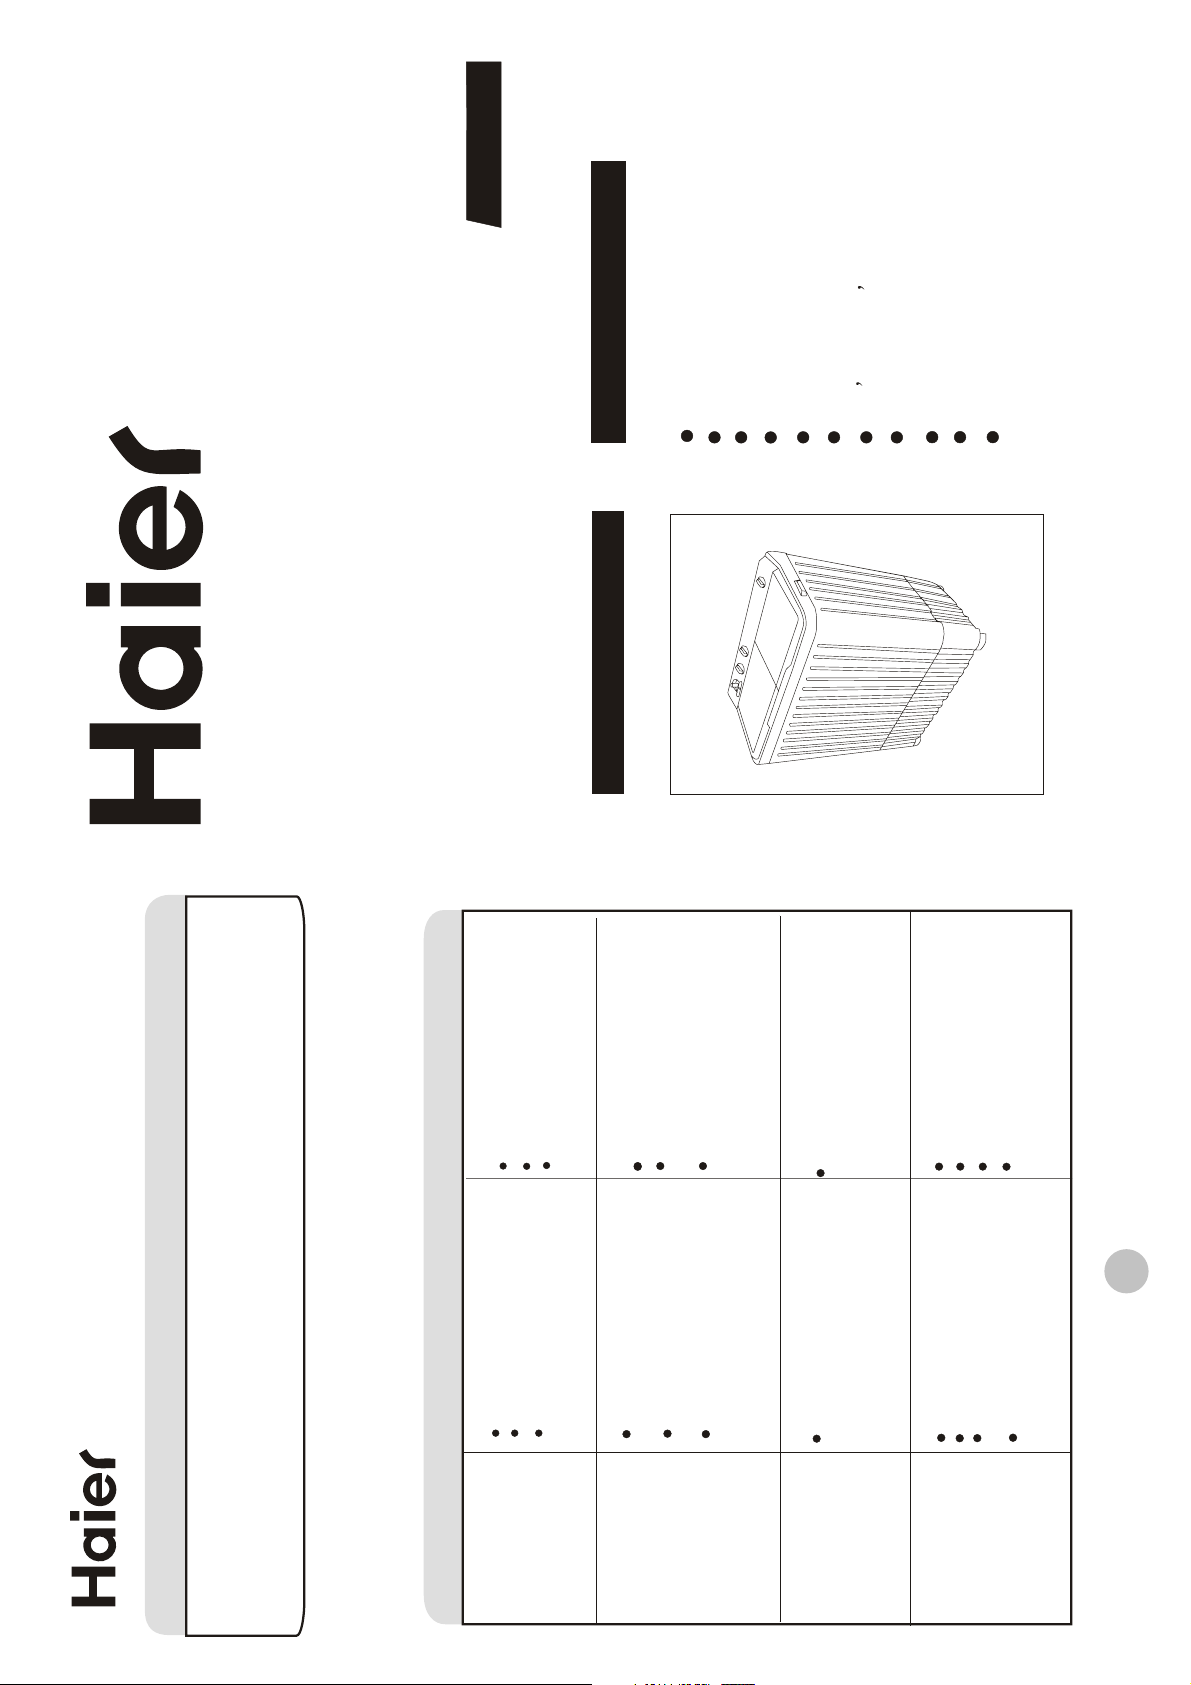
HWM86VA
HWM88VA
SEMI AUTO WASHING MACHINE
HWM90VA
CONTENTS
Manual
Packing list
Safety precautions
Names of the parts
Specification
Maintenance
Washing sequence
Usage of the detergent
Do s and don ts
Preparation before washing
Installation and adjustment
Trouble-Shooting
USER
How to settle
Insert the power plug tightly.
Remove the foreign materials?
Use it when the power is on.
WASHING MACHINE
Please contact the after-sales
Remove the foreign material?
Put down the drain hose?
service department.
Remove a little laundries
Remove the laundries
Pressed the gland evenly
Remove the hair pin, coins or
metal items
Level the machine properly.
14
Trouble-shooting
If the laundries fall to the outer side of the spin tub,
Please contact the after-sales service department.
If the laundries fall to the outer side of the spin tub
(If there's breakdown, please pull off the power plug before checking) The following
The reason
Has the drain hose being
laid down?
Is the drain hose blocked
by foreign material?
Are there any laundries
trapped at the outer side
Is there power failure?
Is the power plug loose?
Is the pulsator twisted by
foreign materials?
Phenomena
phenomena are not breakdowns sometimes. Please confirm again before sending
it to repair. If there are real breakdowns, please come to the special maintenance
department or after-sale service department of our company. Do not repair it by yourself.
The machine does
not function.
The draining does
of the spin tub?
not function
Is the machine slanting?
Is the gland pressed evenly?
Are there hair pin, coins
or metal items brought
inside the tub?
There's abnormal
sound during
washing
Are there any laundries trapped
There's abnormal
sound and violent
at the outer side of the spin tub?
Are the laundries in spin tub over
loaded?
vibration during
spinning
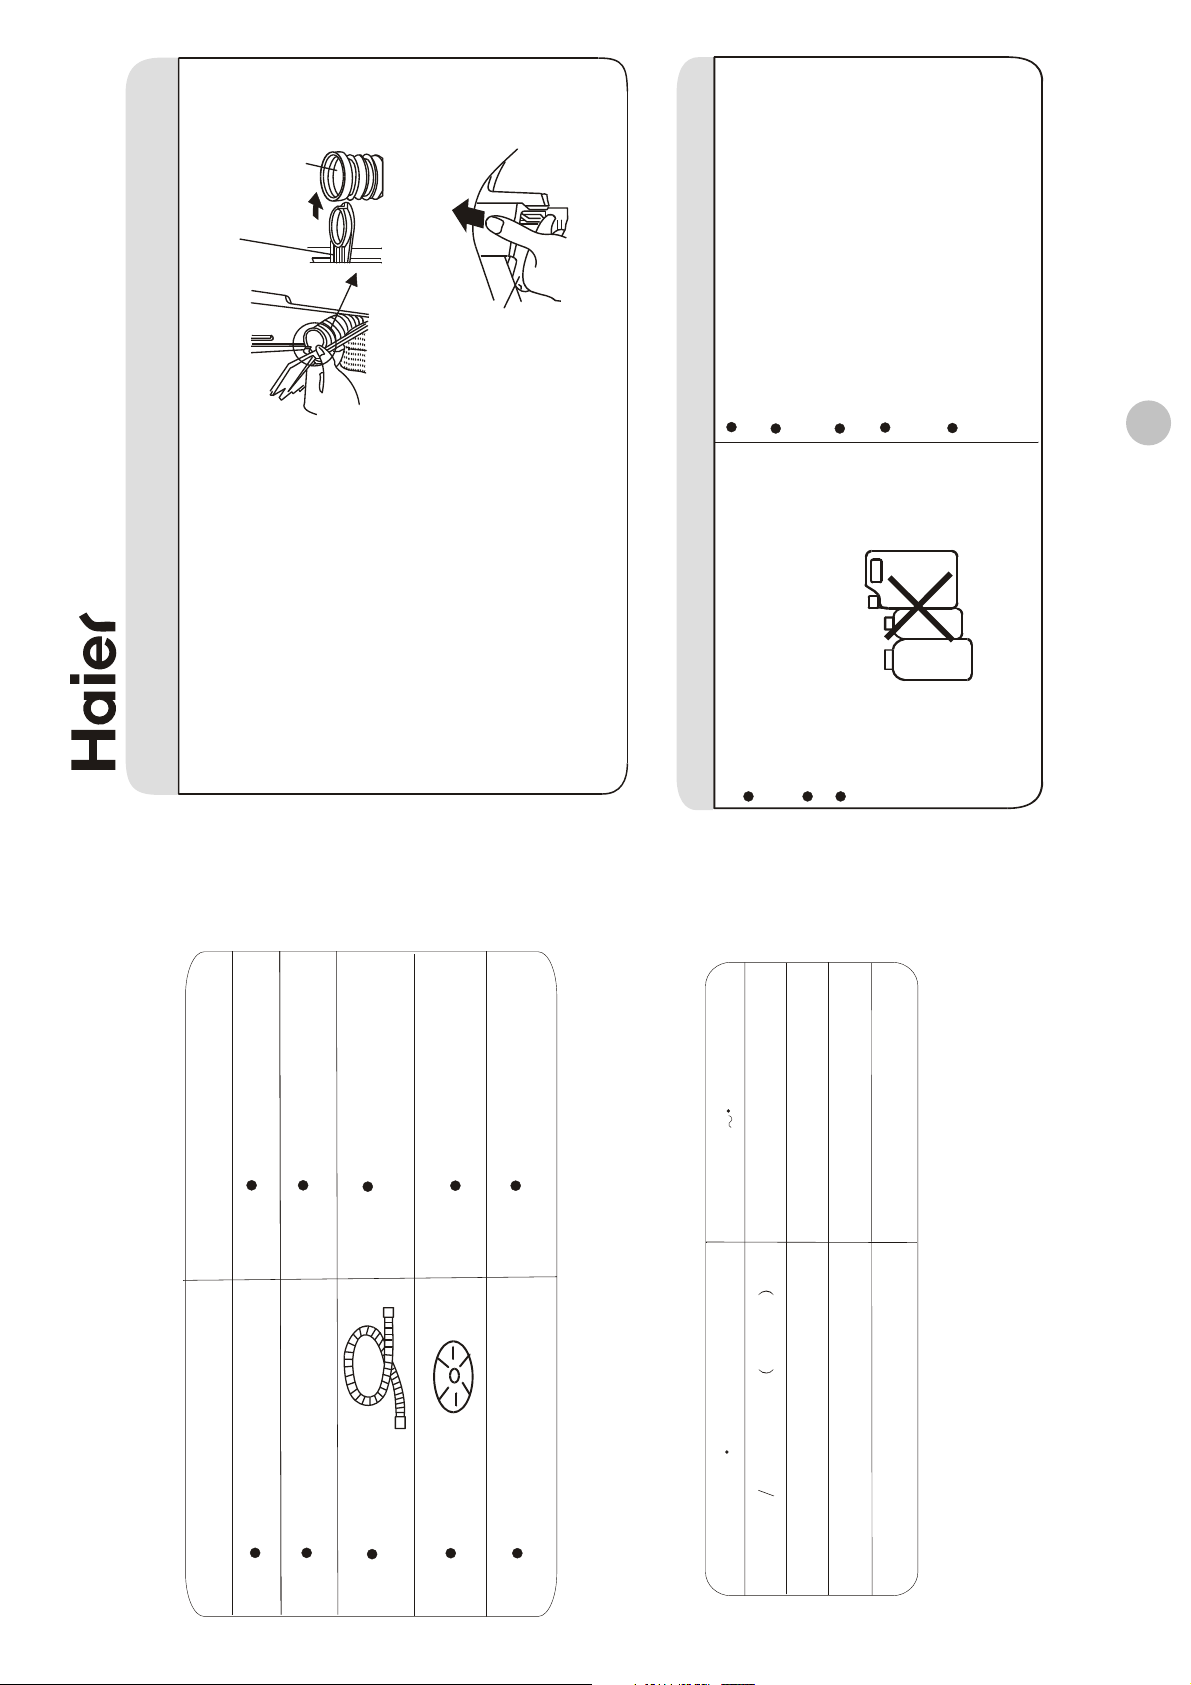
Corrugation
Pipe
Water level
adjusting lever
Figure 1
Hook
Figure 2
After washing, dismount the water inlet
hose.
Do not store water in the tub for long
period. Discharge the water immediately
after each using.
Pull off the power plug and hang up the
power cord.
Hang up the drain hose.
Wipe off the water drops on the surface
and inside the tub with clean soft cloth.
Open the cover of the wash tub and the
inner/outer cover of the spin tub for
some time (about one hour), then close
them.
Thinner
Petrol
Alcohol
13
Cleaning the overflow filter
2. Take off the corrugation pipe.
Dismantle the upper part of the
corrugation pipe inside the
overflow filter ( as indicated in
Figure 1).
3. Cleaning the overflow filter
Clean the lint around the filter
and flush with tap water.
4. Install the overflow filter.
(1).Install the corrugation pipe.
(2).Insert the mounting plate at
the bottom of the filter into
One piece
Quantity
One piece
One piece
One piece
the valve cover.
(3).Hang up the hook at the left
upper side.
(4).Push the upper part in as
indicated in Figure 2.
One set
Wipe the complete unit with soft
Disposal of the complete unit
220V-240V 50Hz
Maximum/58 Medium/49 Minimum/43
cloth twisted dry.
Wipe with neutral detergent if too dirty
Do not wash it directly by water
8.8
6.0
0.02~0.2
Name
User's manual
Warranty card
Packing list
Water inlet hose
Gland
Semi Auto washing machine
Rated voltage frenquency
Specification
Specifications may be subject to change
The Rated spinning capacity(kg)
The Rated washing capacity(kg)
Water level Water quantity estimated (L)
Injection pressure(MPa)
without prior notice
*
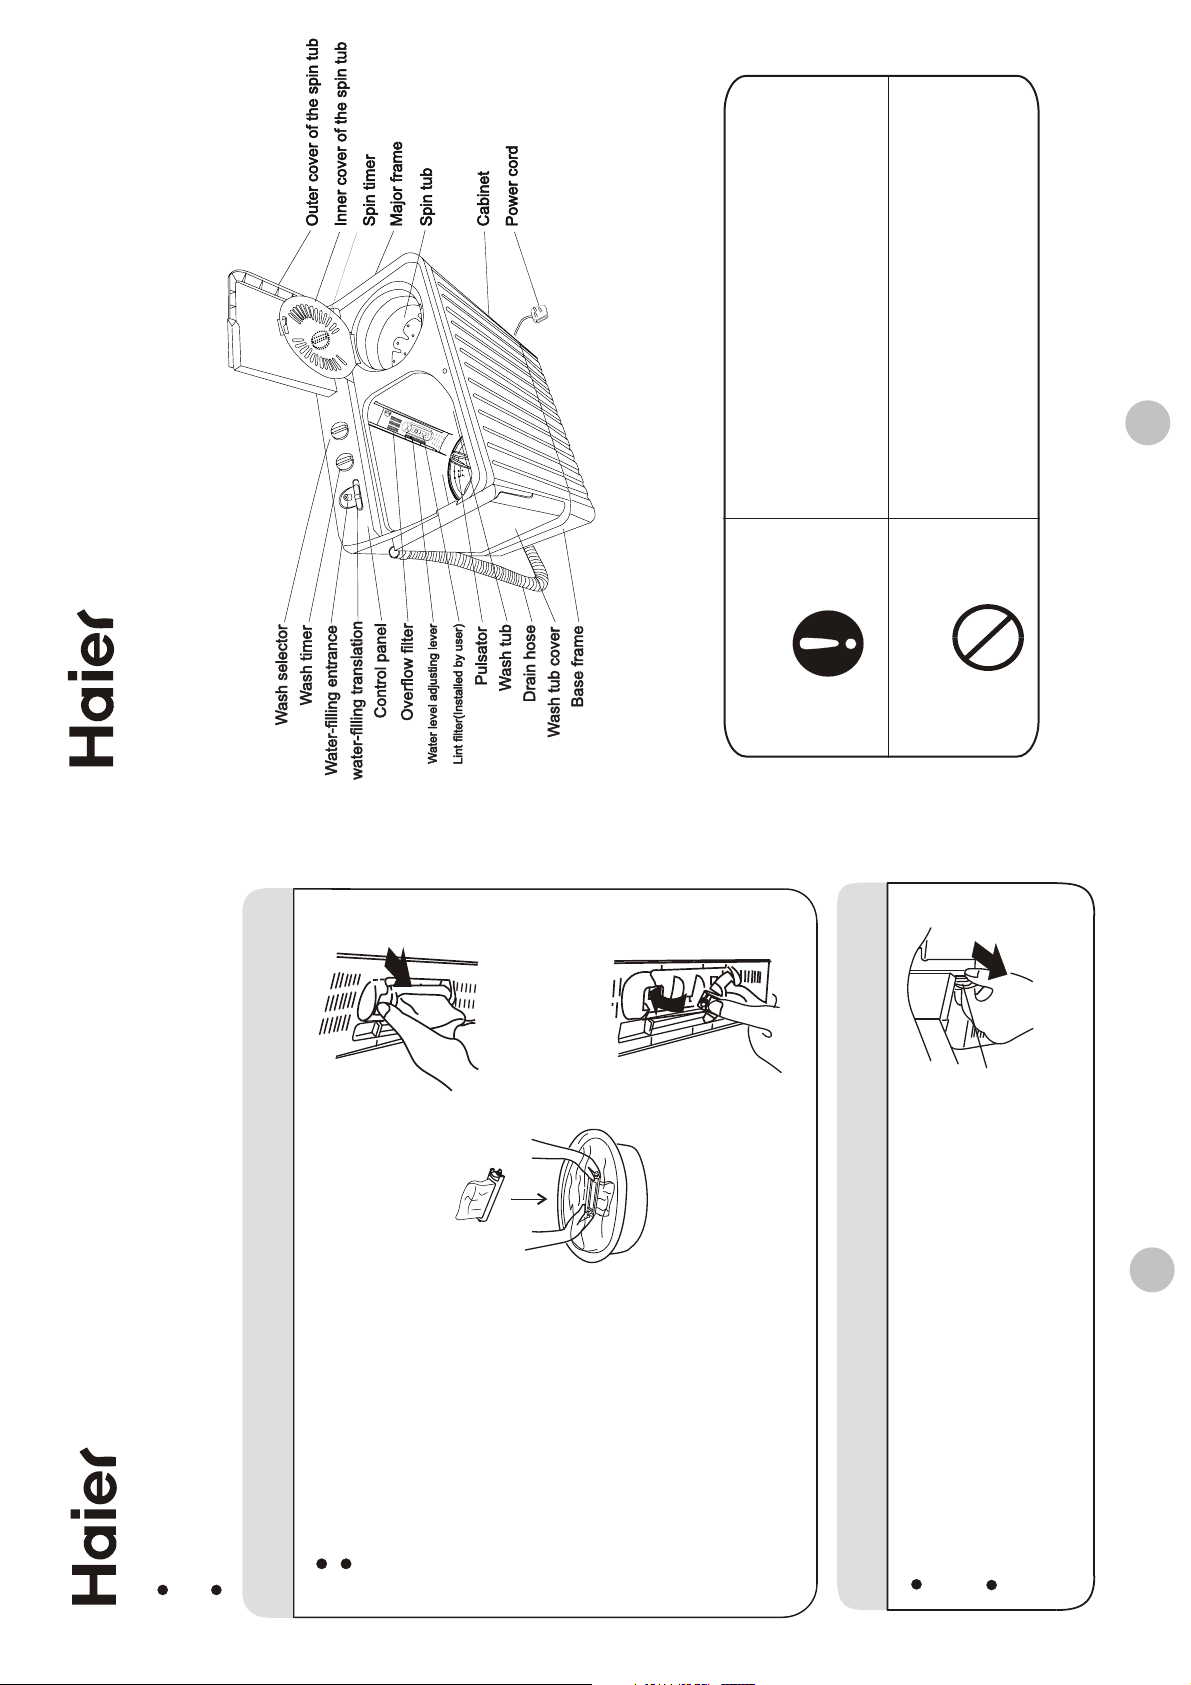
Names of the parts
Contents marked with that symbol are actions
forbidden to perform. Performing of those
actions may result in damage of the machine
Contents marked with that symbol are related
to the safety of the product and the personal
safety of the users. Please operate in strict
conformity to the contents, otherwise it may
cause damage of the machine or injure the
personal safety of the user.
or injure the personal safety of the user.
1
Figure 1
Warning sign
Meaning and description of the symbols
Figure 3
Figure 2
Forbidding sign
Please check if the power receptacle has good earthing
Elastic fixing
claw
condition before using to guarantee your safety.
Maintenance
The lint filter must be used during washing.
It must be cleaned in time after each using.
2. Clean the lint
Put it in water and clean while it is
After using, please clean the lint and eyewinker of the lint filter and
overflow filter in time. Otherwise it may influence your using the machine.
Please first pull off the power plug from the receptacle before cleaning.
Cleaning the lint filter
1. Take off the lint filter
Put hand at the indicated position.
Push down to take it off. ( See
Figure 1)
still wet.(See Figure 2)
3. Install the lint filter
After cleaning, insert the bottom
of the lint filter ( marked with
"down side") into the overflow filter ,
then push the upper part of the
filter in ( marked with " up side ").
(See Figure 3)
Too much lint on the overflow filter will influence
Cleaning the overflow filter
12
the normal usage of the machine. Please
clean it every two months.
Take off the overflow filter.
As indicated in the figure, nip the elastic fixing
claw and pull it to the direction of the arrow to
take it off.
 Loading...