

Page 1
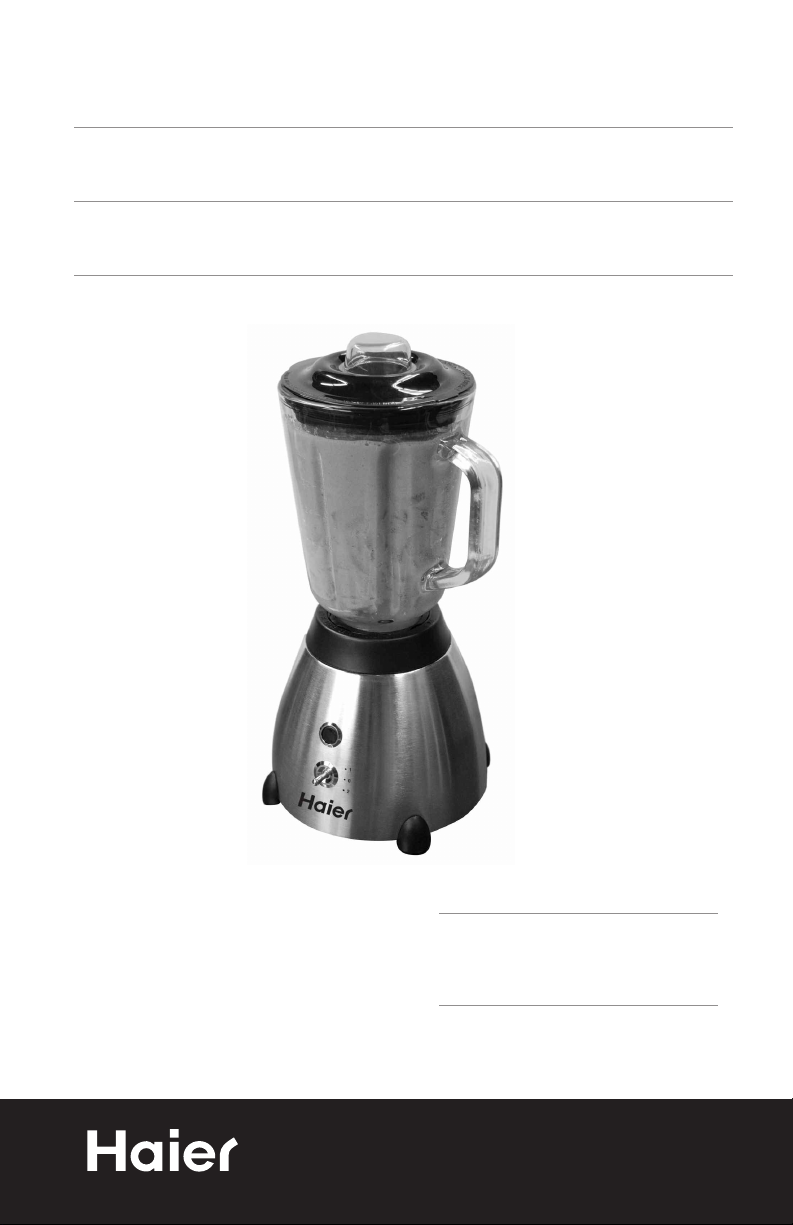
Commercial Style 500 Watt Blender
Mixeur de Type Professionnel 500 watts
Licuadora Estilo Comercial 500 vatios
User Manual
HB500BSS
Guide de l’Utilisateur
HB500BSS
Manual del Usuario Modelo
HB500BSS
Quality •Innovation •Style
Page 2

English
IMPORTANT SAFEGUARDS
When using electrical appliances, basic safety precautions
should always be followed, including the following:
1. Read all instructions carefully.
2. To protect against electrical shock, do not immerse the cord, plug or
motor end of the appliance in water or any other liquids.
3. Unplug from the outlet when not in use, before putting on or taking
off parts, and before cleaning.
4. Avoid contact with moving parts.
5. Do not operate any appliance with a damaged cord or plug, or after
the appliance malfunctions or is dropped or damaged in any
manner. Contact the Customer Service Center for instructions.
6. Close supervision is necessary when the appliance is used near
children. This appliance is not recommended for use by children.
7. KEEP HANDS AND UTENSILS OUT OF THE JAR WHILE BLENDING
to reduce the risk of severe injury to persons or damage to the
blender. A spatula may be used, but only when the blender is not
operating.
8. The use of accessory attachments not recommended by the
appliance manufacturer may cause hazard or injury and will
void the warranty.
9. Do not use outdoors.
10. Do not let the cord hang over the edge of the table or countertop, or
touch hot surfaces, including the stove.
11. Blades are sharp. Handle carefully.
12. Never place the blade assembly on the motor base without the jar
properly attached.
13. Always operate the blender with the cover in place.
14. Oversized foods and metal utensils must not be inserted in the
appliance as they may cause a fire or risk of electrical shock.
15. When blending hot liquids, remove the measuring cup from the
center of the cover by turning counter-clockwise.
16. To disconnect, turn all controls to the OFF position, then remove the
plug from the wall outlet by pulling on the plug. Never pull on the
power cord.
1
Page 3

English
17. Do not clean with metal scouring pads. Pieces may break off the
pad and come in contact with electrical parts, creating a risk of
electrical shock.
18. Do not store any materials other than the manufacturers
recommended accessories in this unit when not in use.
19. This appliance is for household use only. Not for commercial use.
20. Do not use this appliance for anything other than intended use.
SAVE THESE INSTRUCTIONS
HOUSEHOLD USE ONLY
Polarized Plug
This appliance is equipped with a polarized plug (one blade is wider than the
other). To reduce the risk of electric shock, this plug is intended to fit into a
polarized outlet only one way. This is a safety feature. If the plug does not fit
fully into the outlet, try reversing the plug. If it still does not fit, contact a
qualified electrician for assistance. Do no attempt to modify this plug in any way.
Do not attempt to defeat the safety purpose of this polarized plug.
A short power supply cord is provided to reduce the hazards resulting from
entanglement or tripping over a longer cord. If it is necessary to use an extension
cord:
A. The marked rating of the extension cord must be equal to or greater than the
rating of this appliance.
B. It should be positioned such that it does not drape over the counter or tabletop
where it can be pulled on children or tripped over.
Thank you for using our Haier
product. This easy-to-use manual
will guide you in getting the best
use of your blender.
Remember to record the model and
serial number. They are on a label
on the bottom of the blender
Staple your receipt to your manual.
You will need it to obtain warranty service.
.
Model number
Date of purchase
2
Page 4

English
Table of Contents
Important Safeguards ....................................................................1
PAGE
Before Using for the First Time
Parts and Accessories
Assembling the Blender
Using the Blender............................................................................6
Useful Tips ..........................................................................................8
Cleaning and Maintenance ............................................................9
Quick Cleaning
Thorough Cleaning..............................................................................9
Storage ..............................................................................................9
Limited W
..................................................................................
arranty
......................................................................5
..........................................................................10
......................................................4
................................................................6
9
3
Page 5

Before Using for the First Time
Before using your blender for the first time, be sure to do the following:
• Read all instructions in this manual.
• Carefully unpack the blender and remove all packaging materials
and accessories. Be sure not to discard any of the accessories
accidentally.
• Handle the blade assembly carefully. It is sharp!
• Place the blender on a dry, level surface.
• Wash the blade assembly, glass jar, gasket, cover and measuring cup
in warm, soapy water. Rinse and dry thoroughly.
• Wipe the motor base with a clean, damp cloth. This will remove any
dust that my have accumulated during packaging. (Do not use harsh
or abrasive detergents to clean any part of this blender.)
Warning! Do not immerse the blender base, cord or plug in water
•
or any other liquids.
English
4
Page 6

English
Parts and Accessories
1
2
10
3
8
1. Measuring Cup
2. Cover
3. 48 oz. Glass Jar
4. Gasket
5. Blade Assembly
7
9
6. Collar
7. Motor Base
8. Pulse Button
ower Switch
9. P
10. Jar Assembly
4
5
6
5
Page 7

Assembling the Blender
1. Place the blender on a flat, level surface. Always operate the
blender on a clean, dry surface.
2. Place the gasket (4) around the blade assembly (5).
3. Place the blade assembly (5) with the gasket (4) into the collar (6).
4. Insert the assembled collar (6) into the bottom of the glass jar (3)
and turn clockwise to secure tightly. Always do this prior to placing
on top of the motor base.
5. Insert the measuring cup (1) into the cover (2) and turn clockwise to
secure.
6. Place the cover (2) inside the top of the glass jar (3). Push in
securely to prevent leaking and splashing. Never operate the
blender without the cover in place.
7. Place the jar assembly (10) onto the motor base (7) and press
down until securely engaged.
8. Make sure that the power switch (9) is set in the “0” off position.
9. Uncoil the required length of the power cord.
10. Plug the blender into a 120V, 60 Hz AC-only outlet. Your blender
is now ready for use!
11. Before removing the jar assembly from the blender base after use,
be sure the power switch is in the “0” off position.
English
Using the Blender
1. Make sure that the power cord is unplugged and that the power
switch is in the “0” off position.
2. Check that all parts of the jar assembly are secured in their proper
positions.
Warning! The blade assembly must be securely tightened to the
jar before food or liquid is placed inside the jar.
irmly place the jar assembly onto the motor base so that it is
F
3.
secure.
Note: Never place the blade assembly on the motor base without
the jar being completely assembled and securely tightened.
4. Check that the power switch is set in the “0” off position and plug
the blender into a standard polarized outlet.
6
Page 8

English
5. Add the ingredients to be processed into the glass jar.
6. Put the cover with the measuring cup into the glass jar and press
down to secure.
7. The blender has 3 settings. Turn the power switch to the desired
setting or press the black button to pulse. Always hold the top of
the glass jar while blending.
Speed Setting Usage
0 = Off For turning off the power
1 = Low For light usage with liquids
2 = High For mixing liquids with solid foods
Black Button = Pulse For crushing ice and solid foods in short,
powerful bursts
Note: The pulse setting does not permanently engage in the pulse
setting. It will return to the off setting as soon as the button
is released. Either press and hold the button in the pulse
setting or press repeatedly.
Operate the blender for a maximum of 60 seconds at a time or
alternate 60 seconds on, then 60 seconds off to prevent
overheating or consequent damage to the blender. For continuous
blending action, set the power switch to either the Low or High
setting. For short bursts of high speed blending, use the Pulse
setting.
When crushing ice alone, add a small amount of water since ice
will not crush without some form of liquid. For best results, add
1/2 cup of water for every 1-1/2 cups of ice. Drain any excess
water after blending if only ice is required.
8. After using the blender, always move the switch back to the “0” off
setting and unplug the appliance from the outlet.
9. To remove the glass jar, simply lift it off the motor base. It is not
necessary to rotate the glass jar to remove it.
10. Always clean the jar assembly after each use.
7
Page 9

English
USEFUL TIPS
• Always keep the cover on the jar while blending.
• Always hold the jar while blending.
• Never use any utensils, including spatulas, in the jar while the blender
is operating. Always turn the power switch to the “0” off position first.
• When blending solid or thick liquid ingredients, use the Pulse setting
to prevent blades from becoming stuck.
• If food or ice becomes clumped, turn the blender off and use a rub-
ber spatula to redistribute the ingredients.
• Always place liquid ingredients into the jar first, unless the recipe
specifically states otherwise.
• When crushing ice alone, add a small quantity of water.
• Smaller ice cubes can be crushed faster than larger ice cubes.
• When blending solid foods, always cut them into pieces no larger
than 1” before placing them into the glass jar.
• Blend no more than 1/2 cup of solid foods at a time. This will speed
the blending process and reduce wear on the blades and motor. If
too much food is blended at one time, the motor may stall. If this
happens, turn the power to the “0” off position and remove a portion
of the food. Repeat the blending process.
• If additional foods, ice or liquids need to be added to the jar while
blending, remove the measuring cup from the cover by turning
counter-clockwise and add the ingredients from the opening in the
cover. Be sure that food is cut into 1” pieces first and ice cubes are
added one piece at a time. Wait a few seconds between adding
each ice cube so that the blender can properly blend the ice.
• Remember to replace the measuring cup when all ingredients have
been added.
• Be careful when blending hot liquids. Remove the measuring cup
while blending hot liquids to release steam and condensation that
would build up in the jar.
• Avoid over-blending. Usually, only a few seconds is needed to blend
the ingredients, not a few minutes.
• Chill the jar in the freezer before blending frozen drinks.
• When removing the jar from the base, be sure that the motor has
stopped completely.
8
Page 10

English
Cleaning and Maintenance
Warning! Never immerse the motor base, power cord and plug in water or
other liquids as this may cause a risk of fire or electrical shock. Do
not use harsh or abrasive cleaners on any part of the blender.
Quick Cleaning
• Make sure that the power switch is in the “0” off position.
• Remove the glass jar from the motor base and rinse with warm water to
remove large food particles.
• Fill the glass jar with 1-1/2 cups of warm, soapy water and cover tightly.
Note: Never use boiling water as it may damage the blade assembly and
shorten the life of the blender. Boiling water may also cause steam
buildup and cause personal injury.
• Replace the jar on the motor base.
• Press the Pulse button for a few seconds and repeat several times.
• Remove the jar from the motor base and rinse well.
• Repeat as necessary.
• Dry thoroughly.
Thorough Cleaning
• Make sure that the power switch is in the “0” off position.
• Always unplug the blender before cleaning.
• Remove the glass jar from the motor base and rinse with warm water to
remove large food particles.
• Disassemble the jar assembly parts. Be careful when handling the blade
assembly.
• Wash the jar, cover, measuring cup, gasket, collar and blade assembly in
warm, soapy water.
Note: All components of the jar assembly are dishwasher safe. The cover
and the gasket should be washed on the upper rack of the dishwasher.
• Dry thoroughly.
• Wipe the power cord and the motor base with a clean, damp cloth and wipe
dry.
Storage
Store the blender fully assembled and in an upright position in a clean,
dry cabinet.
9
Page 11

Limited Warranty
Full One Year
English
This warranty covers all defects in
workmanship or materials for a period
of 12 months from the date of purchase, provided you are able to present a valid proof-of-purchase (the
original receipt)
Exceptions: Commercial or Rental Use
Warranty is 90 days from date of original purchase.
This warranty covers appliances within
the Continental United States, Puerto
Rico and Canada.
What is not covered by this
warranty:
Damage from other than normal use
or improper installation.
Damage from misuse, abuse, accident,
alteration, lack of proper care and
maintenance.
Failure caused by build-up of food
matter or water deposits.
Product, whose rating label has been
removed or altered.
Product serviced by other than authorized service center.
Replacement or repair of household
fuses, circuit breakers or wiring.
Labor, shipping charges and replacement of defective parts beyond the initial 12-month period.
Do not return this product to the store.
If you need assistance with this product, please contact "Haier Customer
Satisfaction Service at 1-877-337-3639
between 9:00 AM and 5:00 PM (EST)
Monday to Friday.
Before calling, please have the
following information available:
Model number of your appliance. The
name and address of the store you
purchased the unit from and the date
of purchase. A clear description of the
problem.
Haier will repair or replace any part
free of charge including labor that fails
due to a defect in materials or workmanship, or replace with a comparable model.
THIS LIMITED WARRANTY IS
GIVEN IN LIEU OF ALL OTHER
WARRANTIES, EXPRESSED OR,
INCLUDING THE WARRANTIES OF
MERCHANTABILITY AND FITNESS
FOR A PARTICULAR PURPOSE.
The remedy provided in this warranty is
exclusive and is granted in lieu of all
other remedies.
This warranty does not cover incidental
or consequential damages, so the
abovelimitations may not apply to you.
Some states do not allow limitations on
how long an implied warranty lasts, so
the above limitations may not apply to
you.
This warranty gives you specific legal
rights, and you may have other rights,
which vary, from state to state.
Haier America
New York, NY 10018
10
Page 12

IMPORTANT
Do Not Return This Product To The Store
If you have a problem with this product, please contact the "Haier Customer Satisfaction
Center" at 1-877-337-3639.
DATED PROOF OF PURCHASE REQUIRED FOR WARRANTY SERVICE
IMPORTANT
Ne pas Réexpédier ce Produit au Magasin
our tout problème concernant ce produit, veuillez contacter le service des
P
consommateurs ‘Haier Customer Satisfaction Center’
UNE PREUVE D’ACHAT DATEE EST REQUISE POUR BENEFICIER DE LA GARANTIE.
au 1-877-337-3639.
IMPORTANTE
No regrese este producto a la tienda
Si tiene algún problema con este producto, por favor contacte el "Centro de Servicio al
NECESITA UNA PRUEBA DE COMPRA FECHADA PARA EL SERVICIO DE LA GARANTIA
Consumidor de Haier" al 1-877-337-3639 (Válido solo en E.U.A).
HB500BSS
Issued: July-06
120V, 60 Hz
Made in China
Fabriqué en Chine
Hecho en China
Haier America
New York, NY 10018
Printed in China
Part# SE-8888-07
 Loading...