

Page 1

Mini Sea-ox
Haier Household Electric Water Heater
FCD-8
User' Manual
Group
Qingdao Economic & Technical Development Zone
Haier Water Heater Co.,Ltd.
Please read this manual before usage
Retain it for future reference
Page 2
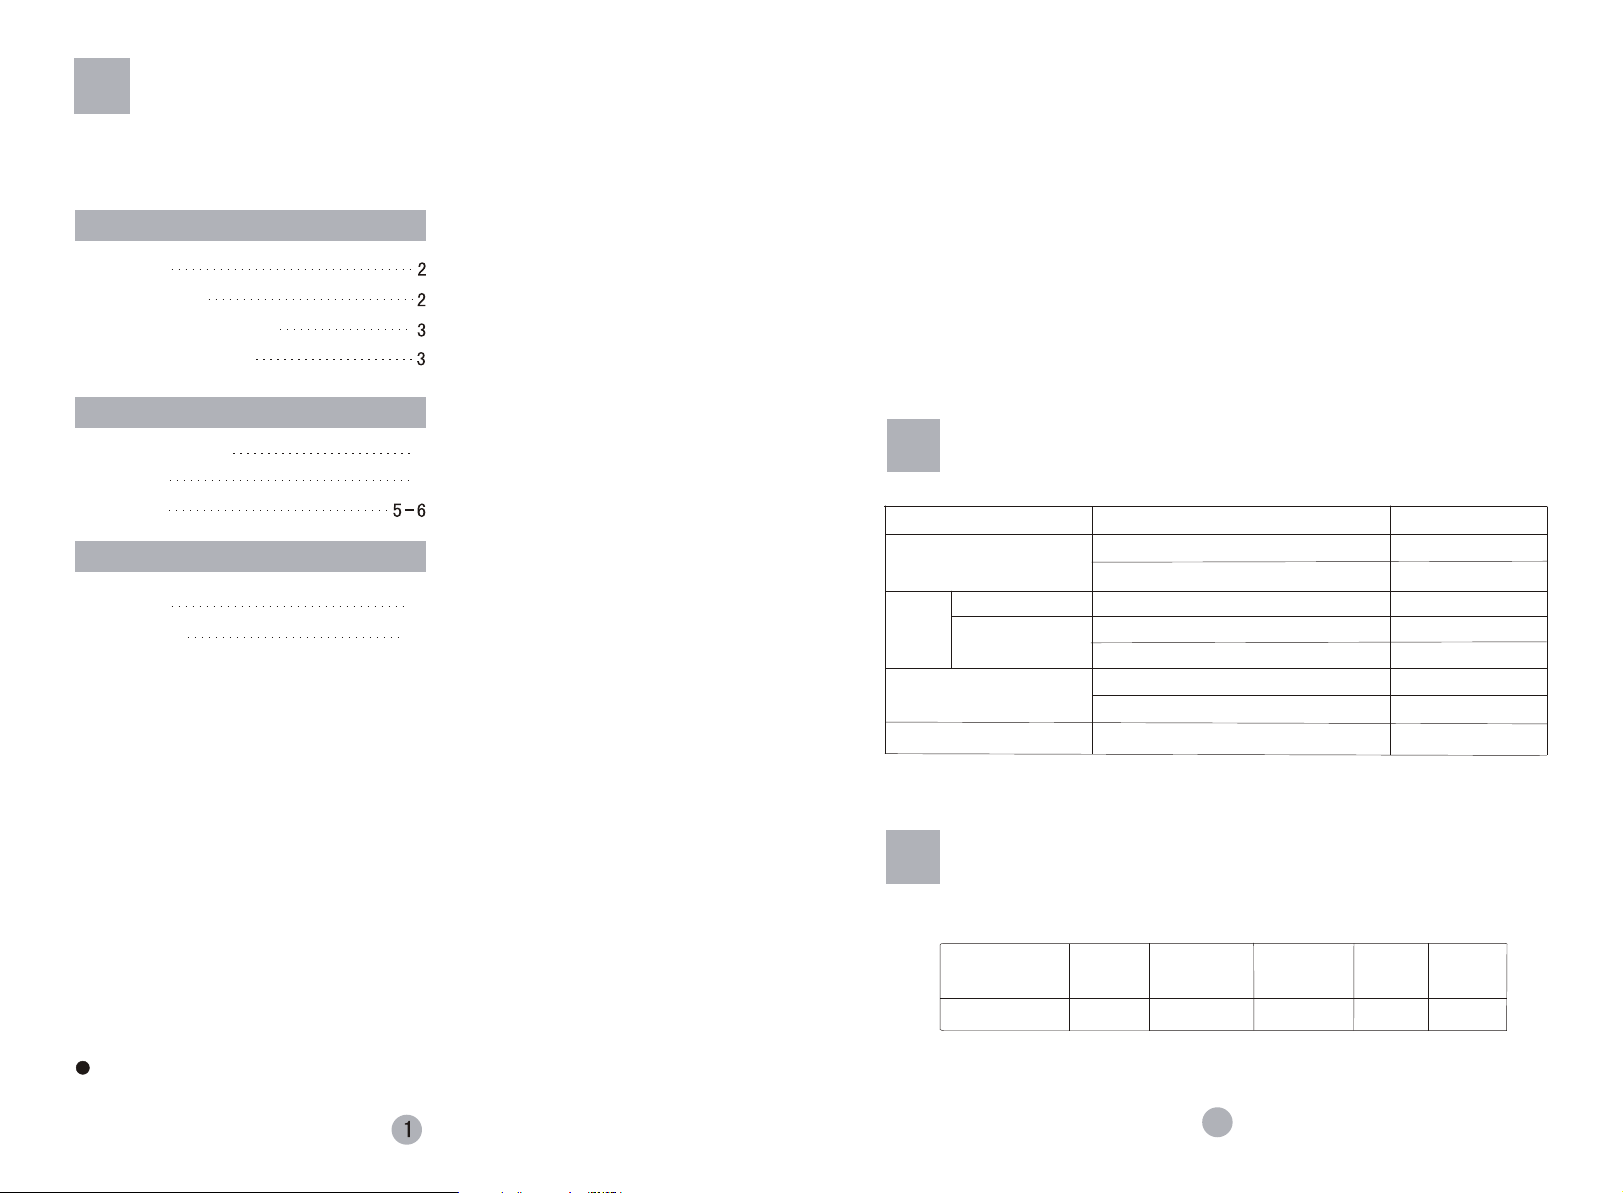
Contents
Before usage
Features
Parameters
Dimension figure
Schematic diagram
Installlation
After installation, be sure to fill the tank with water before switching on the
power. The receptacle of water heater shall be set to places beyond the water
spraying. Never plug or pull the power plug with wet hand. If the power cord
is damaged, be sure to have it replaced by appointed maintenance.
In cold area, if the water heater is idle for long period in winter, please pull
the safety valve to discharge the water to avoid freezing.
The shell of the water heater is all plastic. To clean the shell, please wipe it
gently with wet cloth and neutral detergent. Do not use petrol or other
solvent.
In case of breakdown, please contact us or the appointed maintenance to
resume normal usage as soon as possible.
Installation
Usage
Attention
FAQ * After service
FAQ
Packing list
4
FAQ
5
Phenomenon
No water output
Heating indicator is on
6
6
Cold
water
output
Heating indicator is off
only
The heating indicator keeps on
Unstable quantity and temperature
with water output
Is water supply failed or water pressure too low?
Is water exit blocked? Is hot water valve opened?
Heater breakdown
Is the power switched on?
Is there temperature regulator breakdown?
The set water temperature is not reached yet
Is there temperature regulator breakdown?
Is the tap water input pressure stable?
Please check
How to solve
Make check
Check and clear
Contact the maintenance
Switch on the power
Contact the maintenance
Continue heating
Contact the maintenance
Make check
Packing List
Name
Quantity
Electric
water
heater
1
Safety
valve
1
Expansion
bolt
2
Gasket
User's
manual
4
1
See to the physical product for the appearance, color or pattern.
6
Page 3

Usage
Before Usage
After installation, as there's no water inside the tank, please be sure to open
the water inlet valve and any of water exit. When the tank is filled with water
and the water exit keeps discharging water, close the valve. Check if there's
water leakage at each joint. Plug the power plug. In usage, be sure to open
the cold water valve before the hot water valve to avoid scalding .You can
urn the handle of the mixing valve upward to the left then pull the handle of
t
the safety valve to discharge the water
.
Switch on the power. The heating indicator is on. The water heater starts
operating. When the water temperature reaches 60 , the heating indicator is
off. The water heater will stop heating and enters heat preservation mode.
If the water temperature drops to certain degree, the red indicator will light on
again to continue heating. It will circulate like that to guarantee the continuous
hot water supply.
Attention
This product requires power supply with 220V , 50Hz.
The max heating temperature is 60 , not drinkable.
Reliable earthing is requested. Earthing wire shall be separated from neutral
wire strictly. T the positions of the live wire and earthing
wire can not be replaced.(See to Figure 5.)
Earthing wire
o avoid accident,
Earthing wire
Earthing wire
Live wire
(Figure 5)
¡ÂDear users,
Thanks for choosing Haier water heater product.
Haier products have good quality and excellent performance. To facilitate
you to use the product, please read the manual and operate accordingly.
Please retain it for future reference.
The international star service of Haier Group will always accompany you.
No matter what kind of problems you meet in usage, please contact with the
local after -sales service agent. We are at your service all the time. Thanks
again for choosing Haier Product.
The water heater you purchased may not fully comply with the figure in
the manual due to the improvement of product. We apologize for the
inconvenience occurred therefrom.
Features
1.Safely:
Hai-quality heat proof stainless steel electric heating element, safe and
Reliable; overtemperature protection; overpressure protection of tank;
2. Durability:
Full plastic shell, elegant and durable;
Enamel tank, with more reliable quality and longer operation life.
3. Multi- usage:
Enclosed structure, capable of supplying multiple places;
Suitable for family , enterprise, catering, beauty service etc. on hot water
Supply.
4. Nice molding, space-saving
Arc appearance, appealing design, dapper and elegant.
5. Convenience:
60 thermostatic heating. It will stop heating when the temperature
Reaches 60 .
Live wire
Neutral wire
Live wire
Live wire
5
Neutral wire
Earthing wire
Parameters
Rated voltage:220V~50Hz Dimension(See to Figure 1)
Power: 1200W Weight: (See to Figure 1)
Rated pressure: 0.75MPa Volume: (See to Figure 1)
Waterproof grade: antisplash( ) Tap water pressure: no less than 0.05MPa
2
Page 4

Dimension Figure
Installation
Front view
a1
b1
B
8L
Net
weight
8kg
a1 b1
325mm
Model
FCD-8
Remarks: the petmitted error limit of above parameters is 10%.
Volume
Cutaway view
E
D
B
c1
d1
c1
414mm 100mm 255mm
Schematic Diagram
£¨Figure 1£©
Side view
F
d1
A Hot water outlet
B Cold water inlet
C Mg anode rod
D Heating element
E Enamel tank
F Wall-mounting bracket
Be sure to have it installed by the appointed staff. It adopts wall-mounting installation.
First decide the installation location according to the usage requirement. Make two
holes in the wall with depth 70mm and 9mm by churn drill as per the indication of
installation diagram.
Fasten the wall-mounting plate on the wall tightly with two expansion bolts as per
indicated in Figure 2. Check and confirm that the bolts are not loose.
Hang the water heater vertically onto the wall by the wall-mounting plate. Confirm it
is firmly mounted. Please reserve certain space for the future maintenance during
installation.
(Figure 2)
Wall-mounting
plate
Expansion bolt
(Figure 3)
Connect to drain hose
When the power is switched on, and the water heater starts operating, there may
be some water discharged from the pressure relief hole of safety valve. It is due to
the water expansion under heating, and is normal phenomenon. The pressure
relief hole shall communicate with the air directly. Do not block it.
heater will be installed in the bathroom without sewer, we suggest you add drain
hose.
Fasten the drain hose to the drain thread of safety valve by twisting (see to
Figure 3). According to the need, you could truncate or elongate the hose in your
favor. Connect the other end of drain hose to the sewer to avoid polluting the
room by splashing. The drain hose connecting to the safety valve shall be kept
downward sloping in installation and in a frost-free environment.
Be sure to check and confirm that the tank is filled with water, there's no leakage
at each joint and the power supply complies with the stipulation before switching
on the power.
If the water
L:Brown wire
N:Blue wire
MT:High temperature limiter
EH:Heating element
E:Yellow/green wire
ThermostatBT:
N
HL:Heating indicator
MT
BT
L
E
HL
EH
E
3
(Figure 4) for reference in installation only
Hot water outlet
Safety valve
Cold water inlet
4
 Loading...