

Page 1

Page 2

Page 3

Page 4

Page 5
Convenient picture and so und control functions
Multiple picture modes
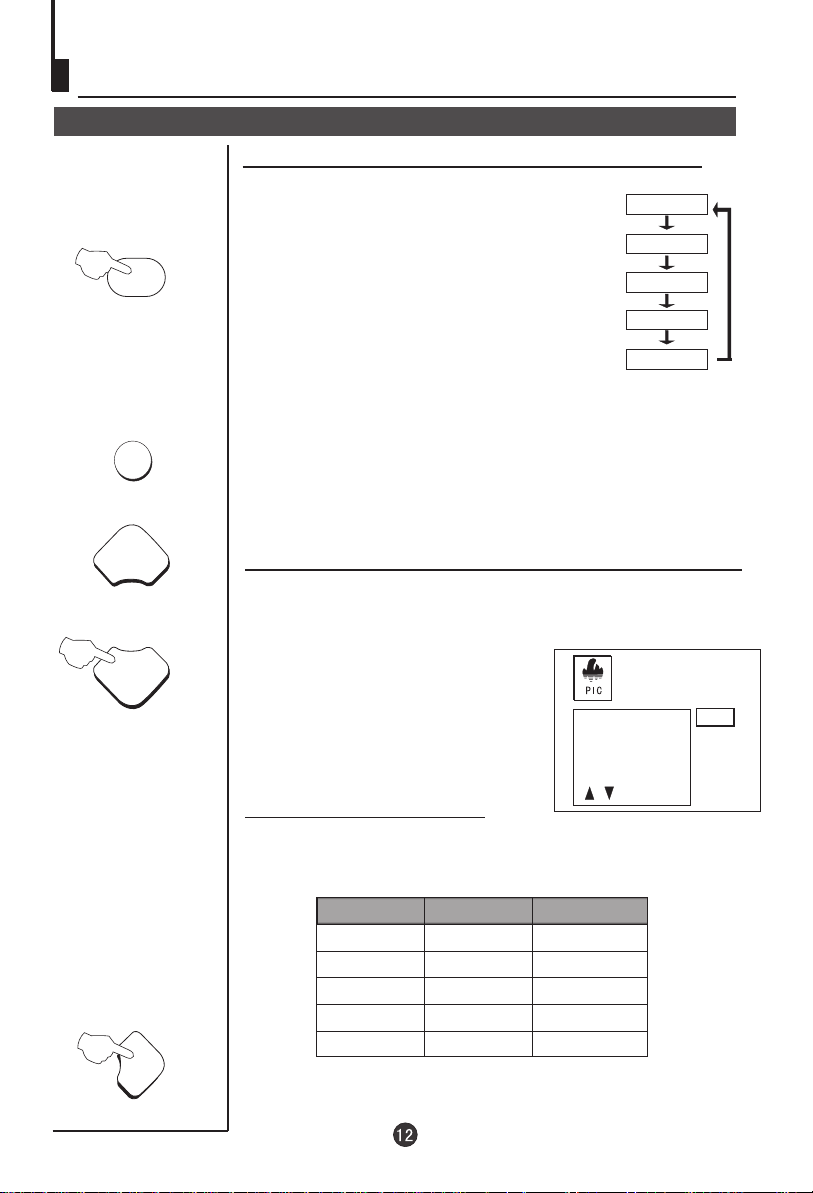
How to select picture modes
You can quickly select the desired picture mode from
four preset modes and one customized mode.
P .STD
MENU
P+
Press the P.STD button to select the desired
picture quality. Five kinds of picture modes
"STANDARD","
(i.e., RICH", "USER","LISTEN",
"SOFT" ) can be selected in turn.
The 5 modes are
Listen-This is a new feature that blacks out
the TV screen when listening to music only channels;
Soft-Designed for night time low light viewing;
Standard -Designed for rooms that have good all round
lighting;
Rich-Designed for rooms with high ambient lighting such
as daytime sport;
User-A spare setting that can be adjusted to personal
tastes.
How to customize your own picture status
1 Press the MENU button. The MAIN MENU will appear with
the PIC (picture) icon flashing.Press P- to enter the PICTURE
menu.
STANDARD
RICH
USER
LISTEN
SOFT
P-
VOL+VOL+
CONTRAST
BRIGHTNESS
COLOR
SHARPNESS
85
2 Press the P+/- buttons to select the item to adjusted, then press
the VOL-/+ buttons to obtain the desired effect.
ITEM
CONTRAST
BRIGHTNESS
COLOUR
SHARPNESS
*Hue
Note:The "Hue" item only appears when the colour system is NTSC.
Press VOL-
Weak
Dark
Shallow
Soft
lean to purple
Press VOL+
Strong
Bright
Deep
Sharp
lean to green
Page 6

Time functions
Clock setting and timer on/off functions
Clock setting
The clock will only work if the TV set if left turned on
TIME
or in standby. When the set is disconnected from the
power supply or is turned off by the main power on
the front panel, the clock loses power and will need to
be reset when the power is reconnected.
1 Press the TIME button, and the
TIME menu appears on the
screen.
2 Press the P+/- buttons select
"CLOCK", then press the V -/+
buttons to adjust the time in
hour position; press again the
P+/- buttons to select the time
in minute position, then press
the VOL-/ +buttons to adjust the
value of minutes .
On/off timer On-off time setting is cleared after timer operates.
TIME
Using on/off timer function, the TV set can automatically
turn on to a preset program or shut down at a preset time.
TIME
CLOCK 17:18
ON TIME 18:00
ON PROG 1
OFF TIME --:-SLEEP TIMER 0
REMIND TIME --:-REMIND PROG 1
1 Press the TIME button, and
the TIME menu display on the
screen.
2 Press the P+/- buttons to
select "ON TIME", then press
the VOL-/+ buttons to set the
value in hour position; press
again theP+/- buttons to select
the minute position and set the
value of the minute(take 18:00
as an example).
3 Press the P+/- buttons to
select "ON PROG", then press
the VOL-/+ or program number
buttons to select your desired
channel (take 8 as an example).
4 Repeat step 1-2 to set OFF
TIME(take 23:00 as an example).
TIME
CLOCK 17:18
ON TIME 18:00
ON PROG 1
OFF TIME --:-SLEEP TIMER 0
REMIND TIME --:-REMIND PROG 1
TIME
CLOCK 17:18
ON TIME 18:00
ON PROG 8
OFF TIME 23:00
SLEEP TIMER 0
REMIND TIME --:-REMIND PROG 1
Page 7

Set up function
Continued
AVL
MENU
P+
AVL function
Automatic Volume Level control reduces the effect of
large volume changes. For instance, when
advertisements come on.
1 Press the MENU button.
The MAIN MENU will
appear with the PIC
(picture) icon flashing.
Press the MENU button
a further 2 times until the
FUN (function) icon is
flashing.Press P- to enter
the FUNCTION menu.
BACKGROUND
BLACK STRETCH
NOISE REDUCE
FADE
AVL
P-
VOL+VOL+
2 Press the P+/"AVL"
.
3 Press
A VL function "ON" or "OFF"
button to select
VOL-/+ button to turn the
BACKGROUND
BLACK STRETCH
NOISE REDUCE
FADE
AVL
.
Page 8

DVD System Setup
DVD System Setup
General Setup Process
SETUP
PLAY/ENTERPLAY/ENTER
SETUP
PLAY/ENTERPLAY/ENTER
1.Press the SETUP button, the
General Setup Page,Preference
Page will be displayed in turn.
2.Press CH+/- b to select the
item,then press to enter the
submenu.
3.Press CH+/- bu to setup,then
press PLAY/ENTER to confirm.
4.Press SETUP button to exit
the menu.
General Setup Page
ASPECT RATIO DESCRIPTION
When using the DVD with the internal TV,
select 4 3/LB.
The following information applies only
when the DVD output is connected to an
external TV.
4 3/PS (PS = Pan and Scan)
You may select if you have a normal aspect
ratio (4:3) TV, although the NORMAL/LB
(letter box) is a more common choice. In PS
mode, widescreen material will fill the screen, but at the expense of chopping
off extreme left and right edges of the original film picture. For this feature to
work, the disc must be specially coded. Such discs are uncommon.
4 3/LB (LB = Letter Box)
You may select this if you have a normal aspect ratio (4:3) TV. Widescreen
material will be shown in pure unaltered form, allowing the entire picture area
of the original film to be viewed without any side cropping. Black bars will
appear above and below the picture.
16 9
You may select this if you have a widescreen (16:9) TV. Back bars may still
appear above and below the picture even if using a widescreen TV. This is
because some film directors prefer to use ultra widescreen aspect ratios e.g.
2.35:1. This will normally be indicated on the DVD packaging.
or
or
..General Setup Page..
TV Display LB
Angle Mark On
OSD Lang ENG
Spdif Output
Caption On
Screen Saver Off
..Preference Page..
TV Type Auto
Parental
Password
Default
..General Setup Page..
TV Display LB
Angle Mark On
OSD Lang ENG
Spdif Output
Caption On
Screen Saver Off
.
4 3:Ps
.
4 3:Lb
16 9
PAL
AUTO
NTSC
.
4 3:Ps
.
4 3:Lb
16 9
Page 9

DVD System Setup(Continued)
DVD System Setup
SETUP
PLAY/ENTERPLAY/ENTER
DEFAULT: Resets all settings
(except password and parental
lock status) for this DVD player
back to the manufacturers
original settings. Press ENTER
to perform the reset.
..Preference Page..
TV Type Auto
Parental
Password
Default
Reset
Note:
Some functions may not be available depending on the type of disc.
Page 10

Page 11

CONWA
WHERE EXPECTATION MEETS REALITY
01
0090505433
Page 12

Page 13

Page 14

Caractéristiquestechniques
Caractéristiquestechniques
Modèle
Systèmedecouleurs
Systèmesonore
Tubecathodique
Puissancesortie
sonore
Systèmerequis
Consommation
électrique
Dimensions
Accessoires
TVD14MS
LecturePALSECAMNTSC
BGL/L'
Tubecathodiquecouleur14”(dimensionvisiblede33,5cm)
2X2W10%THD
AC230V50Hz
75W
368Widthx378Depthx371Heightmm
Télécommande
Manueld'utilisation
CâbleAV
Antenne
X1
X1
X1
X1
CelecteurDVDestconçuetfabriquéconformémentàlaréglementationrelativeaux
codesrégionenregistréssurlesdisquesDVD.Silecoderégionindiquésurledisque
DVDnecorrespondpasaucoderégiondecelecteurDVD,lelecteurnepourrapaslire
ledisque.
Lecoderégionaldecetappareilestle2.
2
FR-
31
 Loading...