

Page 1
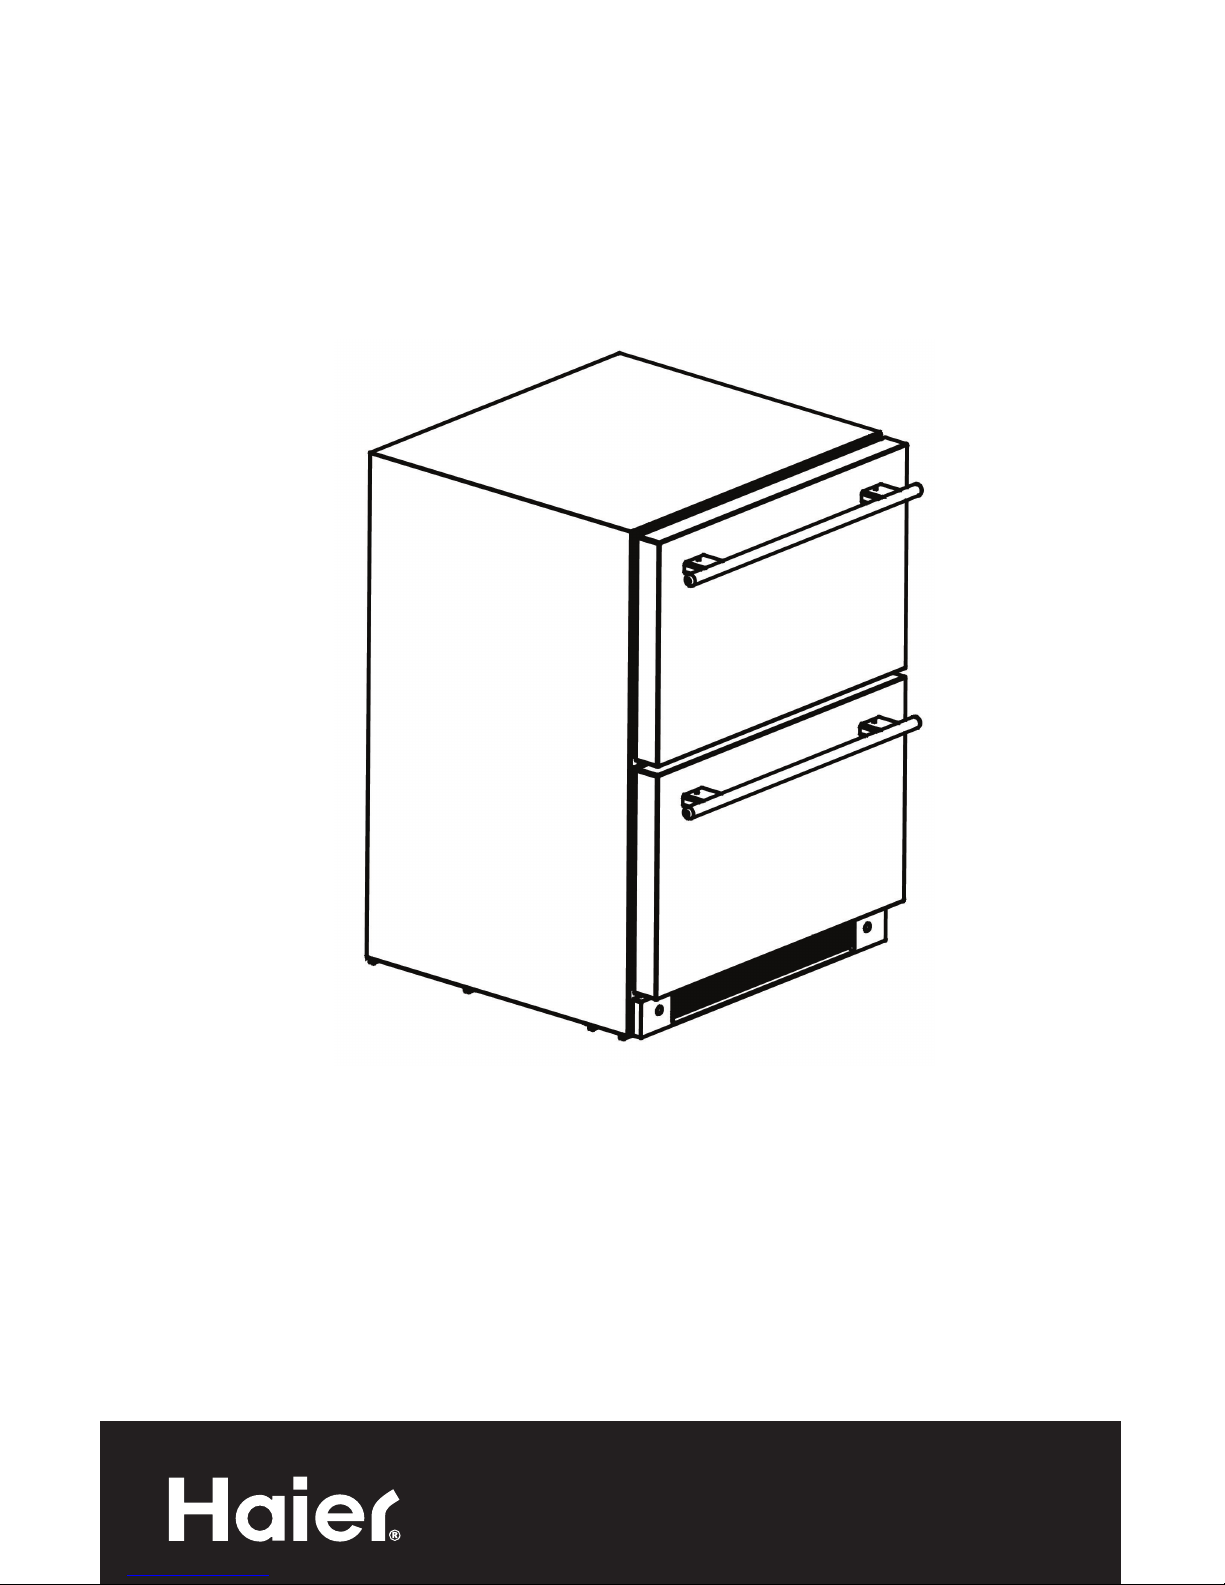
Dual-Drawer Refrigerator
User Manual
Models: C121, C122, C123
Quality • Innovation • Style
Page 2

1
English
Important Safeguards
When using this appliance, always exercise basic safety
precautions, including the following:
1. Read all of the instructions before using this appliance.
2. Use this appliance only for its intended purpose as described in this use
and care guide.
3. This refrigerator must be properly installed in accordance with the
installation instructions before it is used. See grounded instructions in
the installation section.
4. Never unplug your refrigerator by pulling on the power cord. Always
grasp the plug firmly and pull straight out from the outlet.
5. Unplug your wine cellar before cleaning or before making any repairs.
Note: If for any reason this product requires service, we strongly
recommend that a certified technician performs the service.
6. Repair or replace immediately, all electric power cords that have
become frayed or otherwise damaged. Do not use a cord that shows
cracks or abrasion damage along its length, the plug or the connector
end.
7. This appliance is designed for built-in use only into an enclosed
cabinet.
8. If your old refrigerator is not being used, we recommend that you
remove the door and leave the shelves in place. This will reduce
possibility of danger to children.
9. Do not operate your refrigerator in the presence of explosive fumes.
10. Do not store foods in refrigerator as interior temperature many not be
cool enough to prevent spoilage or may cause bacteria growth.
11. Cabinet edges along stamp/cut-out areas may be sharp. Please avoid
placing hands, fingers or other appendages near these areas.
12. This appliance is not intended for use by young children or infirm
persons without supervision. Young children should be supervised to
ensure they do not play with the appliance.
13. CAUTION: DON'T USE EXTENSION CORDS.
SAVE THESE INSTRUCTIONS
DANGER
Risk of child entrapment. Before you throw away your old
appliance, take off the doors. Leave the shelves in place so
that children may not easily climb inside.
Page 3

2
Thank you for using our Haier
product. This easy-to-use manual will
guide you in getting the best use of
your refrigerator.
Remember to record the model and
serial number. They are on a label in
back of the refrigerator.
Model number
Serial number
Date of purchase
Staple your receipt to your manual. You will need it to obtain
warranty service.
English
Table Of Contents
PAGE
Important Safeguards ....................................................................1
Parts And Overall Dimension .......................................................3
Pre-Installation Instructions ...........................................................4
Preparation before installing ...................................................................4
Installation .............................................................................................5
Interior Parts .....................................................................................6
Crisper ..................................................................................................6
Adjustable Divider ..................................................................................6
Drawers .............................................................................................8
Upper Drawer ........................................................................................8
Lower Drawer ........................................................................................8
How To Use This Product ................................................................8
Important notes before connecting the power supply .................................8
Connect the power supply.......................................................................8
Interior LED bulb ....................................................................................8
Temperature setting ................................................................................8
Setting Lock ...........................................................................................9
Degree Centigrade and Fahrenheit conversion .........................................9
Power switch ..........................................................................................9
Sabbath mode .......................................................................................9
Sound alarm system ............................................................................ 10
Auto Defrost ....................................................................................... 10
Cleaning .......................................................................................... 10
TroubleShooting ............................................................................ 11
Limited Warranty .......................................................................... 12
Page 4

Parts And Overall Dimensions
3
English
1. Cover
2. Upper Cover, Crisper
3. Crisper
4. Upper Partition Assy
5. Control Panel
6. Accessory Package
7. Feet
8. Lower Cover, Crisper
9. Lower Partition Assy
10. Handle
11. Button Upper
12. LED Screen
13. Button Lower
14. Thermo Set
15. ºC/ºF Conversion
16. Power Switch
Parts And Overall Dimension
3
6
4
9
5
10
2
7
1
8
11 12 13 14
15
16
F
C
F
C
SET SELECT POWER
Parts And Overall Dimension
23.86
33.8823.74
41.42
Page 5

4
English
This refrigerator is for built-in use only. Before use, this product must be installed
properly.
Preparation Before Installing
First, clean product's surface with soft cloth, remove all protective coating and belt
covering the product.
1. Pull the upper drawer open. Refer to the illustrations below. Put both dividers of
shelf on the same side. Lift the crisper up off the drawer.
2. Lift both sides of shelf off the bin cradle with two hands together until the shelf is
pulled out and rotate.
3. Take the upper shelf out of the upper compartment.
Note: After completing these three steps please close the upper drawer to avoid
damage to your body by sliding out of drawers following installation.
Pre-Installation Instructions
Page 6

5
English
Installation
1. Take off Part "1" (holes cover) of structural drawing with upwards motion. Refer
to illustrations below:
2. Take the anti-tip bracket and screws from the accessory bag. Tighten the anti-tip
bracket on the top of the product with screws as follows in the illustration.
Note: Follow instructions properly or you may do damage to product.
3. Put the unit inside of counter. Pull upper drawer open and attach the anti-tip
bracket to counter by screw. You can adjust the feet on the corners of unit
(Part 7 in Structural drawing).
Page 7

6
English
Interior Parts
Crisper
One cripser with cover in upper drawer, user can adjust the crisper depending on
storage needs.
Purpose: Convenient for separate storage of fresh vegetable or fruits. It can stop
offensive odors. You can take crisper out when not needed.
Adjustable Divider
There is an adjustable divider in each drawer. User can adjust them to be suitable
for different food storage . You can take it out when not needed.
Note: Keep divider in safe place if taken out; especially keep it from children to
avoid damage to them and itself.
Separate the compartment to left and right or vice versa.
Separate the compartment to left and right or vice versa.
Page 8

7
English
The upper compartment is seperated by a divider fastened to the bin cradle of upper
compartment.Those two dividers can be adjusted left and right, also back and front.
For left and right adjust: rotate directly. For back and front: you should push the
“push” button in middle connector and move it back to front. If you want to clean
your refrigerator, you can remove the shelf following step of “Preparation before
installing”
Purpose: People can separate the upper compartment with divider according to
personal needs. Keep foods fixed to avoid falling down when drawers
are being opened and closed.
Adjust the divider in lower compartment by referring to illustration:
The divider in lower compartment is fixed between the embossments of front and
back wall of drawer.You can choose different embossments to divide into different
spaces in drawer.
Purpose: Separate the lower compartment with divider according to personal needs.
Page 9

8
English
How to use this product
Important Notes Before You Connect the Power Supply
Actual power supply should be kept in accordance with marks on rating
plate(115V/60HZ).Rating plate is on back of unit.
Power socket should be equiped with fuse of 10A. Keep the refrigerator still for 30
minutes to 1 hour before connnecting to power socket which has been grounded.
CAUTION: DON'T USE EXTENSION CORDS
Connect the power supply
Unit is inspected and set to be 38º before leaving the factory. When connected with
the power supply, Unit will work normally.
Interior LED bulb:
LED bulb is located on top of interior liner in each upper and lower compartment.
It is controlled by approaching switch: when drawer is open, it’s on, when drawer is
closed, it’s off.
Caution: There are magnets that are affixed on left side of interior upper drawer
and bottom of lower drawer door. Don’t remove them as they turn interior light on or
off.
Temperature setting:
If you want to change temperature, press “SET” for three seconds, temperature will
flash in control panel,then you can adjust the figure and press “SET” to confirm after
you complete your operation.
Note: Please do not set temperature below 34ºF because it could harm perishable
products.
If you want to reduce the temperature, press the "v" button.
If you want to raise the temperature, press the "^" button.
Drawers
Upper Drawer
Can hold a 2 liter bottle or any item under 12 inches tall.
Lower Drawer
Lower drawer is separated by step. Foods or beverage whose height is less
than 12 inches can be kept in the space without step. Cans can be kept in
space with step.
Page 10

9
English
Temperature range is : 34-47ºF (1-7ºC)
Settings Lock:
The settings lock keeps your intended temperature settings in place in case of an
accidental touch on the touch pad.
To unlock: press "SET" for 3 seconds. When you hear "TICK", it means unlocked.
The temperature figure flashes and you can now unlock. After adjustment, press
"SET" to confirm and start settings lock clock. Now you can't adjust the temperature
by pressing "^" "v".
Degree Centigrade and Fahrenheit Conversion:
Press and hold“select”for 3 seconds, temperature display will change from
Fahrenheit to Centigrade degree,buzzer will ring once. Press and hold “select” for
3 seconds,it will change form Centigrade back to Fahrenheit, buzzer will ring once
again.
Power switch:
Display panel has power button. If you want to stall unit from working for a short
time or to restart,press and hold "power" for 3 seconds to open and close.
Note: If you want to stop the unit from working for a long time, please shut off
power supply, unplug socket, cut off the fuse, clean refrigerator, and remove
door of unit to get rid of odor.
Sabbath mode:
Press and hold "^" and "v" at the same time for 3 seconds, buzzer will ring
once, display panel will flash 3 times and stop. This indicates that the unit
has entered Sabbath mode.In this mode,normal cooling operations still take
place(compressor,magnetic valve,fan,heater strip), but all luminous equipment
including display panel, and LED bulb will shut off no matter if door is opening or
closing.
Press and hold "^" and "v" at the same time for 3 seconds, after display panel
flashes 3 times, you can exit from Sabbath mode.
Note: This mode is available for the observance of certain religious holidays.
Page 11

10
English
Alarm System:
Alarm system monitors if the drawers are left open or internal temperature gets too
hot or cold.
Door Ajar Alarm: If the door of unit is kept open for a long time and it affects
temperature, the system will give an alarm. If you want to stop it, press “SET”
button.
Auto Defrost:
Unit can defrost automatically: The water on back wall will drain into water tank
and be evaporated by the condensator. Please check if water can drain into the tank
automatically.
Cleaning
Before cleaning, turn unit off.
Clean interior surfaces and accessories and outer frame with cold water and a little
baking soda.
Don’t clean with steam to avoid damage to product.
Don’t use abrasive, acidic and chemical cleanser.
Keep cleanser from elcetrical device.
Clean and dry all accessories.
Clean drain hole which is between comparments of unit with a small and soft
material such as cotton swab.
Page 12

11
English
Troubleshooting
If Refrigerator does not operate:
Check if refrigerator is plugged in.
Check if there is power in the AC outlet, by checking the circuit breaker.
If Refrigerator is too warm:
Frequent door openings.
Allow time for recently added beverage to reach desired temperature.
Check gaskets for proper seal.
Clean condenser coils.
Adjust temperature control to colder setting.
If Refrigerator runs too frequently:
This may be normal to maintain constant temperature during high temperature and
humid days.
Doors may have been opened frenquently or for an extended period of time.
Clean condenser coils.
Check gasket for proper seal.
Check to see if doors are completely closed.
If Moisture build up on interior or exterior of the refrigerator:
This is normal during high humidity periods.
Prolonged or frequent door openings.
Check gaskets for proper seal.
If Refrigerator door does not shut properly:
Level the refrigerator.
Check for blockages e.g. beverage bottles, slide orbit, signal wire under the upper
drawer and the switch under the door plate of the lower drawer.
Page 13

12
English
What is covered and for how
long?
This warranty covers all defects in
workmanship or materials for a period
of :
12 months labor
12 months parts
5 years sealed system
The warranty commences on the date
the item was purchased and the original
purchase receipt must be presented to
the authorized service center before
warranty repairs are rendered.
EXCEPTIONS:Commercial or Rental Use
warranty
90 days labor(carry-in only)
90 days parts
No other warranty applies
What is covered?
The mechanical and electrical parts,
which serve as a functional, purpose of
this appliance for a period of 12months.
This includes all parts except finish and
trim.
The components of the sealed system
e.g. hermetic compressor,condenser and
evaporator from manuafacturing defects
for a period of 5 years from the date of
purchase.
Any damages to such components
caused by mechanical abuse or
improper handling or shipping will not
be covered.
What will be done?
We will repair or replace,at our
discretion any mechanical or electrical
part which proves to be defective in
normal usage during the warranty
period so specified.
There will be no charge to the purchaser
for parts and labor on any covered
items during the initial 12 month period.
Beyond this period only parts are
covered in the remaining warranty.
Labor is not provided and must be paid
by the customer.
Contact your nearest authorized service
center. For the name of the nearest
serive center please call 1-877-337-
3639
THIS WARRANTY COVERS
APPLIANCES WITHIN THE
CONTINENTAL UNITED STATES,
PUERTO RICO AND CANADA. IT DOES
NOT COVER THE FOLLOWING:
Damages from improper installion.
Damages in shipping.
Defects other than manufacturing.
Damage from misuse, abuse, accident,
maintenance or incorrect current or
voltage.
Damage from other than household use.
Damage from service by other than an
authorized dealer or service center.
Decorative trims or replaceable light
bulbs.
Transprotation and shipping.
Labor(after the initial 12 months).
THIS LIMITED WARRANTY IS GIVEN
IN LIEU OF ALL OTHER WARRANTIES,
EXPRESSED OR, INCLUDING THE
WARRANTY OF MERCHANTABILITY
AND FINESS FOR A PARTICULAR
PURPOSE
The remedy provided in this warranty
is exclusive and is granted in lieu of all
other remedies.
This warranty does not cover incidental
or consequential damages, so the above
limitations may not apply to you. Some
States do not allow limitations on how
long an implied warranty lasts, so the
above limitations may not apply to you.
This warranty gives you specific legal
rights, and you may have other rights,
which vary, from state to state.
Haier America
New York, NY 10018
Limited Warranty
Page 14

IMPORTANT
Do Not Return This Product To The Store
If you have a problem with this product, please contact the "Haier Customer
Satisfaction Center" at 1-877-337-3639.
DATED PROOF OF PURCHASE REQUIRED FOR WARRANTY SERVICE
IMPORTANT
Ne pas Réexpédier ce Produit au Magasin
Pour tout problème concernant ce produit, veuillez contacter le service des
consommateurs ‘Haier Customer Satisfaction Center’ au 1-877-337-3639.
UNE PREUVE D’ACHAT DATEE EST REQUISE POUR BENEFICIER DE LA GARANTIE.
IMPORTANTE
No regrese este producto a la tienda
Si tiene algún problema con este producto, por favor contacte el "Centro de Servicio al
Consumidor de Haier" al 1-877-337-3639 (Válido solo en E.U.A).
NECESITA UNA PRUEBA DE COMPRA FECHADA PARA EL SERVICIO DE LA GARANTIA
115V, 60 Hz
Made in China
Fabriqué en Chine
Hecho en China
Haier
New York, NY 10018
Printed in China
C121, C122, C123
101263
 Loading...