HAGERMAN FryBaby User Manual

 HAGERMAN
T E C H N O L O G Y
FryBaby
Audio Burn-in Generator

FryBaby Kit Manual |
2 |
|
|
Warnings
This product does not use any dangerous voltages. Power is supplied from either a 9V battery or a UL listed 9V wall-wart. Hagerman Technology assumes no liability.
Copyrights & Trademarks
© Copyright Hagerman Technology LLC 2008. All rights reserved. No part of this document may be photocopied, reproduced, or translated to another language without the prior written consent of Hagerman Technology LLC.
FryKleaner™ is a trademark of Hagerman Technology LLC.
Disclaimer
The information contained in this document is subject to change without notice. Hagerman Technology LLC shall not be liable for errors contained herein or for consequential damages in connection with the furnishing, performance, or use of this material. See Chapter 6 for warranty information.
FryBaby Kit Manual |
3 |
|
|
1 Before You Begin
Description
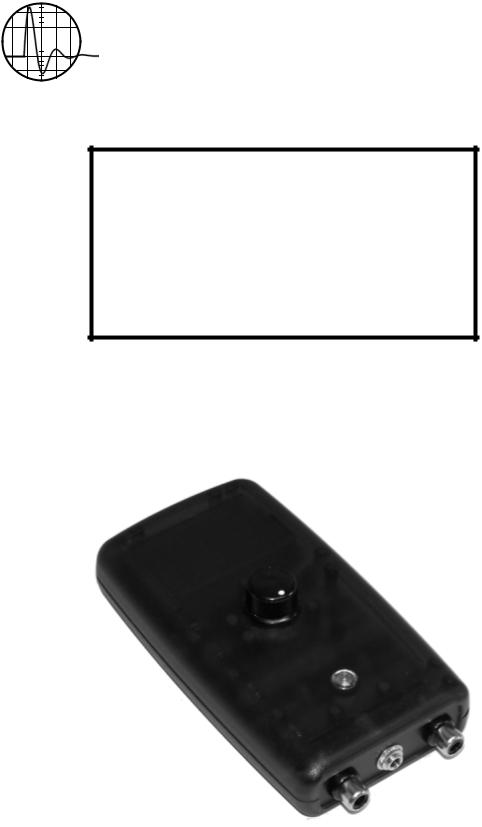
Congratulations! You have just purchased one of the highest performance-per-dollar audiophile products available. The FryBaby audio system conditioner is a burn-in signal generator designed especially for cables and interconnects. It can also be used to burn-in linestages, phonostages, and amplifiers. The sophisticated electronic waveform – a combination of wideband noise and variable frequency amplitude modulation – is designed to provide maximum effectiveness without resorting to high power levels. FryBaby is part of the FryKleanerTM series of professional cable burn-in generators.
The FryBaby half-kit consists of a blank circuit board, LED dome lens, lens ring, four screws, some wire, and these instructions. To complete, you must purchase the remaining parts yourself from Mouser Electronics (www.mouser.com).
Features
•Unique signal waveform
•Three output levels
•iRIAA equalized for MC and MM phonostages.
•Includes power supply
•Breaks in both cables and electronics
Tools
You will need a few basic shop tools (screwdriver, pliers, wire cutters, etc.) and a fine-tip soldering iron to build this kit.
FryBaby Kit Manual |
4 |
|
|
2 Parts to Buy
Parts List
The following parts should be purchased from www.mouser.com.
Component |
Qty |
Mouser |
Reference Designators |
1N4148 |
4 |
512-1N4148 |
D2, D3, D5, D6 |
LED |
1 |
604-WP59EGW |
D4 |
2N3904 |
2 |
512-2N3904TF |
Q1, Q2 |
ICL7662 |
1 |
513-NJU7662D |
U3 |
LM358 |
2 |
513-NJM2904D |
U1, U2 |
LM13700 |
1 |
513-NJM#13700D |
U4 |
LF347 |
1 |
595-LF347N |
U5 |
47uF 25V |
10 |
140-XRL25V47 |
C4, C8, C9, C10, C21, C11, C13, |
|
|
|
C20, C3, C5 |
100nF |
5 |
80-C410C104M5U |
C15, C16, C17, C1, C7 |
3.3nF |
1 |
80-C430C332J1G |
C19 |
1nF |
1 |
80-C410C102J1G |
C18 |
100pF |
1 |
80-C410C101J1G |
C22 |
Switch Rotary |
1 |
105-SR1712-24NS |
S1 |
Case |
1 |
635-H-659VTR-GR |
|
Knob |
1 |
45KN015 |
|
RCA Jack |
2 |
161-0252-EX |
J1, J2 |
3.5mm DC Jack |
1 |
16PJ011 |
J3 |
Wall Wart |
1 |
412-109011 |
|
RCA-to-RCA |
1 |
171-ADRJRJ |
|
100 ohm |
10* |
299-100-RC |
R31, R43, R4, R19 |
1k |
2 |
299-1K-RC |
R42, R37 |
2.2k |
1 |
299-2.2K-RC |
R38 |
4.7k |
2 |
299-4.7K-RC |
R39, R34 |
10k |
10* |
299-10K-RC |
R44, R26, R30, R29, R35, R36, R7, |
|
|
|
R22 |
47k |
10* |
299-47K-RC |
R6, R9, R12, R20, R8, R23, R28, |
|
|
|
R45 |
100k |
10* |
299-100K-RC |
R1, R10, R14, R11, R21, R25, R27, |
|
|
|
R32, R40 |
1M |
1 |
299-1M-RC |
R41 |
* Minimum quantity.
 Loading...