

Page 1

H3C LSW1FAN and LSW1BFAN
Installation Manual
Hangzhou H3C Technologies Co., Ltd.
Manual Version: 5W101-20090605
Page 2

Copyright © 2008-2009, Hangzhou H3C Te chnologie s Co., Ltd . and it s licen sors
H3C Technologies Co., Ltd., a subsidiary of 3Com Corporation.
All Rights Reserved
No part of this manual may be reproduced or transmitted in any form or by any means without prior
written consent of Hangzhou H3C Technologies Co., Ltd.
Trademarks
Notice
H3C, , Aolynk, , H3Care,
SecPro, SecPoint, SecEngine, SecPath, Comware, Secware, Storware, NQA, VVG, V
, TOP G, , IRF, NetPilot, Neocean, NeoVTL,
2
G, VnG, PSPT,
XGbus, N-Bus, TiGem, InnoVision and HUASAN are trademarks of Hangzhou H3C Technologies Co.,
Ltd.
All other trademarks that may be mentioned in this manual are the property of their respective owners.
The information in this document is subject to change without notice. Every effort has been made in the
preparation of this document to ensure accuracy of the contents, but all statements, information, and
recommendations in this document do not constitute the warranty of any kind, express or implied.
Page 3
About This Manual
Organization
H3C LSW1FAN and LSW1BFAN Installation Manual is organized as follows:
Chapter Contents
1 Fan Tray Overview Describes the fan tray and hardware specifications.
2 Removing/Installing a Fan Tray Describes removal and installation of the fan tray.
Appendix Appendix A: Obtaining Support for your Product.
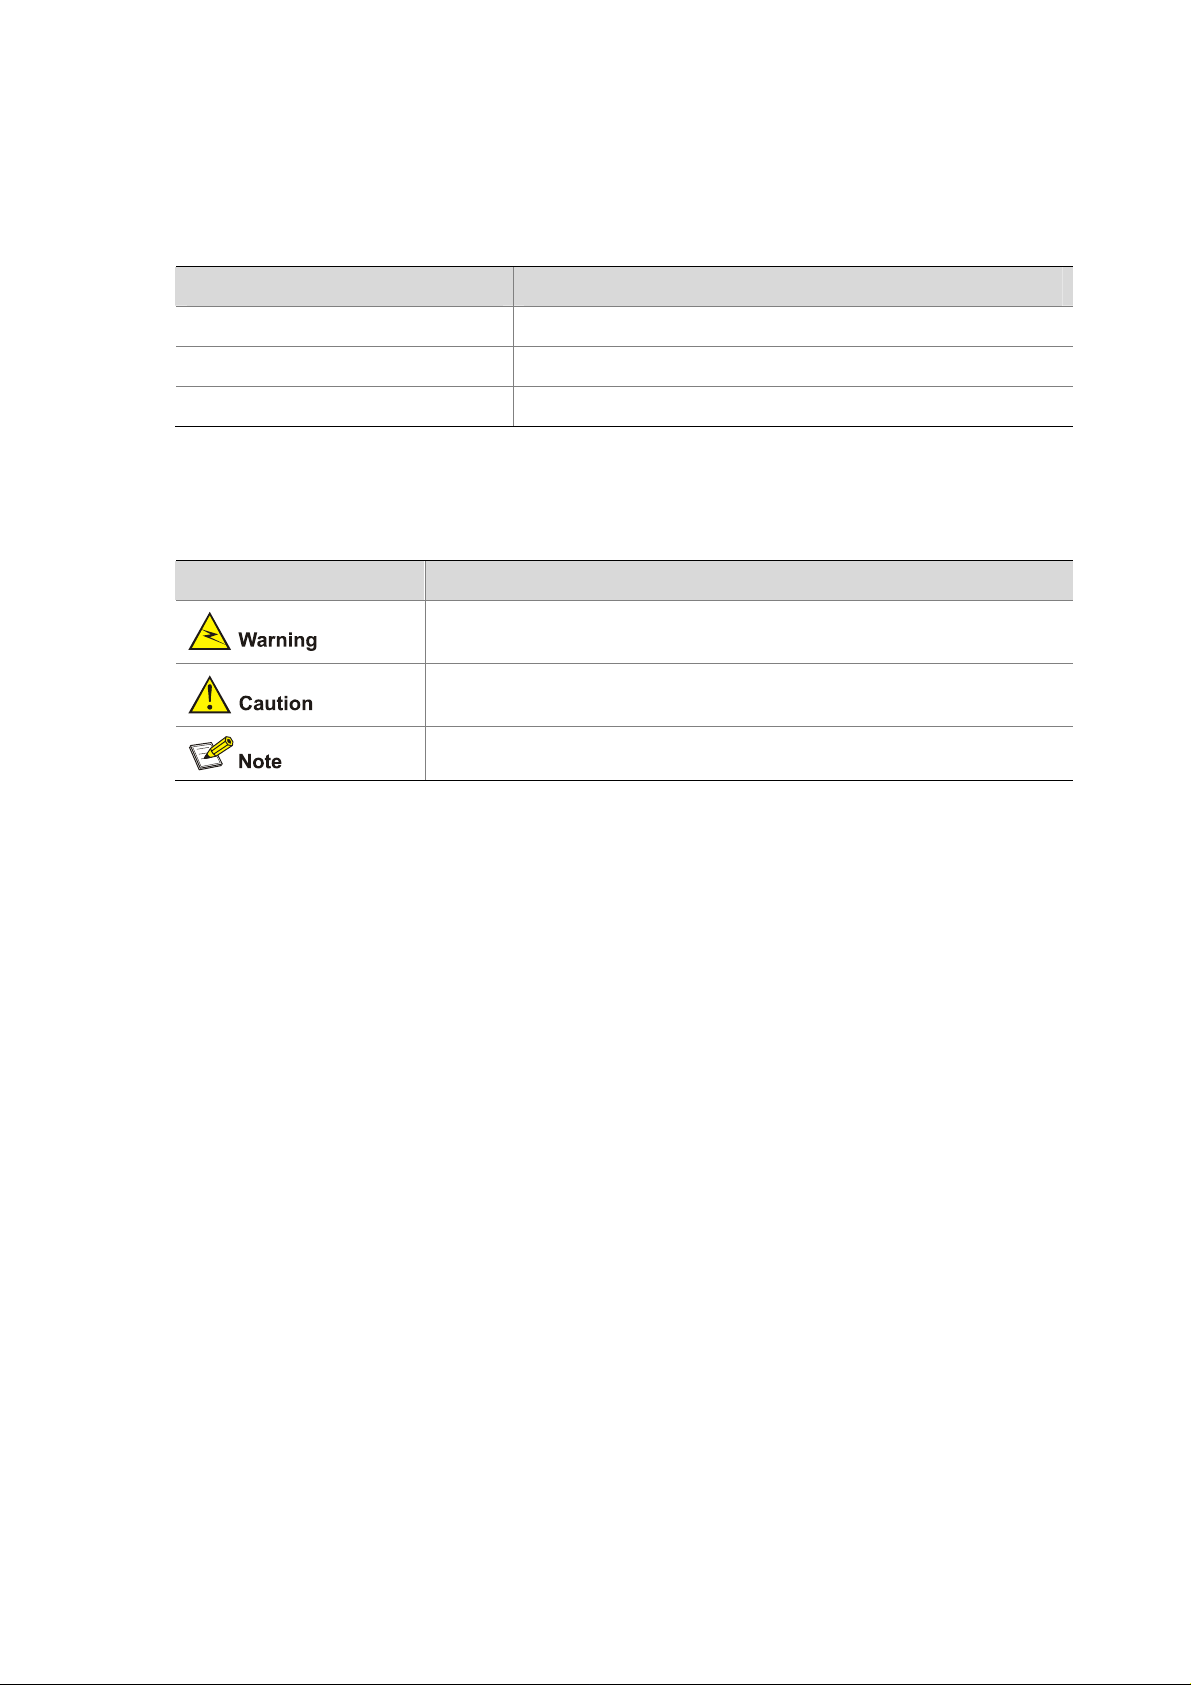
Conventions
The manual uses the following conventions:
Convention Description
Means reader be extremely careful. Improper operation may cause
bodily injury.
Means reader be careful. Improper operation may cause data loss or
damage to equipment.
Means a complementary description.
Obtaining Documentation and Technical Support
To obtain up-to-date documentation and technical support, go to http://www.h3c.com and select your
country or region. Depending on your selection, you will be redirected to either of the following websites:
At http://www.h3c.com
Documentation
Go to the following columns for different categories of product documentation:
[Products & Solutions]: Provides information about products and technologies, as well as solutions.
[Technical Support & Document > Technical Documents]: Provides several categories of product
documentation, such as installation, configuration, and maintenance.
[Technical Support & Document > Software Download]: Provides the documentation released with the
software version.
Technical Support
customer_service@h3c.com
http://www.h3c.com
At http://www.h3cnetworks.com
Documentation
Select Drivers & Downloads in the Support area.
Page 4

Select Documentation for Type of File and select Product Category.
Technical Support
Please see the appendix Obtaining Support for Your Product.
Documentation Feedback
You can e-mail your comments about product documentation to info@h3c.com.
We appreciate your comments.
Environmental Protection
This product has been designed to comply with the requirements on environmental protection. For the
proper storage, use and disposal of this product, national laws and regulations must be ob served.
Page 5

Table of Contents
1 Fan Tray Overview·····································································································································1-1
LSW1FAN Overview and Specifications·································································································1-1
Introduction to LSW1FAN················································································································1-1
LSW1FAN Specifications ················································································································1-2
LSW1BFAN Introduction and Specifications ··························································································1-2
Introduction to LSW1BFAN·············································································································1-2
LSW1BFAN Specifications··············································································································1-3
Fan Tray Fail LEDs·································································································································1-3
2 Removing/Installing a Fan Tray ···············································································································2-1
Preparing Tools·······································································································································2-1
Removing a fan tray································································································································2-1
Installing a fan tray··································································································································2-3
Maintaining a Fan Tray ···························································································································2-5
i
Page 6

1 Fan Tray Overview
The matrix between the two models of fan trays introduced in this manual and t he Ethernet switches to
which they are applicable is as shown in
Table 1-1 Fan tray and device matrix
Fan tray Switch model
Table 1-1.
S5800-32F
LSW1BFAN
LSW1FAN
S5810-50S
S5820X-28S
S5800-60C-PWR
S5820X-28C
LSW1FAN Overview and Specifications
Introduction to LSW1FAN
An LSW1FAN fan tray comprises six independent fans (two big and four small fans). The two big fans
are used for heat dissipation of the main boards of the swit ch, and the four small f ans are used for heat
dissipation of the OAP board and power supply units (PSUs).
The fan tray features hot swappable, low noise, and low power consumption, providing good heat
dissipation for the above-mentioned devices.
Figure 1-1 LSW1FAN view
(1): Fan tray handle (2): Captive screw
(3): 40 × 40 × 28 mm (1.57 × 1.57 × 1.1 in.) fans (4): 70 × 70 × 25.4 mm (2.76 × 2.76 × 1 in.) fans
1-1
Page 7

LSW1FAN Specifications
Table 1-2 LSW1FAN specifications
Specification Description
Fan number
Fan speed
z Two 70 × 70 × 25.4 mm (2.76 × 2.76 × 1 in.) fans
z Four 40 × 40 × 28 mm (1.57 × 1.57 × 1.1 in.) fans
z 70 × 70 × 25.4 mm (2.76 × 2.76 × 1 in.) fans: 4700 R.P.M
z 40 × 40 × 28 mm (1.57 × 1.57 × 1.1 in.) fans: 9500 R.P.M
Max airflow 150 cubic feet per minute (CFM)
Input voltage 12 V
Total power consumption 15 W
Acoustics
Normal speed: 44.3 dB-A
Max speed: 54.1 dB-A
Operating temperature –10°C to +70°C (14°F to 158°F)
Relative humidity
(noncondensing)
5% to 90%
Storage temperature –40°C to +75°C (-40°F to +167°F)
Storage relative humidity
(noncondensing)
5% to 95%
LSW1BFAN Introduction and Specifications
Introduction to LSW1BFAN
An LSW1BFAN fan tray exhausts the air from the device making use of the rotation of the turbine,
providing more powerful airflows compared to common fans, and applicable to high-density devices.
The fan tray features small volume, fast heat dissipation, and hot swappable, providing powerful heat
dissipation for the above-mentioned devices.
1-2
Page 8

Figure 1-2 LSW1BFAN view
(1): Captive screw (2): Air vent
(3): Fan tray handle (4): Captive screw
LSW1BFAN Specifications
Table 1-3 LSW1BFAN specifications
Specification Description
Fan number 1
Fan speed 5000 R.P.M
Max airflow 41.65 CFM
Input voltage 12 V
Power consumption 24 W
Acoustics
Operating temperature –10°C to +60°C (14°F to 140°F)
Relative humidity (noncondensing) 5% to 90%
Storage temperature –40°C to +75°C (-40°F to +167°F)
Normal speed: 48.4 dB-A
Max speed: 59.7 dB-A
Storage relative humidity
(noncondensing)
Fan Tray Fail LEDs
The two models of fan trays do not have status LEDs. You can check the system status LED and the
seven-segment LED of the device installed with a fan tray to determine whether the fan tray operates
normally. If the fan tray fails, the two LEDs give an indication, as shown in
5% to 95%
Table 1-4.
1-3
Page 9

Table 1-4 Fan tray fail LEDs description
LED Mark State
System status LED SYS Steady red
The LED displays F for fan failure.
Seven-segment LED Unit
Only when the system status LED and the seven-segment LED are displayed as steady red and F
respectively does it indicate that a fan tray fails.
1-4
Page 10

2 Removing/Installing a Fan Tray
z The LSW1FAN and LSW1BFAN fan trays are hot swappable, and therefore can be replaced with
the device running.
z The two models of fan trays and the devices are installed when shipped. This chapter mainly
introduces how to replace a fan tray when it fails.
The fan trays are hot swappable, and can be replaced with the device running. However, to prevent
overheating, do not operate the system without the fan trays for more than 2 minutes.
Preparing Tools
z Phillips screwdrivers
z ESD-preventive wrist strap
The installation tools are not provided with the Ethernet switches in this manual.
Removing a fan tray
1) Put on an ESD-preventive wrist strap, make sure that the wrist strap has a good skin contact and is
well grounded.
2) Loosen the screw on the fan tray with a Phillips screwdriver until the screw is completely separated
from the device, as shown in
Figure 2-1 and Figure 2-2.
2-1
Page 11

Figure 2-1 Remove an LSW1FAN (1)
Figure 2-2 Remove an LSW1BFAN (1)
3) Holding the handle of the fan tray with one hand, pull part of the fan tray out. Then supporting the
bottom of the fan tray with the other hand, pull it straight out of the fan tray slot along the guide rails,
as shown in
Figure 2-3 and Figure 2-4.
To replace a fan tray with the device running, pull out the fan tray after it stop rotating. Keep your hands
away from the spinning fan blades even if the fan stops rotating; otherwise, the dynamic balance may
be broken, and thus the fan noise will be increased.
2-2
Page 12

Figure 2-3 Remove an LSW1FAN (2)
Figure 2-4 Remove an LSW1BFAN (2)
After removing a fan tray, place it in an antistatic bag.
Installing a fan tray
1) Put on an ESD-preventive wrist strap, make sure that the wrist strap has a good skin contact and is
well grounded.
2) Take out the fan tray from the package, and make sure that the fan tray model matches the device
model.
3) Holding the handle of the fan tray with one hand and its bottom with the other hand, gently insert
the fan tray into the fan tray slot until the fan tray connector well touches the backplane, as sh own
Figure 2-5 and Figure 2-6.
in
Figure 2-5 Install an LSW1FAN (1)
2-3
Page 13

Figure 2-6 Install an LSW1BFAN (1)
4) Fasten the screws with a Phillips screwdriver until the fan tray is well seated in the chassis, as
shown in
Figure 2-7 and Figure 2-8.
Figure 2-7 Install an LSW1FAN (2)
Figure 2-8 Install an LSW1BFAN (2)
z To avoid damaging the connectors on a fan tray and backplane, slowly insert the fan tray. If you
feel hard when inserting the fan tray, plug out the fan tray and insert it again.
z If the captive screw cannot be tightly fixed, check the installation of the fan tray.
2-4
Page 14

Maintaining a Fan Tray
To ensure normal operation and long service life of your fan trays, note the following when using fan
trays:
z Put on an ESD-preventive wrist strap and ensure a good skin contact.
z Adequate clearance is reserved at the air inlet/exhaust vents for ventilation.
z The rack or table/workbench has a good ventilation system.
2-5
Page 15

Appendix A Obtaining Support for your Product
Register Your Product
Warranty and other service benefits start from the date of purchase, so it is important to register your
product quickly to ensure you get full use of the warranty and other service benefits available to you.
Warranty and other service benefits are enabled through product registration. Register your product at
http://www.h3cnetworks.com, go to Support, Product Registration. Support se rvices are based on
accounts that you create or have authorization to access. First time users must apply for a user name
and password that provides access to a number of eSupport features including Product Registration,
Repair Services, and Service Request. If you have trouble registering your product, please contact
3Com Global Services for assistance.
Purchase Value-Added Services
To enhance response times or extend warranty benefits, contact 3Com or your authorized reseller.
SM
Value-added services like Express
software upgrades, onsite assistance or advance hardware replacement. Experienced engineers are
available to manage your installation with minimal disruption to your network. Expert assessment and
implementation services are offered to fill resource gaps and ensure the success of your networking
projects. More information on 3Com maintenance and Professional Services is available at
http://www.h3cnetworks.com.
and GuardianSM can include 24x7 telephone technical support,
Contact your authorized reseller or 3Com for a complete list of the value-added services available in
your area.
Troubleshoot Online
You will find support tools posted on the web site at http://www.h3cnetworks.com/ under Support,
Knowledgebase. The Knowledgebase helps you troubleshoot H3C products. This query-based
interactive tool contains thousands of technical solutions.
Access Software Downloads
Software Updates are the bug fix / main tenance releases for the version of soft ware initially purchased
with the product. In order to access these Software Updates you must first register your product on the
web site at http://www.h3cnetworks.com, go to Support, Product Registration.
First time users will need to apply for a user name and password. A link to software downloads can be
found at http://www.h3cnetworks.com, under Suppo rt, Drivers and downloads.
Software Upgrades are the software releases that follow the software version included with your
original product. In order to access upgrades and related documentation you must first purchase a
service contract from 3Com or your reseller.
Telephone Technical Support and Repair
To enable telephone support and other service benefits, you must first register your product at
http://www.h3cnetworks.com/
A-1
Page 16

Warranty and other service benefits start from the date of purchase, so it is important to register your
product quickly to ensure you get full use of the warranty and other service benefits available to you.
When you contact 3Com for assista nce , please have the following information ready:
z Product model name, part number, and serial number
z Proof of purchase, if you have not pre-registered your product
z A list of system hardware and software, including revision level
z Diagnostic error messages
z Details about recent configuration changes, if applicable
T o send a pro duct directly to 3Com for repair , you must first obt ain a return authorization number (RMA).
Products sent to 3Com, without authorization numbers clearly marked on the outside of the package,
will be returned to the sender unopened, at the sender’s expense. If your product is registered and
under warranty, you can obtain an RMA number online at http://www.h3cnetworks.com under
support, Repair & Replacement Request. First time users will need to apply for a user name and
password.
Contact Us
3Com offers telephone, e-mail and internet access to technical support and repair services. To access
these services for your region, use the appropriate telephone number, URL or e-mail address.
Find a current directory of contact information posted on the we b site at http://www.h3cnetworks.com
under Support, Technical Support Contact.
A-2
 Loading...