

Gude Expert Mouse Clock 0100, Expert Mouse Clock 102, Expert Mouse Clock 0131, Expert Mouse Clock 0107, Expert Mouse Clock 0108 User Manual
Page 1
Manual
Expert Mouse Clock 0100,
102, 0107, 0108, 0131
DCF77 Time Receivers for the PC
v.0.41
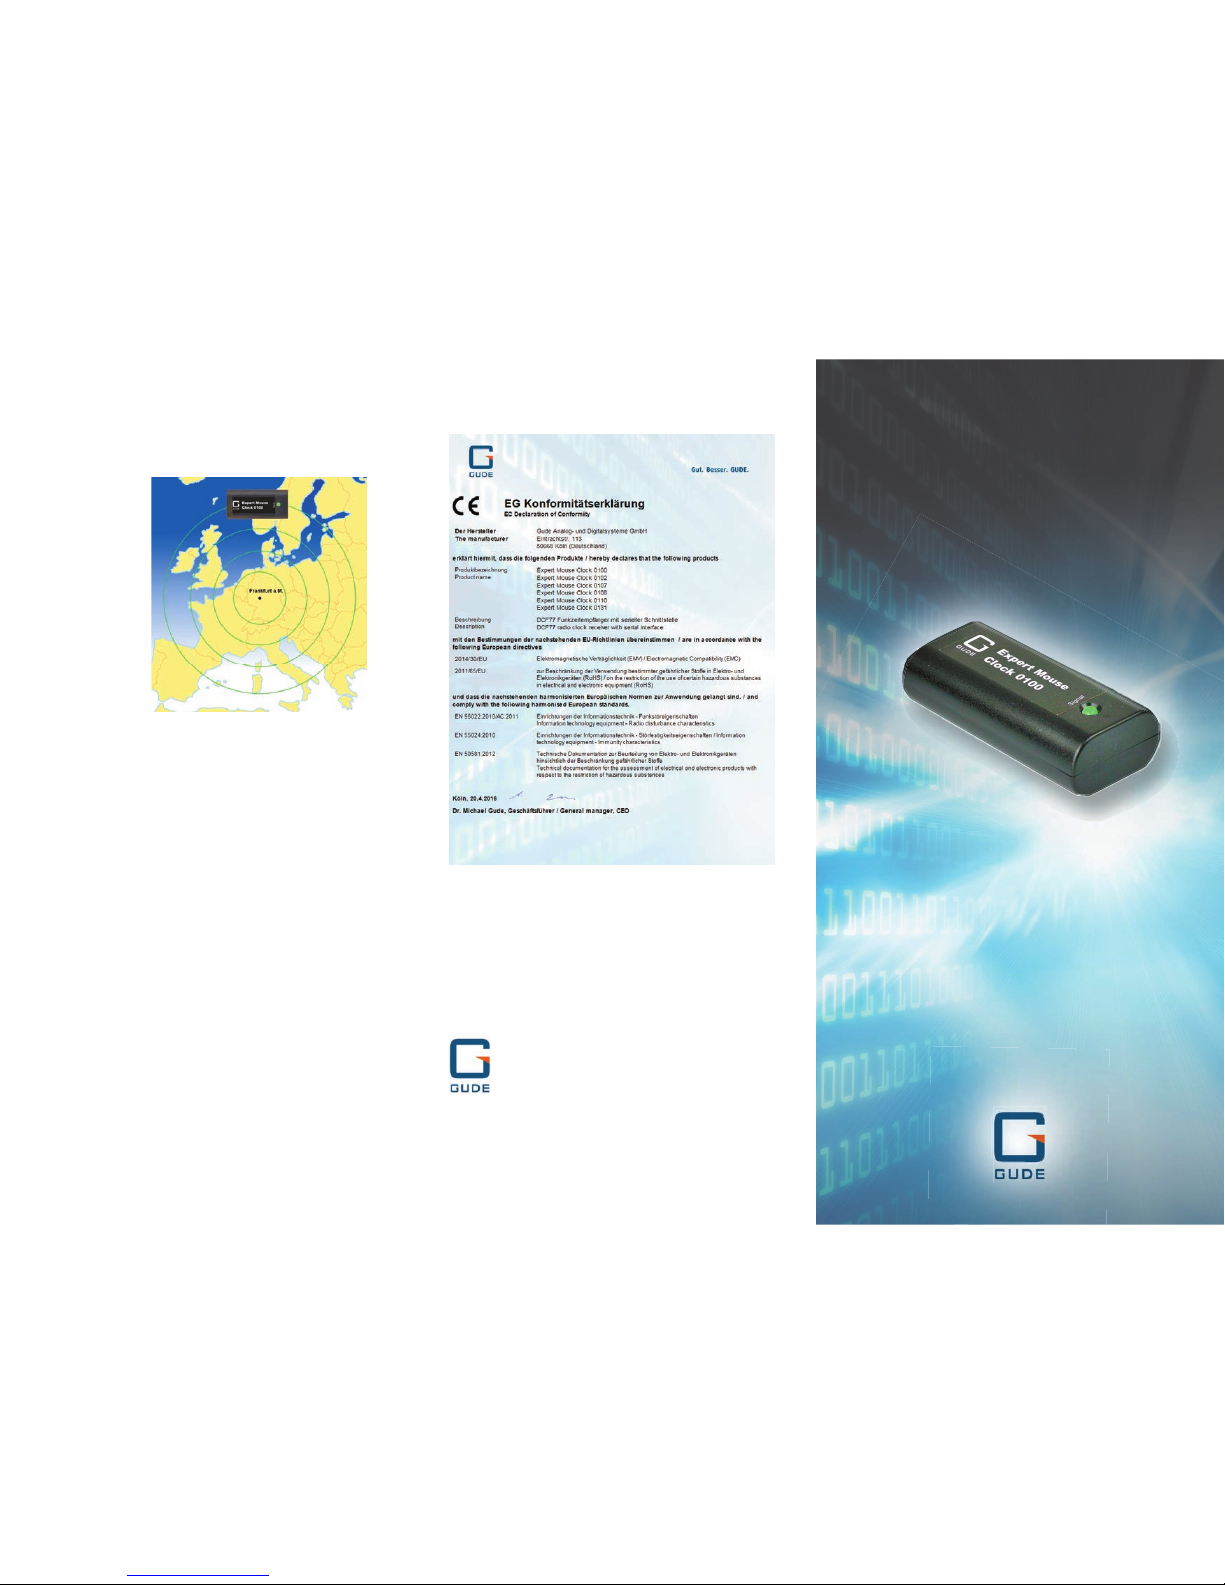
Fig. 2: Di usion of the DCF77 signal
Since the time signal spreads out in circles from
the sender in Frankfurt a. M., you will get best
signal reception if Expert Mouse Clock is placed
as shown in the image.
4. Alignment of Expert Mouse Clock
After successful hardware and software installation, LED
of Expert Mouse Clock shines green and fl ashes red once
per second. If
the LED does
not shine, ple-
ase check the
connection of
the device. Irre-
gular blinking
indicates a bad
reception or a
disturbance of
the signal. Mo-
nitors or other
electrical de-
vices can be the
reason. In these
cases change
the position of
the module. Also rotating Expert Mouse Clock can improve
signal reception signifi cantly (compare Fig. 2). After having
found an optimum position, fi xate Expert Mouse Clock.
The PC clock will be synchronised after two or three minu-
tes.
5. Support
Our Windows software contains a help fi le. There you
fi nd detailed information on features and operations of
Expert Mouse Clock as well as a FAQ list. Under gude.info/
nc/support/downloads the latest driver and software of
Expert Mouse Clock is available for download. For further
questions, please have a look at gude.info/wiki or feel free
to contact our service team.
6. EU Declaration of Conformity
Good. Great. GUDE.
Gude Analog- und
Digitalsysteme GmbH
Eintrachtstrasse 113
50668 Köln
T +49.221.912 90 97
F +49.221.912 90 98
mail@gude.info
www.gude.info
Page 2
For Expert Mouse Clock 0107 / 0108, the correspon-
ding USB driver has to be installed before
installing the Windows software (see 1.2).
Insert the CD ROM Drivers, Tools & Manuals into the CD drive
of the PC or download the latest driver version from
gude.info/nc/support/downloads.
Follow the screen dialogue of the installation program.
* Windows Server 2003/2008/2012 (x32/x64),
Windows XP (x32), Vista, 7/8/10 (x32/x64)
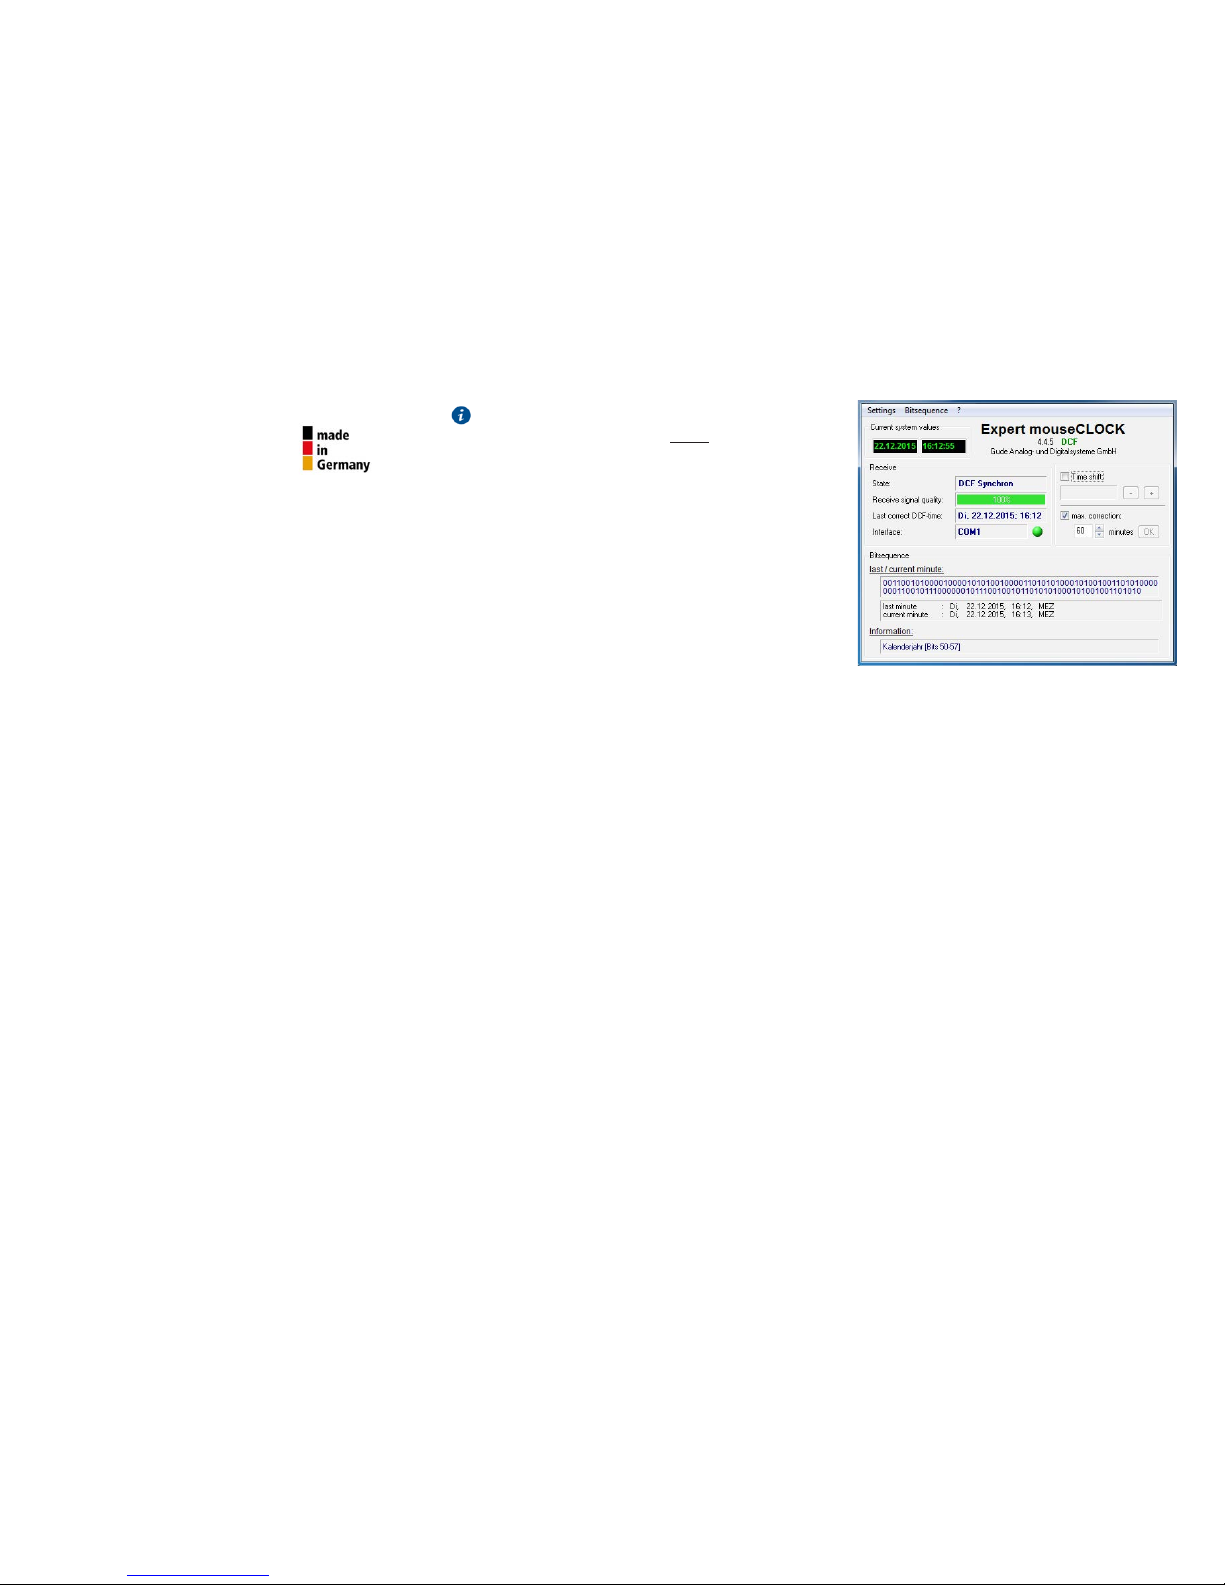
2.2 Display Elements in the Software
Receive
State: Current receive status of radio time system
Received signal quality: Displayed in percent
Last correct DCF time: Moment of the last correctly trans-
mitted time value
Interface: Interfaces used (USB or COM)
Bitsequence
The received bits (0,1) of the last two minutes are dis-
played here (previous and current minute). Both rows are
completely filled with bits. The bit’s meaning is displayed
under Information.
Time shift
A constant oset to the received time signal can be set
here. Normally, this option should be deactivated. Before
using this option, please read the corresponding explana-
tion in the software’s help menu.
max. offset to PC
If this option is enabled, the received time is compared to
the current PC time. Is the deviation greater than the set
value (example in Fig. 1: 60 minutes), the PC time will not
be synchronized. Please also read the comments in the
software’s help menu.
2.3 Menu Options
Settings
COM port: Choose any COM port , if the desired is not auto-
matically detected.
Synchronize: Choose between singular or regular (recom-
mended) synchronization of time.
Colors: Adjust the color setting of the software.
Language: Choose the desired language.
Close: Choose the option Window or Program, if you wish
to close the window or program.
Bitsequence
Show or hide bitsequence window.
?
Help: Here you find helpful information on the user inter-
face of WinClk software and on Expert Mouse Clock Series.
Info: Version information on the deployed WinClk sofware.
3. Operations under Linux
Expert Mouse Clock can be run under Unix/Linux by
means of the XNTP package. By using XNTP it is possible to
build up your own NTP server that polls data from Expert
Mouse Clock through the COM interface. The retrieved time
information is then distributed within the network. More
detailed instructions can be found at gude.info/wiki.
Dear customer,
thank you for choosing a GUDE product
All our devices are developed and manu-
factured in Germany in order to meet our
customers’ expectations towards reliable IT infrastructure.
Expert Mouse Clock Series empowers your PC to dispose
of the exact time. All devices are suitable for operations in
buildings and weatherproof locations. In particular, Expert
Mouse Clock 102 is waterproof (IP68) and hence qualified
for outdoor usage.
1. Hardware Installation under Windows*
1.1 Expert Mouse Clock 0100, 0102, 0131 (RS232)
Connect Expert Mouse Clock to the 9-pole serial of the PC.
Set the baud rate to 50 Baud. For Expert Mouse Clock 0131,
please connect the external antenna to the BNC interface.
For 25-pole serial interfaces, please deploy a commonly
used adapter to get Expert Mouse Clock connected.
1.2 Expert Mouse Clock 0107, 0108 (USB)
Insert the CD ROM Drivers, Tools & Manuals into the CD drive
of the PC or download the latest driver version from gude.
info/nc/support/downloads. Connect Exper t Mouse Clock
to a USB port of the PC. Now Windows will automatically
install the USB driver and the driver for the virtual serial
interface. The driver installation can also be realized ma-
nually by using the Windows device manager. For Expert
Mouse Clock 0108, please connect the external antenna to
the BNC interface.
2. Operations under Windows*
2.1 Software Installation
The Windows software WinClk converts the received time
signal into UTC time and synchronizes the internal PC time
(system time) at regular intervals. The displayed time re-
sults from operating system‘s settings (time zone, daylight
saving time changes).
Fig. 1: Interface of Windows software WinClk
 Loading...