

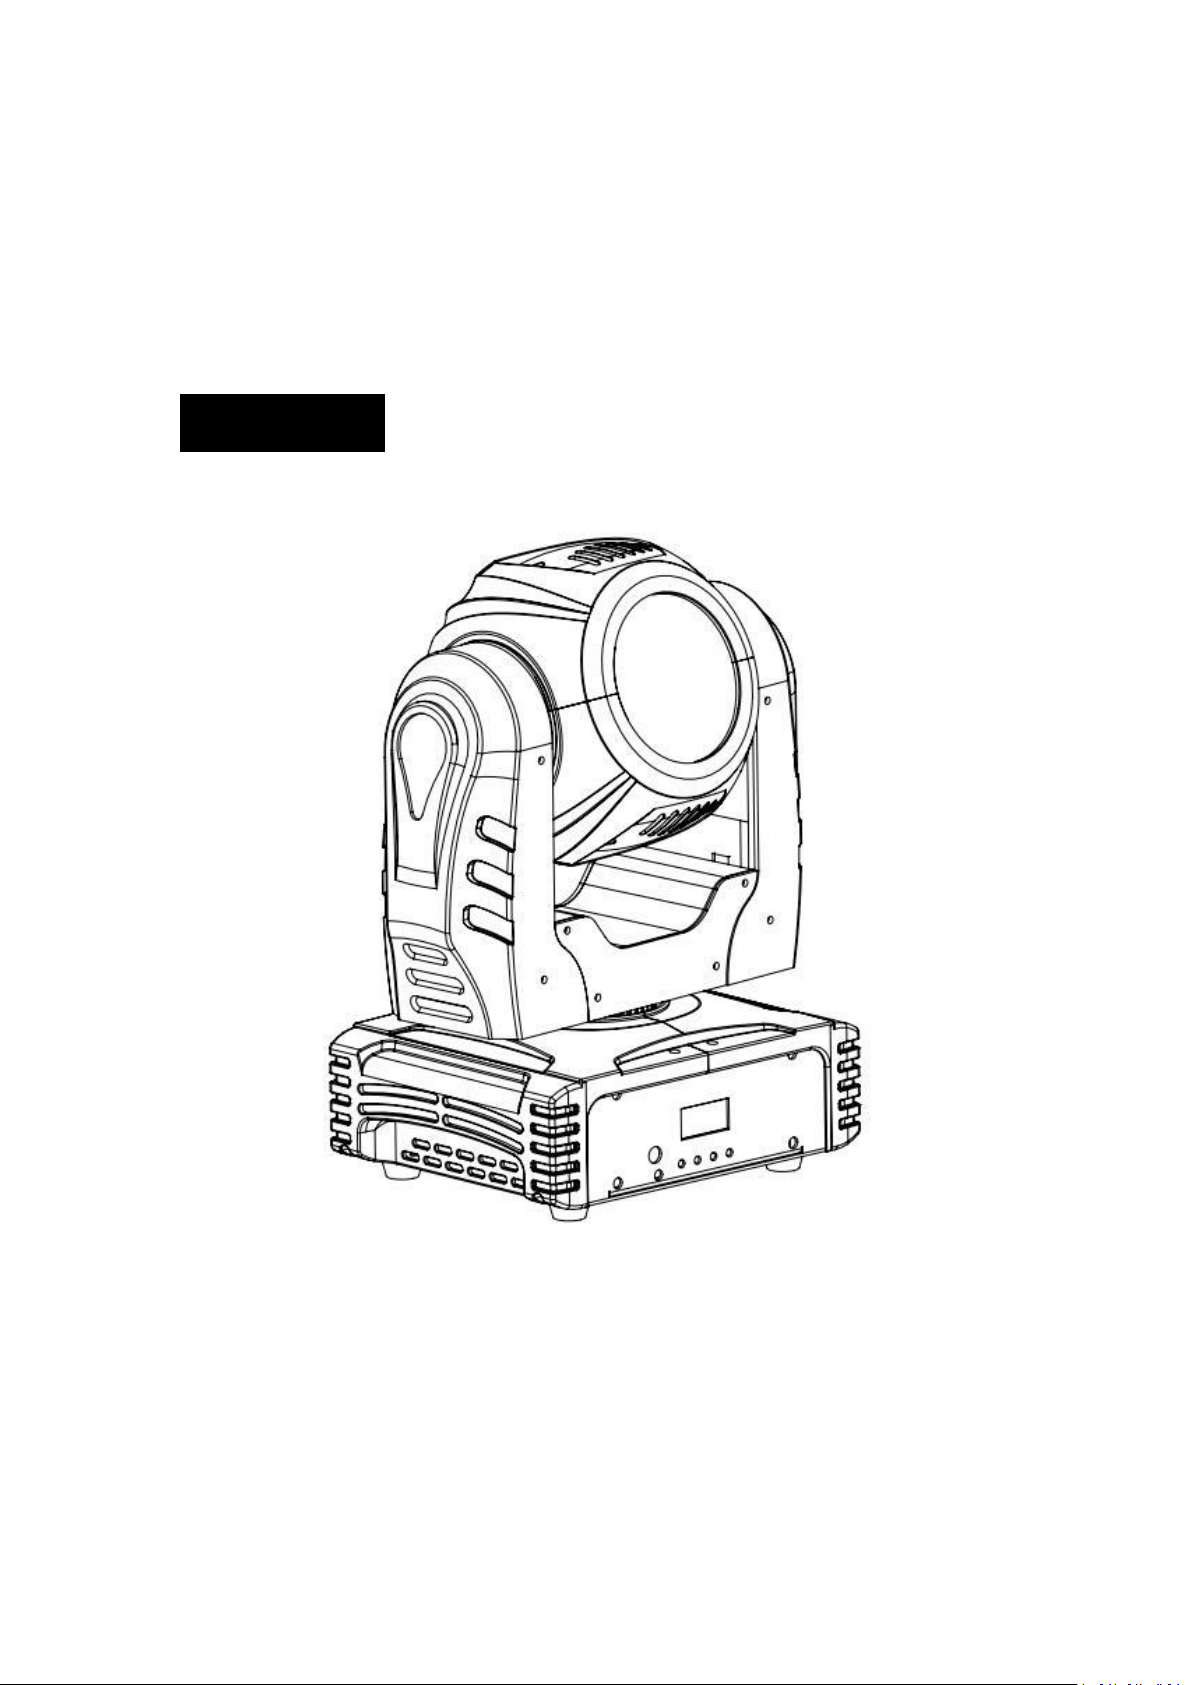
GY-HITEC HM-BM60 User Manual
Professional Stage Lighting Manufacturer
GY-HITEC
HM-BM60
User Manual
Version:1.0
www.gy-hiteclighting.com
Before you start using this unit,please check if there is no transportation
This device has left our factory in absolutely perfect condition and well packed.
The manufacturer will not accept liability for any resulting damages caused by
Please consider that damages caused by manual modifications to the device are
DANGEROUS VOLTAGE CONSTITUTING A RISK OF ELECTRIC SHOCK IS PRESENT
WITHIN THIS UNIT!
Operational Manual
Thank you for purchasing this GY-HITEC product.To take full advantage of all
possibilities and for your own safety,please read this operating instructions very
carefully before you start using this unit.
BEFORE USE
damage.Should there be any,do not use the device and consult your dealer first.
In order to maintain this condition and to ensure a safe operation, it is absolutely
necessary for the user to follow the safety instructions and warning notes
written in this manual.
the non-observance of this manual or any unauthorized modification to the
device.
not subject to warranty.
SAFETY INSTRUCTIONS
Caution:
user-serviceable parts inside.Refer servicing to qualified service personnel only.
To reduce the risk of electric shock,do not remove the top cover.No
Risk of electric shot!
Keep this device away from rain and moisture!
Unplug the mains power before remove the housing
To protect the environment,please try to recycle the packing material as much as
To prevent fire or shock hazard,do not expose this appliance to rain or moisture.
This unit is for indoor use only.
Don’t place metal objects or spill liquid inside the unit.Electric shot or
Locate the fixture in a well ventilated spot, away from any flammable materials
Don’t cover any ventilation openings as this may result in overheating.
Prevent use in dusty environments and clean the unit regularly.
Keep the unit away from children.
Inexperienced persons should not operate this device.
Maximum safe ambient temperature is 40 ℃ .Don’t use this unit at higher
Make sure the area below the installation place is free from unwanted persons
Allow the device about 10 minutes to cool down before servicing.
The electrical installation should be carried out by qualified person
Check that the available voltage is not higher than the one stated in the unit.
The power cord should always be in perfect condition.Switch the unit
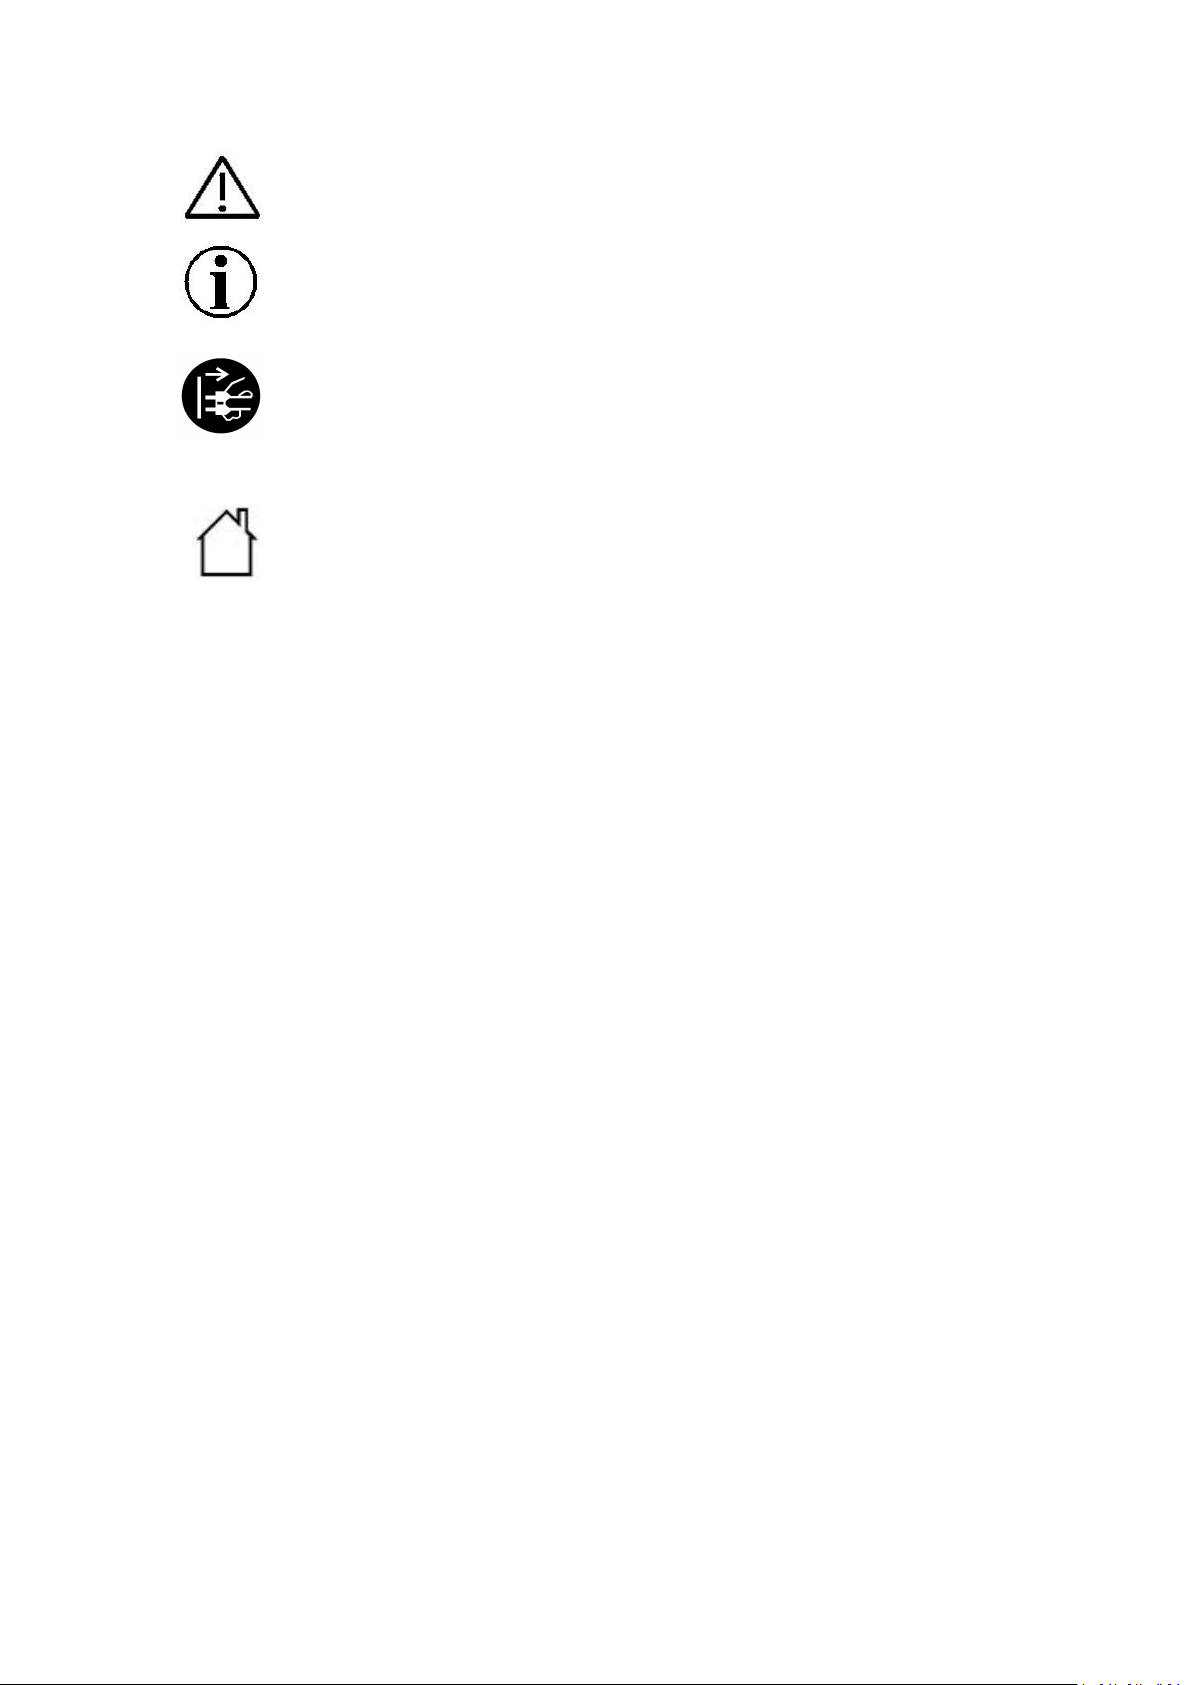
Read the manual
Indoor use ONLY
Caution:Do not stare at operating lamp.May be harmful to the eye.
possible.
malfunction may result.If a foreign object enters the unit,immediately
disconnect the mains power.
and/or liquids.The fixture must be fixed at least 50cm from surrounding walls.
ambient temperatures.
during rigging,de-rigging and servicing.
only,according to the regulations for electric and mechanical safety in your
country.
immediately off when the power cord is squashed or damaged.It must be
Never led the power-cord come into contact with other cables!
Don’t connect the unit to any dimer pack.
In order to prevent electric shot,do not open the cover.There are no user
The housing and lenses must be replaced if they are invisibly damaged.
Never repair a fuse or bypass the fuse holder.Always replace a damaged fuse
Due to safety reasons,it is prohibited to make unauthorized modifications to the
Important:Never look directly into the light source!Don’t use the effect in the
presence of persons suffering from epilepsy.
Important:Fixtures must be installed by a Qualified electrician in accordance with
all national and local electrical and construction codes and regulations.
For overhead installation,the fixture must be always secured with a safety wire
Make sure the area below the installation is free from unwanted persons during
Locate the fixture in a well ventilated spot,far away from any flammable
The device must be installed out of reach of people an outside areas where
Fixture installation must always be secured with a secondary safety
Always use and install the supplied safety cable as a safe cable as safety measure
The fixture should be well fixed,a free-swinging mounting is dangerous and may
replaced by the manufacturer,its service agent or similarly qualified persons in
order to avoid a hazard.
serviceable parts inside.
with a fuse of the same type and electrical specifications!
unit.
Mounting and Installation
Overhead Rigging
that can bear at least 10 times the weight of the fixture.
rigging,de-rigging and servicing.
materials and/or liquids.The fixture must be fixed at least 50cm from
surrounding walls.
persons may walk by or be seated.
attachment ,such as an appropriate safety cable.
to prevent accidental damage and /or injury in the event the clamp fails.
not be considered!
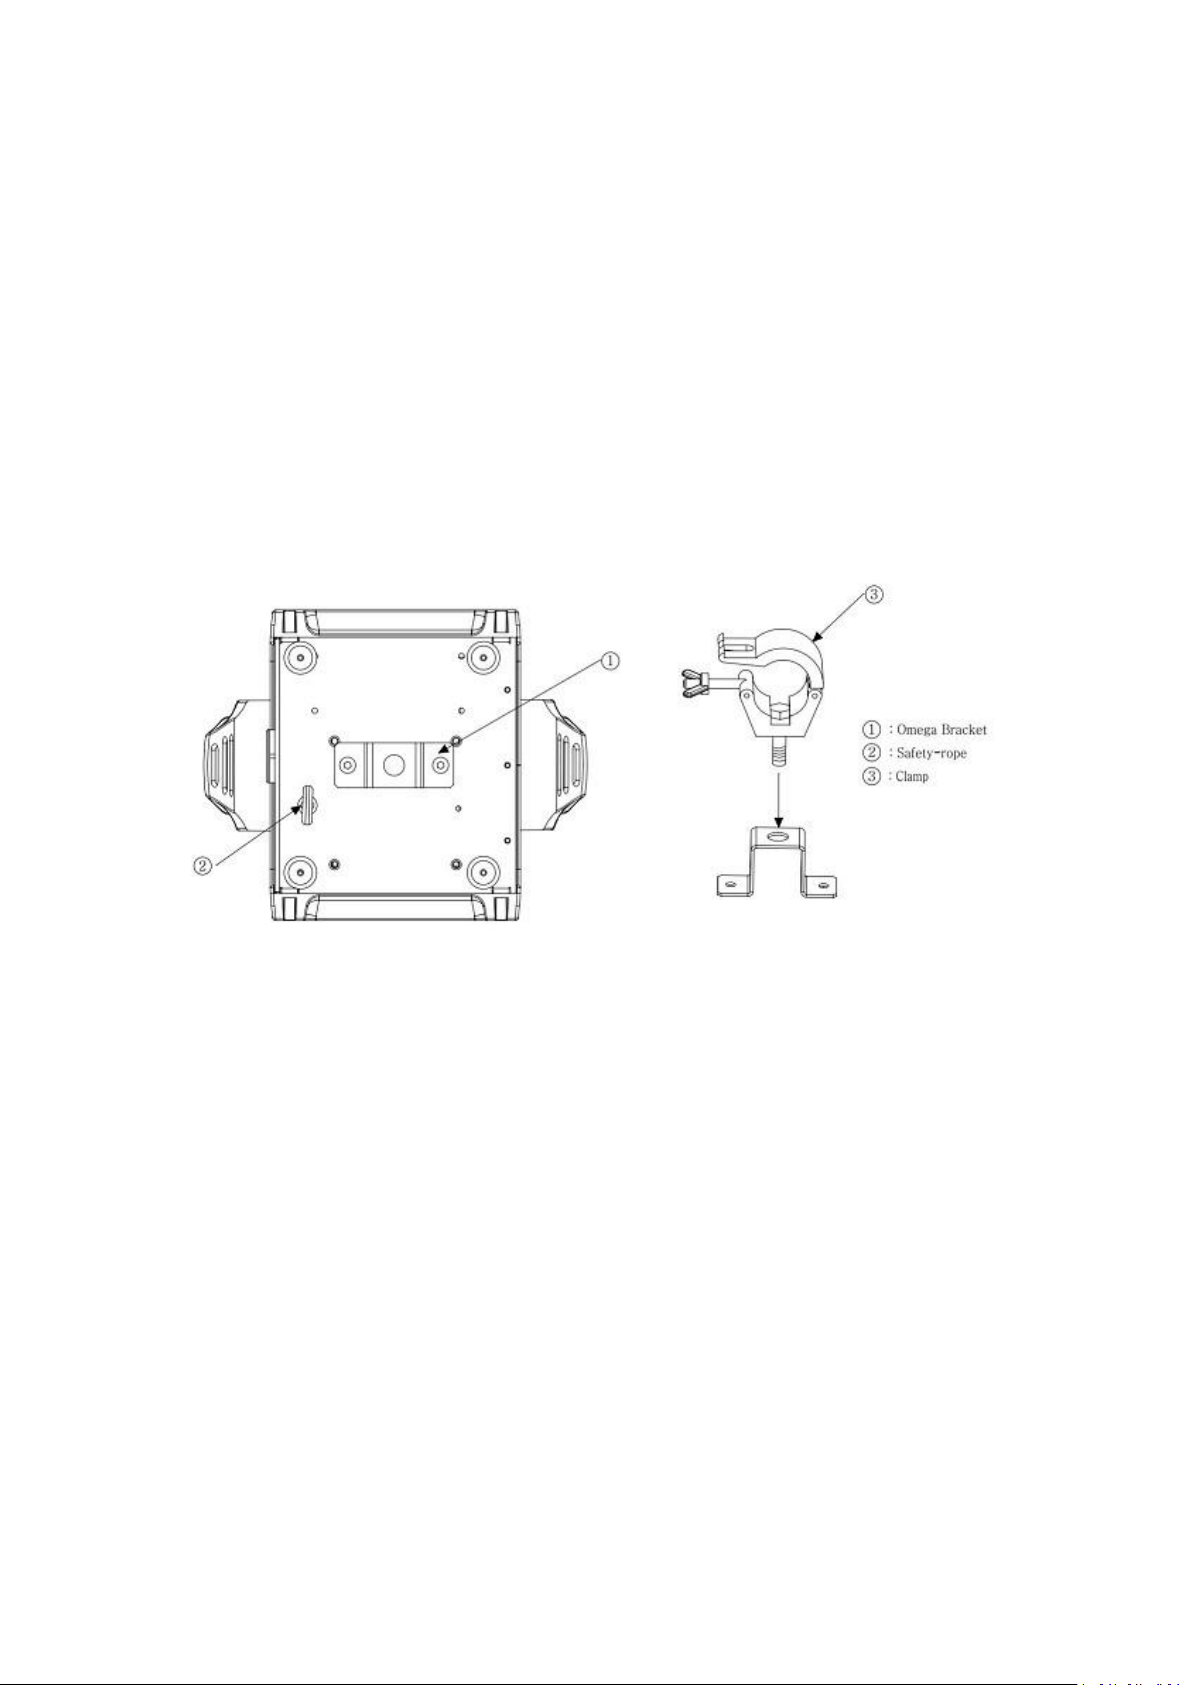
Clamp Mounting :
The LED moving head provides a unique mounting bracket assembly that integrates
the bottom of the base, the included ‘omega bracket’ (see the following pic)and the
safety cable rigging point in one unit.When mounting this fixture to truss be sure to
sere to secure an appropriately rated clamp to the included omega bracket using a
M10 screw fitted through the center hole of the ‘omega bracket’.As an added safety
measure be sure to attached at least one properly rated safety cable to the fixture
using on of the safety cable rigging point integrated in the base assembly.
DMX-512 Control Connection
Connect the provided XLR cable to the female 3-pin XLR output of your controller
and the other side to the male 3-pin XLR input of the moving head. You can chain
multiple Moving head together through serial linking. The cable needed should be
two core, screened cable with XLR input and output connectors. Please refer to the
diagram below.
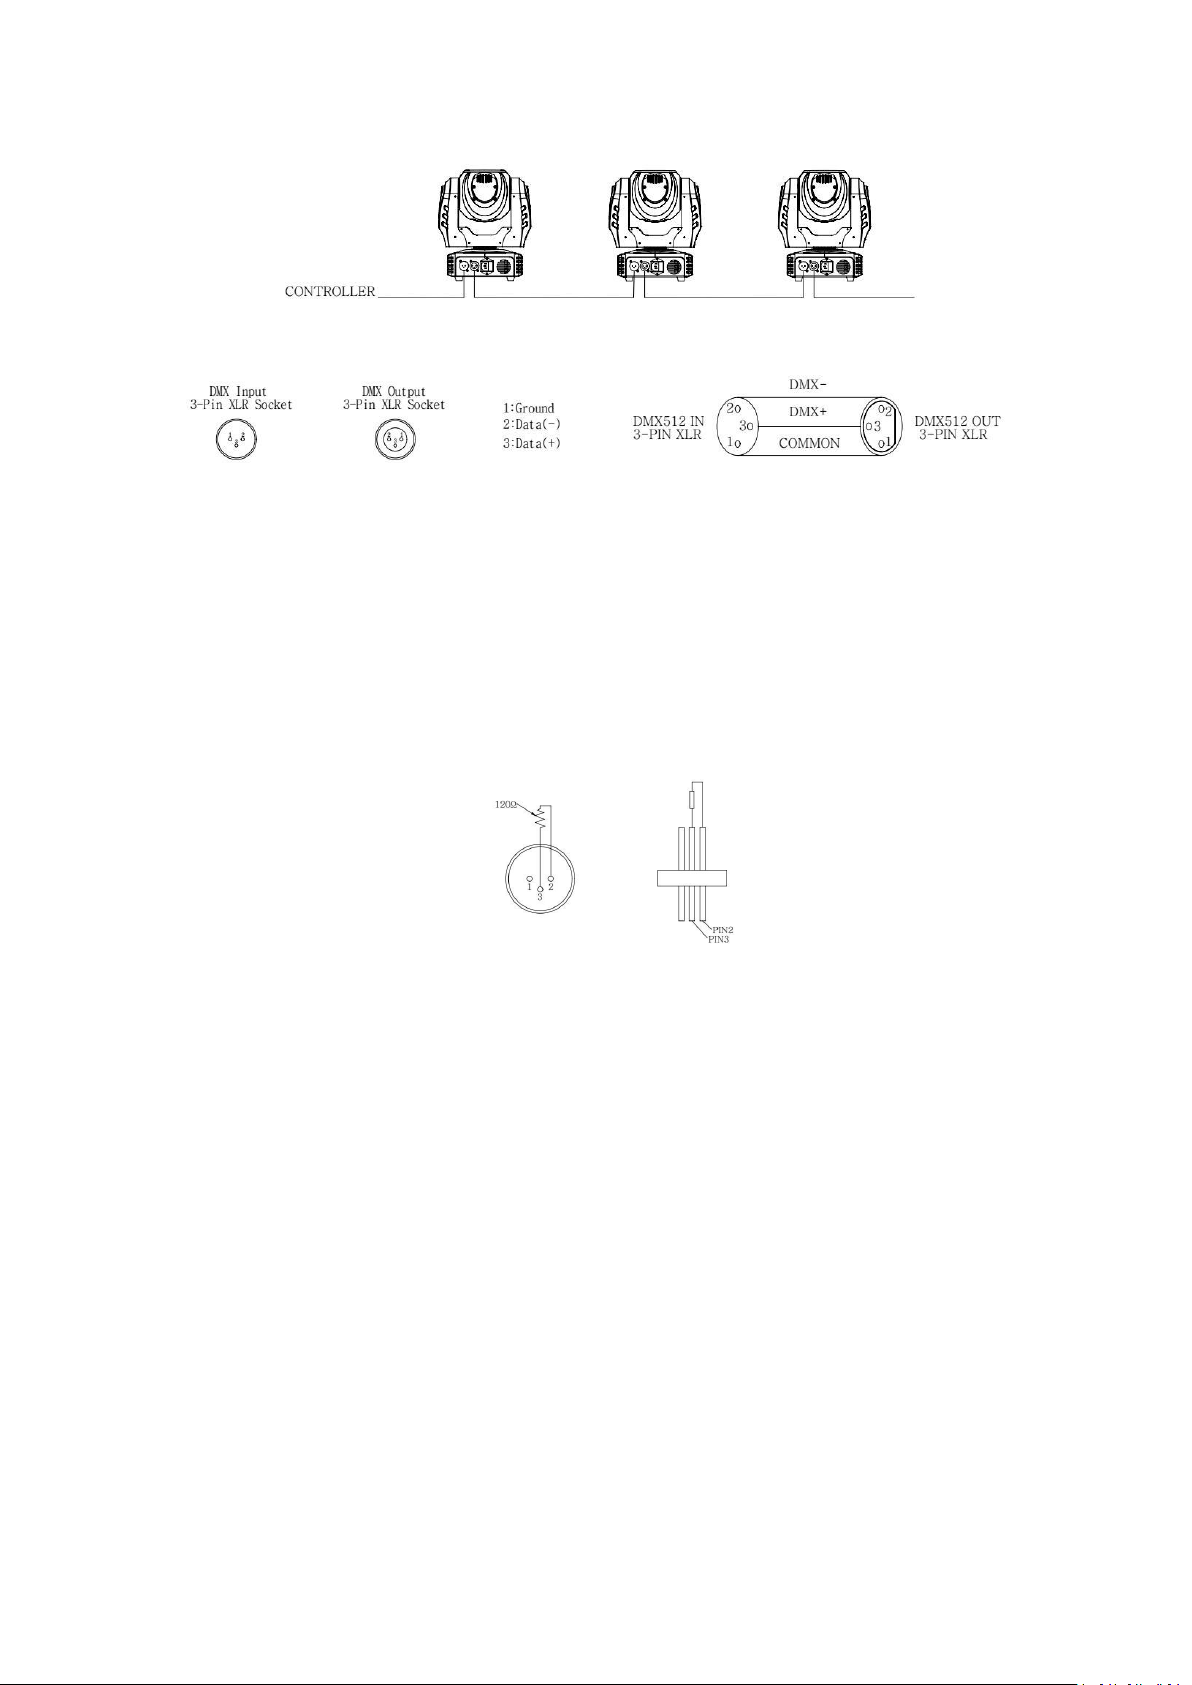
DMX-512 Connection with DMX Terminator
1. [MIC]: micro phone for sound mode
2. [MENU]: press this button to go back to the main menu or to leave submenus
3. [▼]:press this button to go down in the menu
4. [▲]:press this button to go up in the menu
5. [Enter]:press this button to confirm the selected function in the menu
6. [Display]:shows the information on the different modes and functions
7. [SOUND SENSITIVITY CONTROL]:To adjust the sensitivity of the sound mode
8. [NETWORK INTERFACE]: DMX512 network interface(Optional)
9. [DMX IN]:3p XLR Male connector to receive DMX data from a console or use in
10. [DMX OUT]:3 pin XLR Female connector to connect other projectors or use in
11. [USB WIRELESS TRANSCEIVER SOCKET]:USB wireless transceiver,with 5v power
12. [POWER IN]:with IEC socket and integrated fuse holder,connect the supplied
For installations where the DMX cable has to run a long distance or is in an
electrically noisy environment, such as in a discotheque, it is recommended to use a
DMX terminator. This helps in preventing corruption of the digital control signal by
electrical noise. The DMX terminator is simply an XLR plug with a 120 resistor
connected between pins 2 and 3,which is then plugged into the output XLR socket of
the last fixture in the chain. Please see illustrations below.
How to Set up this Unit
Master/slave modes
Master/slave modes
supply (Optional)
 Loading...