

GVI Security GV-VD550IR Operating Instructions Manual
Operating Instructions
GV-VD550IR
1/3” Day/Night, Varifocal, Weather Resistant,
Vandal IR Dome Camera
Before installing and using the camera, please read the instructions
thoroughly and retain them for reference.
2
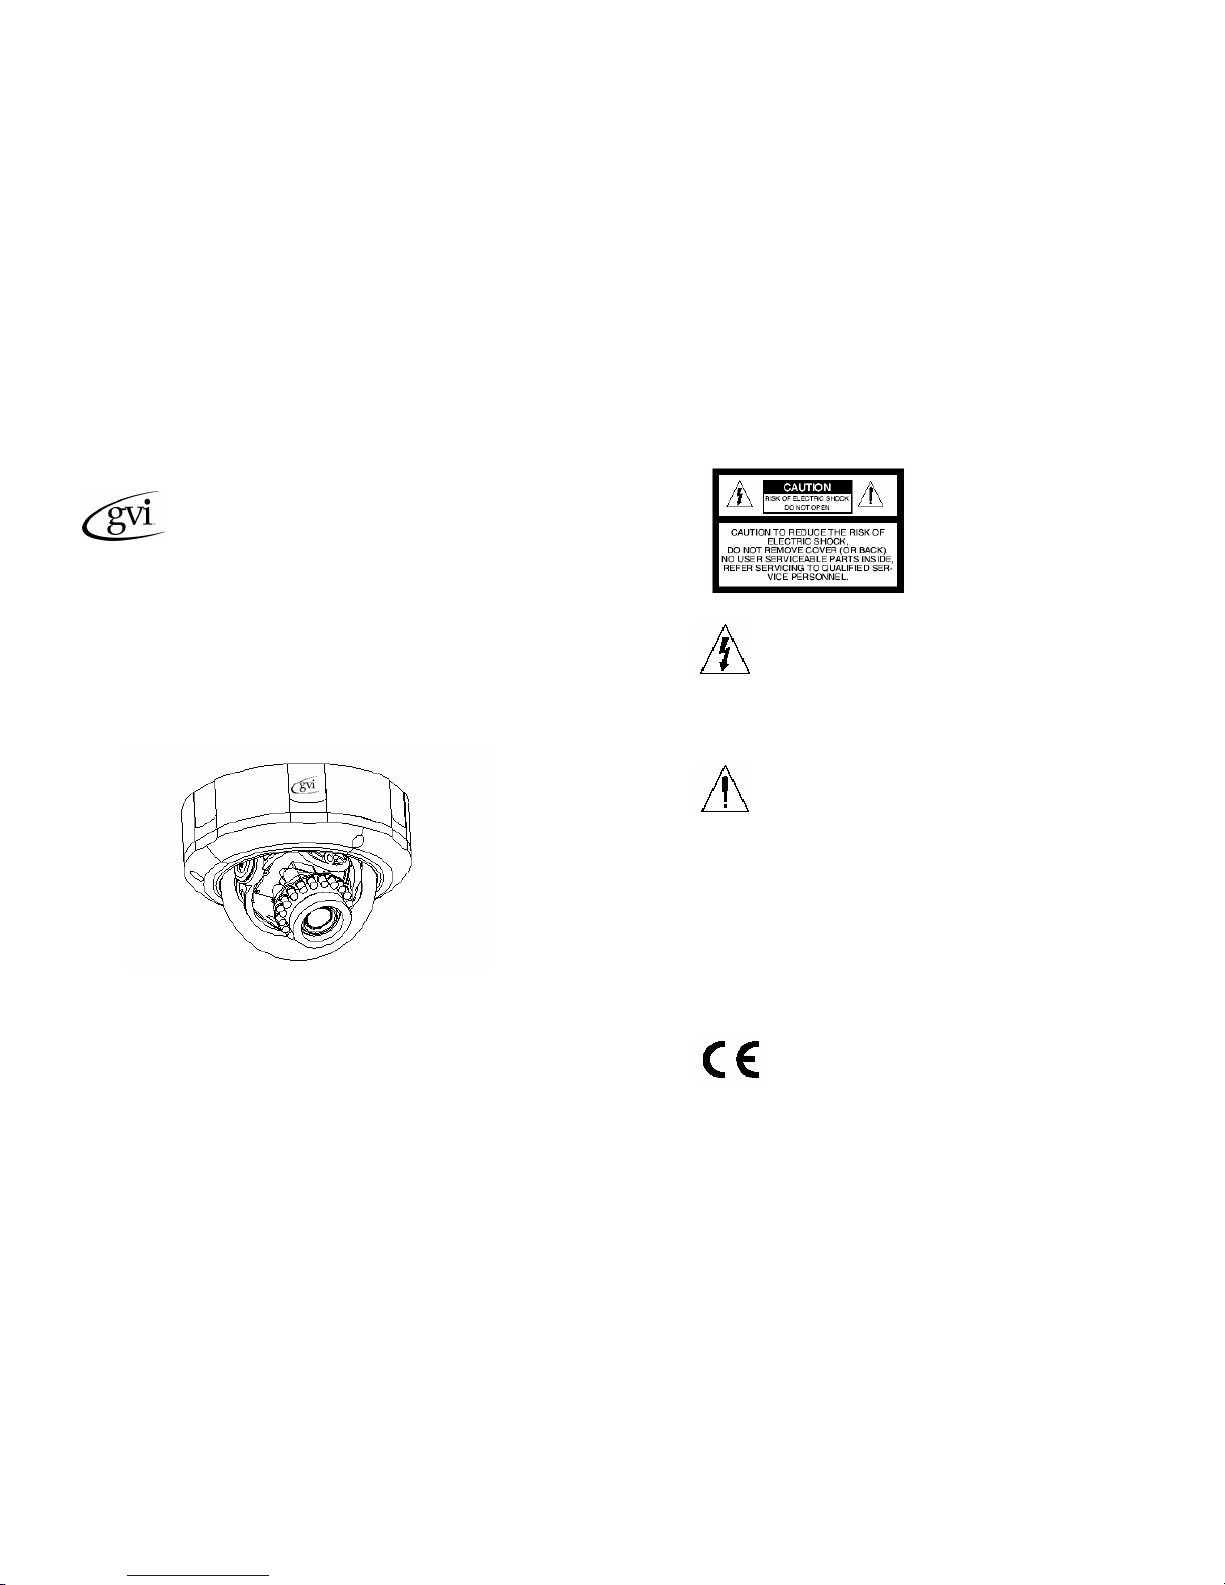
This s ymbol is intend ed to
alert the user to the presence
of non insulated “dangerous
voltage” within the product’s
enclosure that may be of
sufficient magnitude to
constitute a risk of electric
shock to persons.
The exclamation point within
an equilateral triangle is
intended to alert the user to
the presence of im portant
operating and maintenance
(servicing) instructions in the
literature accompanying the
product.
Warning
To prevent fire or shock hazard, do not
expose the unit to rain or moisture.
To avoid electrical shock , do not open the
cabinet. Refer servicing to qualified
personnel only.
Wiring methods shall be in ac cordance
with the National Electric Code,
ANSI/NFPA 70.
Regulatory Notices For U.S.A
This equipment has been tested and found
to comply with the limits for a Class A digital
device, pursuant to Part 15 of the FCC
Rules. These limits are designed to provide
reasonable protection against harmful
interference i n a residenti al installation! This
equipment generates, uses and c an radiate
radio frequency energy and, if not installed
and used in accordance with the inst ructions,
may cause harmful interference to radio
communications.
However, th ere i s no guarantee that
interference will not occur i n a par ticular
installation. If t his equipment does cause
harmful interfer ence to radio or television
reception, which can be determined by
turning the equipment off and on, the user is
encouraged to try to c orrect the interference
by one or more of the following measures:
•••• Reorient o r relocate the receiving
antenna.
•••• Increase the separation between the
equipment and receiver.
•••• Connect the equipment into a n outlet on
a circuit different from that to which the
receiver is connected.
•••• Consult the dealer or an experienced
radio/TV technician for help.
This Class A digital apparatus meets all
requirements of the Canadian Interference Causing Equipment Regulations.
This product is manufactured to compl y with the radio interference requirements of
EMC Directive 89/336/EEC and 93/68/EEC.

3
Contents
Precautions . . . . . . . . . . . . . . . . . . . . . . . . . . . . 4
Composition . . . . . . . . . . . . . . . . . . . . . . . . . . . . 5
Exp la nat io n fo r a cc es so ri es . . . . . . . . . . . . 6
Features and Nam e of Eac h Part . . . . . . . . . . . . 7
Installation . . . . . . . . . . . . . . . . . . . . . . . . . . . . . . 8
• N otes on installati on a nd u sag e . . . . . . . . . . 8
• Camera installation . . . . . . . . . . . . . . . . . . . . . 8
• Dip Swit ch setting . . . . . . . . . . . . . . . . . . . . 9
Troubleshooting . . . . . . . . . . . . . . . . . . . . . . . . . 10
Specifications . . . . . . . . . . . . . . . . . . . . . . . . . . 11
Dimension . . . . . . . . . . . . . . . . . . . . . . . . . . . . . . 12
Other Information . . . . . . . . . . . . . . . . . . . . . . . . . . . . . . 13
4
Precautions
Do not attempt to disassemble
the camera
To prevent electri c shock, do not remove
screws or covers. There are no user
serviceable parts inside. Ask a qualified
service personnel for servicing
.
Avoid
facing
the camera with
direct sunlight
Do not aim the camera at bright objects.
Never fac e it with direct sunlight or other
extremely bright objects. Otherwise
blooming or smear may be caused.
Do not u
se strong solvents or
detergents
Wipe the camera with a dry cloth if dirty.
If it is har d to remove the dirt on the camera,
use a mild detergent and wipe it gently.
Before operating, please check
proper temperature, humidity
and power source ratings.
Use the came ra under conditions where
temperature is between 14°F~122°F
(-10°C~50°C)
Do not expose the camera in
such conditions shown below.
Do not use in a room or area fill ed with
cigarette smoke, dust or gas.
Handle the camera with care
Do not abuse the camera. Avoid striking,
shaking, etc. The camer a co uld be
damaged by improper handling or
storage.
5
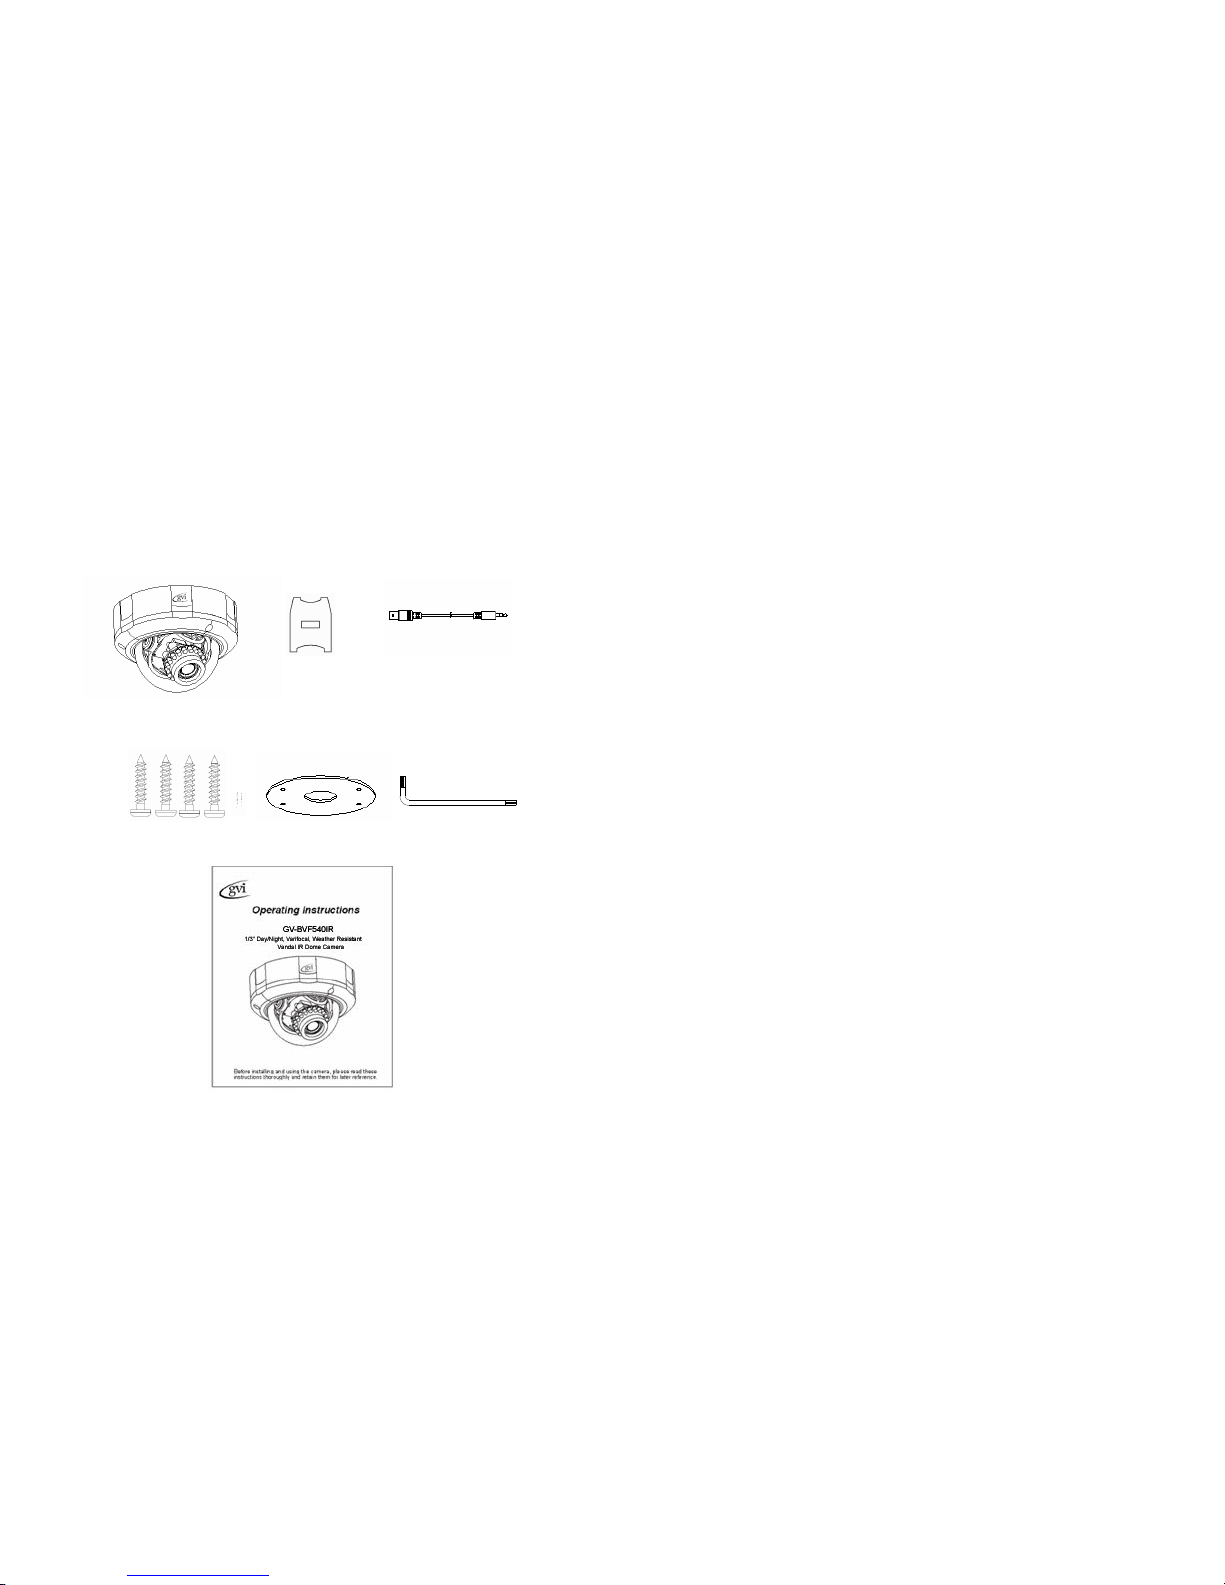
Composition
Confirm that the following parts are included:
Camera Driver Service Monitor Cable
Screws Rubber Bottom L-Wrench
Instruction Manual
6
Explanation for accessories
Driver – Loosen and tighten the cable holes on the left and bottom.
Service Monitor Cable – Cable used to monitoring the display
screen through portable monitor to adjust the camera view.
Screws – Big screws are used to firmly attach the bracket to the wall
or ceiling and small screw is used to connect the bubble and surface
by safety cable.
Rubber Bottom – Located at the base housing for weatherproof
purpose
L Wrench – Unscrew and tighten screws on the dome.
 Loading...