

Page 1
Installation
1
CMG-DM24
Digitizer
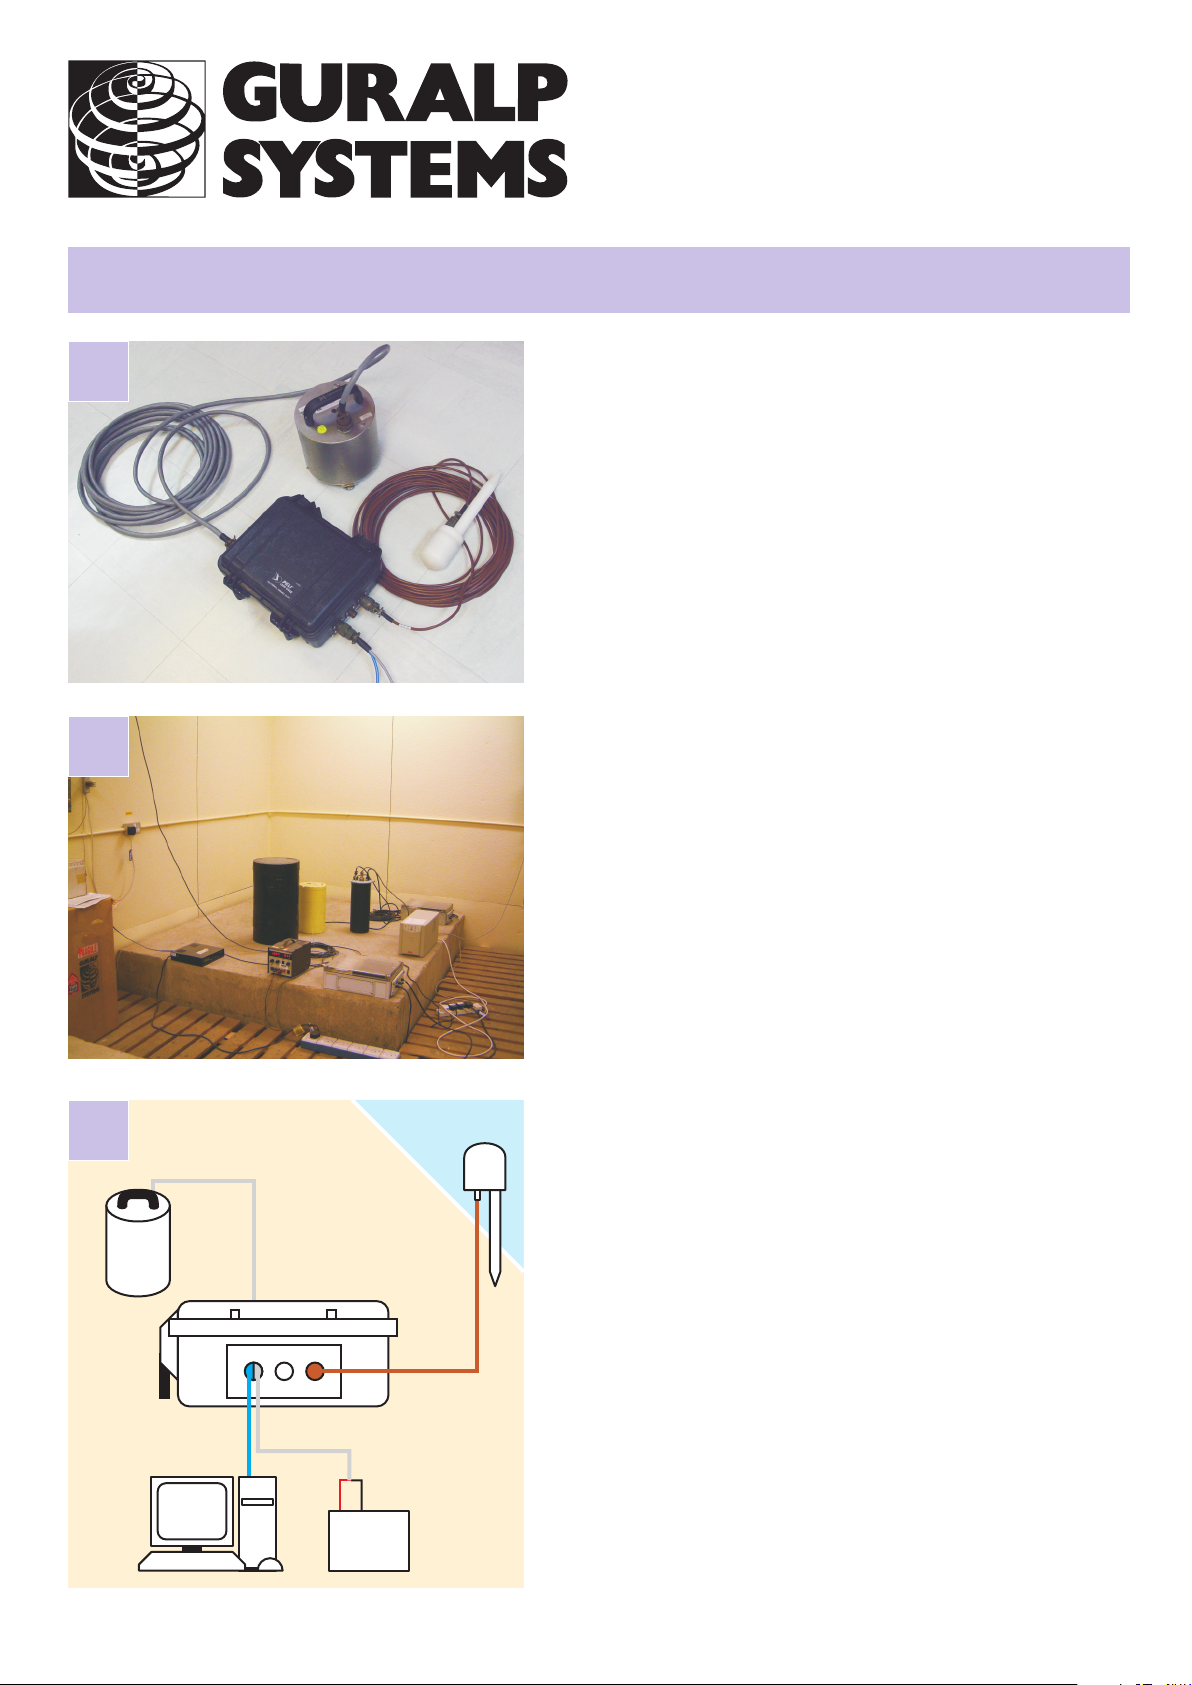
Check you have all components and cables.
- CMG-DM24 digitizer
- GPS receiver
- Brown GPS—digitizer cable
- Blue/grey combined digitizer—PC and power cables
- Digitizer calibration data booklet
You will need a Windows or Linux PC with an RS232
port, a Güralp Systems analogue sensor, and a 12–24 V
DC power supply.
2
3
Sensor
DM24
RS232
PC
SENSOR A
+
Power
supply
Choose suitable sites to install the digitizer and GPS.
The DM24 should be placed
- near to the sensor
- at, or ideally below, ground level
- in an environment with constant temperature
- away from electrical cables and appliances
The GPS should be placed
- within 15 m of the digitizer
- in a place with a wide view of the sky and a low
horizon.
Connect the various parts together.
GPS
–
- Connect the grey sensor cable to the SENSOR A
socket on the digitizer. Connect a second sensor to
SENSOR B if applicable. To use a sensor’s remote
mass control facilities, it must be connected to the
SENSOR A port.
- Connect the brown cable attached to the GPS
to the GPS socket on the digitizer.
- The blue cable ends at a 9-pin RS232 socket.
Connect this socket to your PC’s serial connector.
- The attached grey cable ends in red and black wires.
Connect the black wire to the negative (–) terminal of
the power supply, and the red wire to the positive (+)
terminal.
- The blue and grey cables are joined together at
a 10-pin mil-spec socket. Attach this to the DATA
connector on the digitizer. Do this step last.
Page 2
Testing
4
5
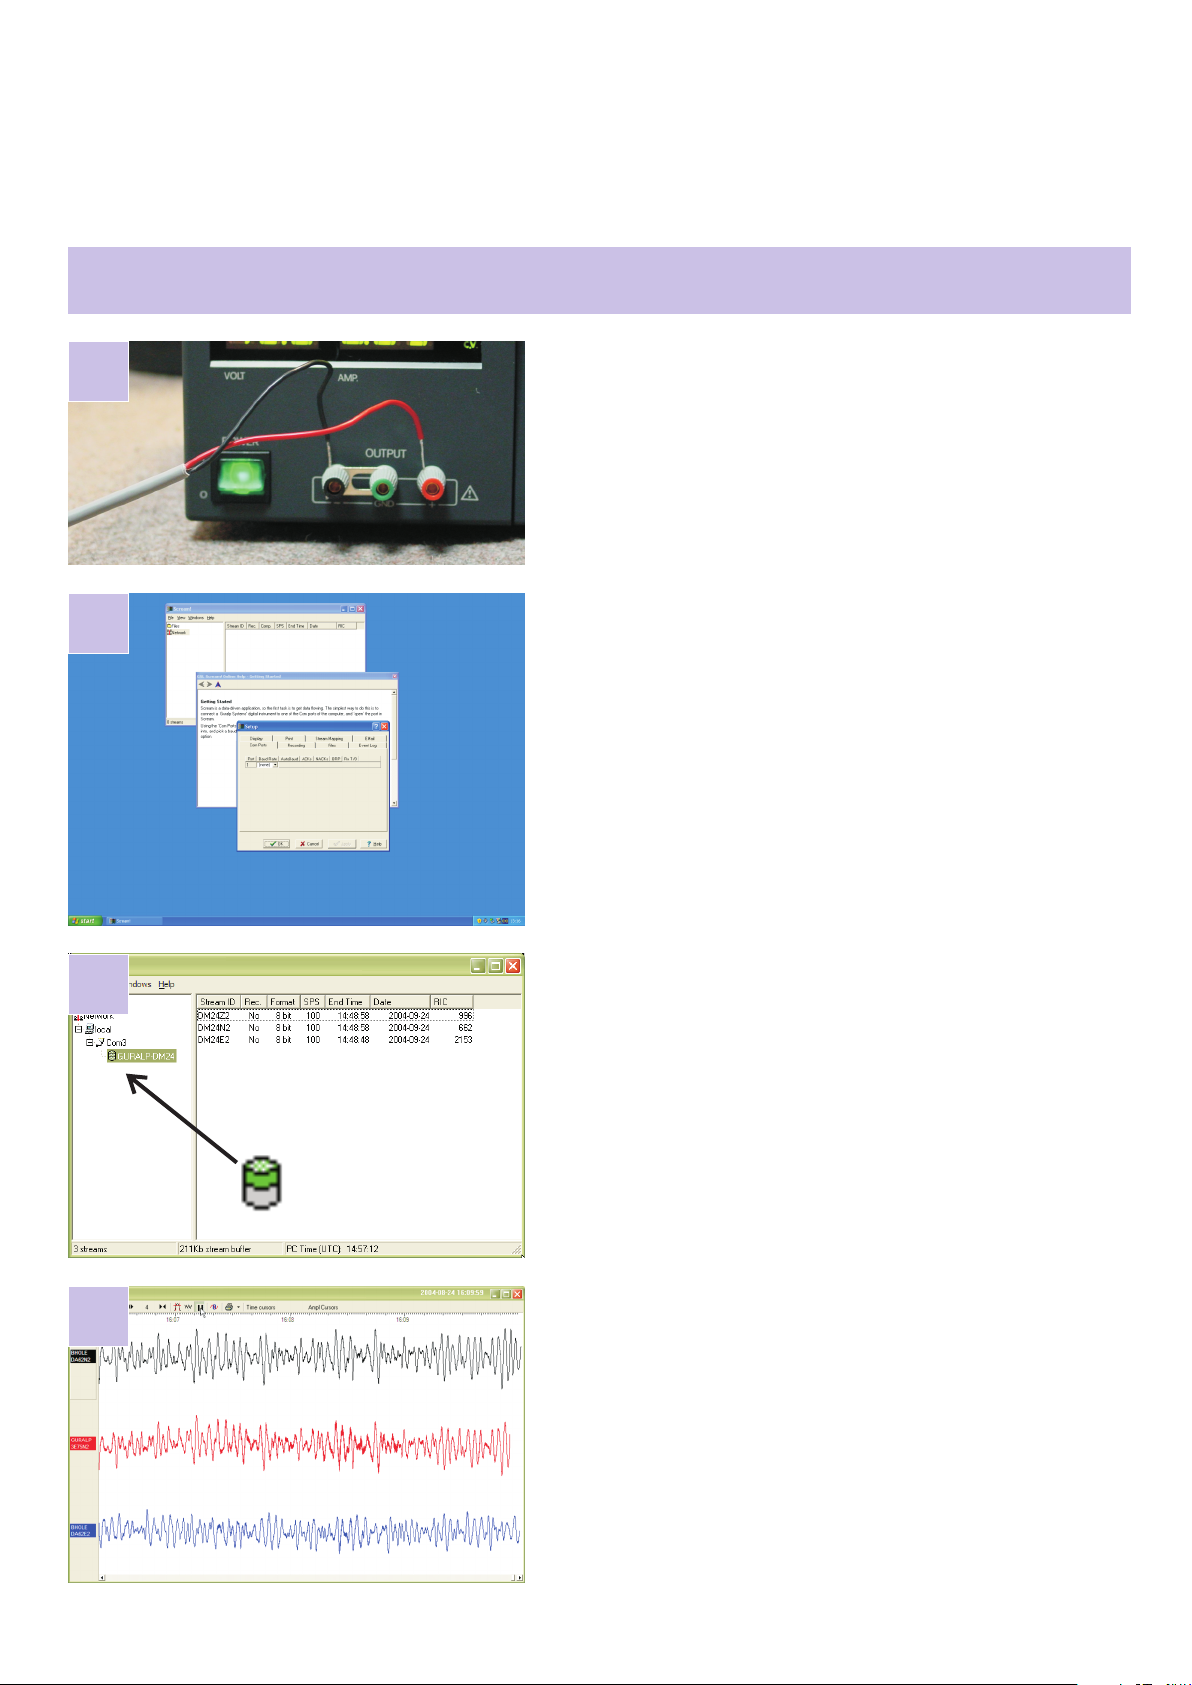
Switch on the power supply and measure the current
through the instrument. With the GPS connected and
running, the current should be around 120 mA. Once a
fix has been obtained, the digitizer will power down the
GPS, and the current will drop to around 90 mA.
Start the PC and run Güralp Systems’ Scream! software
(provided, or available for download.)
If you have not run Scream! before, the Setup window
will open automatically. Otherwise, choose File →
Setup... from the main menu and view the Com Ports
tab. Set the Baud Rate to 38400 and click OK.
Data streams should start appearing in the main
window.
6
7
Unlock the sensor (if applicable), and leave it running
for a few minutes.
The top half of the digitizer icon on the left should
change from grey to green.
If the top half fails to turn green, there is a problem
receiving GPS signals. The status messages in the
****00 stream may help you diagnose the problem.
If the bottom half turns red, the sensor is not level.
Move the sensor to a more level surface and try again.
Select some data streams and double-click. A Waveview
window will open on the streams. Check that the output
responds to vibrations near the sensor.
Please refer to the full manual for detailed usage
instructions, calibration and troubleshooting.
MSH-D24-0004-B : Page 2 of 2
 Loading...