

Page 1
Installation
1
1
CMG-5T
Accelerometer
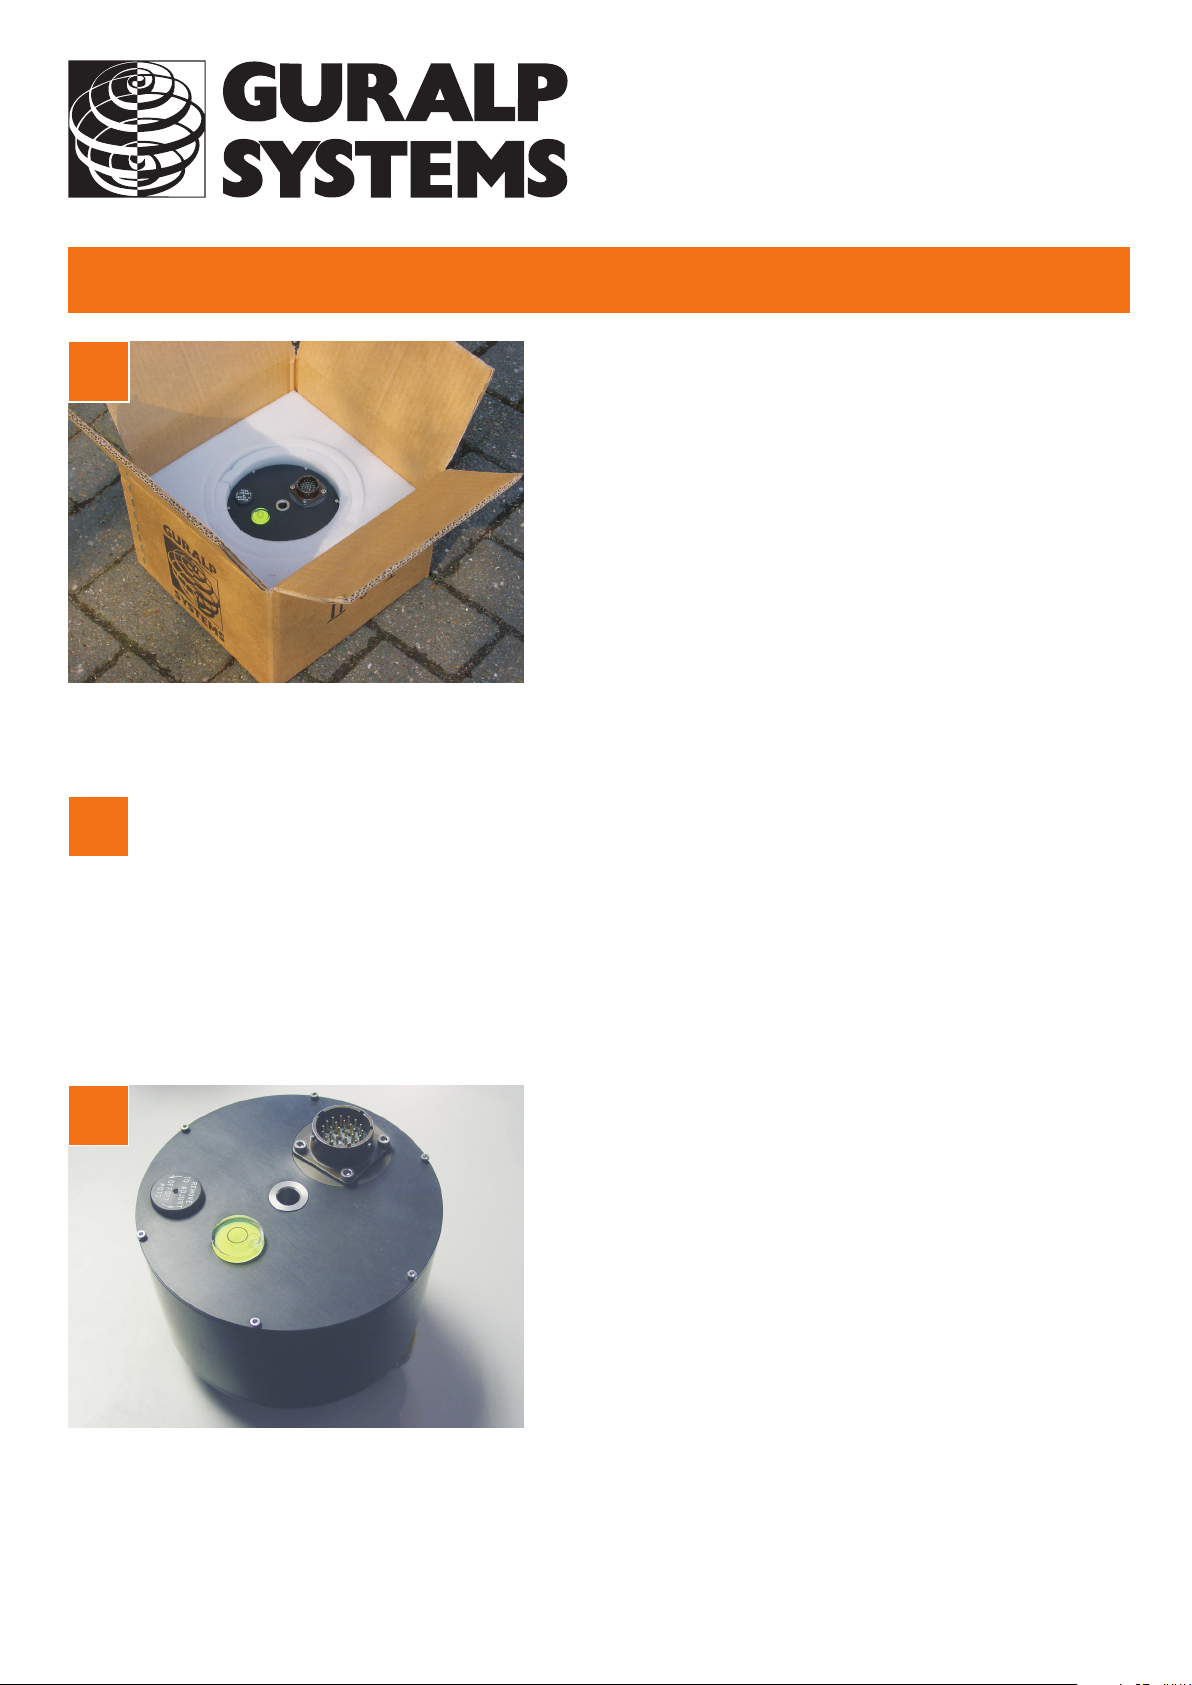
Check you have all components and cables.
! CMG-5T strong motion broadband accelerometer
! Thick grey signal cable
! Sensor calibration data booklet
You will need a suitable digitizer or recording equipment
and a 12–24 V DC power supply. If you intend to bolt
the instrument to a hard surface, you will also need a
120 mm × 6 mm fixing bolt, and a fixing nut with spring
washer.
2
3
Keep the packaging, in case you need to transport the
sensor at a later date.
Prepare the installation site. Any solid surface, such as a concrete floor, is suitable to install
the instrument.
To create a suitable surface in temporary sites:
1. Dig a pit, or machine-auger a suitable hole for the sensor.
2. Prepare a quick-setting cement/sand mixture, and pour it into the hole.
3. “Puddle” the mixture by agitating, until the surface is level.
4. Leave the mixture for 2 - 12 hours depending on the cement type.
If you intend to bolt the instrument to a surface:
Scribe an accurate North/South line on the surface, and
grout in the fixing bolt around the middle of the line.
Place the sensor over the bolt, and rotate until the studs
and orientation lines on the instrument align with the
North/South line.
Fix the instrument in place.
Page 2
Installation
3
4
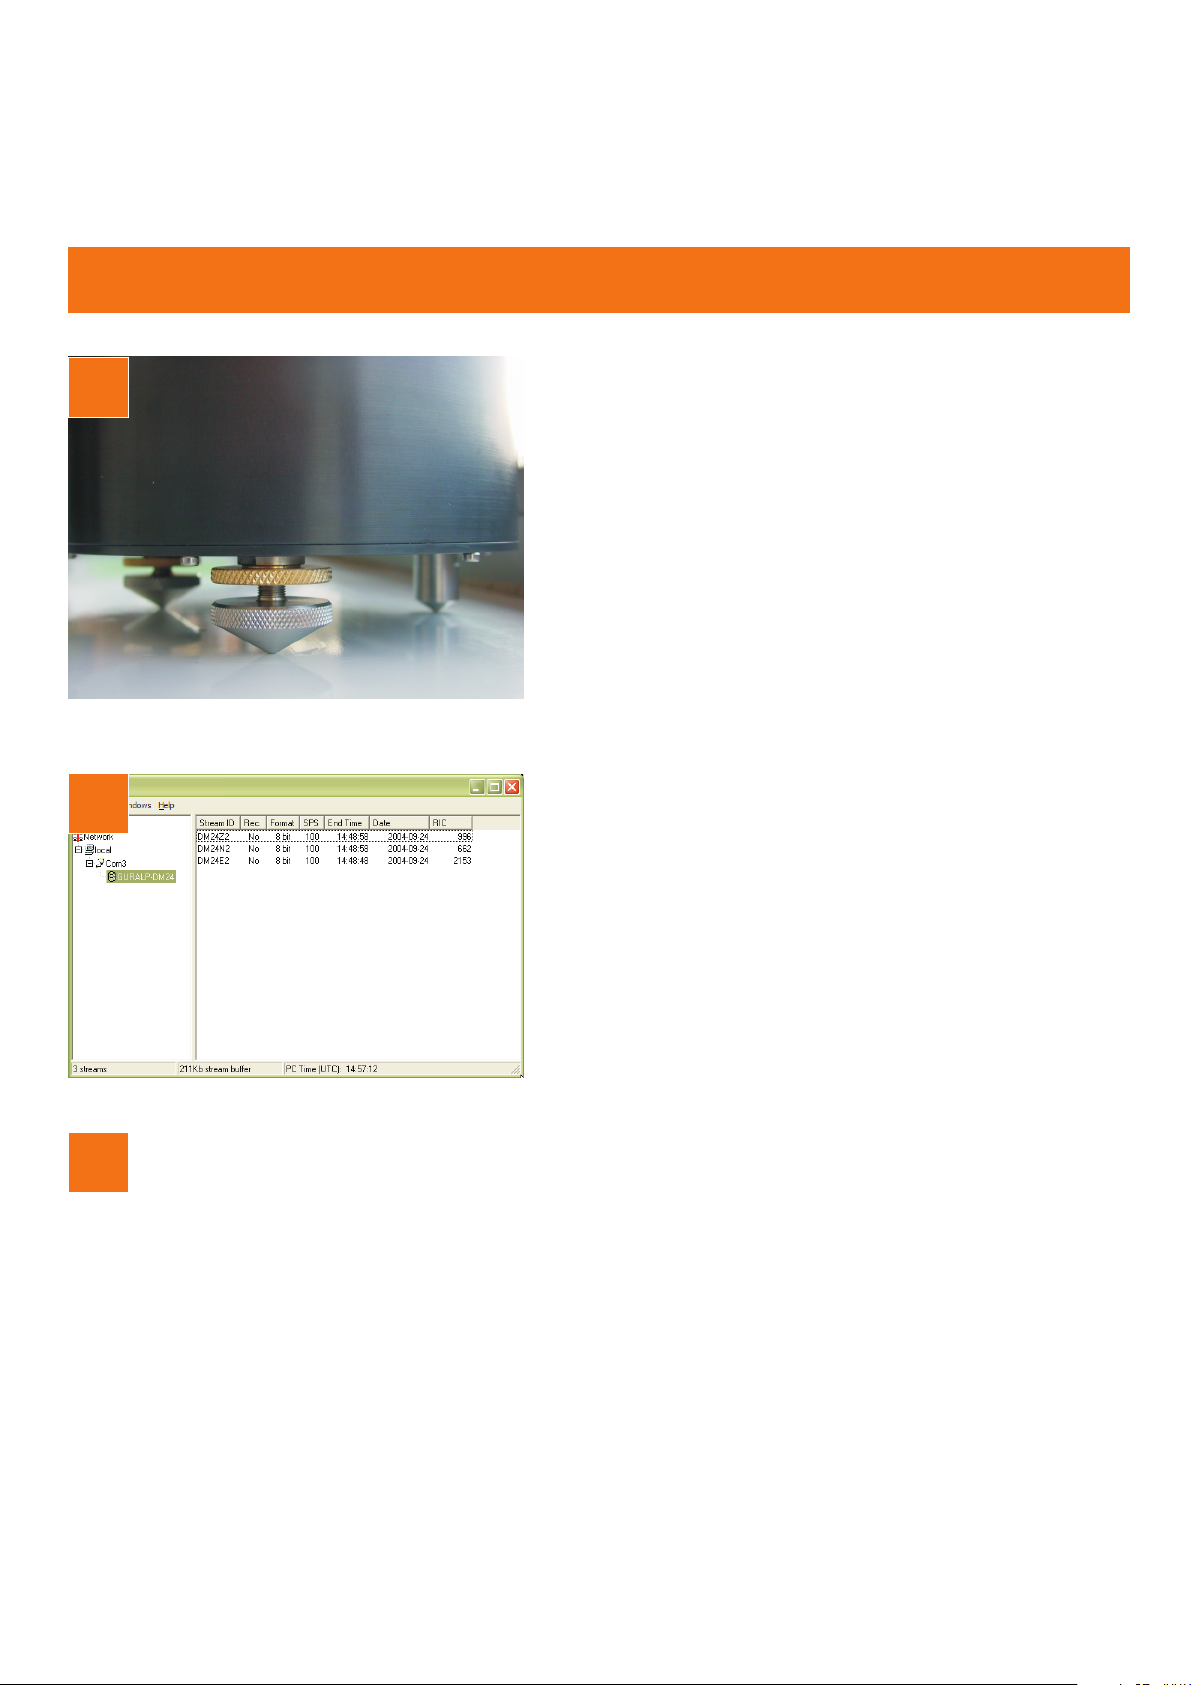
Loosen the brass locking nut on one of the adjustable
feet.
Turn the foot, screwing it in or out to level the sensor.
Check using the spirit level on the sensor lid.
Tighten the brass locking nut upwards to secure the
foot.
Repeat with the other adjustable foor, until the bubble in
the spirit level lies entirely within the inner circle.
After installing, you will need to zero the sensor outputs.
This is most easily done through a Güralp digitizer.
5
Connect the sensor’s output port to the digitizer, and
power them up. Connect the digitizer’s serial output to a
PC.
Start the PC and run Scream!. Choose File > Setup...
from the main menu and view the Com Ports tab.
Set the Baud Rate to the correct value and click OK.
Remove the screw-on cap protecting the offset adjusters.
With a small screwdriver, adjust each offset until the corresponding output is close to zero.
Zoom in as necessary.
Replace the pressure cap. The sensor is now ready for use.
Please refer to the full manual for detailed usage instructions, calibration and
troubleshooting.
MSH-050-0004-A : Page 2 of 2
 Loading...