

Page 1
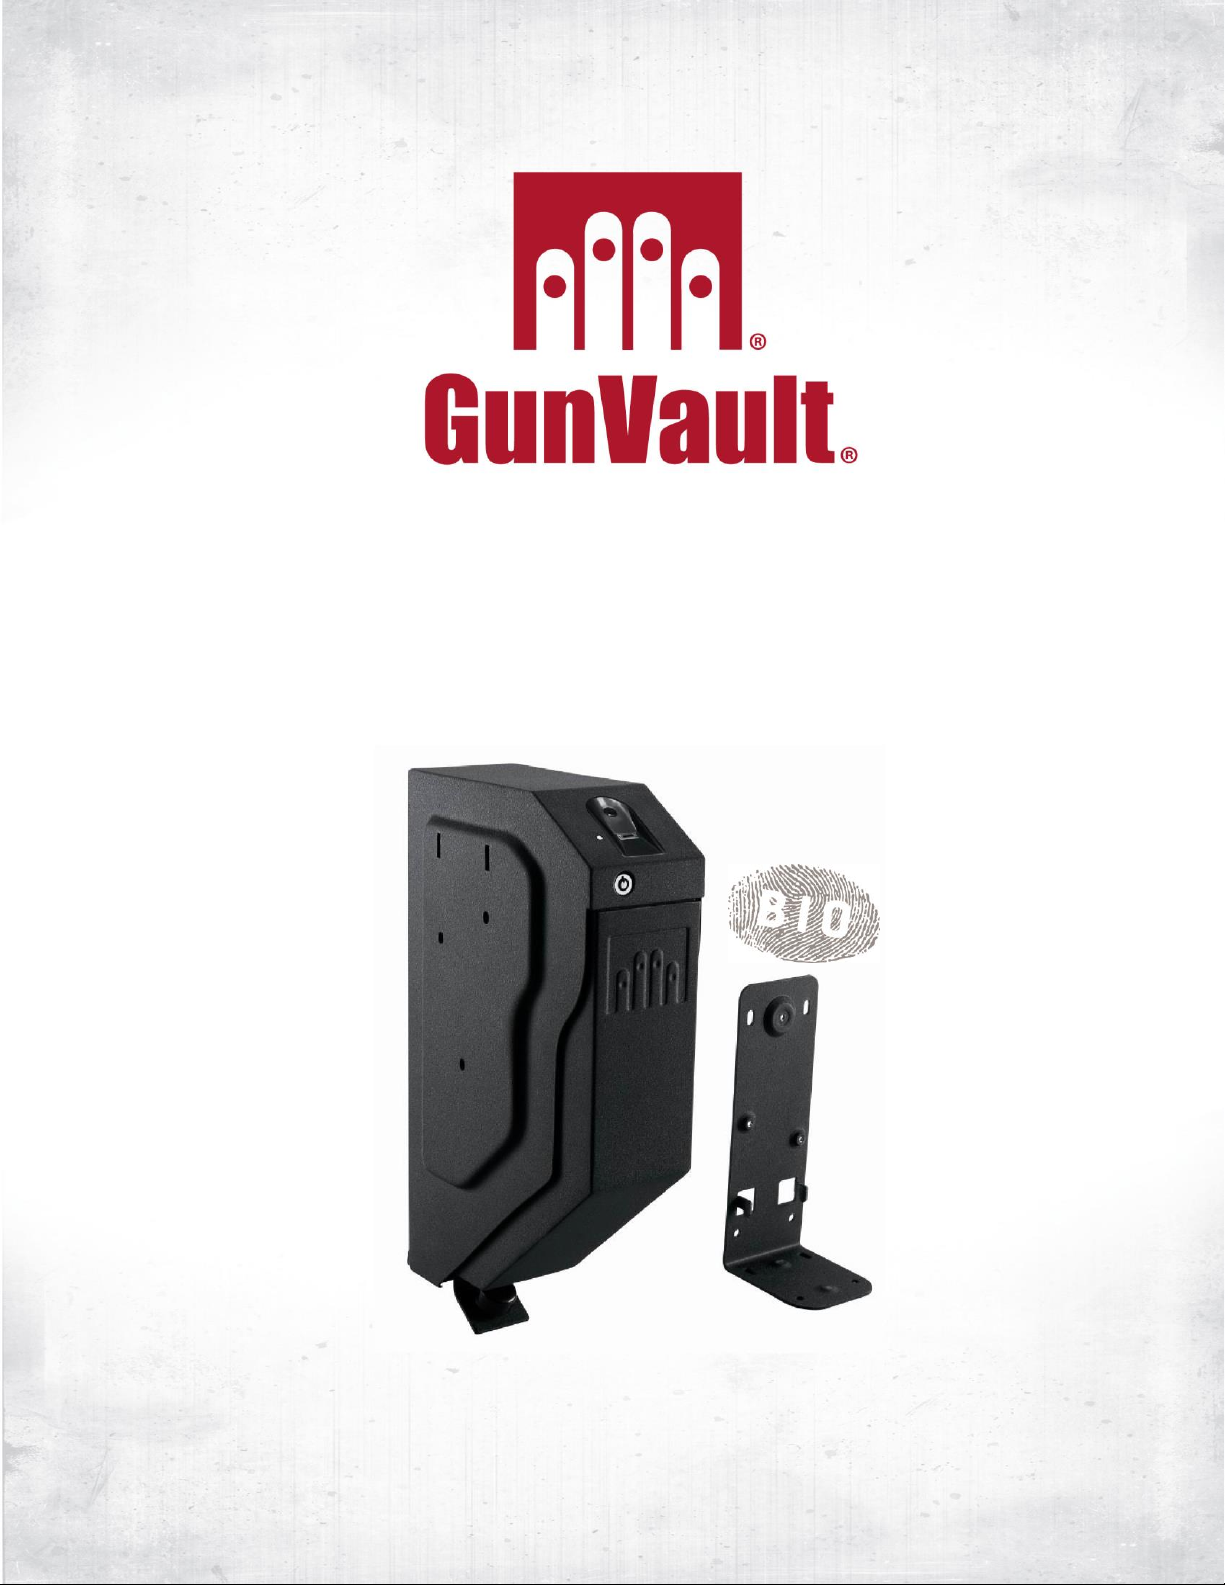
SVB500
SpeedVault
®
Owner’s Manual
Patented
Rev 3 (04/14)
Page 2
GunVault® Tip: Locate keys and have them in a place you can easily access in emergency
cases.
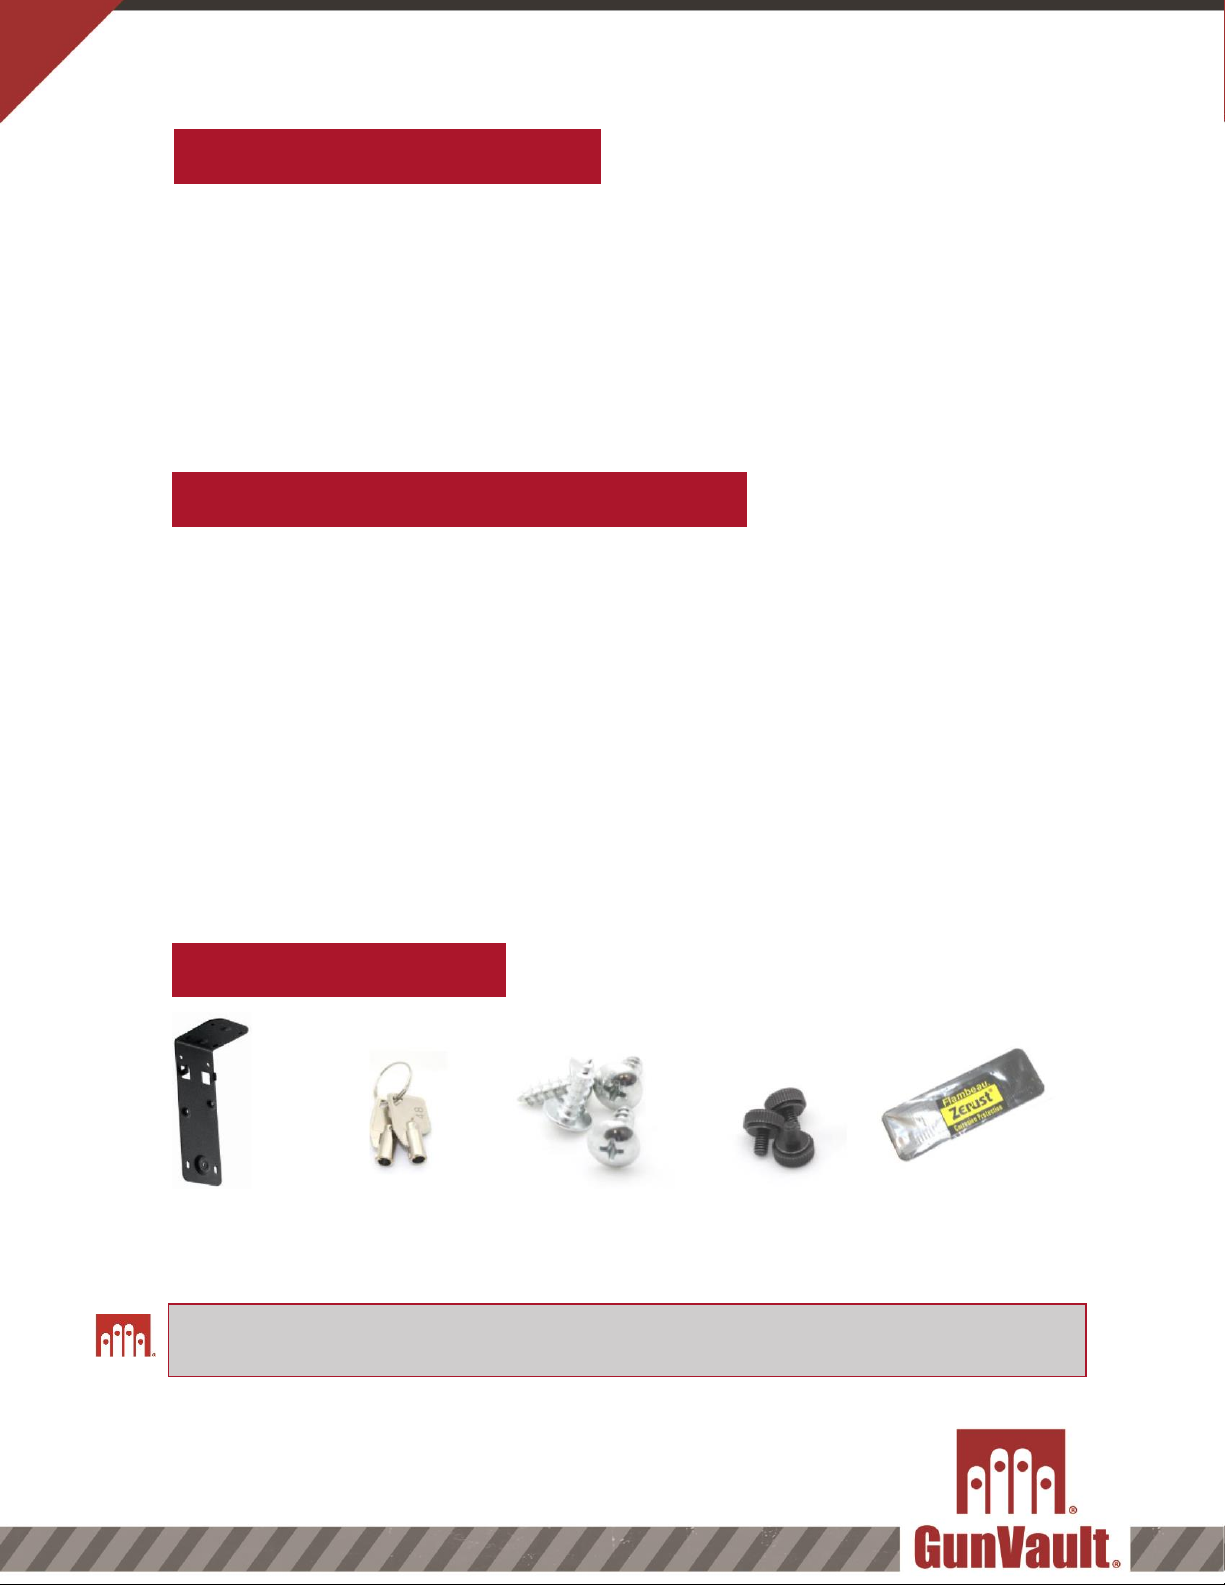
(1) Mounting Bracket
(2) Access Keys
(4) Wood Screws
(3) Thumb Screws
(1) Zerust Strip
“Rust Protecti on Technology”
SAFETY INFORMATION
UNDERSTANDING BIOMETRICS
ITEMS INCLUDED
WARNING: GunVault® products or any other firearm storage device cannot take the place of other safety
procedures; including advising children of the dangers of firearms.
WARNING: Never grab your firearm by the trigger w hen removing or placing it into your GunVault® product. Always
make sure your f irearm’s saf ety mechanism is on.
WARNING: Always follow the firearm safety rules set forth by the firearm’s manuf acturer.
WARNING: In order to enjoy the maximum security benefits of the GunVault® product, it must be secured in place
according to the instructions provided herein. Use of this product as a storage receptacle w ithout mounting
according to the instructions provided herein may compromise security.
Biometrics are methods of authenticating the identity of a person based on physiological or
behavioral characteristics. Biometric fingerprint authentication refers to technology that
measures and analyzes human physical characteristics for identification and authentication
purposes.
Everyone has their own individual fingerprints. The individuality of each fingerprint can be
determined by the pattern of ridges and furrows on the surface of the finger as well as by the
minutiae points. Minutiae points are local ridge characteristics that occur at either a ridge
bifurcation or a ridge ending. A biometric device brings a higher level of security due to its
personalized feature.
The biometric scanner is sensitive and requires care not to damage the device. In addition, it is
recommended that you practice the authentication process several times in order to become
comfortable with the process.
- 1 -
Page 3
Mounting Positions:
Using the provided bracket, the
SpeedVault® Biometric can be
mounted from the:
Left
Right
Back
Top
Unit must be mounted at a 90 angle as the door is gravity operated.
This information is necessary when ordering replacement keys or filing a warranty claim.
Tools Needed:
Phillips-Head Screw Driver
Needle Nose Pliers
9V Alkaline Battery
Optional Tools:
Power Drill
Phillips-Head Bit
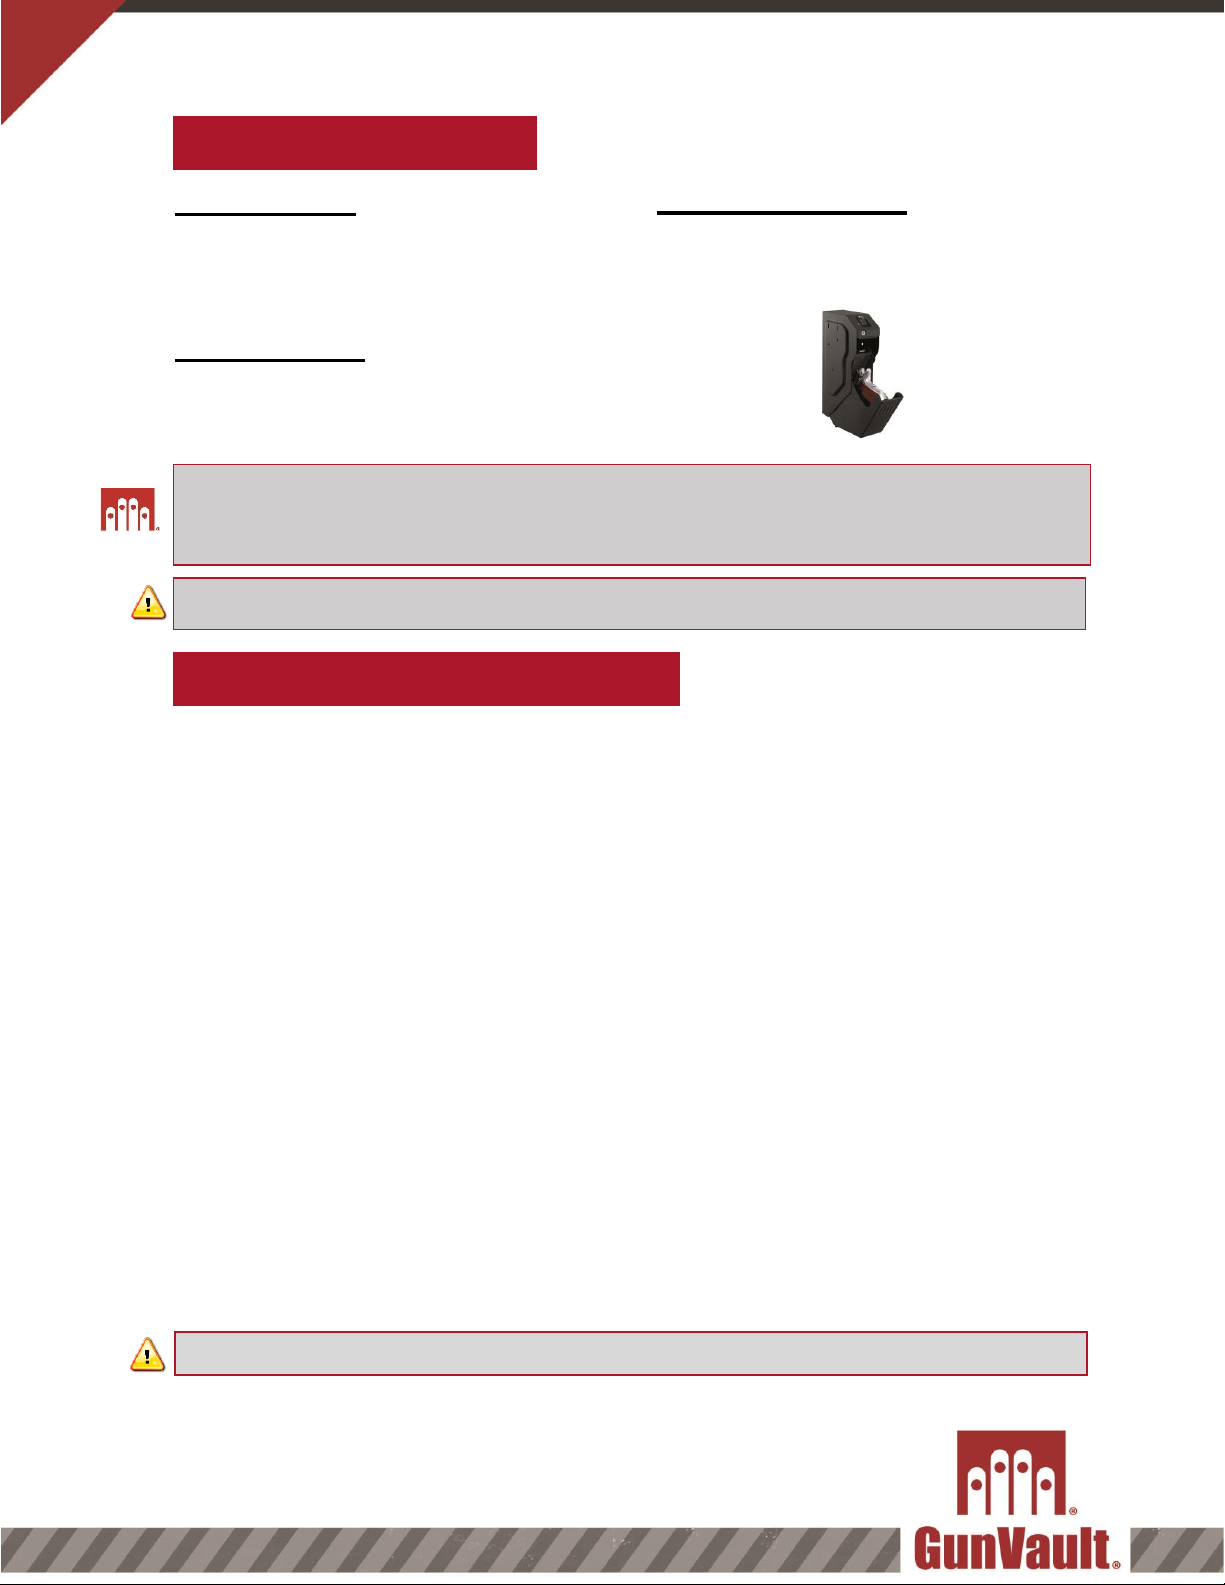
GETTING STARTED
WARRANTY
GunVault® Tip: For best performance, use a battery with expiration date 4 years out. We
strongly advise to get name brand batteries and avoid lithium, duralock, & rechargeable
batteries. Only use alkaline batteries.
For convenience, go to www.GunVault.com/warranty to fill out the warranty
registration or call our Customer Service Department at 1(800)222-1055.
Please fill out the section below and store in a safe location OUTSIDE of your
SpeedVault®.
MODEL NUMBER
____________________
(THIS CAN BE FOUND ON THE INSIDE ROOF OF THE UNIT.)
SERIAL NUMBER
____________________
(THIS CAN BE FOUND UNDER THE MODEL NUMBER ON THE INSIDE ROOF OF THE UNIT.)
KEY NUMBER
____________________
(THIS CAN BE FOUND ENGRAVED INTO THE LOCK ITSELF)
- 2 -
Page 4

Mounting screws provided are for solid wood surface only. If mounting to
another surface type (drywall, cement, etc.) the appropriate hardware can be
purchased through a local hardware store.
Unit is sold at factory default and pressing the start button will open the unit.
To change this, see Programing SpeedVault®.
The SpeedVault® uses gravity to drop the drawer open and will need enough
space in front of unit to fully open.
INSTALLING THE SPEEDVAULT®
Z
Step 1. Select a location to mount the unit.
Step 2. Secure the “Mounting Bracket” to the desired location
using the “Wall Mounting Holes” and the wood screws.
Step 3. Keeping the unit closed, remove thumb screws at the
bottom of the unit (use of pliers is recommended). After
removing thumbscrews, remove the bracket.
Step 4. Place the SpeedVault® on a flat surface and use the key
to unlock the unit; Pull the drawer off separating it
completely from the unit.
Step 5. The battery tray is on the inside roof of the unit. Open the
battery tray door and insert new 9v Alkaline battery,
following the Positive (+) and Negative (-) guides on the
holder. Close the battery tray door when finished.
Step 6. Align the shell of the unit to the “Mounting Bracket” using
the “Hook Mounting Holes” as a guide. Secure using the 3
thumb screws turning them clockwise until tight.
Step 7. Reinstall the drawer by replacing the bracket and two
“Thumbscrews”.
Step 8. The SpeedVault® is now ready for use.
- 3 -
Page 5

GunVault® Tip: A fingerprint scan can be sensitive to the angle in which you scan your
fingerprint. Enroll the same finger 3-5 times at different angles to increase positive biometric
access. During a high stress situation you will most likely not swipe your fingerprint the same
way every time. Enroll your fingerprint in multiple angles and practice accessing your unit
until you are comfortable.
PROGRAMMING THE SPEEDVAULT®
ENROLLMENT OF THE
ADMINISTRATOR FINGERPRINTS
GunVault® Tip: Your first two users enrolled are the administrators
and are used to enroll additional users, use a finger on your
non-dominate hand to reduce errors when enrolling additional users.
The SpeedVault® Biometric can store 120 fingerprints with the first two enrolled
fingerprints being the administrators. The administrator finger prints will be
needed to program additional users. You will know you have reached the
maximum 120 fingerprint enrollment if the Learn/Mute button is pressed and the
LED flashes red once and the unit beeps once.
Step 1. Press the Start button to open unit.
Step 2. Press the Learn/Mute Button located next to the battery tray on
the Inside roof of the unit (Unit will beep and flash green once,
this indicates the enrollment procedure has started)
Step 3. Place your finger over the scanner with the tip of your finger at
the top of the finger guide.
Step 4. Make sure you have good, flat contact with the scanner, taking 1
to 2 seconds to complete the swipe. A single beep will indicate a
successful swipe and red flash indicates an unsuccessful swipe.
Step 5. Repeat Step 3 until you hear a double beep which will indicate a
successful enrollment of the fingerprint.
Step 6. Repeat steps 1 through 5 to add the second administrator.
- 4 -
Page 6

GunVault® Tip: You go to the range and practice with your gun; practice accessing your
gun with your GunVault as well. Practice will assure you have proper training to access your
safe.
ENROLLING ADDITIONAL USERS
ACCESSING THE UNIT
Step 1. After enrolling the first two administrator fingerprints, open the
Step 2. Swipe the administrator fingerprint from Position 1 to Position
Step 3. Place the finger you want to enroll over the scanner with the tip
Step 4. Make sure you have good, flat contact with the scanner. Begin
Step 5. Once the swipe is completed you will hear a beep. Repeat Step
Fingerprint Access
Step 1. Press the Start button; unit will flash green twice and beep
Step 2. Place a programed finger on the scanner with the tip of your
Step 3. Make sure you have good, flat contact with the scanner. Begin
Step 4. If the unit detects a match, the LED will flash green two times
Step 5. If the unit doesn’t detect a match, the LED will flash green and
unit using key or biometric scanner and press the Learn/Mute
Button. You will hear one beep and the LED will turn green
indicating the enrollment procedure has started.
2 and you will hear two beeps indicating the additional
fingerprint is ready for enrollment.
of your finger at the top of the finger guide.
to swipe your finger from Position 1 to Position 2, taking 1 to 2
seconds to complete the swipe. A single beep will indicate a
successful swipe and red flash indicates an unsuccessful
swipe.
3-4 until you hear a double beep this indicates a successful
enrollment.
once.
finger at the top of the finger guide.
to swipe your finger from Position 1 to Position 2, it will take 1 to
2 seconds to complete the swipe. Try to get your entire
fingerprint to cross the scanner.
and you will hear two beeps, then the unit is open.
red, you will be denied access. If an enrolled user is denied
access, please try again.
- 5 -
Page 7

USING THE KEY ACCESS
The key is for emergency use only to unlock the case in the event of fingerprint failure.
Do not try to remove the key in any other position or this may cause damage.
Do not try to use the fingerprint scanner while the key is in the unit.
Individual users cannot be deleted from the SpeedVault Biometric. All users will be deleted
together.
REPLACING THE BATTERY
USING THE “MUTE” FEATURE
DELETING USERS / RESETTING THE UNIT
Step 1. Insert the key into cylinder key hole on the unit.
Step 2. Turn clockwise to unlock the unit. Door will drop open.
Step 3. Turn the key counterclockwise to original position and remove.
Low Battery Warning: If the LED flashes red and the unit beeps 3 times, this
indicates a low battery.
Step 1. Locate the battery tray on the inside roof of the unit.
Step 2. Pull open the battery cover and remove the old battery.
Step 3. Insert new 9v Alkaline battery, following the Positive (+) and
Negative (-) guides on the holder.
Step 4. Reinsert battery and snap the cover back into place.
Step 5. Test your unit.
Mute Feature: The audio can be turned off or on using the Mute feature.
Step 1. Locate Learn/Mute button on the inside roof of the unit.
Step 2. Press and hold the Learn/Mute button for three seconds. (three
green LED flashes will mean you have successfully
muted/unmuted your unit)
Step 1. Locate Delete button on the inside roof of the unit.
Step 2. Press and hold the Delete button (LED will turn red), press and
release the Start button. (Unit will beep twice and flash green
twice indicating you have successfully deleted all registered
fingerprints.)
- 6 -
Page 8

What is the problem?
Why is the problem
happening?
How do I solve the
problem?
When I swipe press the
start button, unit beeps 3
times with 3 red flashes.
Low battery indicator signals
it’s time for a battery change
Replace with 9V regular
Alkaline battery. (Do not use
lithium or rechargeable
batteries) (See PG. 6.)
When I swipe my finger, I
get one red flash.
The unit did not recognize
your fingerprint.
Re-scan your fingerprint. Note
that the unit is sensitive to
angles requires practice for
familiarity. (See PG. 5)
When I press the start
button, the unit opens
without scanning
fingerprint.
The safe has not been
programed properly.
Follow Programing
SpeedVault Instructions.
(See PG. 4)
The door does not open
fully when I open the
SpeedVault
The SpeedVault was not
mounted properly
Follow Installing SpeedVault
®
(See PG. 5)
I need to order keys
N/A
Go to GunVault.com and mail
in the Key Order form.
What guns can fit into my
SpeedVault®?
N/A
It’s designed for full framed
semi-automatic pistols. (e.g.
1911, Glock 19, Berreta 92)
I can’t find the serial
number.
N/A
The serial number is on the
inside roof of the unit next to
the battery tray.
TECHNICAL SUPPORT
Troubleshooting my SpeedVault® Biometric
If you have followed the above steps carefully and still have a problem operating your
SpeedVault Biometric, call us at 800-222-1055 for further assistance.
Requirements for Replacement & Repair
Do not return your SpeedVault Biometric safe to your dealer. Instead, call
GunVault Technical Support Department for assistance 800-222-1055.
GunVault Inc. cannot provide refund for product.
GunVault product delivered without a pre-arranged Return Authorization
Number may be returned to sender unopened, at owner expense, and fees may
accrue
- 7 -
Page 9

We recommend that the warranty registration be completed in full and submitted to GunVault® Inc. within thirty (30) days of the original
date of purchase to validate this warranty. You can complete your warranty registration by visiting our website at
www.GunVault.com/warranty or calling our Customer Service department at 800-222-1055
LIMITED WARRANTY
SAFETY INFORMATION
1. GunVault (the “Company”) warrants to the ori ginal consumer (the “Purchaser’) of any GunVault safe (the “GunVault safe”)
purchased after January 1, 2014 against any damage caused by fire, burglary or attempted burglary for a period of five (5)
years from the date of purchase.
2. The Company warrants to the purchaser that the GunVault safe will be free from defects in workmanship and materials for a
period of one (1) year from the date of purchase.
3. These warranties are not assignable or transferable to any other person.
4. Any damage to the GunVault safe as a result of misuse, tampering, abuse, neglect, accident, improper installation, modification,
unauthorized service, destruction, or the alteration of the serial number, or use violate of the instructions furnished by the
Company will void this warranty.
5. The sole responsibility of the Company shall be limited to the repair or replacement (in its sole discretion) of any component of the
GunVault safe which fails to conform to this warranty at no cost to the purchaser for the period of the warranty.
6. Contact the Company directly to obtain service under this warranty. If it becomes applicable to send a defective product to the
Company, a Return Authorization Number must first be obtained from the company. In order to obtain service under this
warranty, purchaser must provide the Company with the following items (a) proof of purchase, (b) police or fire department
report, (c) photographs of damaged sad, and (d) written testimonial.
7. Products shipped without prior Return Authorization and Return Authorization Number may not be accepted, and the Company
will not be responsible for their disposition and/or cost of return to the owner.
8. The Company will not assume any responsibility for any loss or damage incurred in shipping. All return authorized products
should include a copy of the original invoice in order that this warranty may be honored.
9. This warranty is not an insurance policy. The Company is not responsible for any manner of damage to or theft of the Purchaser’s
GunVault safe or its contents.
10. We recommend that the enclosed warranty cared be completed in full, and returned to the Company within ten (10) days of the
original date of purchase to validate this warranty.
11. Any implied warranties that the purchaser may have are limited to the duration of the warranties described above. There are no
further warranties that extend or apply beyond the face hereof, and the company expressly disclaims and excludes any and
all warranties of merchant ability or fitness for a particular purpose. Some states do not allow limitations on how long an
implied warranty lasts, so the above limitation may not apply to you.
12. Repair or replacement shall be the sole remedy for the purchaser under this warranty. The company shall not be liable for any
direct, indirect, incidental or consequential damages, losses or expense arising from the use or misuse of the GunVault safe.
Some states do not allow the exclusion or limitations of incidental or consequential damages, so the limitation may not apply
to you.
13. This warranty gives you specific legal rights, and you may also have other rights which vary from state to state.
WARNING: The SpeedVault® Biometric safe, or any other firearm storage device, cannot take the place of other safety procedures;
including advising children of the dangers of firearms.
WARNING: The manufacturers and distributors of the SpeedVault® Biometric safe do not recommend, suggest, advise, promote or
otherwise condone the ownership or use of firearms. We at GunVault® Inc. believe the decision to own or use a firearm is a
serious decision that should only be made by an adult who has carefully considered the risks and benefits of such a decision.
WARNING: The keypad and push buttons on the control panel are electronic. They have a certain feel to them and may seem
different to different people. It is important for you to become accustomed through practice, as to how the SpeedVault®
Biometric safe responds to your own personal touch.
WARNING: Never mix alcohol or drugs with firearms or the SpeedVault® Biometric safe. Alcohol and other substances likely to
impair normal mental or physical functions should not be used before shooting or handling firearms or the SpeedVault®
Biometric safe.
WARNING: Never grab your firearm by the trigger when removing or placing into the SpeedVault® Biometric safe. Make sure your
firearm’s safety mechani sm i s on.
WARNING: Always point your firearm in a safe direction. Common sense should dictate which direction is the safest.
WARNING: Always foll ow the firearm safety rules set out by the firearm’s manufacturer.
WARNING: Be familiar with how firearms work. GunVault® recommends that you obtain as much information as possible on firearm
safety.
WARNING: Always handle firearms as if they are loaded and ready to fire. Always assume that a firearm is loaded.
WARNING: In order to enjoy the maximum security benefits of the SpeedVault® Biometric safe product, it must be mounted in place
using the equipment provided with the product, according to the instructions provided herein. Use of this product as a storage
receptacle without mounting according to the instructions provided herein may compromise security of the SpeedVault®
Biometric Safe.
- 8 -
Page 10

Inquiries or questions regarding the SpeedVault® Biometric should be directed to:
GunVault®, Inc.
GunVault.com Support Link
Technical Support 800-222-1055
Protected by United States Patent Numbers
5,161,396 and 5,549,337
- 9 -
 Loading...