

Guerrilla Gravity GG/DH Owner's Manual
GG/DH Owner’s Manual
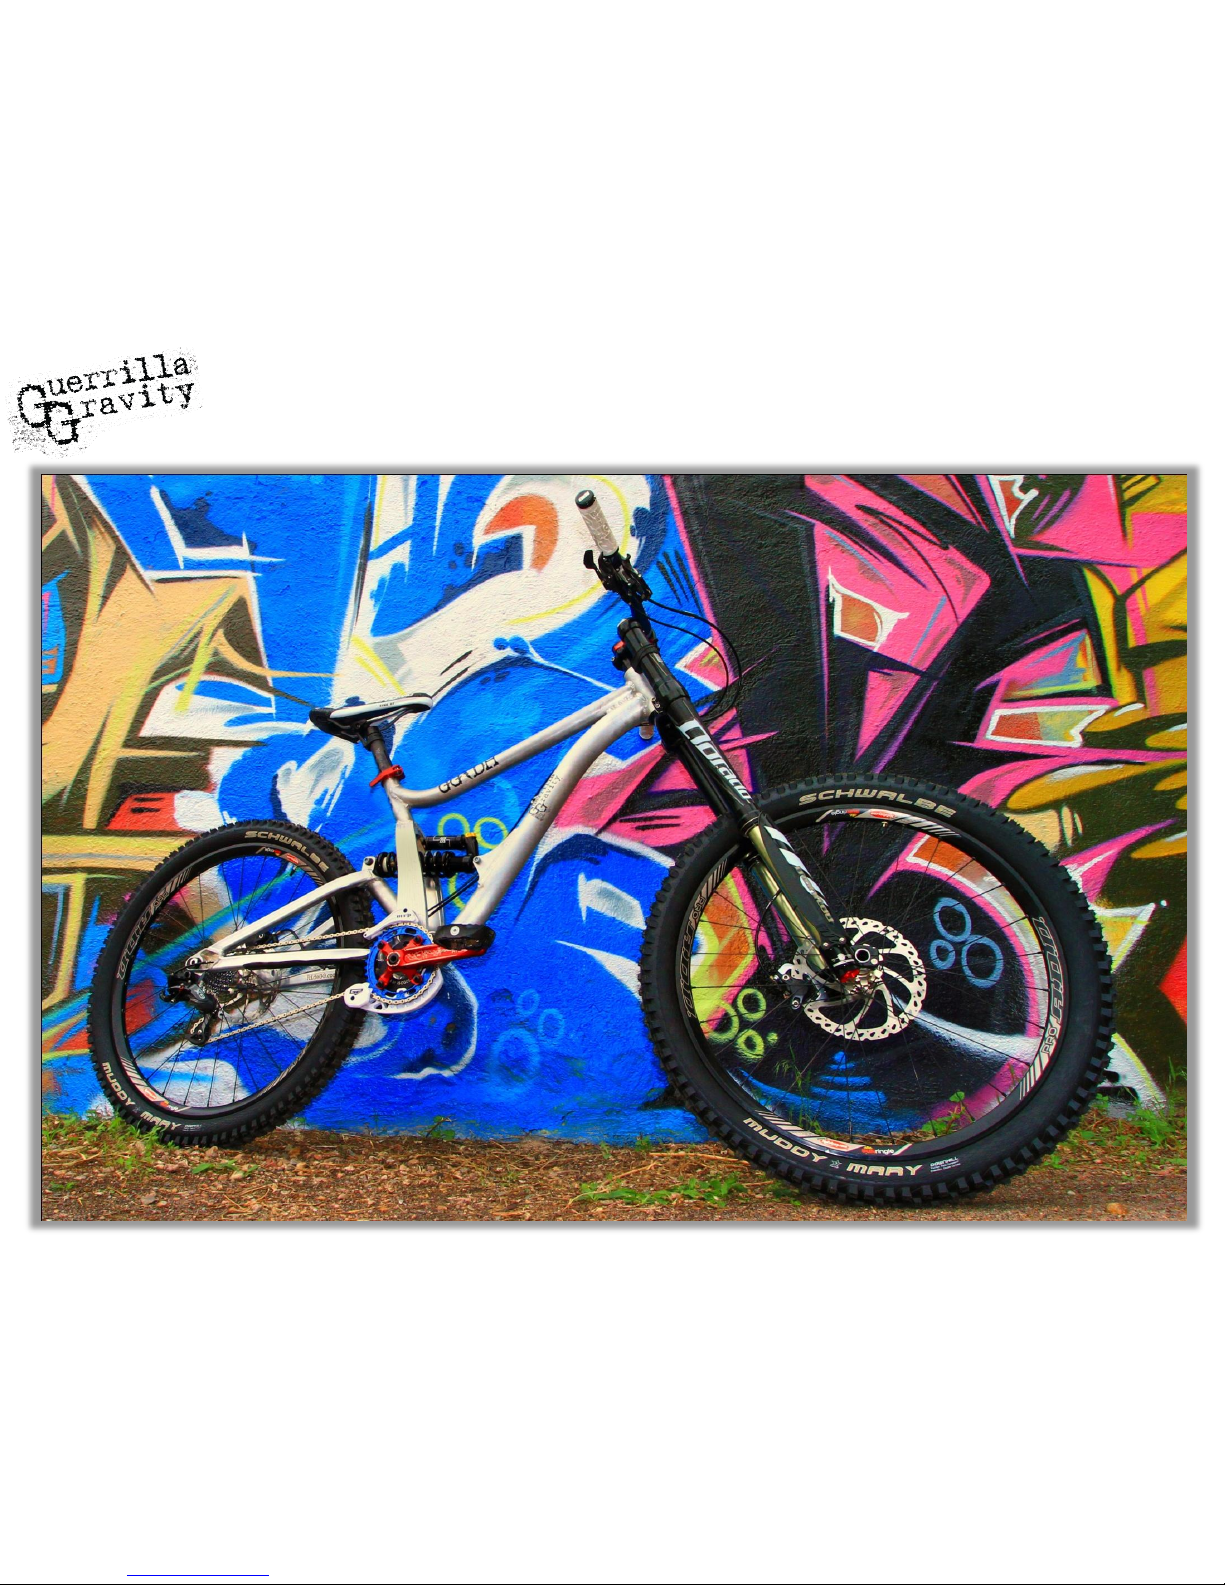
Hell yeah!
You just bought one of the first Guerrilla Gravity bikes!
First things first, thank you for supporting us and supporting
American manufacturing. As we’re sure you’re already
aware, you’re pretty awesome.
Now, we have a few important points to cover.
We have structured this owner’s manual to include the
information we feel is the most important for your ownership
of the GG/DH to come first and have left everything the
Consumer Product Safety Commission dictates we must
include at the end.
Details on the GG/DH Beta prototypes
and owner expectations
Frame adjustments
- Seatpost height
- Chainstay length and derailleur hanger
- Bottom bracket height and head angle
Bearing and pivot axle assembly
Recommended maintenance
Warranty
Required CPSC info
Table of Contents
The GG/DH Betas are an intermediary prototype designed to be a pre-
production validation. We have taken everything that we learned from the
Alpha prototypes and improved the frames in regards to ease of ownership,
frame strength, and its fabrication processes to eliminate imperfections.
While we have taken all precautions to make sure the bikes are production
quality, please keep in mind that there may be imperfections still and that’s
why they are a below-cost, limited-quantity prototype batch.
As Beta riders, we are looking to you for feedback on what you think can be
improved. Anything on the frame is up for discussion. Our aim is to make
the GG/DH a frame that performs as well as, or better than, the best frames
on the market, yet is easier to maintain and own than any other. So, as you
ride your GG/DH Beta, think about any ride characteristics that could be
improved. And, as you maintain your bike, ask yourself if anything you’re
doing could be made easier. With your feedback, we think the GG/DH will
be the best downhill and park bike on the market!
GG/DH Beta prototype details and
owner expectations
Frame adjustment
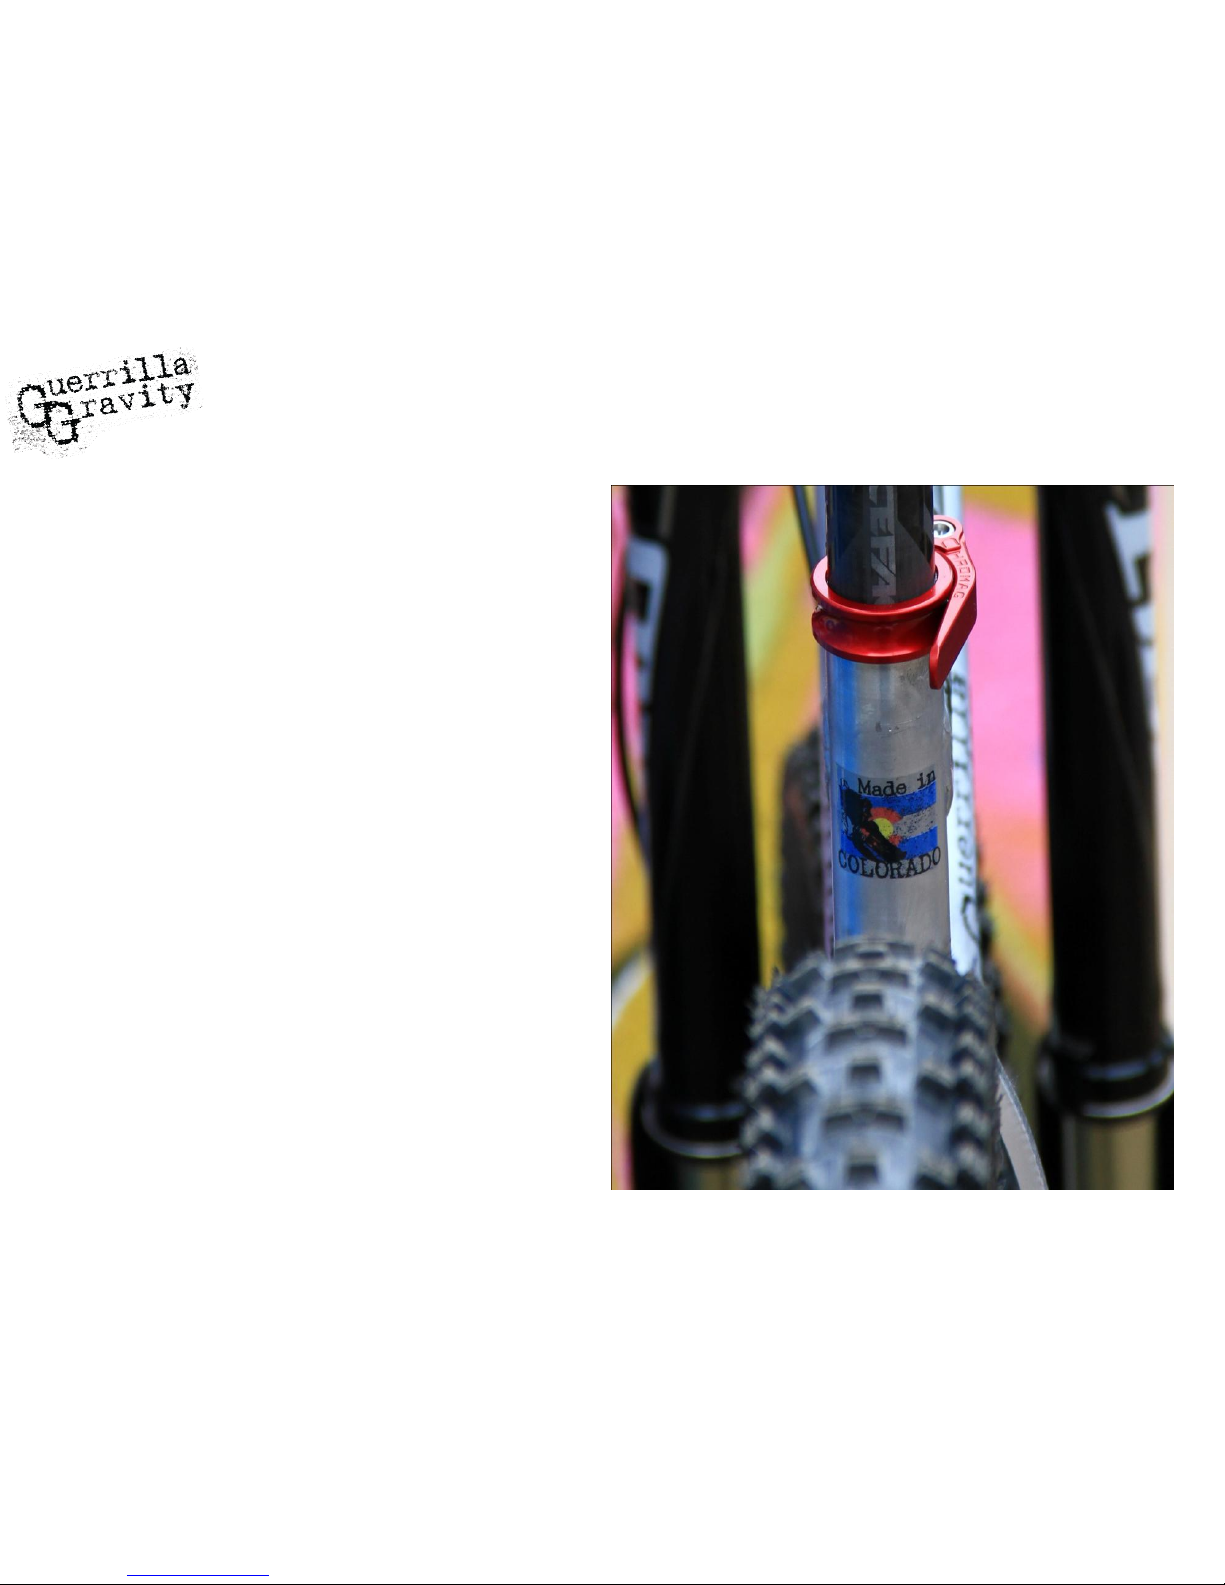
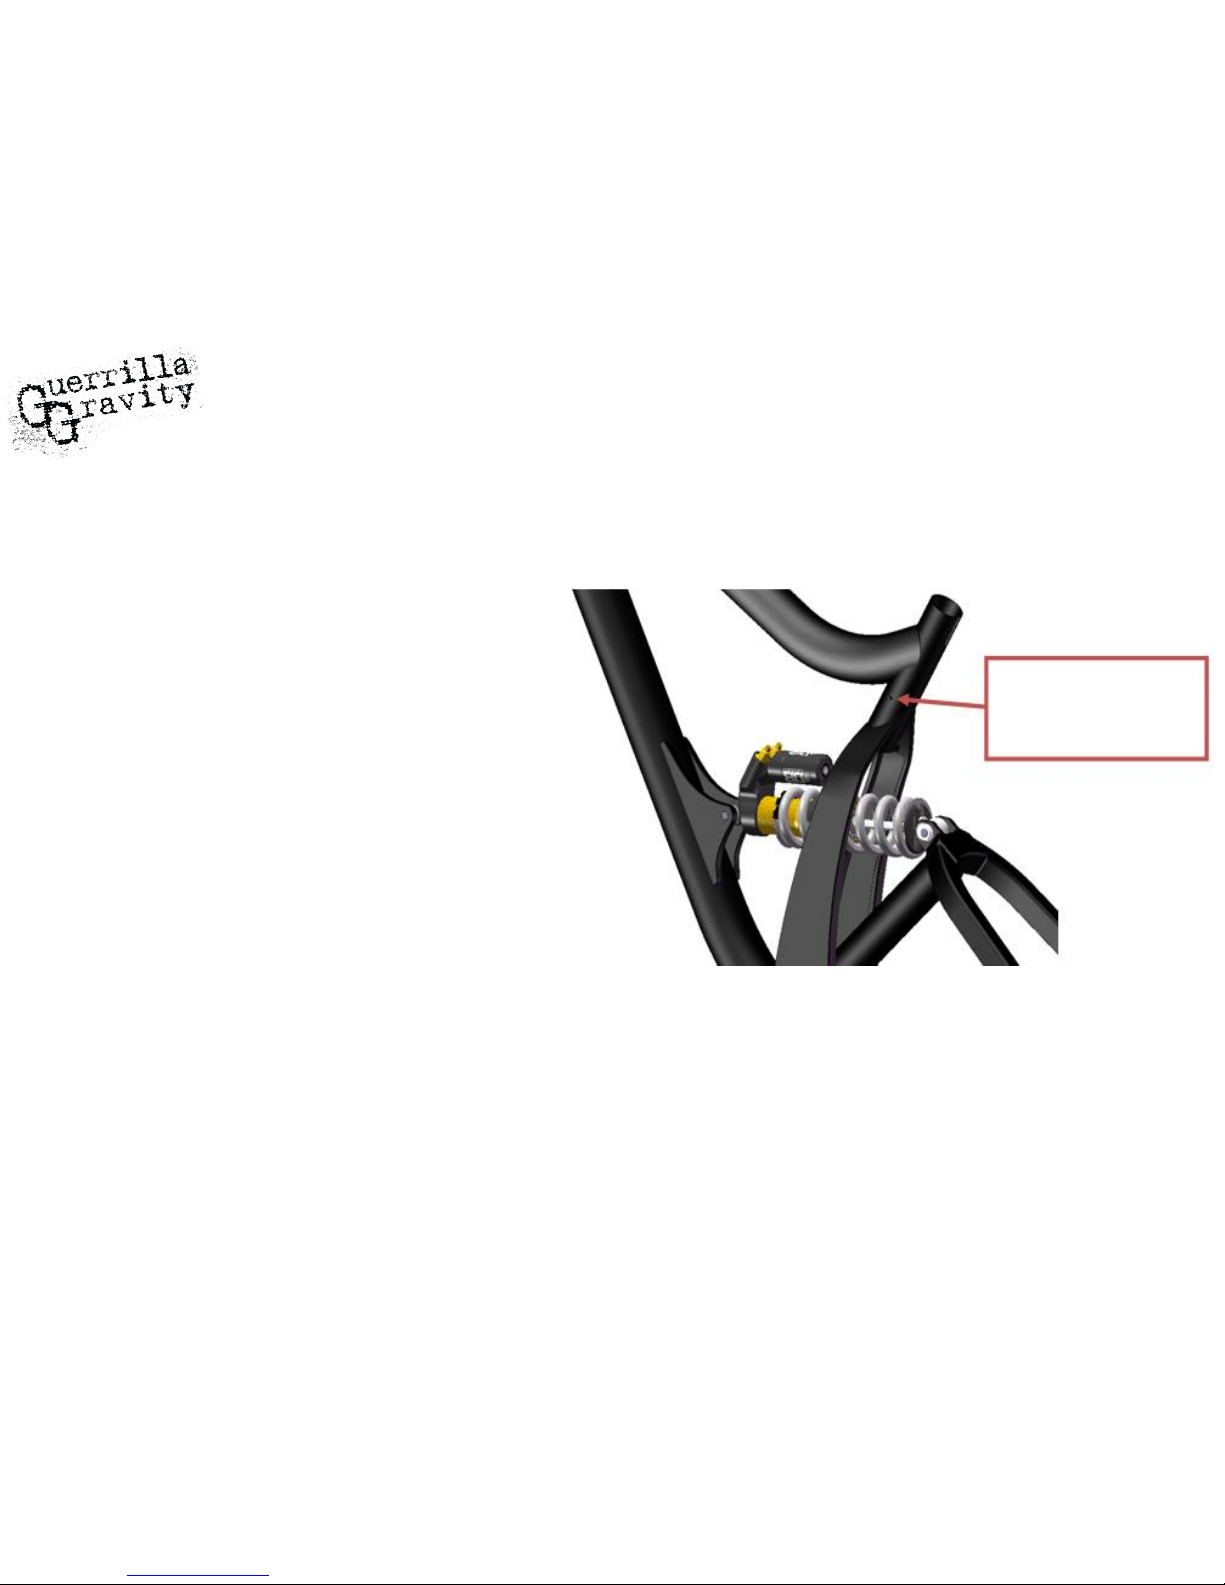
Seatpost height
Please note that there is a maximum
seatpost height adjustment. The
seatpost must be visible in the
viewhole drilled into the non-drive
side of the seat tube. If you cannot
see the seatpost through this hole, it
is too high and you are at risk for
doing catastrophic damage to your
GG/DH frame and possibly yourself,
as well.
*Always make sure that anyone else who rides your GG/DH
is also aware of the maximum seatpost height.
Seatpost must
be visible
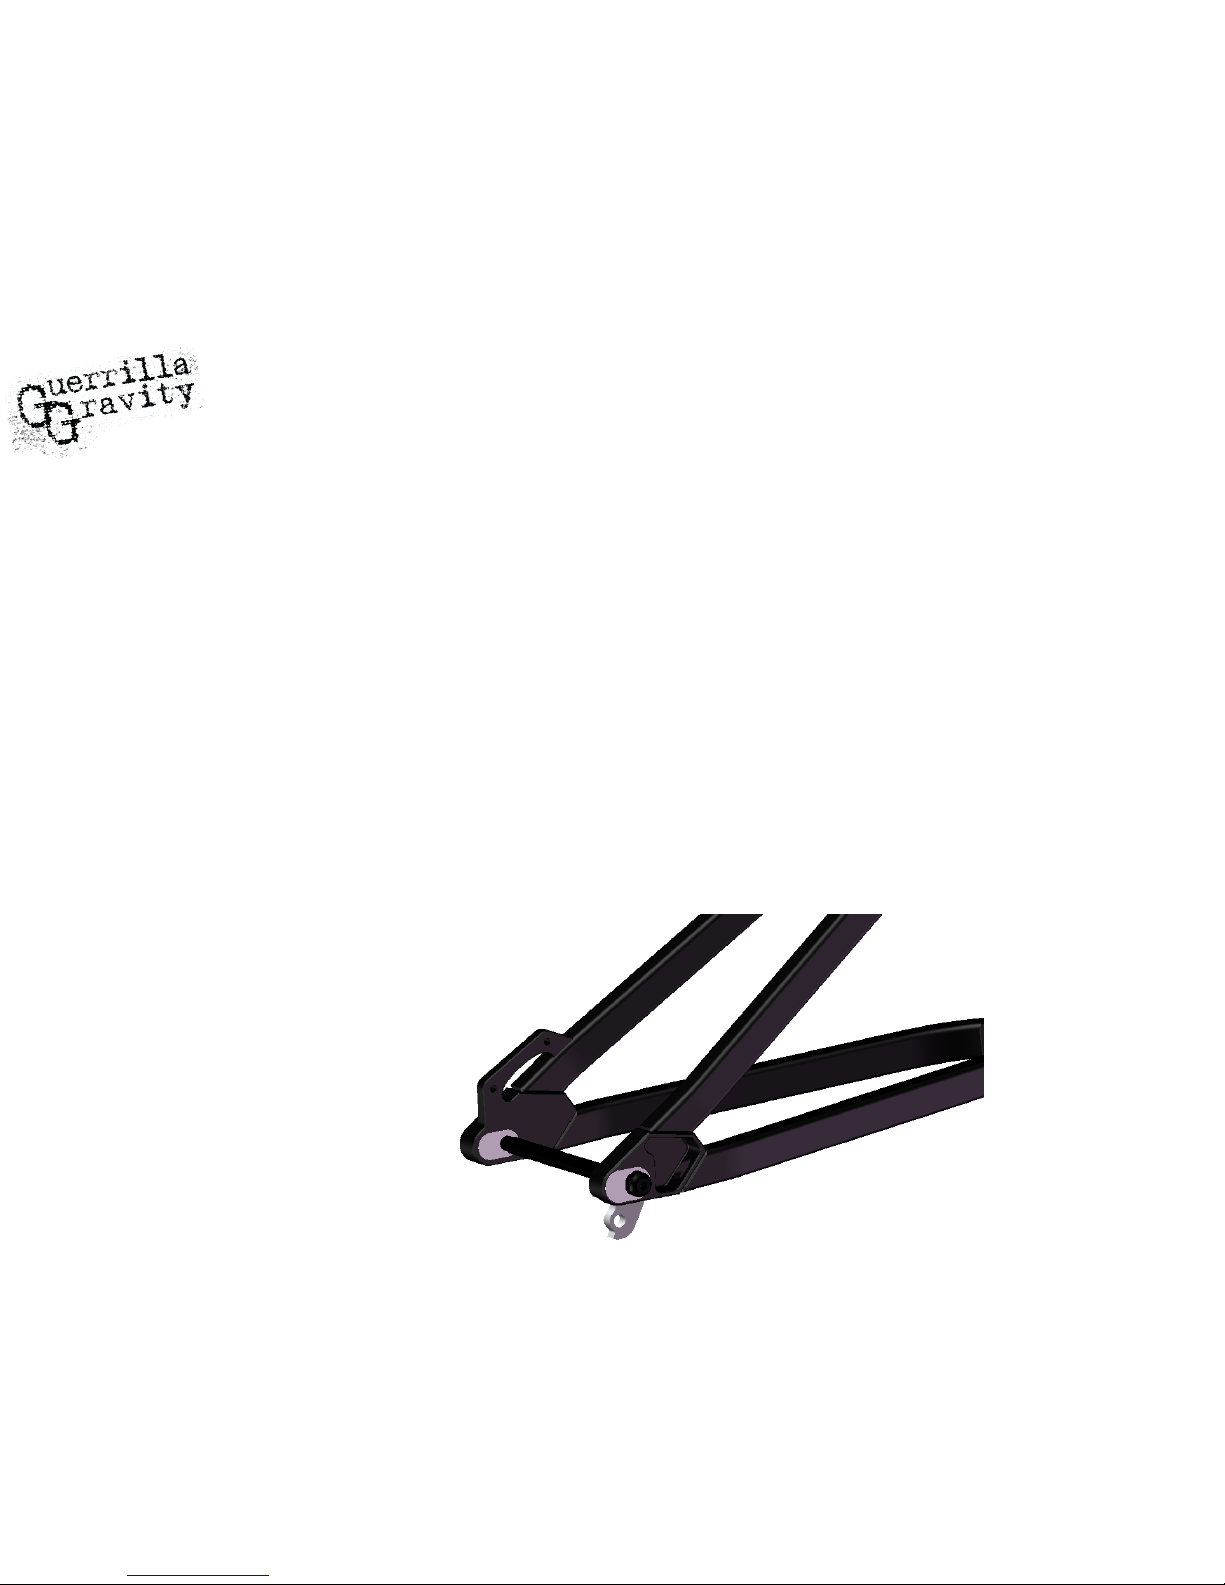
The chainstay length of your GG/DH frame is adjustable between 17” and 17.5” via the axle
mount eccentrics. Whether you should run it in the long setting or short setting is largely
personal preference. For general guidelines, though, run it in the shorter setting if you’re a
shorter rider, like a “snappier” rear end, ride tight, technical trails, or like the frontend of the bike
to pop up more easily. Run the longer setting if you’re a taller rider, prefer to ride more rearward
on the bike, or prefer a more stable platform for high-speed trails.
Our aim was to make the adjustment easy enough so that it is easy to experiment with, finding
the setting that’s right for you, and so that it’s easy to adjust based on the type of trails you may
be riding that particular day.
Frame adjustment
Chainstay length and derailleur hanger
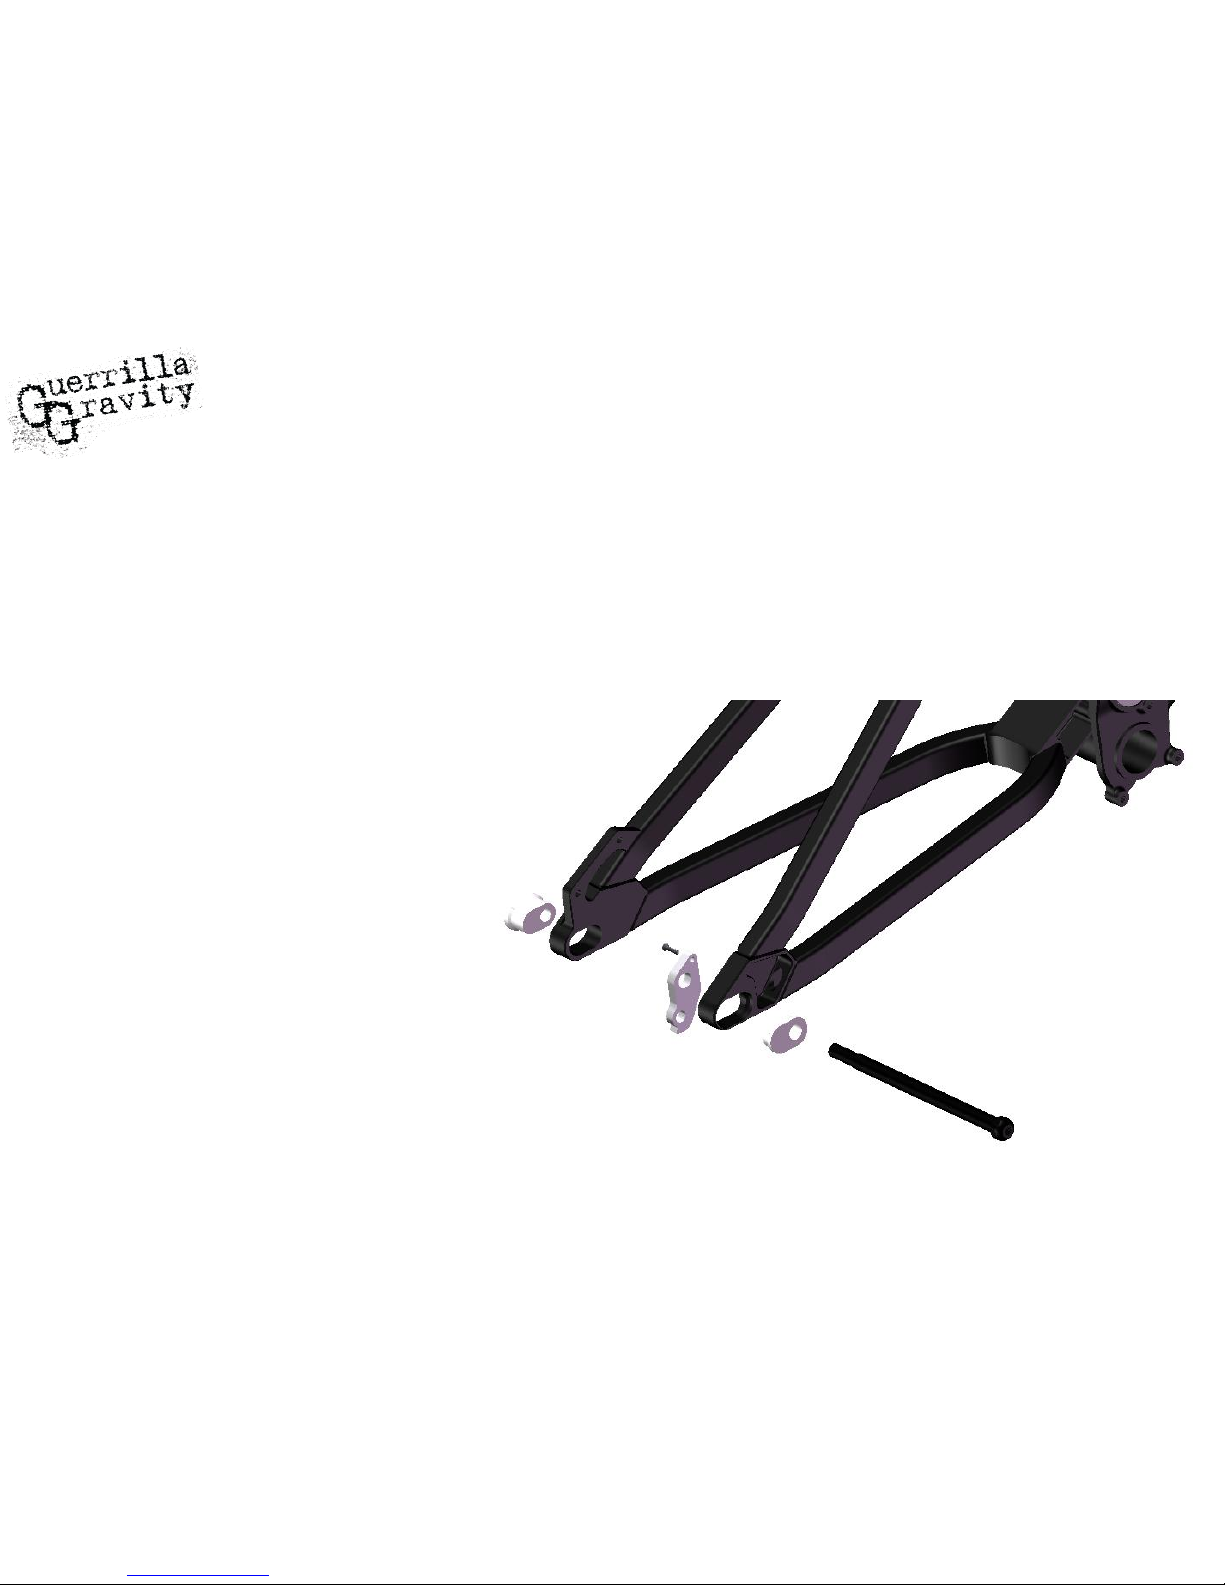
To perform the adjustment:
- Remove the axle with either an 8mm hex
wrench or a 17mm box wrench
- Remove the rear wheel
- Remove the eccentrics from each side; if
they don’t come out easily, tap them with
a mallet and a punch (drift)
- Using a 2 mm hex wrench, remove the
bolt affixing the derailleur hanger and
- Reaffix the derailleur hanger and bolt
fore or aft of its current position to your
desired adjustment
- Reinstall the eccentrics in the new
desired adjustment
- Reinstall the wheel
- Check to make sure that the axle slot is
aligned between the derailleur hanger and
the eccentrics
- Clean, re-grease, and reinstall the axle
Frame adjustment
Chainstay length and derailleur hanger
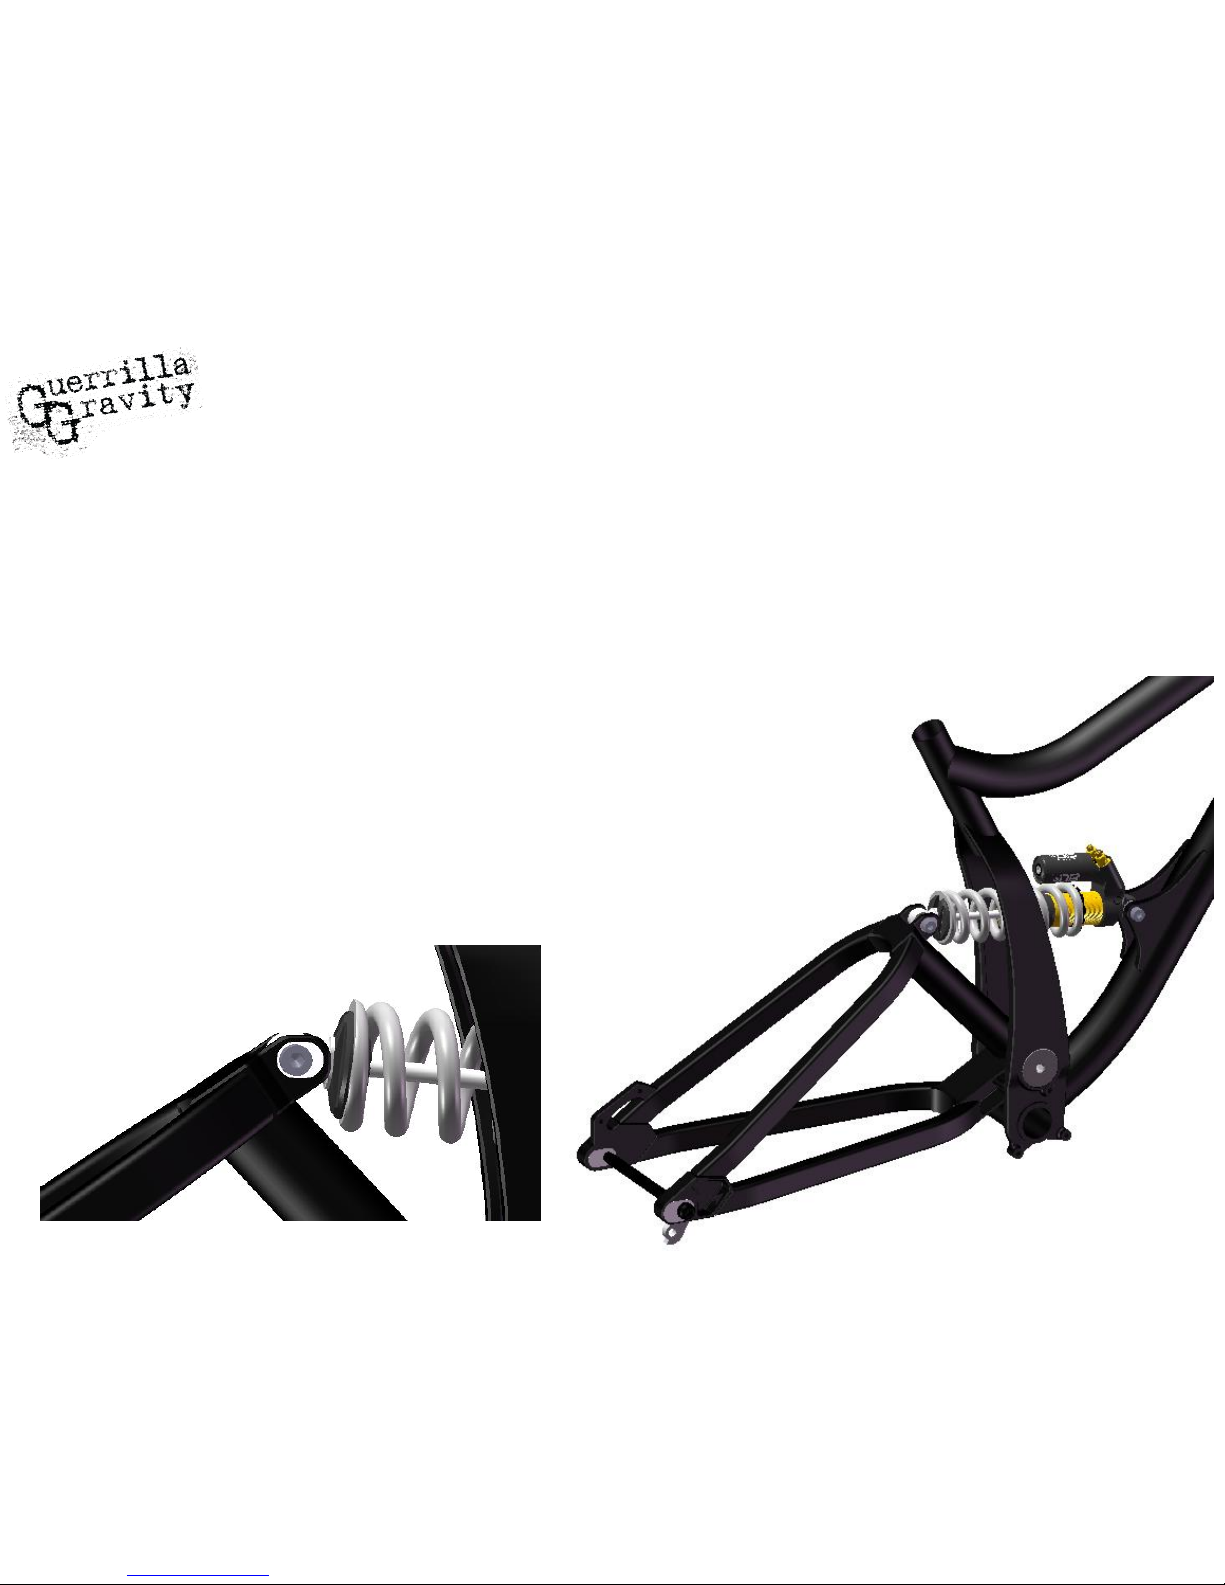
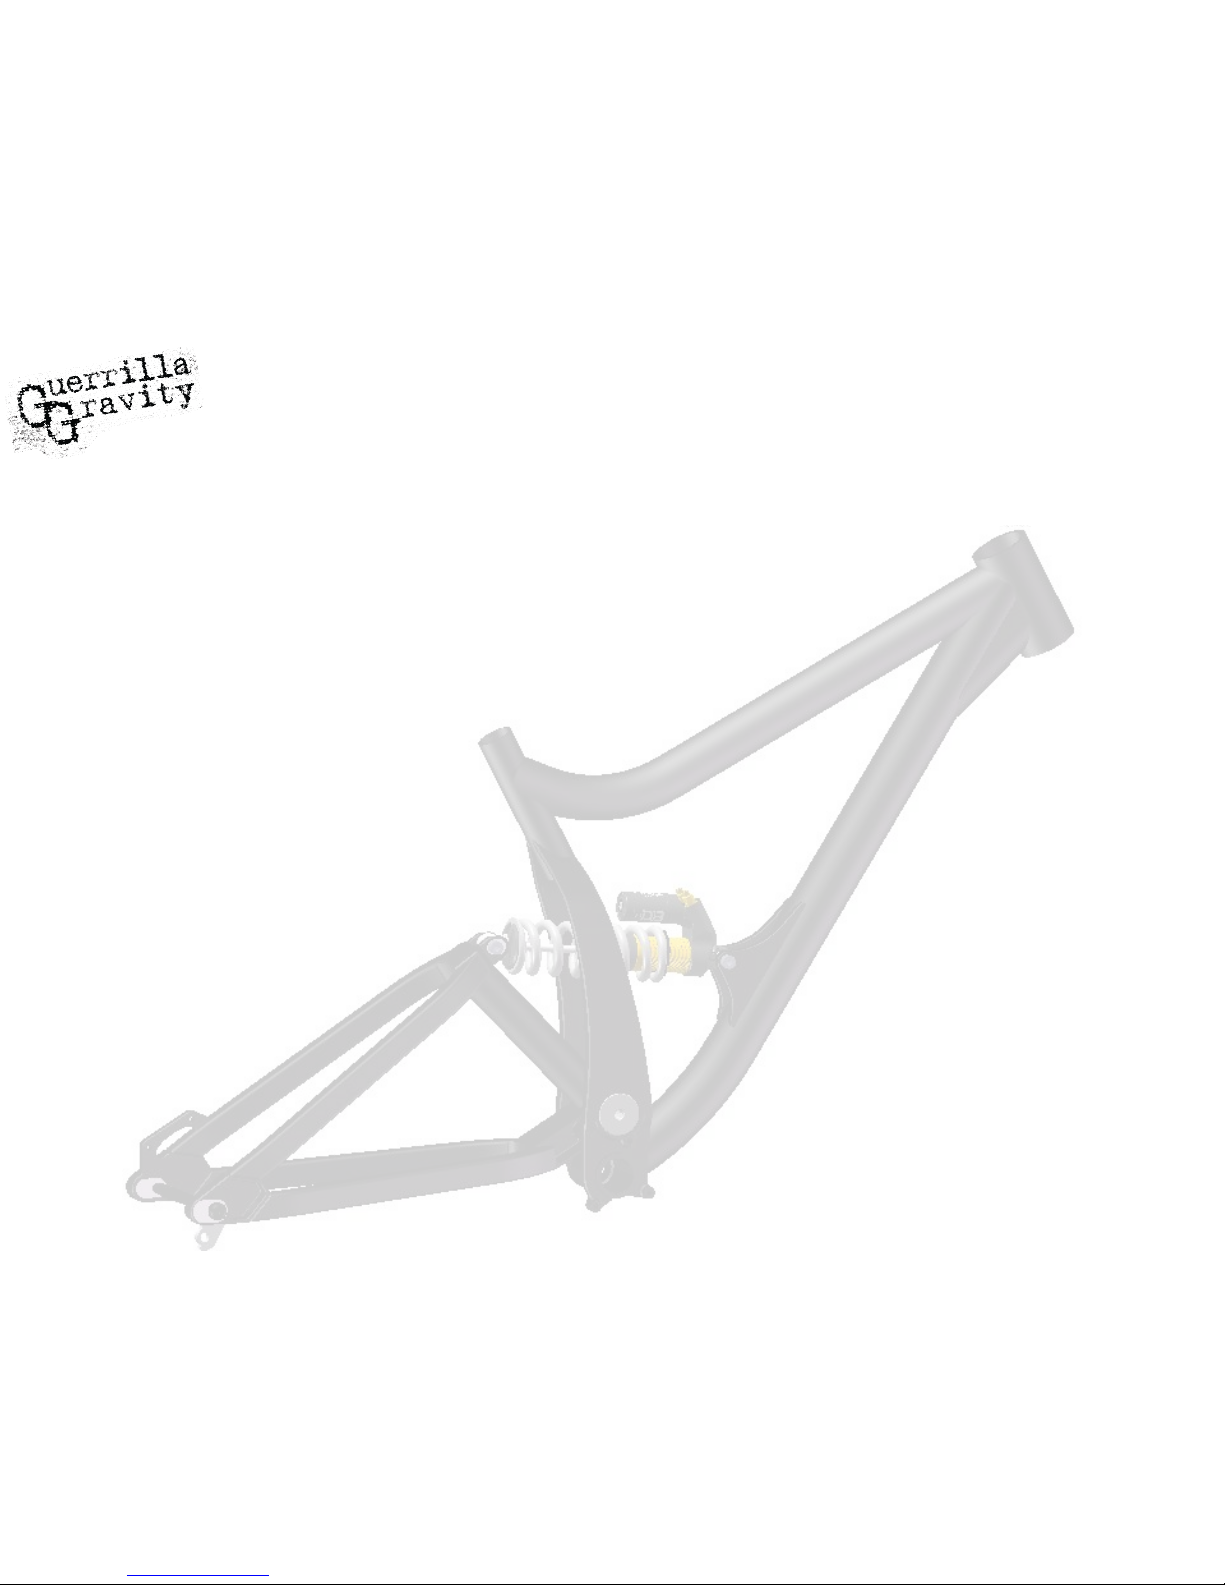
The bottom bracket (BB) and head angle (HA) of your GG/DH frame is
adjustable between the “low/slack” setting with a 13.6” BB height and 63.5°
HA and “tall/steep” setting with a 14” BB height and 64.2° HA.
Similar to the chainstay adjustment, the setting that’s right for you is largely
personal preference, but there are some general guidelines that can help you
choose the right setting for trail conditions. For steeper trails, the slack HA in
the “low/slack” setting will be beneficial. The lower BB height in this setting
will also help to get your center-of-gravity lower for better cornering
characteristics. The “tall/steep” setting will be better for trails that are not very
steep and trails that have larger rocks for which the additional pedal and BB
clearance will help you avoid strikes with the rocks.
Frame adjustment
BB height and head tube angle
Low/Slack Setting
 Loading...