

Guangzhou GTD Lighting Technology Co., Ltd. TUNGDOU TD-LMZ 3019 User Manual

LED Moving Head
TD-LMZ 3019
User’s Manual
Guangzhou GTD Lighting Technology Co., Ltd.
Tel: +86-20-61808296
Fax: +86-20-61812282
http://www.gtd-lighting.com

TD-LMZ 3019 User Manual
2
© 2017 GTD all rights reserved. Information, specifications, diagrams, images, and instructions herein are subject to
change without notice. GTD logo and identifying product names and numbers herein are trademarks of GTD. Copyright
protection claimed includes all forms and matters of copyrightable materials and information now allowed by statutory or
judicial law or hereinafter granted. Product names used in this document may be trademarks or registered trademarks of
their respective companies and are hereby acknowledged. All non-GTD brands and product names are trademarks or
registered trademarks of their respective companies.
GTD and all affiliated companies hereby disclaim any and all liabilities for property, equipment, building, and electrical
damages, injuries to any persons, and direct or indirect economic loss associated with the use or reliance of any
information contained within this document, and/or as a result of the improper, unsafe, insufficient and negligent
assembly, installation, rigging, and operation of this product.
Guangzhou GTD Lighting Technology Co., Ltd. | 27 Fu Yuan Yi Road, Guangzhou 510805, P.R.China
+86-20-61808296| +86-20-61812282 fax | www.gtd-lighting.com | contact@gtd-china.com

TD-LMZ 3019 User Manual
3
Contents
Safety instructions ...................................................................................................................................................................... 4
General guidelines ...................................................................................................................................................................... 5
Packing and shipping .................................................................................................................................................................. 6
Unpacking ....................................................................................................................................................................................... 6
Packing after use............................................................................................................................................................................. 6
Accessories ................................................................................................................................................................................. 6
Product introduction .................................................................................................................................................................. 7
Installation ................................................................................................................................................................................. 7
Clamps installation ......................................................................................................................................................................... 7
Device installation .......................................................................................................................................................................... 7
Power / Control connection ....................................................................................................................................................... 8
Power connection ........................................................................................................................................................................... 8
Control connection ......................................................................................................................................................................... 8
Testing ............................................................................................................................................................................................ 9
Control panel .............................................................................................................................................................................. 9
Menu structure ........................................................................................................................................................................ 10
DMX protocol ........................................................................................................................................................................... 12
Technical specification ............................................................................................................................................................. 21
Cleaning and maintenance ....................................................................................................................................................... 20
Troubleshooting ....................................................................................................................................................................... 22
System wiring diagram ............................................................................................................................................................. 23
Spare parts list ......................................................................................................................................................................... 24
Appendix 1 ............................................................................................................................................................................... 24
TD-LMZ 3019 User Manual
4
Safety instructions
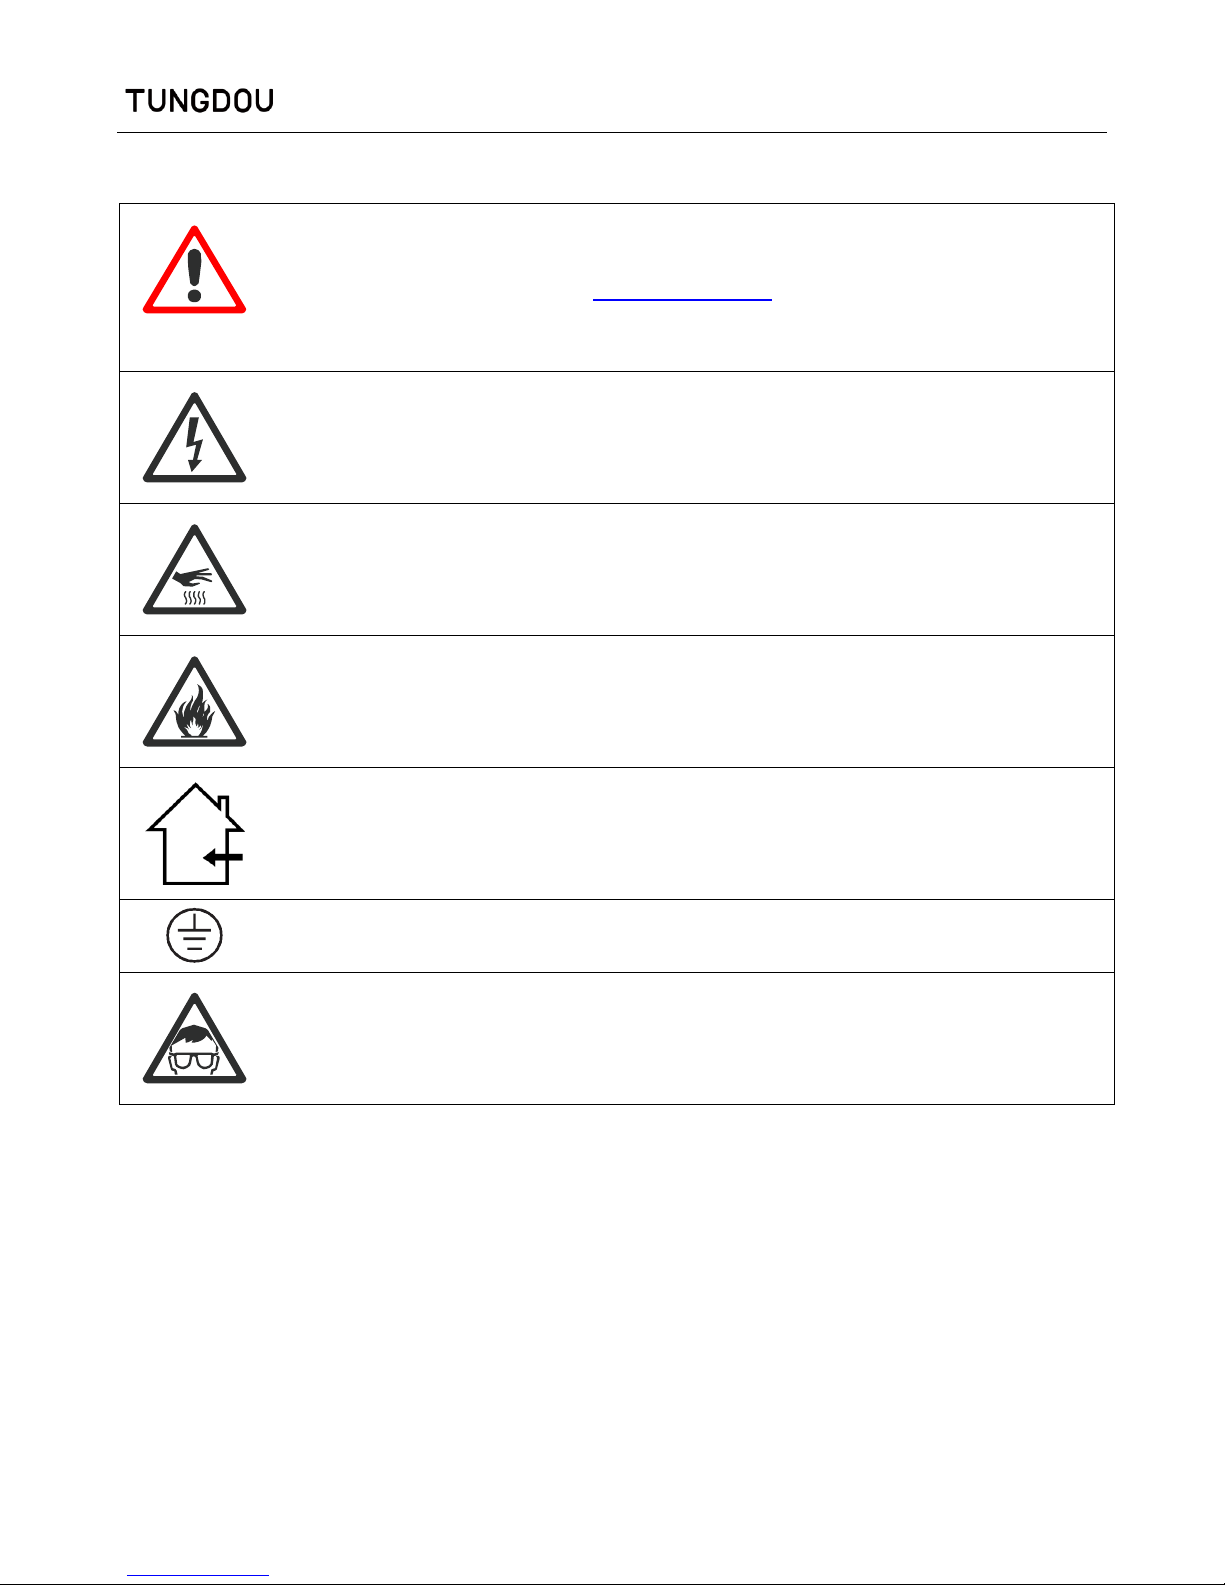
WARNING!
Before using the fixture, read the latest version of the product user manual, paying particular attention
to the safety instructions. Please check www.gtd-lighting.com for the latest revision/update of the user
manual. The manufacture of this fixture, are not responsible for damages, resulting from misuse of this
fixture, due to the disregard of the information printed in this user manual.
DANGER!
Hazardous voltage. Risk of lethal or severe electric shock.
WARNING!
Burn hazard. Hot surface. Do not touch.
WARNING!
Fire hazard.
INDOORS USE ONLY!
Do not expose fixture for rain and moisture.
It’s essential that the fixture is properly grounded. Only qualified personnel should perform electrical
connections.
WARNING!
Wear protective eyewear. Never look directly into the light source.
Only qualified and certified personnel should perform installation of this fixture and only the original rigging parts
(brackets) included with this fixture should be used for installation.
Before applying power to the fixture, check that the source voltage matches the fixture's requirement. Every fixture
must be earthed (grounded) and installed in accordance with local electricity regulations. Do not connect it to a
dimmer system.
Never look directly into the light source of this fixture to prevent risk of injury to your retina, which may induce
blindness.

TD-LMZ 3019 User Manual
5
General guidelines
Never open this fixture while in use.
The fixture should be kept clean. DO NOT operate the fixture in extreme heat or dusty environments. Avoid contact
with chemical liquid.
This fixture is a professional light effect designed for INDOOR / DRY LOCATIONS ONLY on stage, in nightclubs,
theatres, etc.
Minimum distance to lighted objects must be 3.28feet (1m).
Maximum temp of the external surface 158˚F (70˚C).
Maximum ambient temperature 113˚F (45˚C).
Minimum distance of inflammable materials from the surface 1.6 feet (0.5m).
LED lamp should be changed if damaged or distorted in shape due to extreme heat.
Cover, prism or LCD Menu Function Display with visible damages such as cracks or scratches must be replaced to
ensure performance of the fixture.
Disconnect the fixture from power before changing any parts or accessories.
Make sure that the installation area can hold a minimum point load of 10 times the weight of all installed fixtures,
clamps, cables, auxiliary equipment, etc. Check that the cover, clamps and locks are undamaged. Certified safety
cables must always be used when installing the fixture.
The fixture is only intended for installation, operation and maintenance by qualified professional. Instructions
stated in the manual must be complied.
The fixture must be kept in a well-ventilated place at least 50 cm away from any wall surface. Check if the fans or
ventilation openings are unblocked.
Broken or damaged cables can only be fixed or changed by certified technicians, certified local distributors or the
manufacturer to ensure operational safety.
Do not stick filters or other materials onto the lens. Do not modify the fixture or install other than GTD
manufactured parts.
For questions regarding safety operation, please contact our technical personnel or call the service hotline +8620
61808296.
TD-LMZ 3019 User Manual
6
Packing and shipping
Unpacking
Notes
All products are quality controlled and checked for any faults before they are dispatched to customers. If the fixture is
damaged during delivery, the customer must notify the shipper and manufacturer to file a damage insurance claim.
Photographic evidence of the damage must be provided.
Flight-Case
Open the cover of the flight-case and remove the plastic packing bags. Hold the handles of the fixture firmly and take it
out carefully.
Cardboard box
Open the box and take out the whole set of packaging foam which contains both the fixture and its accessories. Remove
the foam from the top, put away the accessories, and then take out the fixture wrapped in the plastic bag.
Packing after use
1. Switch off the fixture and wait for at least 5 minutes before disconnecting it from AC power. Cool down the fixture for
at least 15 minutes before packing.
2. Flight case: Wrap the fixture in plastic bags. Hold it by the handles, and then carefully place it inside the flight case
along with all the accessories. Close the cover. Do not upside down.
Cardboard box: Wrap the fixture in plastic bags. Put it in the packaging foam along with all the accessories. Place the
other set of packaging foam on top then carefully put it inside the cardboard box.
Accessories
Item
Qty
Unit
Notes
User Manual
1
pc
Clamp 1 set
G-clamp with 1/4-turn fasteners, for Ø 42-52mm, Max. 200 kg
safety cable
1
pc
Ø 3*8cm, with the hook , steel wire
Three-core waterproof
power adapter-Female
1
pc
0.5*2.5mm ²,Rubber, IP67
Signal Line
1
set
5m
Notes
Accessories are subject to change without any prior written notice.
TD-LMZ 3019 User Manual
7
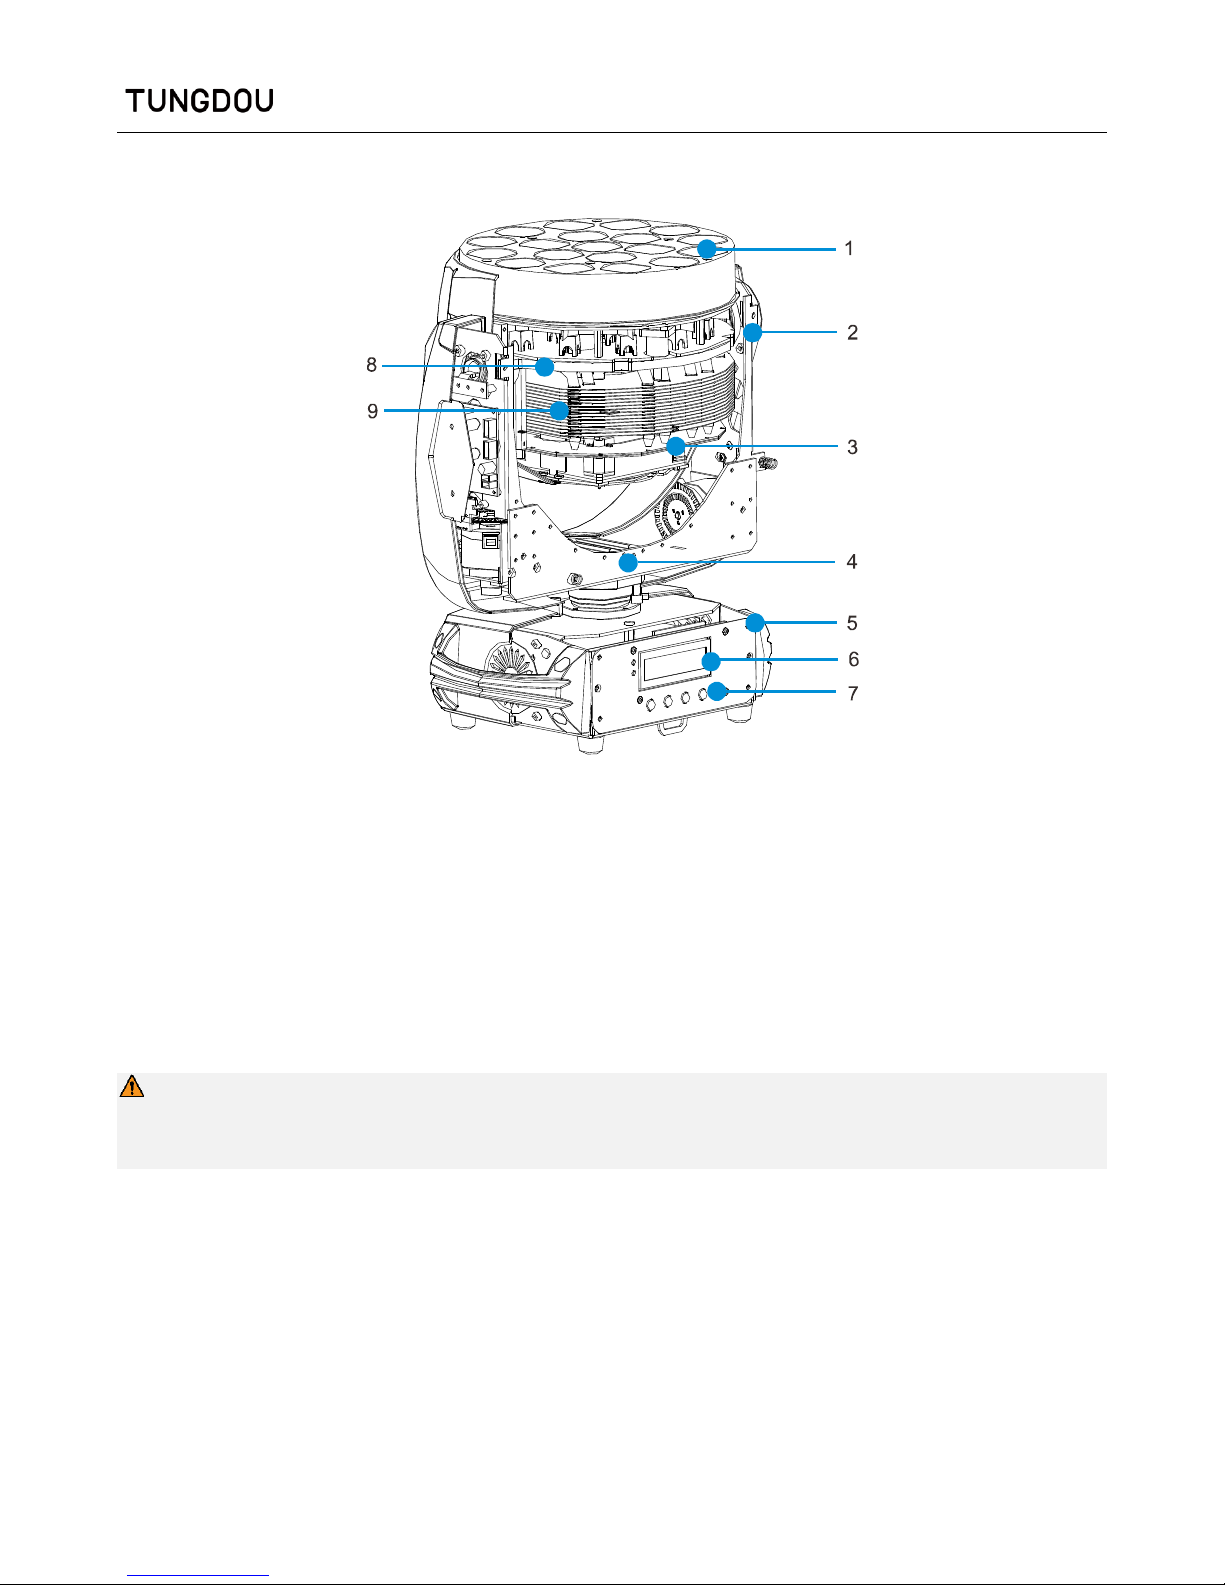
Product introduction
1 Lens
2 Tilt
3 Driver board
4 Pan
5 Base
6 LCD display screen
7 MENU, UP, DOWN, ENTER buttons
8 Copper substrate
9 Radiator
Installation
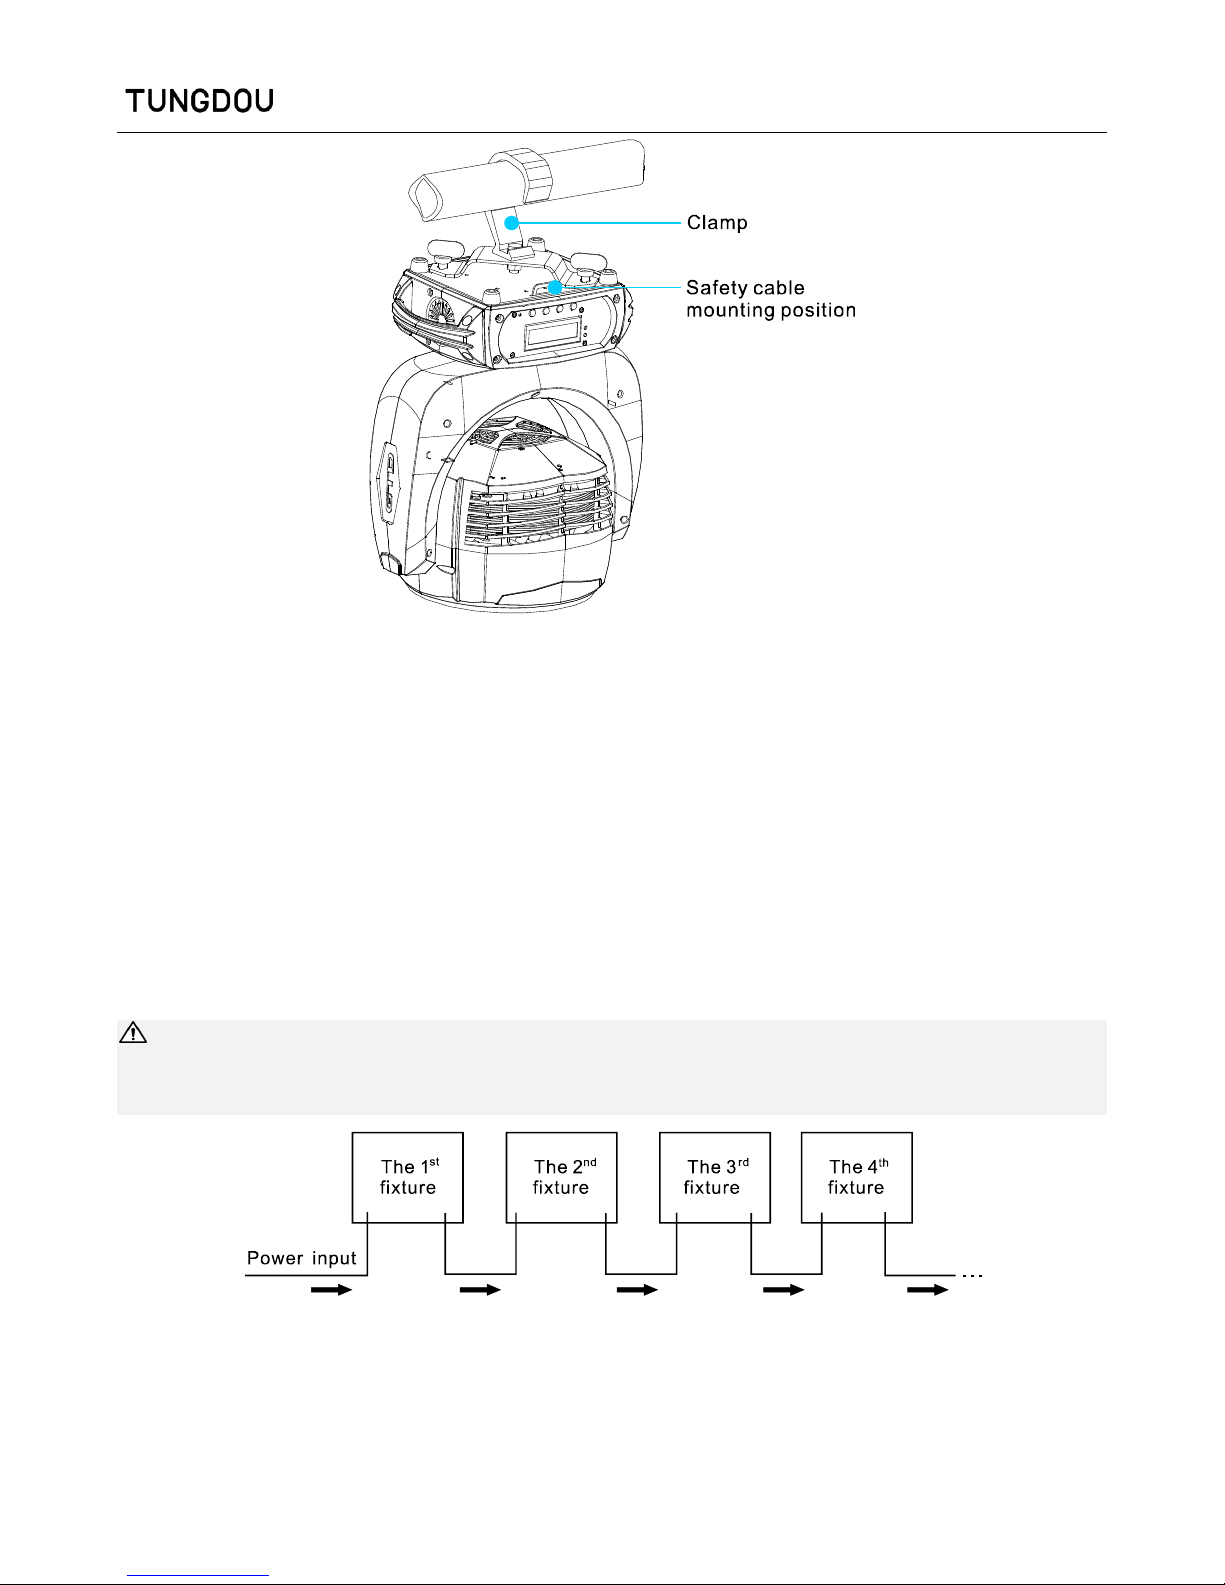
Clamps installation
The fixture can be placed on the stage or mounted on the truss facing any direction. Attach the clamp to the mounting
position on the base of the fixture.
Warning
Use one clamp when mounting the fixture. Turn the screws attached to the clamp to lock. Always remember to use the
safety cable which goes through the mounting hole on the base. Do not attach the safety cable on the handle.
Device installation
1. Make sure there is no damage on the clamps or safety cables before installation.
2. The clamp is mounted on the base of the fixture. Horizontally insert the clamp into the mounting holes of the chassis.
Fasten the clamp tightly.
TD-LMZ 3019 User Manual
8
Power/ Control connection
Power connection
Connection method:
L (Live) Brown wire
E (Earth) Yellow / Green bi-color wire
N (Neutral) Blue wire
The voltage and frequency of the power source must be in compliance with the ones marked on the fixture. Please
apply series connection when many sets of fixtures are connected to the power source to avoid heavy load to the
power source. When the voltage is 100V, maximum 2 sets of fixtures could be allowed in each series connection.
When the voltage is 240V, maximum 4 sets of fixtures could be allowed in each series connection. Another series
connection should be set up for extra fixtures.
Notes
It is essential that each fixture is correctly grounded and the electrical installation conforms to all relevant Standards /
Codes of Practice for Safe Electrical Work.
Control connection
The fixture has 5-pin XLR connectors for DMX data input and output (3-pin optional) as shown below. Connection between
the console and fixture, and between fixtures must be made with 2 core screened DMX signal cable. Maximum connecting
distance of signal cable is 150 meters. Additional DMX512 signal-amplifier are recommended for longer distance.
 Loading...