

Page 1
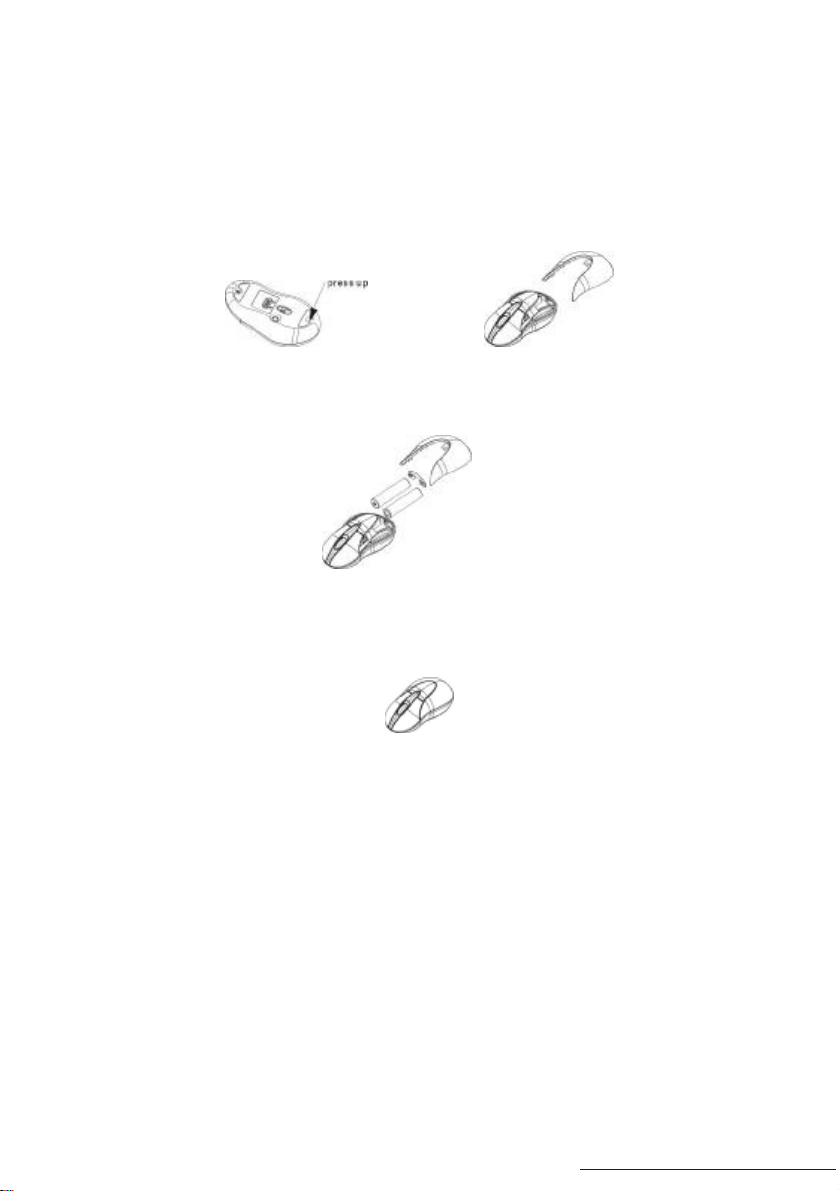
BATTERY INSTALLATION
1. Press and hold the bottom release tab as you slide the
top cover off. (Fig. 1)
Fig. 1
2. Insert two AAA alkaline batteries. (Fig.1-2)
Fig. 2
3. Replace the top cap and close it.
Fig. 3
! CAUTION:
· Be sure to check polarity (+ or – sign) and insert battery
properly.
· Make sure battery type is AAA alkaline (1.5V).
· Remove the batteries if mouse will not be in use for a
long time.
· Each time you replace the batteries, repeat the mouse
setup by following the “setup for linkage” (Fig. 5)
PDF created with FinePrint pdfFactory trial version http://www.fineprint.com
Page 2
HARDWARE INSTALLATION
1. Shut down the computer.
2. Connect the receiver either directly to the USB port
on the PC.
3. Turn on the PC.
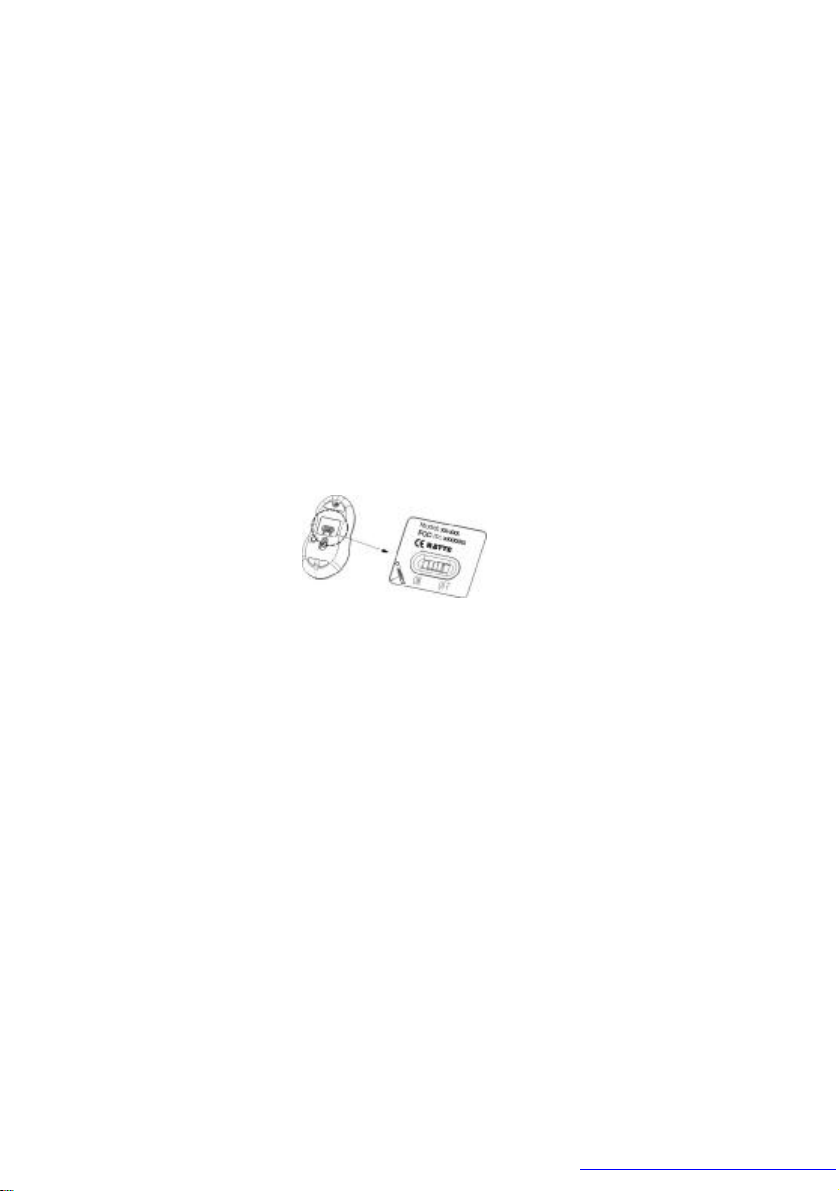
4. Switch on the power of the wireless mouse located
on the backside of the mouse. (Fig. 4)
! CAUTION:
· While traveling, please switch off the unit to save
battery power. (Fig. 4)
Fig. 4
DRIVER INSTALLATION
1. Insert the installation CD into your CD_ROM drive.
2. The CD should automatically load the installation.
Follow through the on-screen instructions to
complete the installation.
3. When the setup is complete, the system will restart
automatically. It will show a mouse icon in the
bottom right-hand corner of the screen.
! CAUTION:
Some computers running Windows 98 will require
insertion of the Windows 98 CD to finish the installation
of the driver.
PDF created with FinePrint pdfFactory trial version http://www.fineprint.com
Page 3

ID SETUP
1. Aim the front point of the mouse at the receiver.
2. IMPORTANT: FISRT, PRESS THE CONNECT
BUTTON OF THE MOUSE; THEN PRESS THE
CONNECT BUTTON OF THE RECEIVER (Fig. 5).
Fig. 5
3. When the connect button of the receiver is pressed,
the LED inside the receiver will light. As soon as the
linkage is completed, the LED will go off.
4. The setup must be completed within one minute. If
setup time exceeds one minute, repeat procedure.
BUTTON FUNCTION SETUP
1. Start the setup from the Control Panel or directly
click on the mouse icon at the bottom right corner of
the screen. It shows the following functions:
-Button: set up for either right or left hand, and adjust
the speed.
-Wheel: set up the functions for hotkeys and
zooming.
-Motion: set up the speed of the mouse pointer.
2. After the function is set up, press “ Yes” to store the
PDF created with FinePrint pdfFactory trial version http://www.fineprint.com
Page 4

new setup.
SETUP FOR MULTI-USERS
When using more than one Mini Wireless Optical Mouse
in the same location, set up one mouse at a time. You
must complete the setup for each mouse before beginning
the next.
ENVIRONMENT
To avoid environmental interference, which will shorten
the effective operation distance, please note the
following:
1. Do not put the mouse and receiver on a metal cabinet
or desk. Metal creates RF interference, which may
impair the RF communication and shorten the
communication distance.
2. Keep a distance of more than 1.5m between your
mouse and another operational RF device to avoid
interference.
3. The optical sensor of the mouse will not work
correctly if placed on a mirror, glass, or on any
reflecting or half-tone painted process.
TECCHNICAL SPECIFICATIONS
Works with Windows 98, 2000, Me, or XP
When using Windows 98 and setting up the mouse using
a USB port, you may need your Windows 98 installation
CD.
PDF created with FinePrint pdfFactory trial version http://www.fineprint.com
Page 5

UNINSTALL INSTRUCTION
1. Go to “ Start” then “ Programs” and select “ G-Tech
P74-USB”.
2. You should then see the uninstall option. Left-click
on it.
3. Choose your desired language and click “OK”.
4. Then follow the on-screen instructions to complete
the uninstall.
FCC Compliance and Advisory Statement
This hardware device complies with part 15 of the FCC
Rules. Operation is subject to the following two
conditions: 1) This device may not cause harmful
interference, and 2) This device must accept any
interference received, including interference that may
cause undesired operation. This equipment has been
tested and found to comply with the limits for a class
digital device, pursuant to part 15 of the FCC rules, these
limits are designed to provide reasonable protection
against harmful interference in a residential installation.
This equipment generates, uses and can radiate radio
frequency energy and, if not installed or used in
accordance with the instructions, may cause harmful
interference to radio communications, however, there is
no guarantee that interference will not occur in a
particular installation, if this equipment does cause
harmful interference to radio or television reception,
PDF created with FinePrint pdfFactory trial version http://www.fineprint.com
Page 6

which can be determined by turning the equipment off
and on, the user is encouraged to try to correct the
interference by one or more of the following measures: 1)
Reorient or relocate the receiving antenna; 2) Increase
the separation between the equipment and the receiver; 3)
Connect the equipment to an outlet on a circuit different
from that to which the receiver is connected; 4) Consult
the dealer or an experienced radio/TV technician for help.
Any changes or modification not expressly approved by
the party responsible for compliance could void the user's
authority to operate the equipment. Where shielded
interface cables have been provided with the product or
specified additional components or accessories elsewhere
that is defined to be used with the installation of the
product, they must be used in order to ensure compliance
with the FCC regulation.
Caution: Exposure to Radio Frequency Radiation.
The radiated output power of this device is far below the
FCC radio frquency6 exposure limits Nevertheless, the
device shall be used in such manner that the potential for
human contact normal operation is minimized.
When connecting an external antenna to the device, the
antenna shall be placed in such a manner to minimize the
potential for human contact during normal operation. In
order to avoid possibility of exceeding the FCC radio
frequency exposure limits, human proximity to the
antenna shall not be less than 20cm (8 inches) during
normal operation.
PDF created with FinePrint pdfFactory trial version http://www.fineprint.com
 Loading...