

Page 1
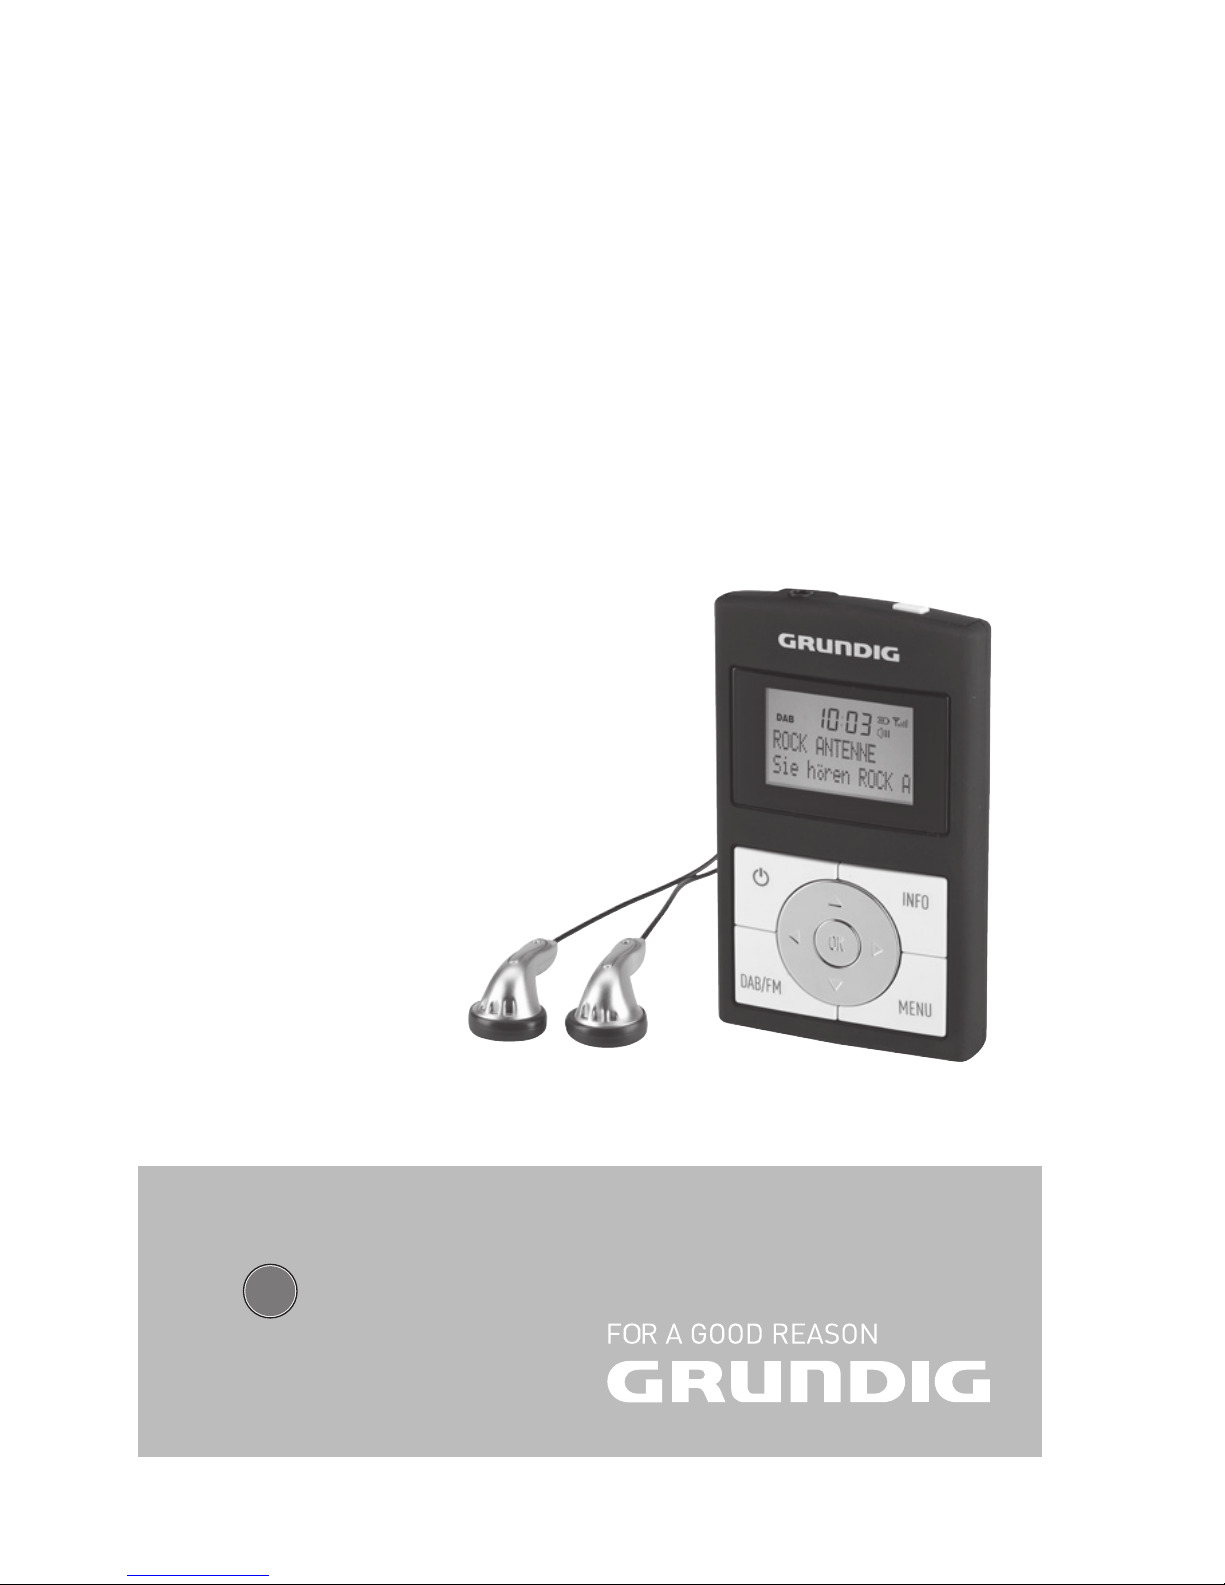
PORTABLE RADIO
Micro 75 DAB+
EN
Page 2

GRUNDIG Kundenberatungszentrum
Haben Sie Fragen?
Unser Kundenberatungszentrum steht
Ihnen werktags stets von
8.00 – 18.00 Uhr zur
Verfügung.
Montag bis Freitag von 8.00 bis 18.00 Uhr
Deutschland: 0911 / 59 059 730
Österreich: 0820 / 220 33 22*
*gebührenpflichtig (0,145 €/Min. aus dem Festnetz,
Mobilfunk: max. 0,20 €/Min.)
Page 3
3
_________________________________
0
8
3
+ –
Display
INFO
MENU
OK
q w
DAB/FM
r e
●
Page 4

4
ENGLISH 5 - 20
_________________________________
Page 5

ENGLISH
5
SAFETY
________________________
■
This device is designed for the playback of audio
signals. Any other use is expressly prohibited.
■
Make sure the device is protected from dripping or
splashing water.
■
Do not place any vessels such as vases on the device. These may be knocked over and spill fluid on
the electrical components, thus presenting a safety
risk.
■
Do not place any naked flames such as candles on
the device.
■
Only use the device in a moderate climate.
■
Do not use any cleaning agent, as this may damage
the casing. Clean the device with a clean, dry cloth.
■
Never open the device casing. The manufacturer will
not accept any liability for damage resulting from
improper handling.
■
Note, prolonged listening at loud volumes
with the earphones can damage your
hearing.
Page 6

ENGLISH
6
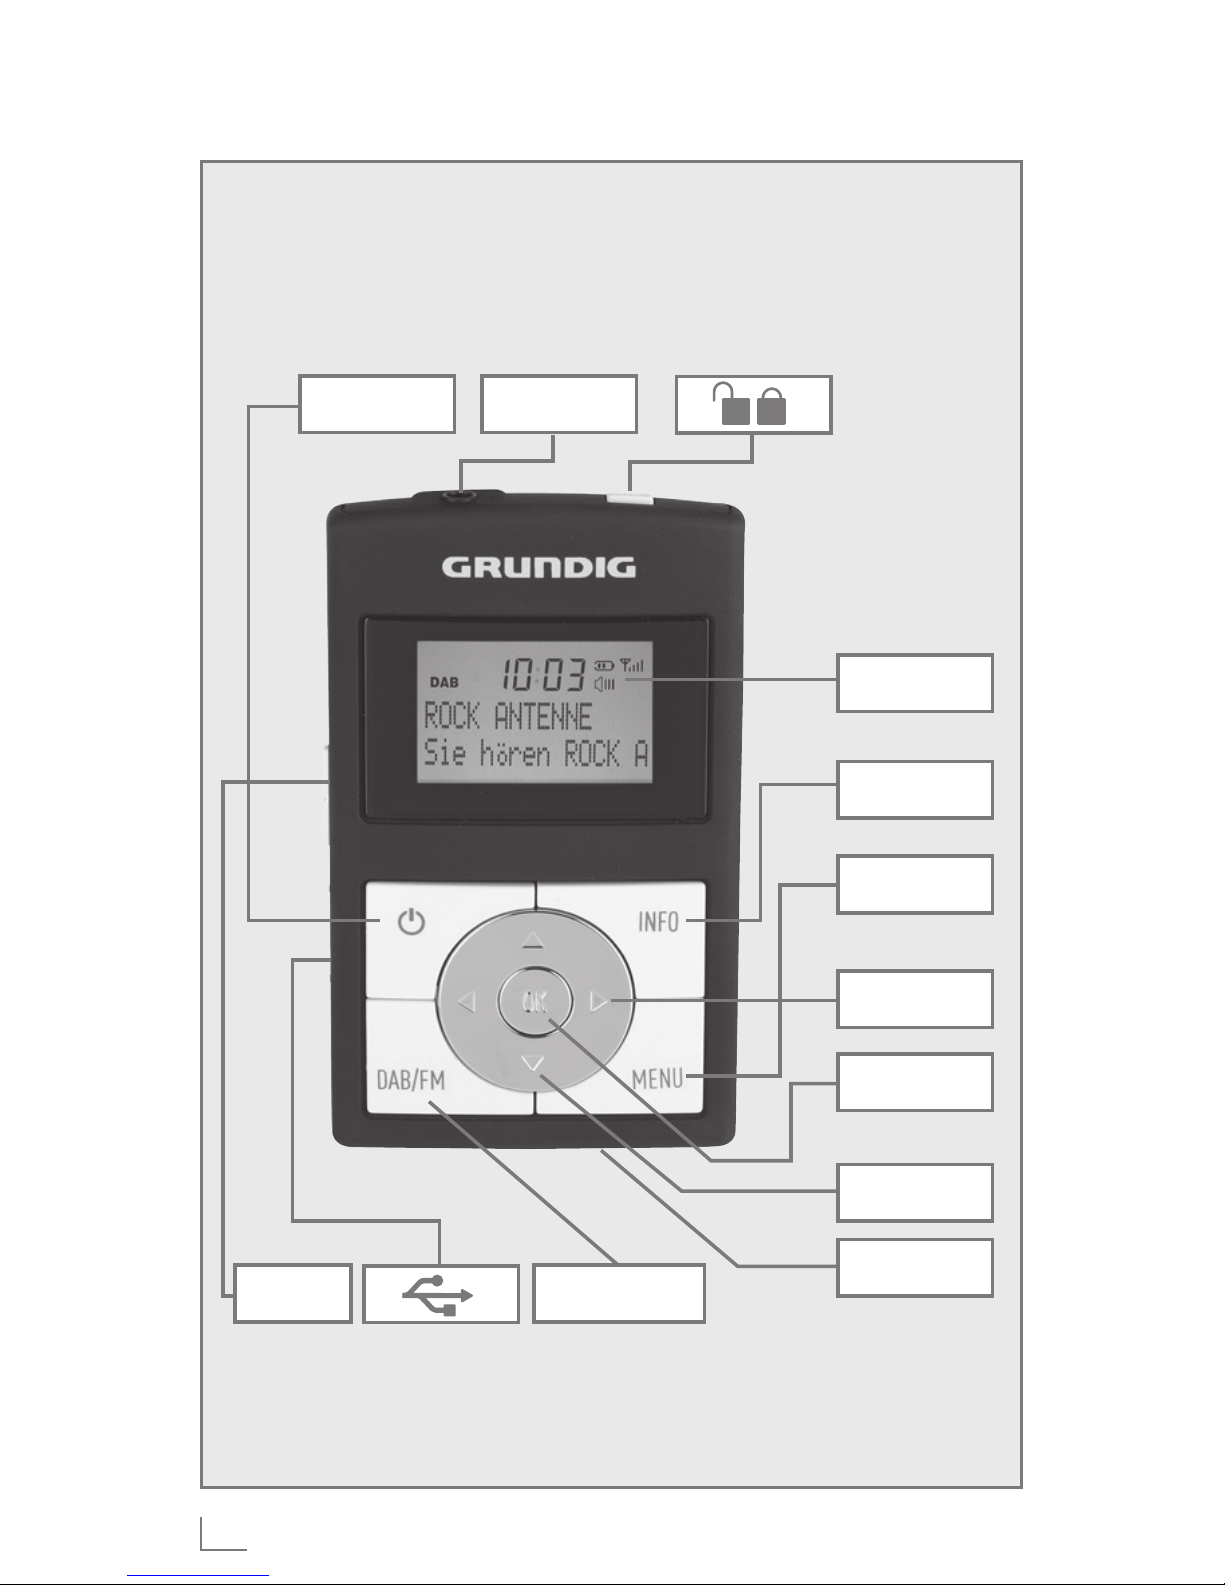
See the figure on page 3.
8 Press and hold down switches the device
on and off.
0 Earphone socket (3.5 mm stereo plug).
Antenna for DAB-/ and FM reception.
Press and hold down, locks and unlocks
buttons of the device.
Display Shows various information such as channel
name, time, volume and the menu.
INFO Displays station information.
MENU Opens the menu.
r e Selects radio stations.
Selects menu options.
OK Confirms settings.
q w Select presets for selecting and storing.
● Reset button, reset the device in the event of
a malfunction.
DAB/FM Switches between DAB and FM input
sources.
USB socket for connecting the device to
the computer, commercially available
standard USB charger with a USB socket
using a USB cable.
+ – Adjusts the volume.
OVERVIEW
____________________
Page 7

ENGLISH
7
PREPARATION
________________
Charging the battery
The device operates with the integrated lithium-polymer
battery 1 x 3.7 V, 1000 mA.
Charge the battery for the device on a computer or
using a USB adapter.
Note:
■
When charging with a standard USB adapter, the
player is still ready for operation.
1 Connect the » « socket on the device to the USB
socket on the computer or a commercially available
standard USB charger using the USB cable.
2 Switch on the computer or connect the charger to the
power supply.
– The display indicates the charging procedure.
The charging time is approximately five hours.
»
P
« appears in the display when the battery
is fully charged.
Notes:
■
The display of the player tells you about the state
of the battery. »
Ä
« in the display indicates that
the battery is running low.
■
The playing time of the device with batteries is up
to 10 hours.
Page 8

ENGLISH
8
Caution:
■
There is a risk of explosion if the battery is not replaced properly.
■
Only use the same type of battery or an equivalent.
Connecting earphones
1 Connect the headphones to the »0« headphone
jack (ø 3.5 mm).
Caution:
■
Excessive sound pressure from the earphones or
headphones can cause hearing loss.
Note:
■
The connection cable for the headphones also
functions as a DAB/FM aerial.
PREPARATION
________________
Page 9

ENGLISH
9
SETTINGS
______________________
Tuning and storing DAB and FM radio
stations – automatically
You can activate the Auto Tuning System if you will
search DAB radio stations.
1 Press and hold down »8« to switch on the device.
– Display: »00:00« flashes, »DAB« and »<Full
scan>« are displayed.
2 Confirm the option »<Full scan>« by pressing
»OK«.
– Display: »Scanning ...« flashes, the auto-
matic station search starts, searches and stores the
radio stations in the program list.
Storing DAB radio stations to presets
After the automatic station search, all radio stations will
be stored in the program list. You can store your favored DAB radio stations on presets 1 to 10.
1 Select DAB radio stations with »r e«.
– Display: the name of the radio station, the radio
station will be activated in 1 second.
2 Press and hold down »w«.
– Display: »Preset Store« and the first preset.
3 Select the preset with »q w« and confirm by press-
ing »OK«.
– Display: »Preset 1 stored«.
Page 10

ENGLISH
10
Programming DAB radio stations –
manually
1 Select the input source DAB with »DAB/FM«.
2 Open the menu with »MENU«.
– Display: »DAB« and »<Full scan>«.
3 Select the option »<Manual tune>« with »r e«
and confirm by pressing »OK«.
– Display: e.g. »5A I74.928MHz« (channel and
frequency of a DAB radio station).
4 Select the desired frequency/channel with »r e«.
5 Press »OK« to confirm the frequency/channel.
– Display: the signal strength.
6 Press »OK« to confirm the setting.
– The DAB radio stations will be stored in the pro-
gram list.
Tuning and storing FM radio stations
1 Select the input source FM with »DAB/FM«.
2 Open the menu with »MENU«.
– Display: »FM« and »<Full scan>«.
3 Confirm the option »<Scan setting>« by press-
ing »OK«.
– Display: »<Strong stations>«.
SETTINGS
______________________
Page 11

ENGLISH
11
SETTINGS
______________________
Note:
■
You can select whether the device will scan radio stations with weak signal (display »Stron
g
stations onl
y
«) or all radio stations (display:
»All stations«).
4 Select the desired option with »r e« and confirm by
pressing »OK«.
5 Press and hold down»r e« to search the desired
radio station.
– The automatic station search starts, and stops at the
next station with a strong signal;
or
press briefly »r e« until you have found the fre-
quency you want.
– The frequency changes in steps of 50 kHz.
6 Press and hold down »w«.
– Display: »Preset Store« and the first preset.
7 Select the preset with »q w« and confirm by press-
ing »OK«.
– Display: »Preset 1 stored«.
Updating the time – automatically
The device will update the time automatically, when a
time signal is received for a radio station.
Page 12

ENGLISH
12
OPERATION
___________________
General functions
Switching on and off
1 Press and hold down »8« to switch the device on and
off.
Adjusting the volume
1 Adjust the volume using »+ –«.
Adjusting the tone
1 Open the menu with »MENU«.
2 Select the option»<System>« with »r e« and
confirm by pressing »OK«.
– Display: »<Equaliser>«.
3 Confirm the option »<Equaliser>« by pressing
»OK«.
– Display: e.g. »<Normal>«.
4 Select the desired option with »r e« and confirm by
pressing »OK«.
5 Press »MENU« to end the display.
DAB mode
The headphones must be connected for the best possible DAB reception. The connection cable for the headphones also functions as a DAB aerial.
Selecting the input source DAB
1 Select the input source DAB with »DAB/FM«.
– Display: »DAB Mode«, then the name of a DAB
radio station.
Page 13

ENGLISH
13
Selecting stored stations
1 Select the station you want to use »q w« from pre-
sets;
or
select the station you want to use »r e« from the
program list.
Displaying DAB station information
1 To display information on the current DAB station,
press »INFO« repeatedly.
– The following display appears in succession: Informa-
tion from the provider (e.g. the title of the song, the
e-mail address), the signal strength, the genre, the ensemble (e.g. BR Bayern), the current channel and frequency, reference to signal interference (at optimum
signal display »Signal error: 0«) the bit rate,
the broadcasting format, the current time and date.
Setting Dynamic Range Control (DRC) for DAB
stations
When you activate Dynamic Range Control, you can
hear lower sounds better in a loud environment.
1 Open the menu with »MENU«.
2 Select the option»<DRC>« with »r e« and confirm
by pressing »OK«.
– Display: »<DRC off>«.
3 Select the option »DRC high« or »DRC low« with
»r e« and confirm by pressing »OK«.
4 Press »MENU« to end the display.
OPERATION
___________________
Page 14

ENGLISH
14
OPERATION
___________________
Note:
■
The DAB station must support DRC.
FM mode
The headphones must be connected for the best possible FM reception. The connection cable for the headphones also functions as an FM aerial.
Selecting the input source FM
1 Select the input source FM with »DAB/FM«.
– Display: »FM Mode««, then the frequency of a FM
radio station.
Selecting stored stations
1 Select the station you want using »q w« from presets;
or
select the station you want tom use »r e«.
Displaying RDS station informations
RDS (Radio Data System) is an information system
which is transmitted additionally by most FM stations.
Notes:
■
It may take some time before all RDS information
is available.
■
GRUNDIG has no influence on the correctness of
such information.
1 Press »INFO« repeatedly.
– The following display appears in succesion: The
name of the radio station, radio text (if offered),
station type (PTY), the frequency, mono- or stereo
signal, the current time and date.
Page 15

ENGLISH
15
SPECIAL FUNCTIONS
_________
Set the display illumination
You can choose whether the display is lit continuously
or whether it disappears after the specified period.
1 Open the menu with »MENU«.
2 Select the option »<System>« with »r e« and
confirm by pressing »OK«.
3 Select the option »<Backlight>« with »r e«
and confirm by pressing »OK«.
4 Select the desired time (»10 sec« till »180 sec«)
with »r e« and confirm by pressing »OK«.
5 Press »MENU« to end the display.
Note:
■
The display is illuminated after pressing any button.
Call up the software version
1 Open the menu with »MENU«.
2 Select the option »<System>« with »r e« and
confirm by pressing »OK«.
3 Select the option »<SW version>« with »r e«
and confirm by pressing »OK«.
– Display: actual software version.
4 Press »MENU« to end the display.
Page 16

ENGLISH
16
Deleting all settings (Reset)
This function enables you to reset all custom settings
back to the default settings. All setings are lost when
you do this.
1 Open the menu with »MENU«.
2 Select the option »<System>« with »r e« and
confirm by pressing »OK«.
3 Select the option »<Factory Reset>« with
»r e« and confirm by pressing »OK«.
– A safety confirmation is displayed.
4 Select the option »Yes« with »e«.
Note:
■
To cancel the function select the option »No« with
»r«.
5 Press »OK« to confirm setting.
– Display: »Restarting«.
Removing DAB radio stations from the
program list
If you move to a different part of the country, you
should remove DAB radio stations, which are no longer
available from the program list.
These DAB radio stations are marked with “?“.
1 Open the menu with »MENU«.
SPECIAL FUNCTIONS
_________
Page 17

ENGLISH
17
2 Select the option »<Prune>« with »r e« and con-
firm by pressing »OK«.
– A safety confirmation is displayed.
3 Select the option »Yes« with »e«.
Note:
■
To cancel the function select the option »No« with
»r«.
4 Press »OK« to confirm setting.
5 Press »MENU« to end the setting.
– In the program list you will find only available ra-
dio stations.
Software Update
You can install the latest version of the software, if available
1 Connect the device to a PC by means of the socket
» «.
2 Open the menu with »MENU«.
3 Select the option »<System>« with »r e« and
confirm by pressing »OK«.
4 Select the option »<Software Upgrade>« with
»r e« and confirm by pressing »OK«.
– A safety confirmation is displayed.
5 Select the option »Yes« with »e«.
– Display: »Waiting«.
SPECIAL FUNCTIONS
_________
Page 18
ENGLISH
18
SPECIAL FUNCTIONS
_________
Note:
■
To cancel the function select the option »No« by
pressing »r«.
6 Start the update program on the PC.
7 Once the software is updated successfully, remove
the device from the PC.
Activating and deactivating the key lock
1 Press and hold down » «.
– Display: »Keys Locked« and the symbol » «.
– The keys of the device are locked.
2 Deactivate the key lock by pressing and holding
» «.
– Display: »Keys Unlocked«, the symbol» «
disappear.
Resetting the player
In the event of a malfunction during operation or if the
device no longer responds to key commands, you can
reset the device.
1 To reset the device, use a pointed object such as a
paper clip to press the Reset button on the bottom
side of the device.
Note:
■
When resetting, the player should not be connected to the computer or standard USB charger.
Page 19
ENGLISH
19
INFORMATION
_______________
Technical data
The type plate is located on the bottom
of the device.
This device is noise-suppressed accord-
ing to the applicable EU directives. This
product fulfils the European directive 2004/108/EC
and 2011/65/EU.
Power supply:
Rechargeable battery: 1 x 3.7 V lithium polymer
1000 mA
Frequency band:
DAB/DAB+ 174.928 ...239.200 MHz
FM 87.5 – 108 MHz
Output:
2 x 5 mW (earphones)
Dimensions and weight
L x W x H: 97 x 60 x 20 mm
Weight: approx. 100 g
Technical and design modifications reserved.
Page 20
ENGLISH
20
INFORMATION
_______________
Environmental note
This product has been manufactured with
high quality parts and materials which can
be reused and are suitable for recycling.
Therefore, do not dispose the product with
normal domestic waste at the end of its service life.
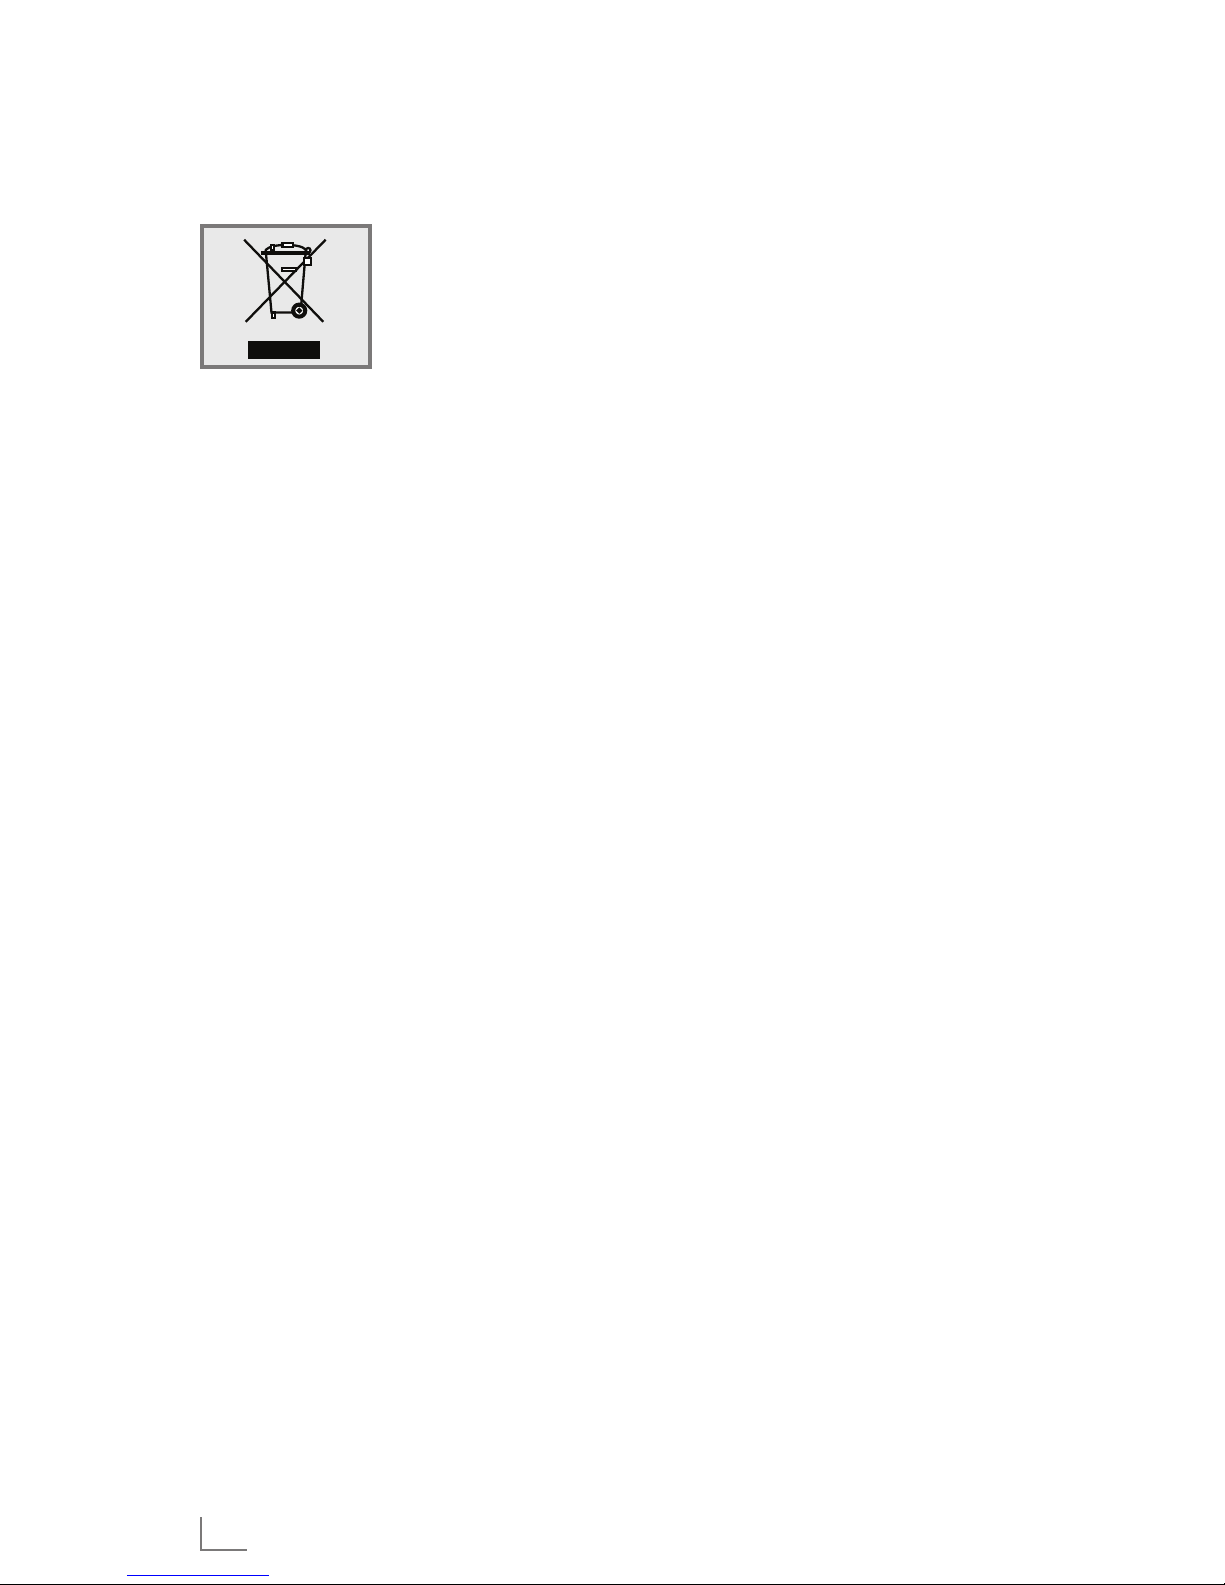
Take it to a collection point for the recycling of electrical and electronic equipment. This is indicated by this
symbol on the product, in the operating manual and
on the packaging.
Please consult your local authorities to learn the nearest collection point.
Help protect the environment by recycling used products.
Page 21

Page 22

Page 23

Page 24

Grundig Intermedia GmbH
Beuthener Strasse 41
90471 Nürnberg Germany
www.grundig.com
72011 411 8700 14/27
 Loading...