

Grundig GCL3500E User Manual

ǵ
COLOR TELEVISION
DAVIO 37
P 37-4101/12 MV
DEUTSCH
ENGLISH
FRANÇAIS
ITALIANO
NEDERLANDS

2
3 Installation and safety
4 Connection and preparation
Connecting the aerial and the mains or battery cable
Putting batteries into the remote control
5 At a glance
The remote control
6 Settings
Setting TV channels – automatically (with ATS searching)
Picture settings
8 Television mode
9 Teletext mode
TOP or FLOF text mode
Normal text mode
Additional functions
Selecting functions – from the symbol bar
12 Convenience functions
... in the »SPECIAL FUNCTIONS« menu
Setting switch-off time with the »SLEEP TIMER« menu
13 Child-proof lock
14 Operating with external appliances
Decoder or satellite receiver
Video recorder or SET-TOP box
16 Special settings
Limiting channel selection
Set TV channels
Manually adjusting colour standards
19 Information
Technical data
Service notes for the authorised dealer
EURO-AV (Scart) socket contact assignment
Customer information
Rectifying malfunctions
CONTENTS
________________________________________________________________________
ENGLISH
3
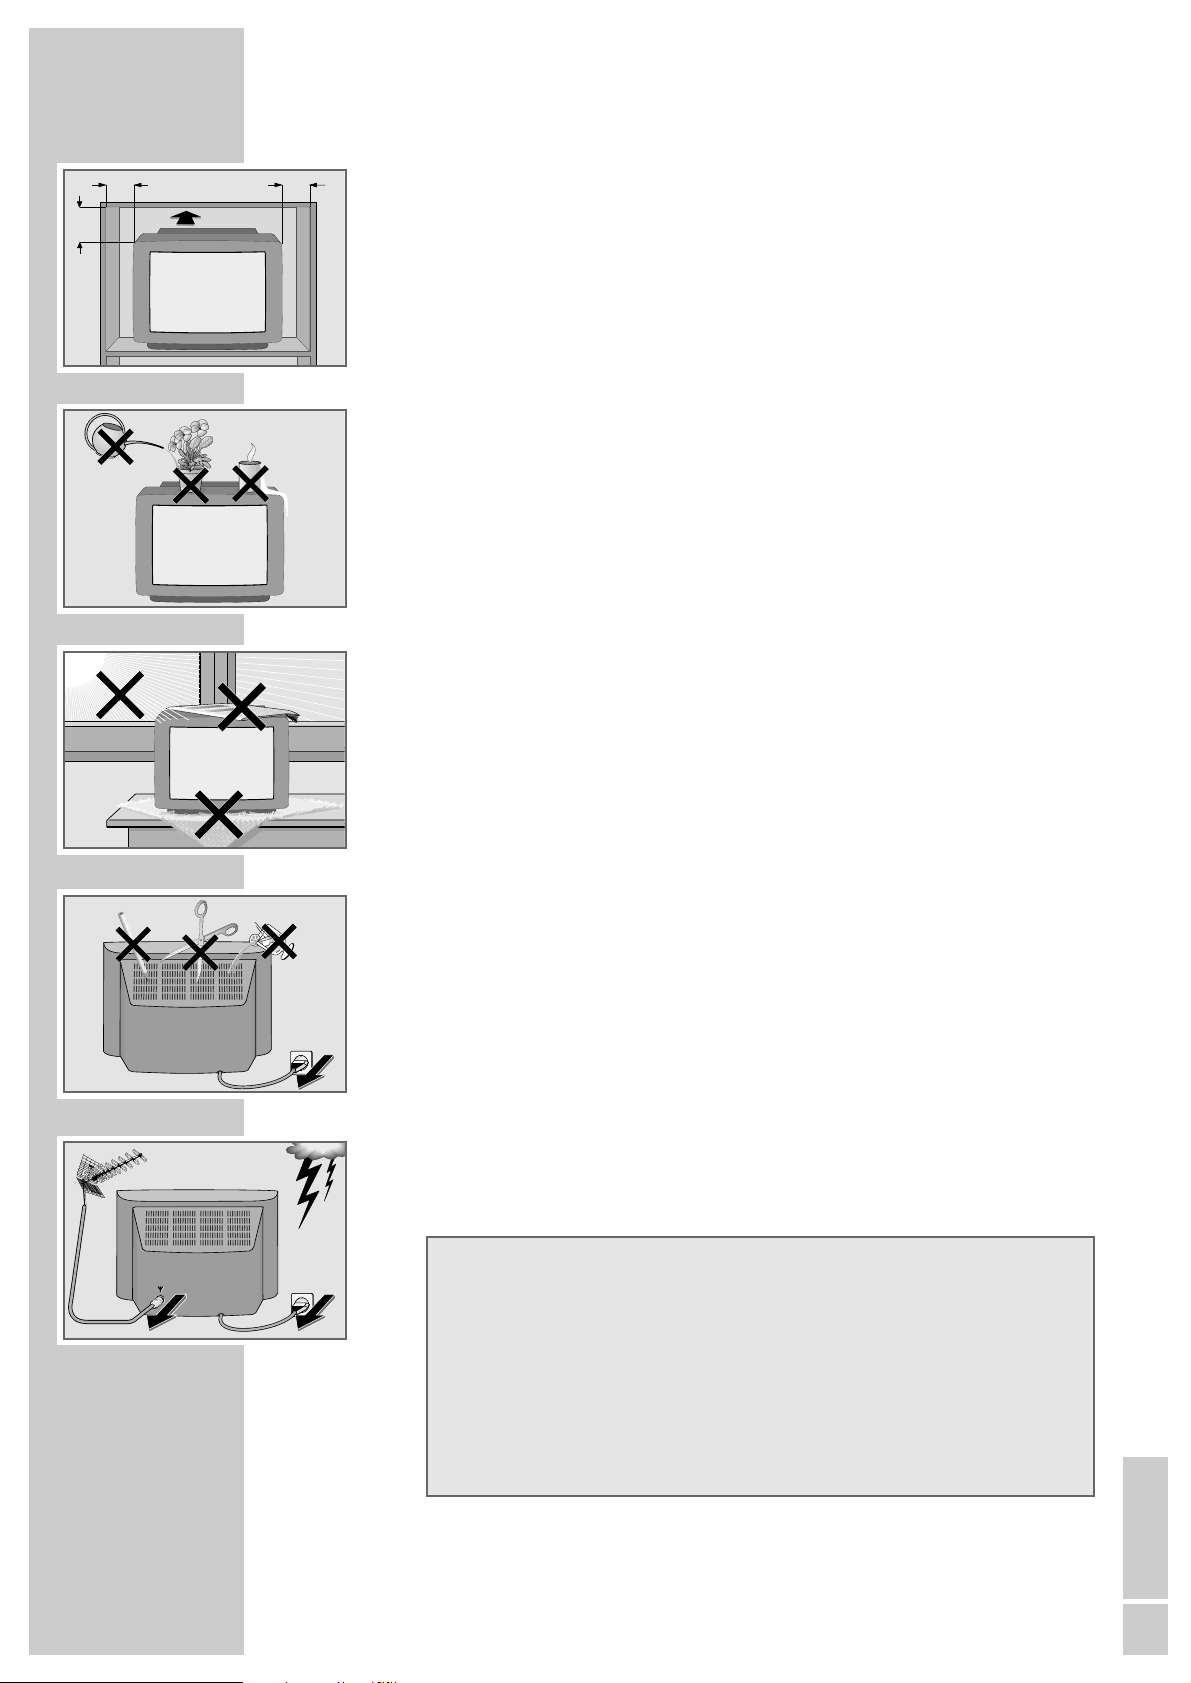
INSTALLATION AND SAFETY
_________________________
Please observe the following notes when setting up and connecting the TV set:
This set has been designed for the reception and reproduction of picture and
sound signals.
Any other use is explicitly forbidden.
The ideal viewing distance from the screen is 5 times the diagonal width of the
screen.
External light shining on the screen adversely affects picture quality.
Assure that there is enough space inside the cabinet.
The TV set is designated for operation in dry rooms. Should you nevertheless
operate it outside, make absolutely sure that it is protected against dampness
(rain, water splashes). Never expose the TV set to moisture of any sort.
Do not place vessels filled with fluid (vases or similar) on the TV set. The vessel
may tip over and the fluid may cause an electrical hazard.
Put the TV set on an even and hard surface. Do not place objects (for example,
newspapers) on the TV set and do not place the set on a mat or similar object.
Do not place the TV set close to the heating or in direct sunlight, as it could
overheat.
Heat buildup can be dangerous and is detrimental to the service life of the
equipment. From time to time, have a technician come to clean the inside of the set.
Keep the TV set away from magnetic fields (for example, stereo speakers).
Do not open the TV set under any circumstance. The manufacturer accepts no
liability for damage resulting from unauthorised tampering.
Make sure that the mains cable does not become damaged.
The TV set may only be operated using the mains cable supplied.
Electrical storms represent a danger for every type of electrical device. Even if
the set is switched off, it could be damaged by a lightning strike hitting the
mains and/or the aerial lead. Therefore, always disconnect the mains plug and
aerial plug when there is an electrical storm.
When cleaning the screen, use only a soft, damp cloth. Use clean water only.
10
cm
10
cm
20
cm
20 cm
Krieg am Golf
! SERVICE !! SERVICE !! SERVICE !
Warning:
For battery operation, the device earth ist always connected
to the negative terminal (-) of the supply battery.
Only aerials or diverse additional equipment and ballasts which
are floating or also connected to the negative terminal (-) may
themselves be connected.
If the device earth is connected to the positive terminal
(+), this may lead to damage in the TV set.
Consult your authorised dealer.
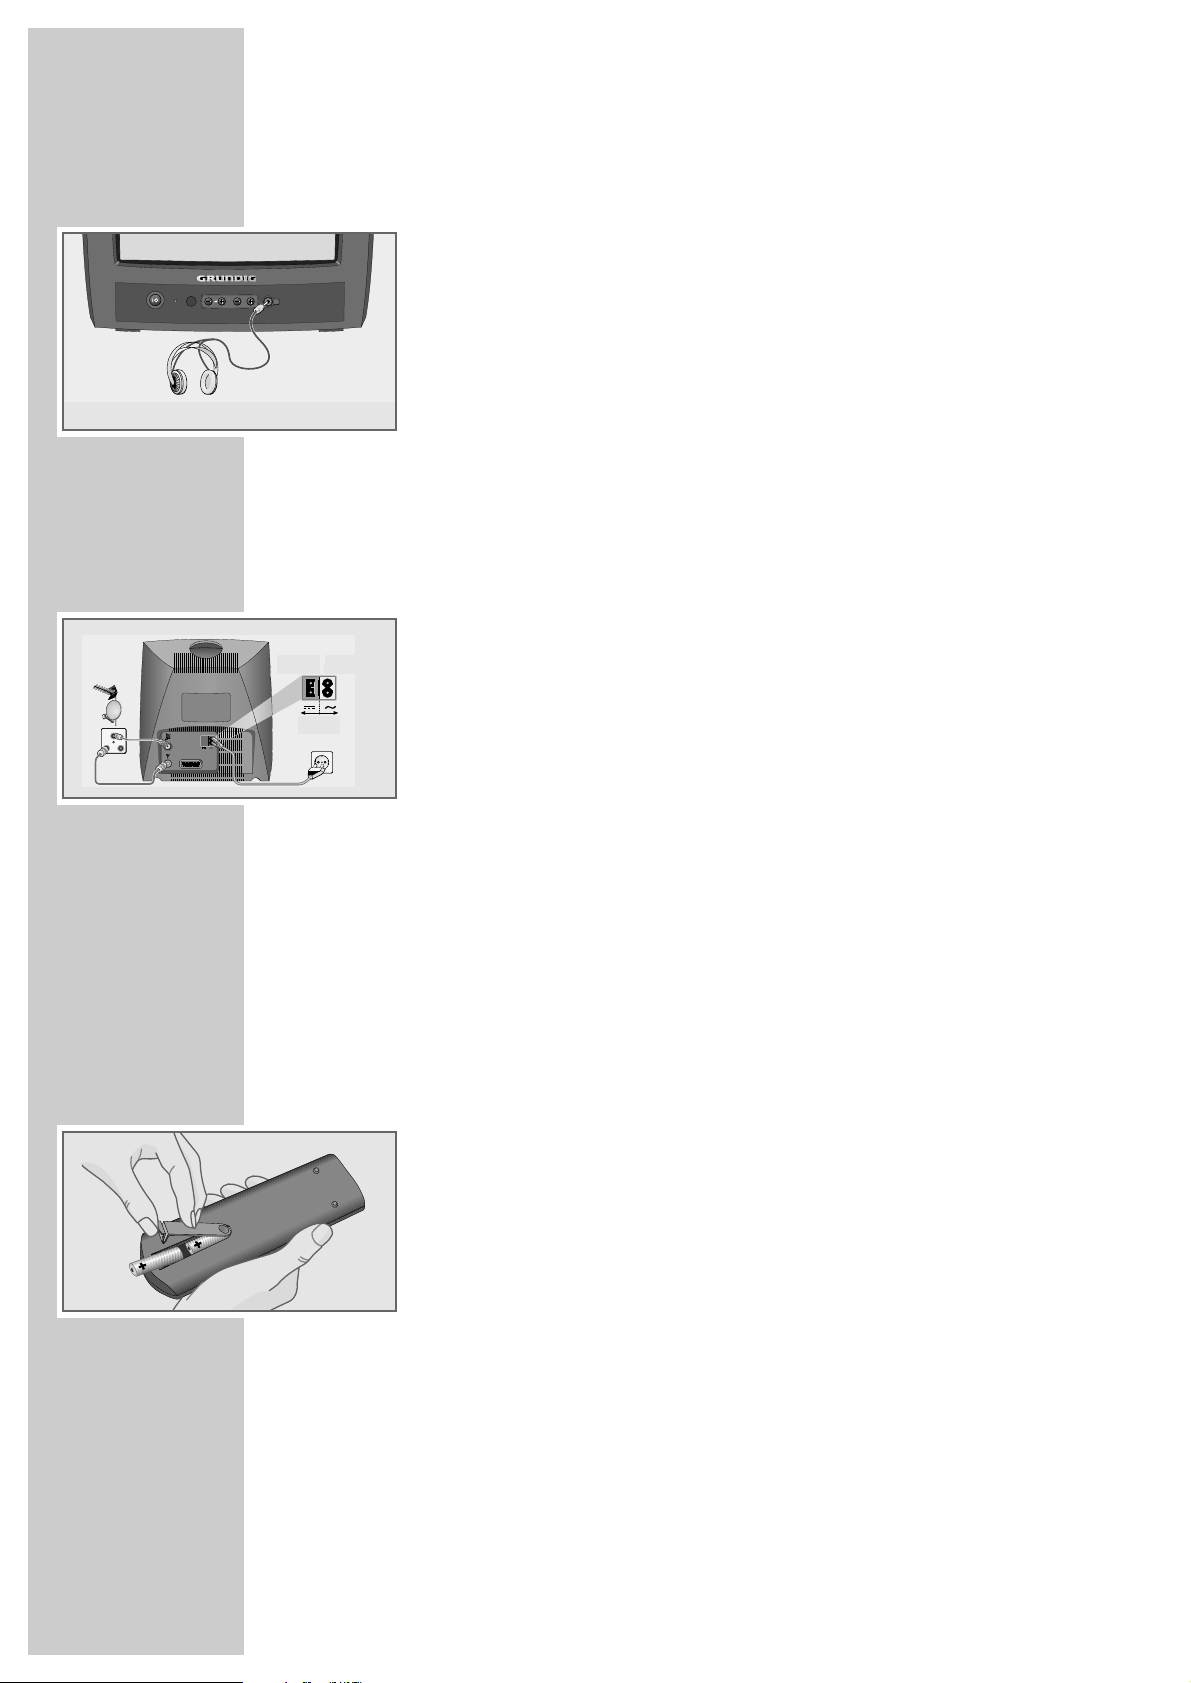
4
The front of the TV set
IO
Switches the TV set on/off
–
z + Volume
–
P +
Channel selection
Switches the TV set to standby mode (»P+« only)
yy
Headphone connection (3.5 mm ø jack)
– The speaker switches off when headphones are
connected
Connecting the aerial and the mains or battery
cable
1 Insert the telescopic aerial into the holder on the rear panel.
2 Connect the aerial cable or telescopic aerial plug to the aerial socket »
ÉÉ
« on
the set.
3 Connect the mains or battery cable plug to the corresponding socket on the
rear panel of the television set.
Left-hand socket = battery cable (slide switch to the right 12 – 24V).
Right-hand socket = mains cable (slide switch to the left 220 – 240V, 50/60
Hz).
4 Connect the mains or battery cable plug to the set socket or to the battery
(e.g. cigarette lighter in a car).
Note:
If a battery cable extension is used, make sure that the cross-sectional area
of the cable is sufficient and that the contact with the battery is made properly and has low-resistance.
The connection of external units is described on pages 14 and 15.
Putting batteries into the remote control
1 Open the battery compartment by pulling off the cover.
2 Insert batteries (UM-3 or AA, 2 x1.5 V).
Observe the polarity when inserting the batteries (marked on base of battery
compartment).
Note:
When a battery is dead, the indication »Battery« appears.
If your television does not react to the remote control commands correctly,
then the batteries could be dead. Always remove empty batteries. There is no
liability for damage caused by leaking batteries.
P
y
CONNECTION AND PREPERATION
________
battery mains
slide
4
TV R
NetzBatterie
Schieber
SAT
EURO-AV
ENGLISH
5
The remote control
ǼǼ
Switches off the TV set (standby).
1…9 Switches the TV set on from standby mode;
AV 0 selects channels and AV channel positions directly.
i Calls up the »DIALOG CENTER« (with »i « and »OK«);
selects previous menu page.
ĭĭ
Sound on/off (mute).
,,..
Switches the TV set on from standby mode (»,,« only);
selects channels step by step;
moves the cursor up/down.
FF EE
Changes the volume;
moves the cursor to the left/right.
OK Changes and activates various functions;
calls up the channel selection list.
AUX Selection button for various functions.
TXT Switches between teletext mode and television mode;
completes menu function.
zz
Calls up the »PICTURE« menu;
turns one page back in teletext mode.
ȄȄ
Clock on/off;
turns to the next available page in teletext mode.
E
Selects chapter or held page desired in teletext mode.
FF
Selects topic desired, or fill in waiting time, in teletext mode.
– i
+
Adjusts the colour.
–
vv
+
Adjusts the brightness.
SAT Switches to the operation of a GRUNDIG satellite receiver.
VIDEO Switches to the operation of a GRUNDIG video recorder.
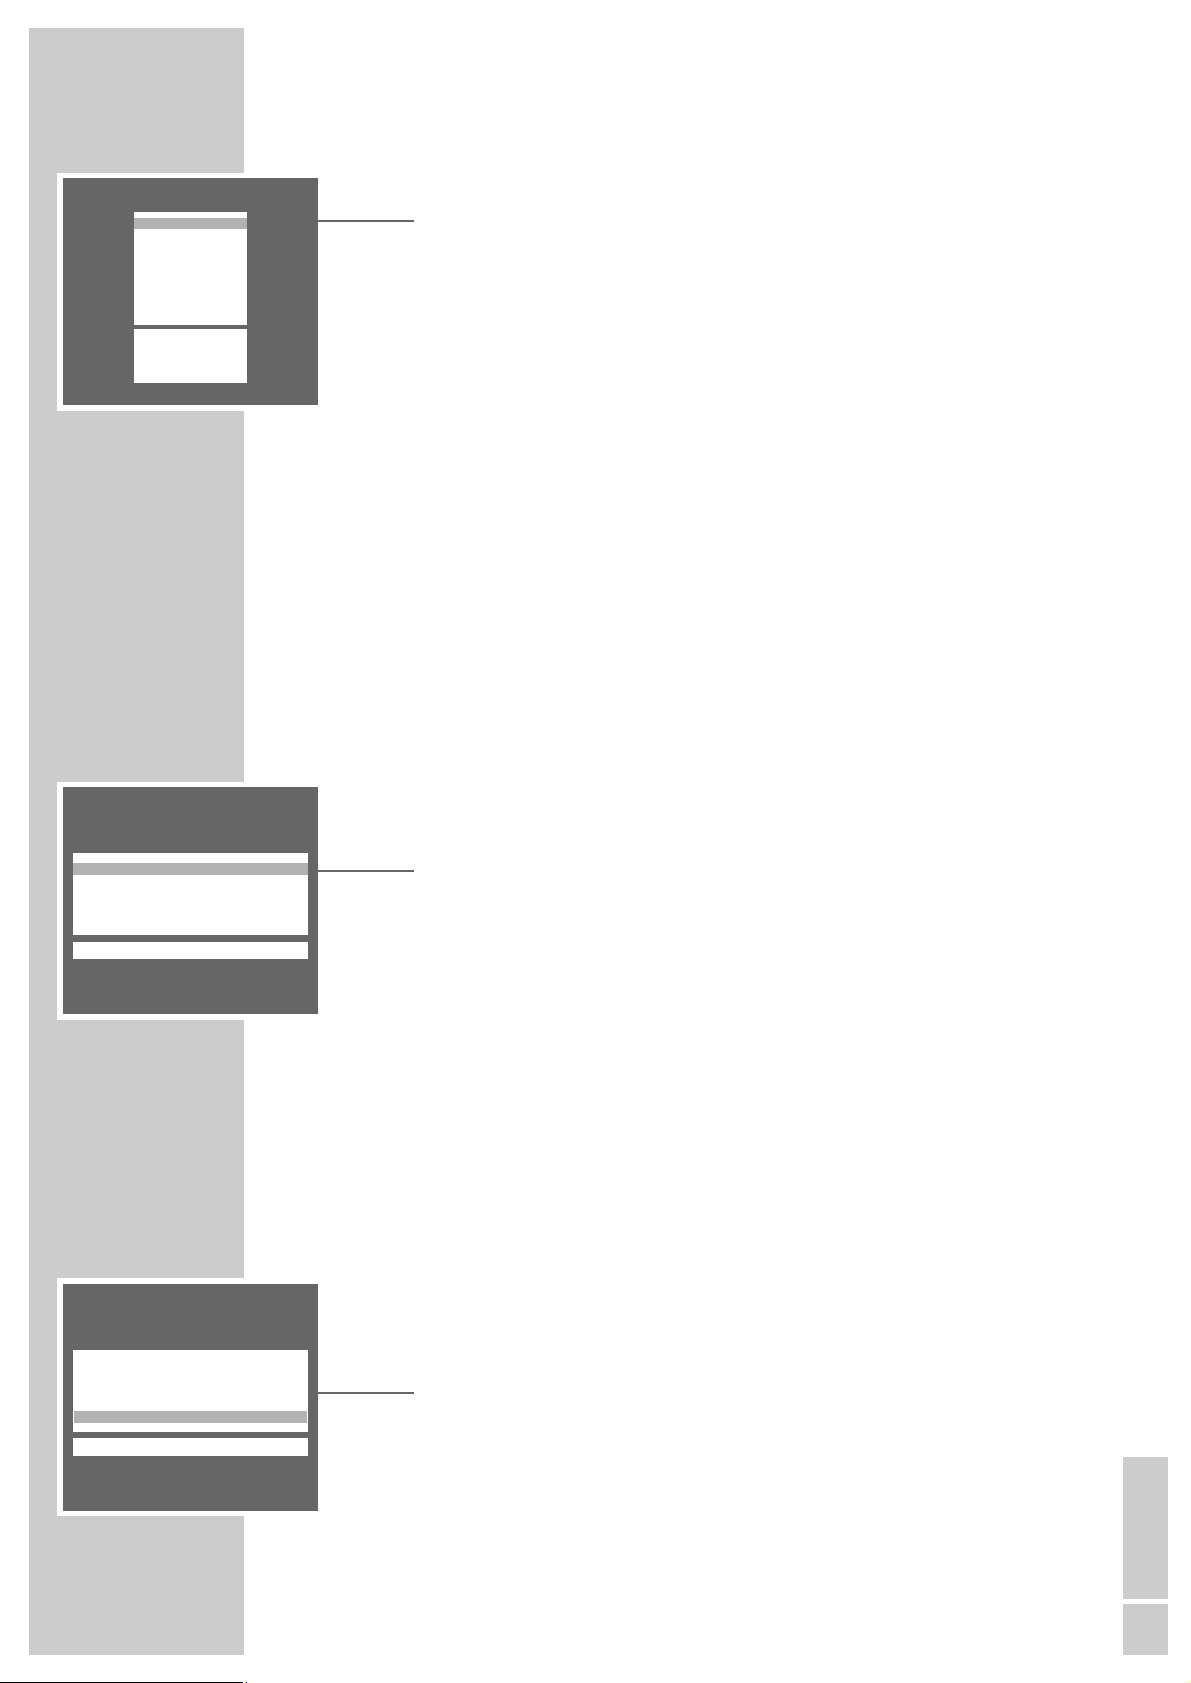
AT A GLANCE
________________________________________________________________
TELEP ILOT 750C
VIDEO
VIDEO
21
3
654
987
0
P
OK
P
TXTAUX
E
Ȅ
F
SAT/TV
6
SETTINGS
___________________________________________________________________________
Setting TV channels –
automatically (with ATS searching)
The set is equipped with an automatic channel search system.
You start the ATS search and can then sort the television channels into an order
of your choice.
There are 99 channel positions available, which can be assigned to television
channels from the aerial or from the cable connection as desired.
You can also delete from the channel list television channels which are found
more than once, or which have poor reception.
1 Switching on the TV set with »IO « on the TV set.
– The »LANGUAGE SELECTION« menu will be displayed.
2 Select a language with »
,,
«or»..« and confirm with »OK«.
– The »ADJUST COUNTRY« menu will be displayed.
3 Select a country with »
,,
«or»..« and confirm with »OK« (switch to the
second page »2/2« with »..« or with »FF«or»EE«).
Note:
If your country is not displayed in, select the line »Others« or »France«.
The »MANUAL TUNING« menu will be displayed.
Using »,,«or»..«, select either »Cable (frequency sel./MHz)
«
or
»Cable/aerial (channel sel.)«, and confirm with »OK«.
– The »AUTOMATIC TUNING SYSTEM« menu will be displayed, and the
automatic channel search will begin.
– Depending on the number of channels received, this may take a minute or
longer.
– Following the search, the TV set will switch to channel position 1 and the
menu »SORT« will be displayed.
Deleting TV channels
1 In the »SORT« menu, select the TV channel to be deleted with »
,,
«or
»..«.
2 Delete the TV channel with »AUX «.
Note:
To delete further TV channels, repeat points 1 and 2.
AUTOMATIC TUNING SYSTEM
Please wait ...
■–
_–_–_–_–_–_–_–_–_–_–_–_–_–_–_–_–_–_
LANGUAGE SELECTION
OK
CZ Cestina
D Deutsch
DK Dansk
E Espanol
F Francais
FIN Suomi
GB English
H Magyar
I Italiano
N Norge
NL Nederlands
P Portugues
PL Polski
S Svenska
SI Slovenija
SK Slovensky
ĵ
–-–-––––––––––––––––––––––––––––––
Ł
ADJUST COUNTRY
OK
A Austria
B Belgique
CH Schweiz
CZ Ceska republ.
D Deutschland
DK Danmark
E Espana
F France
FIN Suomi
GB Great Britain
1/2
ĵ
––––––––––––––––––––––
Ł
SORT
OK Sort
AUX Delete
Ǻ Return
TXT TV
ĵ
–––––––––––––––––
Ł
P 01 ARD
P 02 ZDF
P 03 RTL
P 04 SAT1
P 05 PRO7
P 06 BR 4
P 07
P 08
P 09
P 10
6
ENGLISH
7
SETTINGS
____________________________________________________________________________________
Sorting TV channels
1 In the »SORT« menu, select the TV channel to be moved with »
,,
«or
»..«.
2 Mark the TV channel with »OK«.
3 Select a new channel position with »
,,
«or»..«.
4 Save the setting with »OK«.
Note:
To sort further TV channels, repeat points 1 to 4.
Completing the settings
1 Complete the settings with »TXT«.
Picture settings
Setting brightness, colour, contrast, definition and tint
1 Call up the »PICTURE« menu with »z «.
– The »PICTURE« menu appears.
2 Select the line »Brightness«, »Color«, »Contrast«, »Sharpness« or »Tint«
(color tone) with »,,«or»..« and set the required value with »FF«or
»EE« (»Tint« indication only for NTSC reception).
Note:
The set has been tested with maximum contrast in order to control the reliability of all modules. Depending on the location of the set and the light level in
the room (ambient light) it is nevertheless a good idea to reduce the contrast
slightly for optimum picture quality.
3 Complete the setting with »TXT«.
Perfect Clear
Perfect Clear increases contrast in dark areas of the picture. This gives the
picture depth.
1 Call up the »PICTURE« menu with »z «.
– The »PICTURE« menu appears.
2 Select the line »Perfect Clear« with »
,,
«or»..« and switch the function
on or off with »FF«or»EE«.
3 Complete the setting with »TXT«.
SORT
OK Sort
AUX Delete
Ǻ Return
TXT TV
ĵ
–––––––––––––––––
Ł
P 01 ARD
P 02 ZDF
P 03 RTL
P 04 SAT1
P 05 PRO7
P 06 BR 3
P 07
P 08
P 09
P 10
PICTURE
TXT
Brightness ľ ■■■■■■■■■ –
_–_–_
ı
Color ■■■■■■■–
_–_–_–_–_
Contrast ■■■■■■■–
_–_–_–_–_
Sharpness ■■■■■■■–
_–_–_–_–_
n
Perfect Clear on
ĵ
–––––––––––
Ł
PICTURE
TXT
Brigthness ■■■■■■■■■ –
_–_–_
Color ■■■■■■■–
_–_–_–_–_
Contrast ■■■■■■■–
_–_–_–_–_
Sharpness ■■■■■■■–
_–_–_–_–_
n
Perfect Clear ľ on ı
ĵ
––––––––––
Ł
 Loading...