

GRS GRAVERMEISTER GG Operation Maintenance Manual & Parts List
MODEL GG
OPERATION
MAINTENANCE
PARTS LISTING
900 Overlander Road • Emporia, Kansas 66801

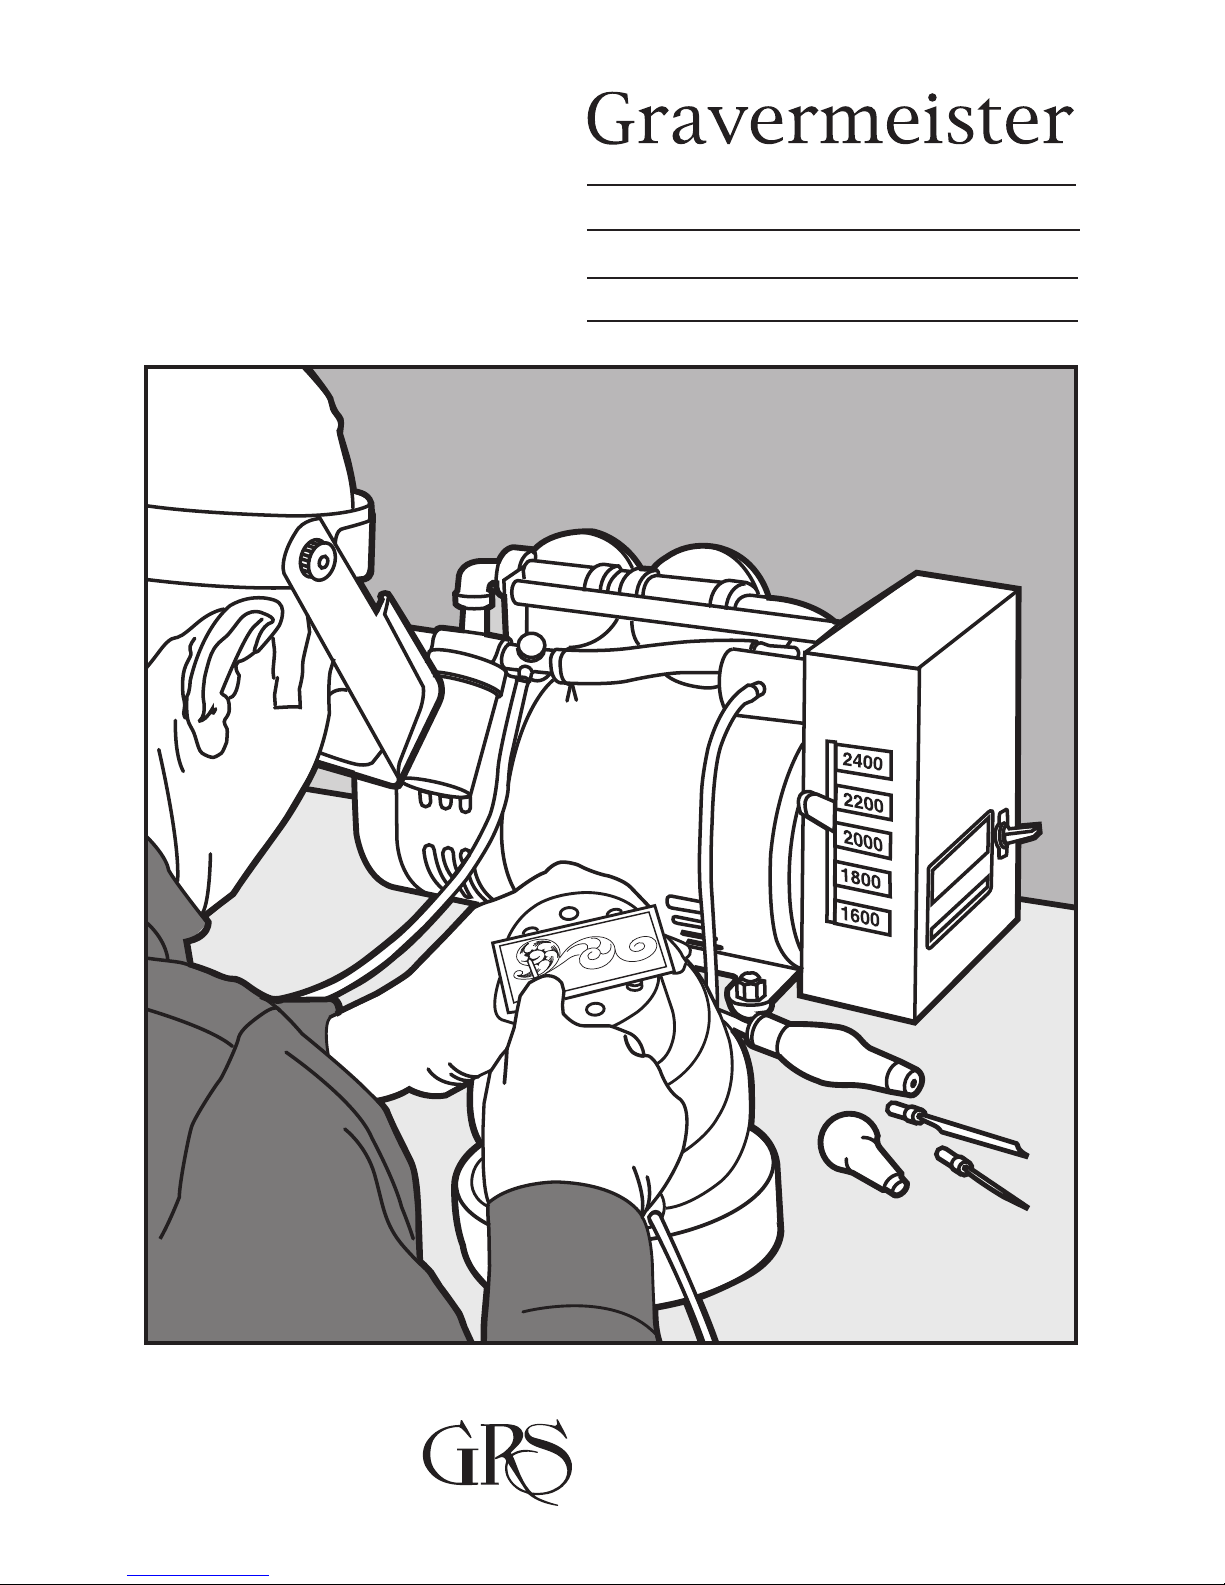
The GRAVERMEISTER fullls the need for a machine capable
of allowing rapid but precise cutting and carving of metal, stone,
and wood, as well as many other materials. The precise impact
control feature of the machine also makes it an ideal tool for stone
setting, stippling, matt nishing on jewelry, and stipple engraving
on crystal, etc.
The skills required to properly operate the GRAVERMEISTER,
while not within the ability of everyone, are easily mastered by one
who possesses certain obvious, natural skills.
The GRAVERMEISTER acts on the principle of an air-operated
hammer capable of delivering controlled impacts at speeds from
1600 to 2400 strokes per minute. The speed of the stroke is
varied by positioning an adjusting lever arm. The impact force is
controlled by depressing a foot pedal in much the same way the
gas pedal on a car is operated.
Because of both the large range of adjustments available, and the
precise control possible, delicate cuts can be combined with heavy
material-removal cuts for the desired effect.
To realize the full capability of the GRAVERMEISTER, it is
necessary for you to become totally familiar with both the operation
and proper maintenance of all the components of your machine.
It is also important to become familiar with various proven
techniques for use of the GRAVERMEISTER, and the wide variety
of tools used to produce the various effects desired. Tool geometry
and proper sharpening are as important as skillful use of the
GRAVERMEISTER. The rst section of this manual is intended to
help you avoid many of the difculties others have experienced
in achieving the desired results with the machine. This section is
worthy of frequent review until you master both the machine and
the proper preparation of the tool, or graver, that does the work.
This manual is broken down into the following four sections:
1. TIPS FOR EFFECTIVE USE OF THE GRAVERMEISTER
2. MACHINE OPERATION
3. MAINTENANCE
4. PARTS LISTING
TIPS FOR EFFECTIVE USE
OF THE GRAVERMEISTER
1.1 The GRAVERMEISTER provides an effective, unique method
for performing a variety of functions in many materials. You may
not achieve effective results with the machine at rst. In fact, your
initial attempts may be disappointing or downright discouraging!
Begin by expecting a learning period - whether you have had
experience engraving by another method, or are a novice. This
claim is also made: After the initial learning period, the results and
the satisfaction derived from use of the machine are fantastic!
It takes a little practice, some learning, and perhaps some relearning. It may seem awkward and ineffective at rst - like your
rst attempt to ride a bicycle - remember?
1.2 The easiest and most productive way to learn quickly is
to work with someone who is accomplished in the use of the
GRAVERMEISTER. If this is not possible, we hope the information
contained in these “TIPS” will be helpful. A most valuable and
useful information source is James B. Meek’s book, THE ART OF
ENGRAVING. We recommend it highly.
1.3 Most of the information in this section is directed toward
the task of metal engraving. Even if your purpose for using
the GRAVERMEISTER differs, this information is relevant and
helpful. The engraving of metal, especially steel, is most difcult
and demanding. When the principles of metal engraving are
understood, then other uses are easily acheived. We have never
known a person who could effectively carve a deep relief scene
in steel, who could not easily and effectively… set a stone…
orentine or engrave a ring… matt nish a piece of jewelry…carve
wood… or prepare a fossil.
1.4 Here are some reasons why you may not achieve effective
results with the GRAVERMEISTER at rst:
A. The concept of variable power applied to the tool holder, or
handpiece, seems strange at rst and must be experienced.
B. Coordination of power and tool cutting action with the foot
throttle might feel awkward, but a small amount of practice
makes it natural and automatic.
C. It seems strange and different at rst - but extremely effective
when mastered. Again, remember how easy it was to ride a
bicycle after you learned how. Successful cutting requires just
the right amount of forward pressure on the handpiece. Too
much pressure creates fatigue and impairs tool control. Too little
pressure quickly dulls the tool point.
1.5 Try these techniques - then review results and try them again:
A. Turn the machine ON, hold the handpiece in your hand, and
work the foot throttle to get the feel of the power variation from
light, short strokes to heavy, long strokes. You will begin to
anticipate the foot throttle position for the various power settings
desired.
B. Be sure the tool is seated fully and tight in the handpiece chuck.
(see OPERATING TECHNIQUES on page 9)
C. When cutting or engraving, hold the handpiece as you would
a table knife - not as a pencil. Place your index nger on
the graver, or chisel, as you would on a knife blade to exert
slight downward pressure. You hold it like a pencil only when
stippling, background matting, chipping, etc. (see How to Hold
the Handpiece on page 8)
D. Place the tool cutting point on the work piece before applying
power with the throttle. Attempting to enter the cut with the
power ON and the handpiece stroking will quickly dull the tool
point.
E. Apply power with the throttle only after positioning the tool on
the work. Use slight pressure to keep the tool point moving
forward into the cut. Both tool angle and downward pressure
control depth of cut. Too much downward pressure will tire you,
though.
F. Vary the power input with the throttle to control the speed and
depth of cut. Do not let the cutting action get ahead of your
ability to guide the tool. Stop the throttle action to reposition the
work. Leave the tool point in position in the cut.
G. Overcome the tendency to let the handpiece continue to stroke
when not actually cutting (by failing to manipulate the Throttle).
With practice, control of the Throttle becomes an automatic
response.
H. Use a stable vise, or heavy engraver’s block to hold the work. If
the work is not held solidly, vibration will decrease effectiveness
of the machine power and will more quickly dull or chip the
tool point. The GRS MAGNABLOCK is the most effective
work-holding block, allows the needed rotation of the work,
and was designed for use with the GRAVERMEISTER. (see
OPERATING TECHNIQUES on page 10)
I. Don’t push hard! If your hand becomes tired or cramped, you
aren’t using the power of the machine to do the work - or you
may not have the tool properly sharpened or heeled. (see 1.12
“B” page 4)
2
J. Keep the tool sharp and properly heeled. Sharpen frequently -
before you lose the point entirely. With practice you will begin
to “feel” when the point is beginning to dull. At this time, only a
slight amount of sharpening is necessary to bring it back to the
desired sharpness. Hardness of the material you are cutting will
greatly affect tool life.
K. There should be no noticeable vibration of the tool point in the
cut. If the point is allowed to vibrate in the cut, the point will dull
quickly.
The Important Tool Sharpening Techniques
1.6 While the GRAVERMEISTER is a tremendous aid in solving
the most difcult task in engraving or carving, it does not help
in another important area - the task of tool sharpening. In fact, it
perhaps even emphasized that problem. You will be cutting faster
and deeper, and point geometry and condition will soon become
apparent. Be prepared to go through a learning period in the tool
sharpening task. Here too, a few minutes spent with someone who
knows how to sharpen tools properly can save hours of frustrating
experimentation. A word of caution though! BE SURE YOUR
ADVISOR REALLY KNOWS.
1.7 If a session with someone who knows how is not possible,
read the following information - and practice. In the end, you must
learn an effective technique so that when you put the tool into the
work, you know the result will be as you planned.
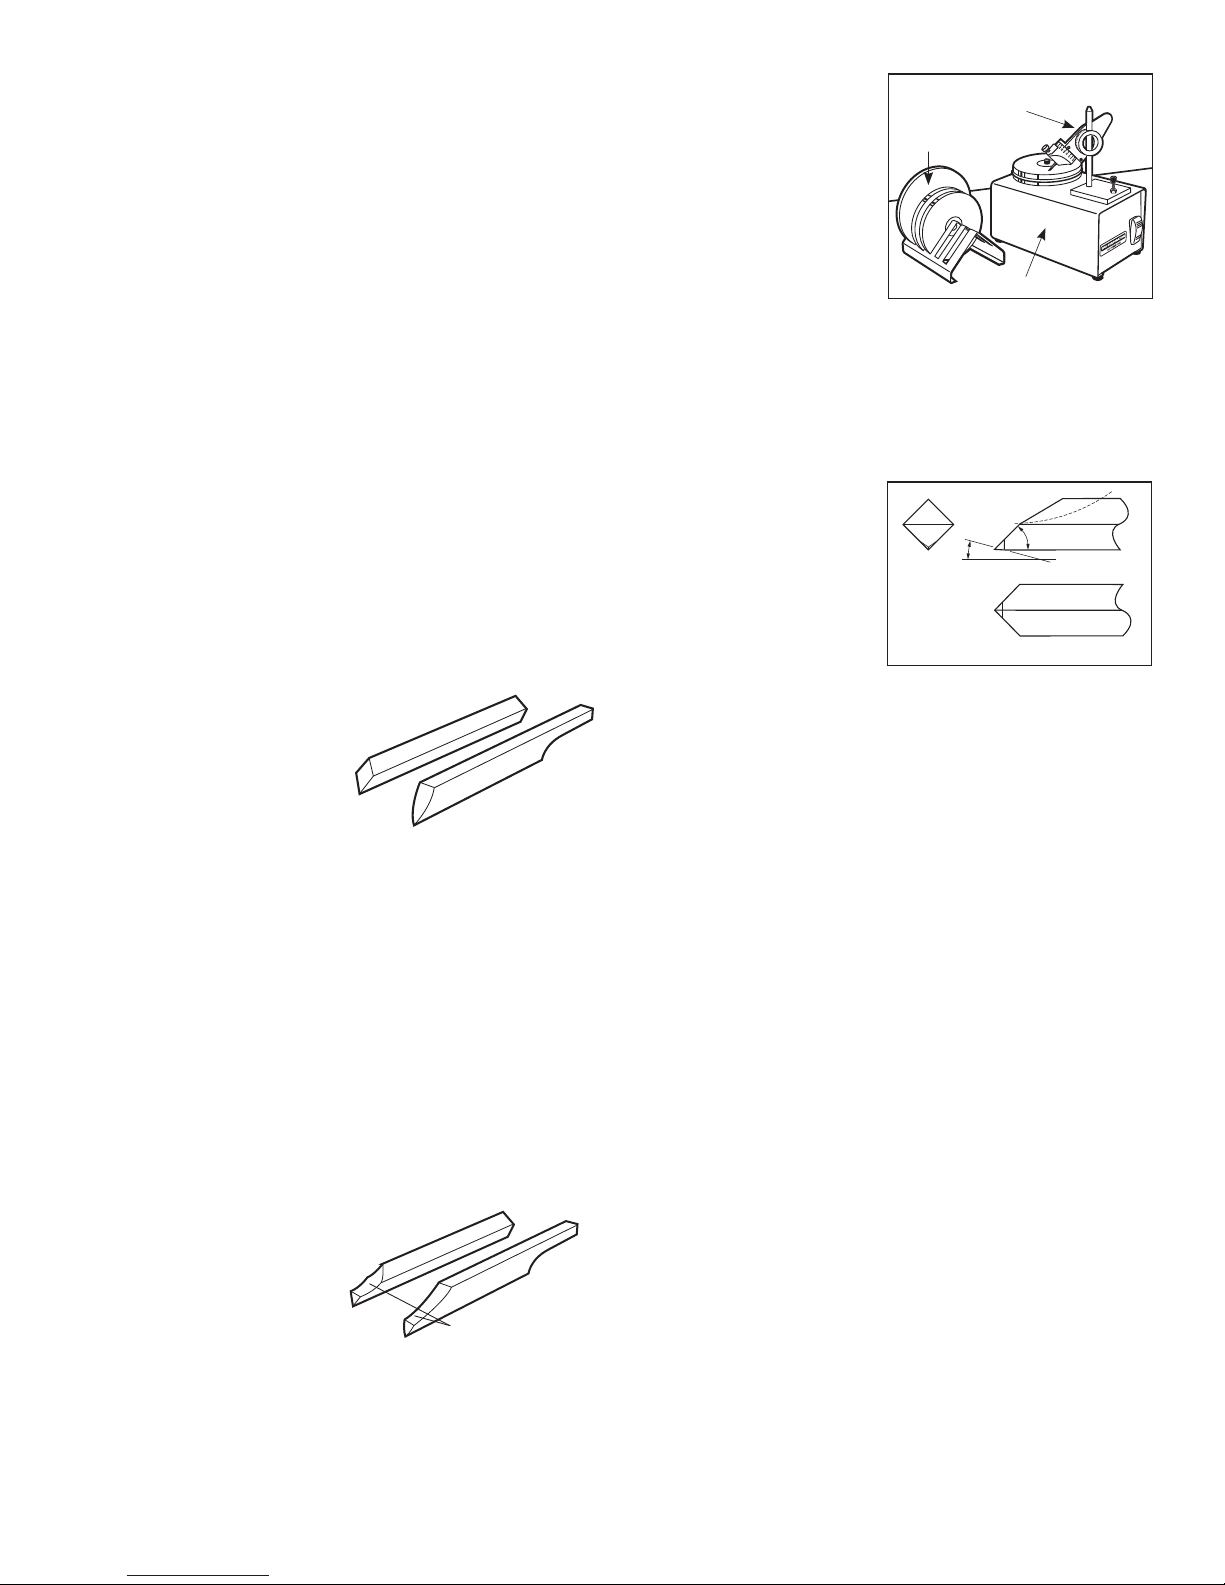
1.8 Various types of gravers
are used for different types and
styles of cutting, but the square
and point (Onglette) are the most
important in metal cutting, and
once you master the sharpening
techniques for them, you should
have little difculty with others.
SQUARE
POINT or ONGLETTE
consistent results.
A. The GRS Power Hone is a
valuable aid. Since the stone
or lap rotates, it is necessary
DUAL ANGLE
SHARPENING FIXTURE
CERAMIC LAP &
DIAMOND WHEELS
only to hold the graver at the
correct angle. You may leave
the graver in the Handpiece
as the added length provides
a convenient handle.
B. The combination of the
GRS Power Hone and
GRS POWER HONE
the Sharpening Fixture
provides the ideal sharpening system. The Sharpening Fixture
is designed specically for use with the Power Hone. With
this combination, you can sharpen repeatedly with consistent
results time after time. It is easy to learn - you merely follow
the instructions. A square graver can also be ‘heeled” with the
xture.
1.13 For good results, the
graver must be heeled, or
set-up. This task takes some
experimentation and practice
to produce satisfactory results.
FRONT
VIEW
SIDE
VIEW
45
15
HEEL ANGLE
The nish of the engraved cut is
greatly affected by the nish of
the graver heel. For a bright cut,
BOTTOM
VIEW
nish the heel using polishing
paper or a ceramic lap. Here is what the heel accomplishes:
A. It raises the working angle of the graver to a convenient height
from the work serface.
B. It provides depth control.
C. It gives clearance when working on irregular surfaces, and
prevents the bottom surface of the graver from dragging on the
edges of the cut when making curved cuts.
D. It improves the quality and appearance of the cut.
1.9 In the book, THE ART OF ENGRAVING, Mr. Meek’s excellent
illustration and discussion of the importance of proper tool
sharpening technique and geometry is especially helpful. He
relates to this subject in chapters 2, 4 and 7. This subject is of
utmost importance, and this reference material is most helpful.
1.10 Gravers should be ground on the face rst. The approximate
45-degree angle should be maintained. Keep the graver in the
handpiece for free hand sharpening. First, this will save time.
Second, the additional length provided is an aid in maintaining the
proper angle on the stone. It requires a considerable amount of
care and practice to maintain the proper angle while sweeping the
tool point across the stone.
1.11 A common error in
sharpening is the tendency
to increase the angle of the
face gradually each time the
graver is resharpened. To help
prevent this and to reduce the
sharpening time, it is helpful
to remove some of the excess
REMOVED
BY GRINDING
material near the point with a
bench grinder.
1.12 GRS sharpening equipment is a most valuable aid in tool
sharpening. It is especially helpful for beginners in the art of
engraving, and has been readily accepted by accomplished
engravers who have found that it is faster and produces more
Usually a heel angle of 15 degrees is used. Only a small amount of
material need be removed. A few light strokes on a ne, hard stone
is sufcient. Don’t be confused by the tremendous number and
variety of gravers available in the supply catalogs; virtually all work
can be accomplished with a small variety of points.
Tips for Practice Sessions
1.14 Start with simple cuts. Using a square or point (Onglette)
graver, begin by cutting straight lines - then simple curves. Practice
depth control, cutting both ne shallow lines, and deep cuts. It is
good practice to master the technique of varying the depth of cut
to produce a pleasing shaded effect. These practice sessions will
help you acquire the necessary skills in both tool control and tool
sharpening technique.
1.15 After you have mastered the basic skill, you can concentrate
on learning the more difcult and intricate designs. With condence
in your ability to control the tool, you will be able to execute
progressively more difcult patterns with varying depth of cut and
subtle shading - and nally on curved or irregular surfaces.
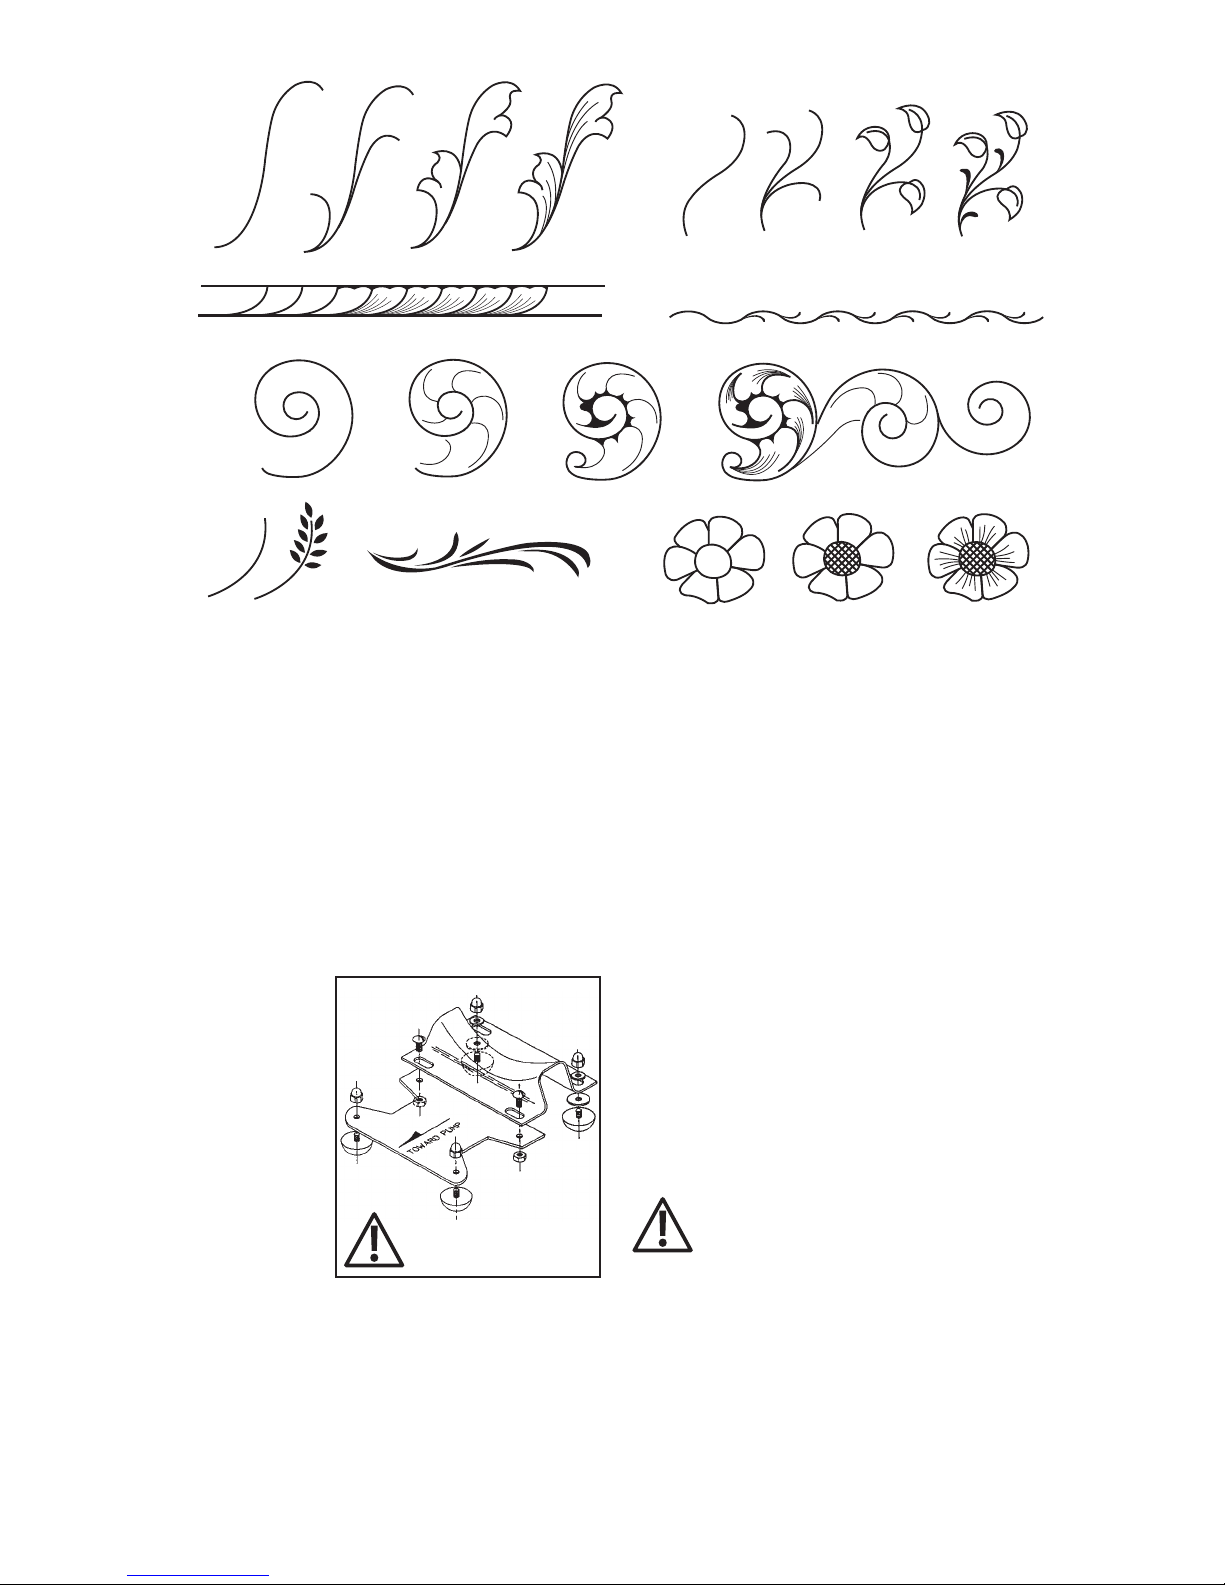
1.16 Simple exercises like those sketched on the top of the next
page are good beginning practice designs as they are relatively
simple. It is easy to determine the progression of the cuts to
generate the design, and they do not require a large amount of
rotation or manipulation of the work piece. This type of design is
also good practice for the beginning woodcarver.
3
MACHINE OPERATION
1
2
3
4
5
6
7
8
1
2
3
4
5
The operation section is divided into the following ve parts:
2.1 MACHINE STARTUP
2.2 HANDPIECE
2.3 THROTTLE
2.4 STROKE SPEED CONTROL
2.5 PUMP
2.1 Machine Startup
The GRAVERMEISTER has been completely checked out and set
for proper operation at the factory. It is shipped with the throttle,
handpiece, and accessories disassembled and packed separately
in the carton. The throttle hose is connected to the proper location
on the machine. To unpack:
A. Remove the machine from
the shipping carton.
B. Install the Foot Support
Assembly on the Pump
Mount. (Refer to instructions
on the foot support package
or the illustration below for
proper installation).
C. Connect the hose already
attached to the machine to
the foot throttle. Connect
the handpiece hose, the
shorter one, to the machine
valve assembly. Do not
interchange these hoses.
The handpiece hose must be shorter than the throttle hose for
proper operation.
D. The machine is now ready for operation, but please familiarize
yourself with all sections of the manual, and keep it handy for
future reference. It is valuable aid for successful use of the
GRAVERMEISTER.
2.2 Handpiece
The GRAVERMEISTER Handpiece is that portion of the machine
FOOT SUPPORT
ASSY. #002-024
WARNING: NEVER OIL
the non-lubricated pump.
It will cause unit to fail.
which acts as an air-driven hammer, and is used to hold and
provide power to the tool. It consists of the Chuck and Body
Assembly, Piston, Spring, and Air Connector. Currently ve
handpieces are available for use with the GRAVERMEISTER, and
they are easily interchanged.
A. The Handpieces are designed to work with a wide variety of
gravers, liners, wood chisels, chippers, etc. GRS gravers t
all GRS handpieces. Most other brand gravers will need to be
altered to t the handpiece chuck. Normal tool shank diameter
for each handpiece is 1/8 inch.
B. The Piston is the stroking element. Its reciprocating action
delivers the impact to the tool.
C. The Spring holds the Piston in its proper position in the
Handpiece body and is an important element in the stoke
control characteristics of the machine.
D. Only one handpiece can be connected to the Gravermeister
at a time. GRS offers a Quick Disconnect Kit (#004-615)
that allows you to switch from one handpiece to another in
seconds.
HOW TO HOLD THE HANDPIECE
Normally, you should hold the handpiece like a table knife, not like
a pencil. A few exceptions are hammering and stippling. Resist the
urge to grip the handpiece tightly. Train yourself to hold it as softly
as you can.
IMPORTANT
Gravermeister handpieces have an internal piston that
creates some vibration during operation. A few people are more
sensitive to this hand vibration than others. Should the user
experience hand or nger numbing, excessive tingling, pain,
etc. the use of this tool should be discontinued. There are many
variables and several steps can be taken to reduce the effect of
this vibration.
Operator Tips that lessen hand fatigue and vibration:
1. Hold the handpiece as loosely as possible. Studies done
on a variety of power tools indicate that strong tool gripping
signicantly aggravates hand vibration problems.
4
 Loading...