

Page 1
GROUND HOG
OPERATORS
MANUAL
MODEL
T-4
TRENCHER
GROUND HOG INC .
FOR FURTHER INFORMATION CONTACT...........
P.O. BOX 290 / SAN BERNARDINO / CALIFORNIA 92402
FAX: (909) 478-5700 / TOLL FREE: (800) 922-4680
[email protected]
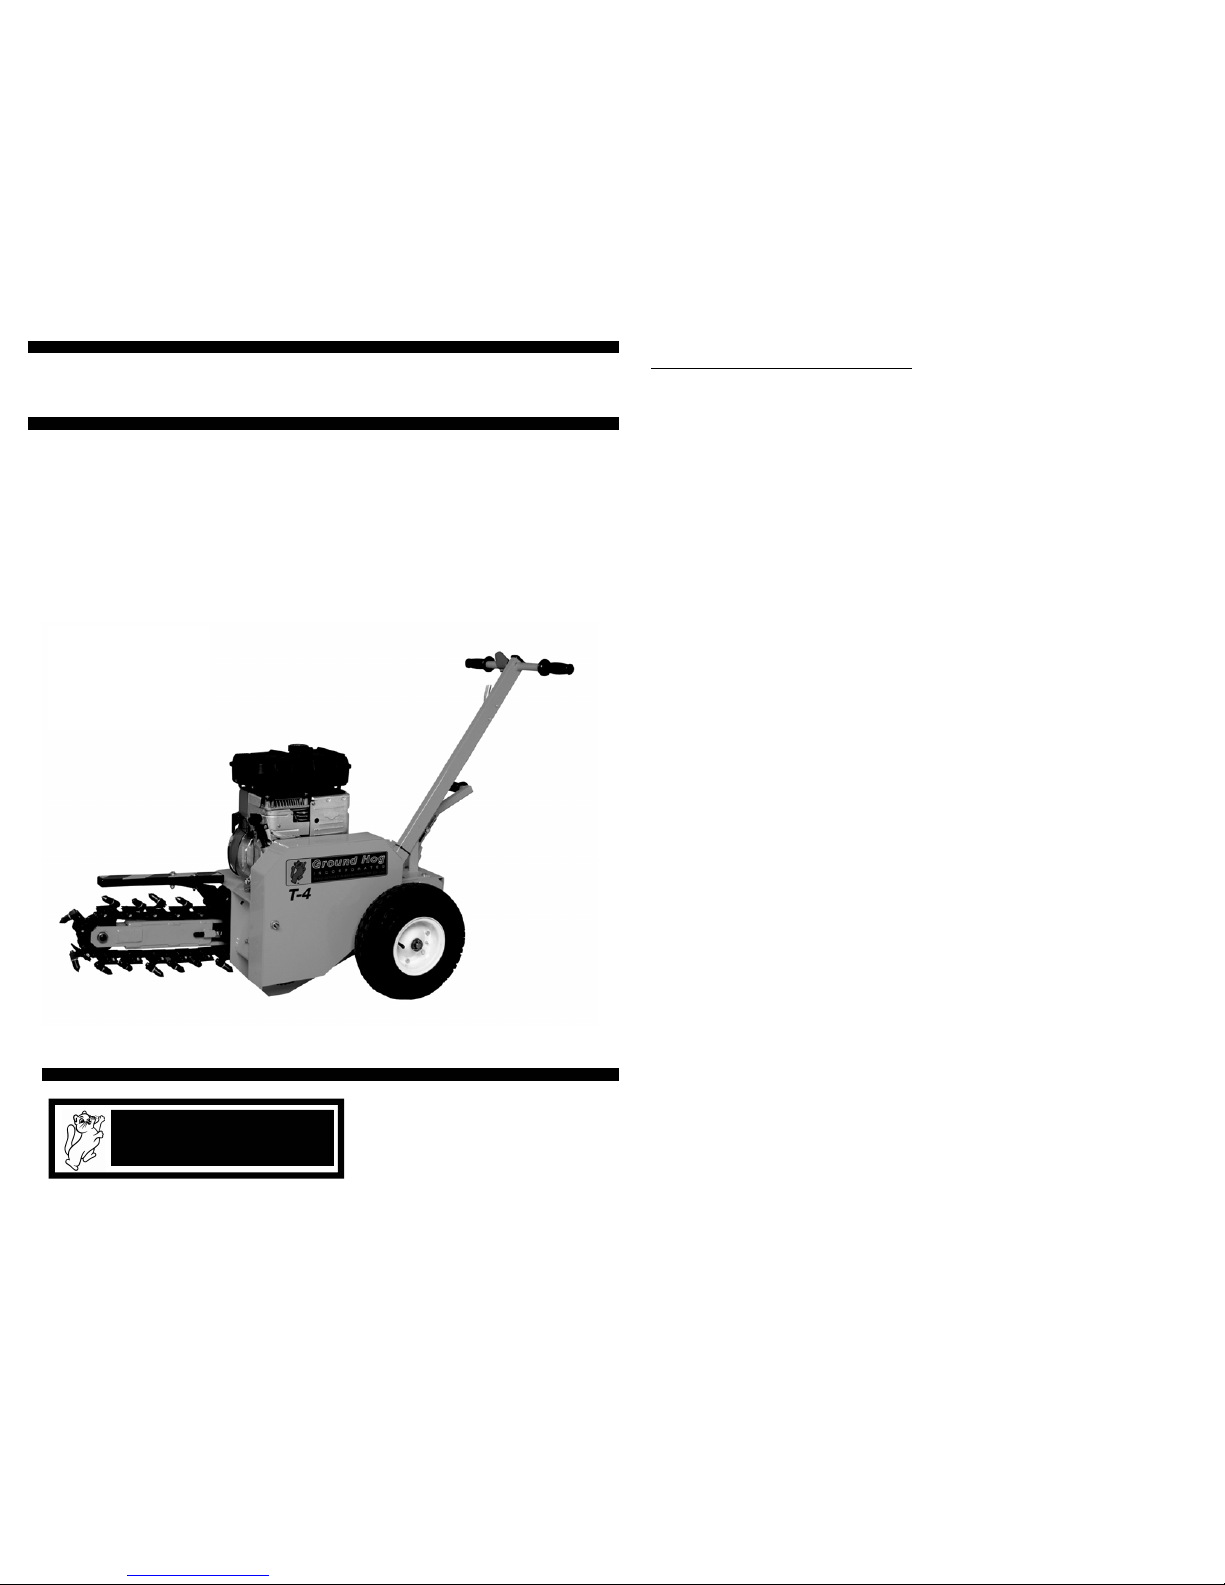
THE GROUND HOG T-4 TRENCHER
It is your responsibility as the
operator of this piece of equipment to
know what specific requirements,
precautions and work hazards exist.
You must read and understand all of
the information contained in the
operators manual.
The Ground Hog model T-4 trencher
is a small, operator propelled , chaintype trencher designed for the
installation of lines that require a
narrow shallow trench.
Powered by a 5 H.P. engine, and
equipped with carbide teeth, it has
more than enough power to trench
through the toughest soils, however,
because of its small size, low horse
power and trenching capacity, it is
limited in what it is capable of doing.
The job site, soil conditions, job
specifications and operator
experience may dictate that a different
tool or method be used to do the job.
The digging chain of any trencher
has a tendency to pull the trencher in
the opposite direction you want to dig.
For this reason, be sure that the
digging teeth are not in contact with
the ground or other objects while
starting the motor and that the wheel
lock device engages before lowering
the digging bar into the ground. Be
sure that you have a firm grip on the
1
chine and are ready to control it when
the digging bar comes
in contact with the ground.
Trenchers of all type have a
tendency to “hop” or “buck” under
certain conditions. This can be the
result of certain soil conditions or
buried objects that the trencher
cannot cut through or lift to the
surface. The trencher must be
stopped and the object removed, or
restart the trench beyond the object
using a different method of trench ing
through or around the object.
NOTE: It is important that any piece
of machinery be kept in the best
mechanical condition possible. Failure
to properly maintain machinery greatly
reduces the productivity of the tool
and could create a hazard to the
operator or bystanders. DO NOT use
machinery if it has been modified or
improperly maintained.
Page 2
1. Keep bystanders away from the
trench and trencher while it is in use.
Remember, trenchers are useful
tools, but they can be hazardous both
to the operator and bystanders.
2. Before using trencher, clean work
area of debris, such as, rocks, wire,
boards, and any other potential
hazards. Inspect the entire work area
for unexpected buried hazards, such
as boulders, foundations and fencing.
3. Make sure you know the location
of all buried utility lines. The utility
companies will locate and mark the
lines for you.
WARNING: A cut electrical
cable or gas line can result in
injury or fatality.
4. Always stop the motor when you
leave the operator’s position of the
trencher or if somebody approaches
the trencher at the “working end”.
5. Always wear the proper clothing
and equipment for the job. Eye and
ear protection, helmet, boots, gloves
and dust masks are some items that
may be required.
CAUTION: Never wear a
watch, ring or neck tie when
working with machinery. Keep your
hands, loose clothing and your hair
away from moving parts.
6. Use extreme caution while
operating trencher on uneven terrain.
Do not risk tipping or rollover. Try to
use trencher in a level position. Make
sure you know the stability of the
trencher. Natural vibration will make
the trencher creep sideways down a
slope.
7. While digging, if the trencher hits
anything, jams or begins to labor, turn
the motor off and inspect the trench
and trencher for any possible causes.
8. Always start trenching a safe
distance from any object , such as, a
fence or foundation. The digging teeth
could possibly catch and climb the
object.
9. Never operate the trencher or run
the engine in unventilated areas.
10. Avoid coming in contact with the
muffler and other engine parts after
the engine is started. Temperature
may exceed 150°F (66.6°C). Allow
engine to cool before attempting to
perform any maintenance.
SAFETY TIPS
2
CAUTION: Before operating trencher, BE SURE THAT IT IS
STRUCTURALLY AND MECHANICALLY SAFE. Check all engine controls,
clutch action, belt and chain condition, and wheel ratchets. Be sure that the
protective guards are in place. If the trencher is not working properly or is not
structurally safe, take the necessary steps to put it in working order before
putting it in operation.
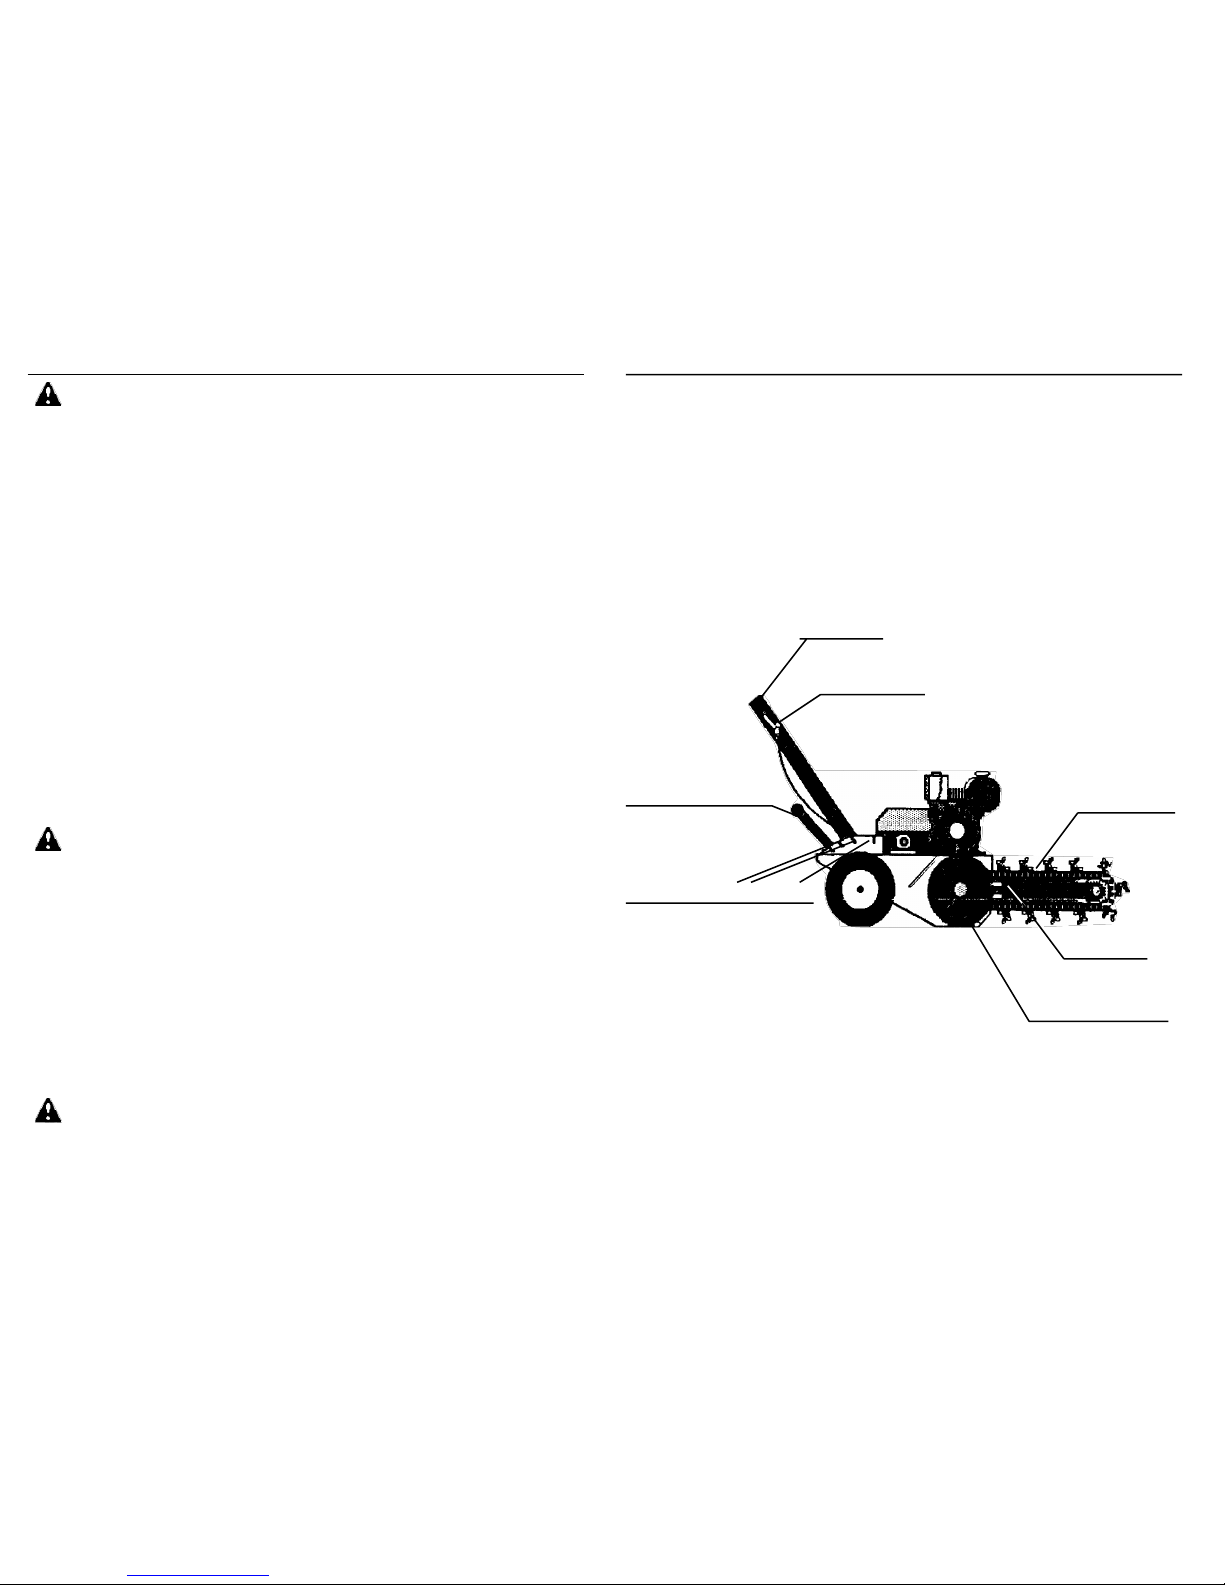
DEPTH SETTINGS / 6” 8” AND 12”
THE T-4 TRENCHER
STOP SWITCH
THROTTLE LEVER
DIGGING CHAIN
DIGGING BAR
SIDE DELIVERY AUGER
DEPTH CONTROL LEVER
3
Page 3
STARTING THE T-4 TRENCHE R
1. Follow the procedures outlined in
the engine manual supplied with the
trencher, or have somebody familiar
with the trencher instruct you.
NOTE:
The procedures in the manual
are basic instructions. The procedure
could vary slightly depending on the
engine controls used on the trencher.
2. Always stand to the rear of the
trencher, away from the side delivery
auger and digging chain, while
starting the engine.
3. Make sure that all of the stop
switches are in the “ON” position
before attempting to start the engine.
NOTE: All trenchers have two stop
switches, one on the engine and one
on the handlebar.
4. Follow the procedures outlined in
the engine manual supplied with the
machine, start the engine.
CAUTION: While starting and
when engine is running, if the throttle
is set higher than idle, the clutch will
engage which will cause the digging
chain and other components to start
moving.
KEEP BYSTANDERS CLEAR.
5. When the engine starts, bring it to
an idle and allow it to warm up for two
or three minutes before operating.
PREPARING TO TRENCH
1. With the engine running at an idle,
push down on the handlebar; raising
the digging bar.
2. Move the depth control lever
forward until it locks in the first notch.
The depth control lever is located at
the rear of the trencher. To operate,
lift the lever until the”lock” is clear of
the “notch” on the side plates. Slowly
move the lever forward until the
digging bar is at the first “notch”.
Insert the “lock” into the “notch” to set
the digging depth. Notches are set at
approximately 6, 8 and 12 inches.
3. Increase the engine speed and
lower the digging bar, allowing it dig to
its depth; making sure you have
control of the trencher during this
process.
4. If a deeper depth is required,
slowly move the depth control lever
forward until the desired depth is
reached; maintaining firm control of
the trencher at all times.
5. Set engine speed as required for
best penetration.
4
TRENCHING
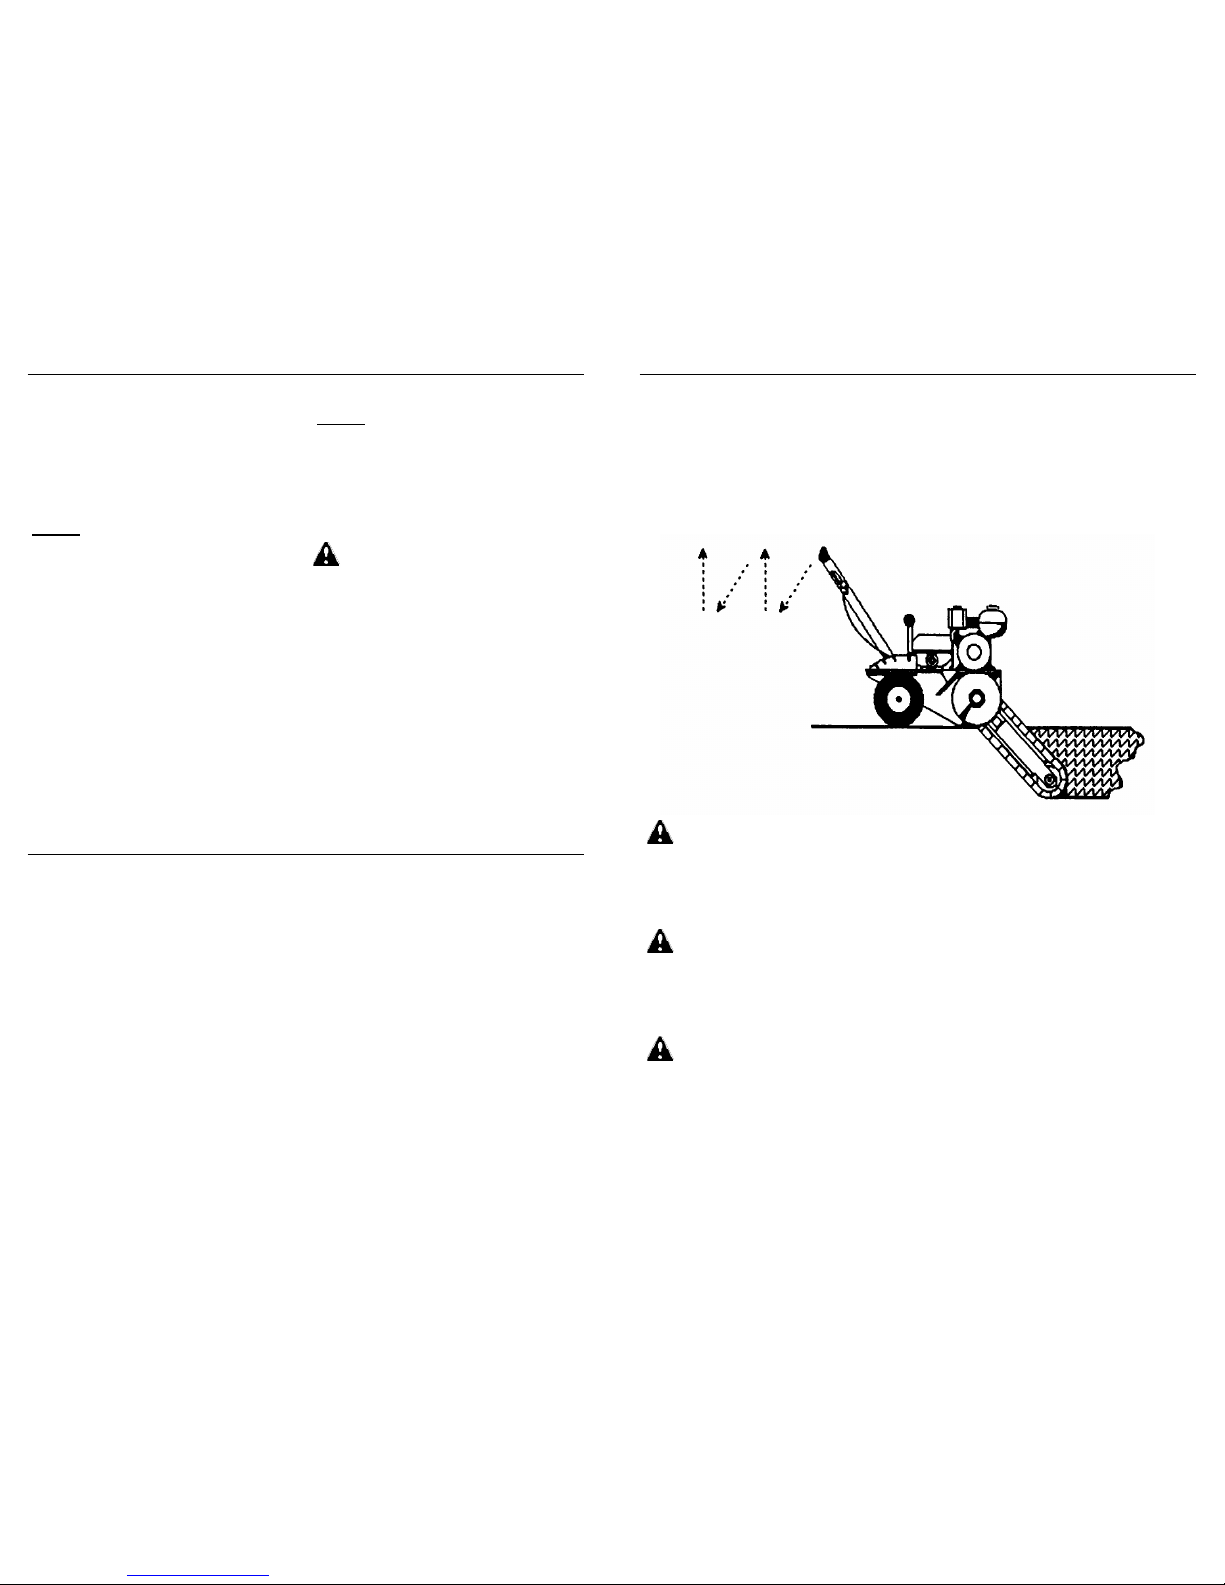
Using a “can opener” or “rocking” motion, push down on the handle bars 2 to 4
inches. At the same time, pull the trencher toward you 4 to 6 inches. Slowly
allow the handlebars to raise until they stop. Repeat this motion throughout the
trenching operation. The wheel lock will aid you in this operation by helping to
hold the trencher in position until the next motion is started.
CAUTION: When trenching in areas filled with obstructions, such as
rocks and debris, operate the trencher at less than full throttle to assure a
quicker clutch release to prevent damage to the machine and possible injury to
you or bystanders.
CAUTION: This tool is intended to dig in soils only. It is not intended to
be used for cutting through rock, concrete, asphalt, wood, metal or any other
material that is not of a soil type. Attempting to do so may result in damage to
the machine or injury to the operator or bystanders.
CAUTION: Stop engine and remove sparkplug wire before attempting to
clear any jams in the digging chain, side delivery auger, clutch or drive belt and
primary chain drive. Remove sparkplug wire before performing any
maintenance on machine.
5
Page 4

1. When trench is finished, shut the motor off. Refer to engine manual for
correct procedure.
2. Using depth control handle, raise digging bar out of the trenchand lock it in
the rear most notch.
3. The trencher can now be moved.
4. Service the machine.
WARNING: Never move the trencher from place to place while the
engine is running.
6
1. After every use, grease the zerk
fittings on the pillow block bearings
and on the front of the T-4 body.
2. After every use, run the digging
chain while in the “up” position for a
couple minutes so as to loosen any
grit or dust that might have gotton into
the rollers. This will help keep the
chain from freezing up.
3. Occasionally put some dry lube
like WD-40 or LPS on the rollers of
the digging chain to help prevent “lock
up” especially if stored outside. Do not
use oil.
4. Replace worn out carbide bits
when necessary to avoid damage to
the chain.
5. Service engine according to its
operations manual.
6. Do not let primary drive chain or
clutch belt get too slack. To tighten
chain, remove belt guard and loosen
the idler sprocket nut and slide the
sprocket firmly against the chain and
tighten nut. To tighten belt belt, loosen
the engine base bolts and slide the
engine to take up the slack and
tighten bolts.
7. After every use, clean the excess
dirt from the T-4 to prevent premature
wearing of parts.
FINISHING
MAINTENANCE
The T-4 is like any other piece of equipment when it comes to servicing. If it is
periodically maintained it will perform better and last longer. If it is not serviced,
parts will wear out more quickly and expensive repairs will become necessary.
This operations manual provides some common sense guides to promote safety and efficiency in
the use of the equipment described. They are compiled from instruction sheets, manuals, refer ence
manuals and other sources believed to be reliable. No warranty, guarantee, or representation is
made by Ground Hog, Inc. as to the absolute correctness or sufficiency of any information or
statements included in this manual. They are intended to deal principally with common practices
and conditions encountered in the use of the equipment, and are not intended to be all inclusive.
OPERATORS KNOWLEDGE, CAUTION, COMMON SENSE AND GOOD JUDGEMENT ARE
 Loading...