

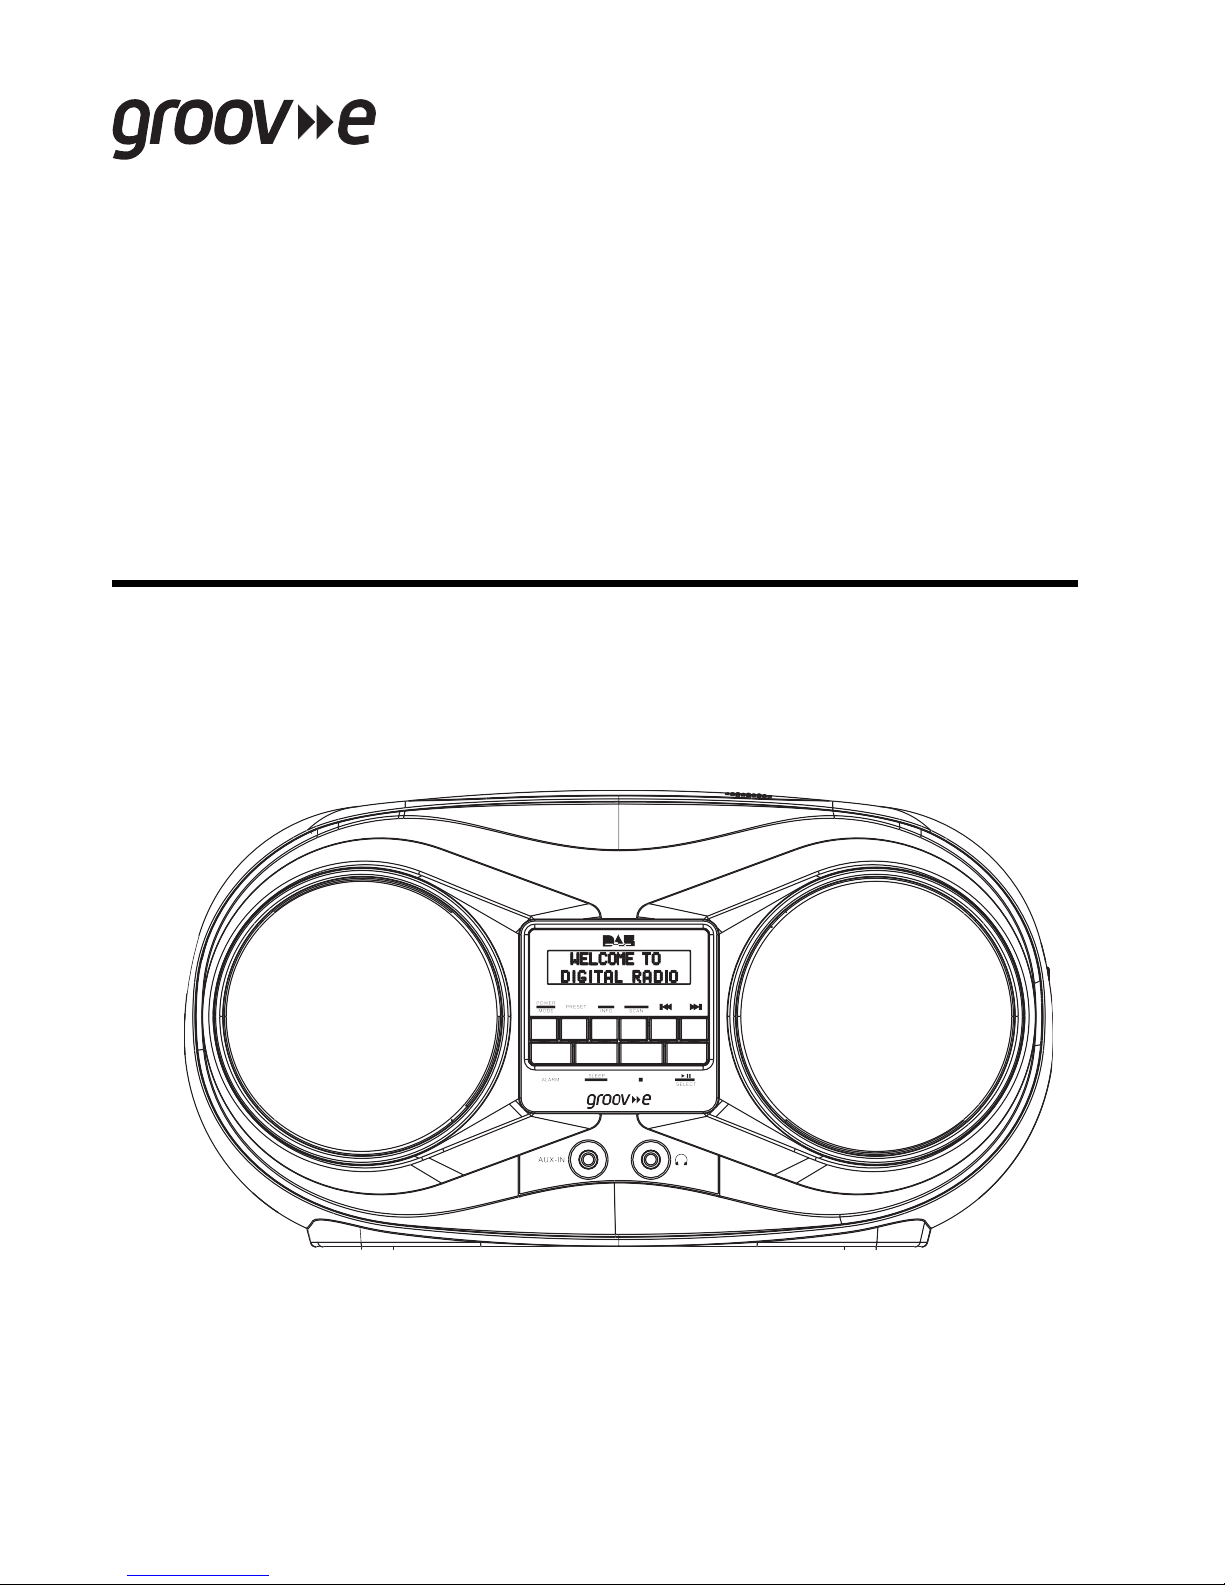
Groov-e GV-PS753 Instruction Manual
GV-P
S753
P
ORTABLE CD PLAYER WITH
DAB / FM DIGITAL RADIO
I N S T R U C T I O N MAN U A L
MENU CD MODE
SNOOZE

WARNING
1
T
O PREVENT FIRE OR SHOCK HAZARD DO NOT EXPOSE THIS APPLIANCE TO RAIN OR MOISTURE.
CA
UTION
RISK OF ELECTRIC SHOCK
DO NOT OPEN
WARNING: SHOCK HAZARD-DO NOT OPEN
LI
GHTNING FLASH WITH ARROWHEAD SYMBOL -
within an equilateral triangle, is intended to alert the
user to the presence of uninsulated dangerous
voltage within the products enclosure that may be of
sufficient magnitude to constitute a risk of electric
shock to persons.
EXCLAMATION POINT - within an equilateral triangle,
is used to indicate that a specific component shall be
replaced only by the component specified in that
documentation for safety reason.
The
following label has been affixed to the unit, listing the proper procedure for working with the laser beam:
CL
ASS 1 LASER PRODUCT LABEL -
This label is attached to the place as illustrated to inform that the
apparatus contains a laser component.
W
ARNING LABEL INFORMING OF RADIATION -
T
his label is placed inside the unit. As shown in the illustration. To
warn against further measures on the unit. The equipment contains
a laser radiating laser rays according to the limit of laser product of
class 1.
T
his equipment is a Class II or double insulated electrical appliance,
it does not require a safety connection to electrical earth.
CLASS 1 LASER PRODUCT
KLASS 1 LASER APPARAT
LUOKEN 1 LAISERLAITE
KLASSE 1 LASER PRODUKT

2
SAFETY INSTRUCTIONS
1
. READ INSTRUCTIONS - All the safety and operating instructions should be read before the appliance is operated.
2
. WATER AND MOISTURE - The appliance should not be used near water.
3
. VENTILATION - The appliance should be situated so that its location or position does not interfere with its proper
ventilation. that may impede the flow of air through the ventilation openings.
4
. HEAT - The appliance should be situated away from heat sources such as radiators, stoves, or other appliances
(including amplifiers) that produce heat.
5
. POWER SOURCE - The appliance shoul d be connected to po wer suppl y only of t he t yp e described in th
e
o
perating instructions or as marked on the appliance.
6
. POWER CORD PROTECTION - Power supply cords should be routed so that they are not likely to be walked on
or pinched by items placed upon or against them.
7
. POWER LINES - An outdoor antenna should be located away from power lines.
8
. OBJECT and LIQUID ENTRY - Care should be taken so that objects do not fall, and liquids are not spilled into
the enclosure through the openings.
9
. ESD WARNING – If the display does not function properly or there is no reaction to any of the controls, this may
be due to electrostatic discharge. Switch off and unplug the set. Reconnect after a few
seconds.
1
0. DAMAGE REQUIRING SERVICE - The appliance should only be serviced by qualified service personnel when:
a. The power-supply cord or plug has been damaged.
b. Objects have fallen into, or liquid has been spilled into the appliance enclosure.
c. The appliance has been exposed to rain.
d. The appliance has been dropped, or the enclosure damaged.
e. The appliance does not appear to operate normally.
1
1. SERVICING- If an error display or malfunction occurs switch the appliance off and disconnect the power cord or
remove the batteries and then reconnect to your power source and switch the appliance back on.
B
EFORE OPERATION-
P
lease take care as dirty, damaged or warped CD’s may damage the appliance, care should
be taken and only use CD’s with the marks shown below
3
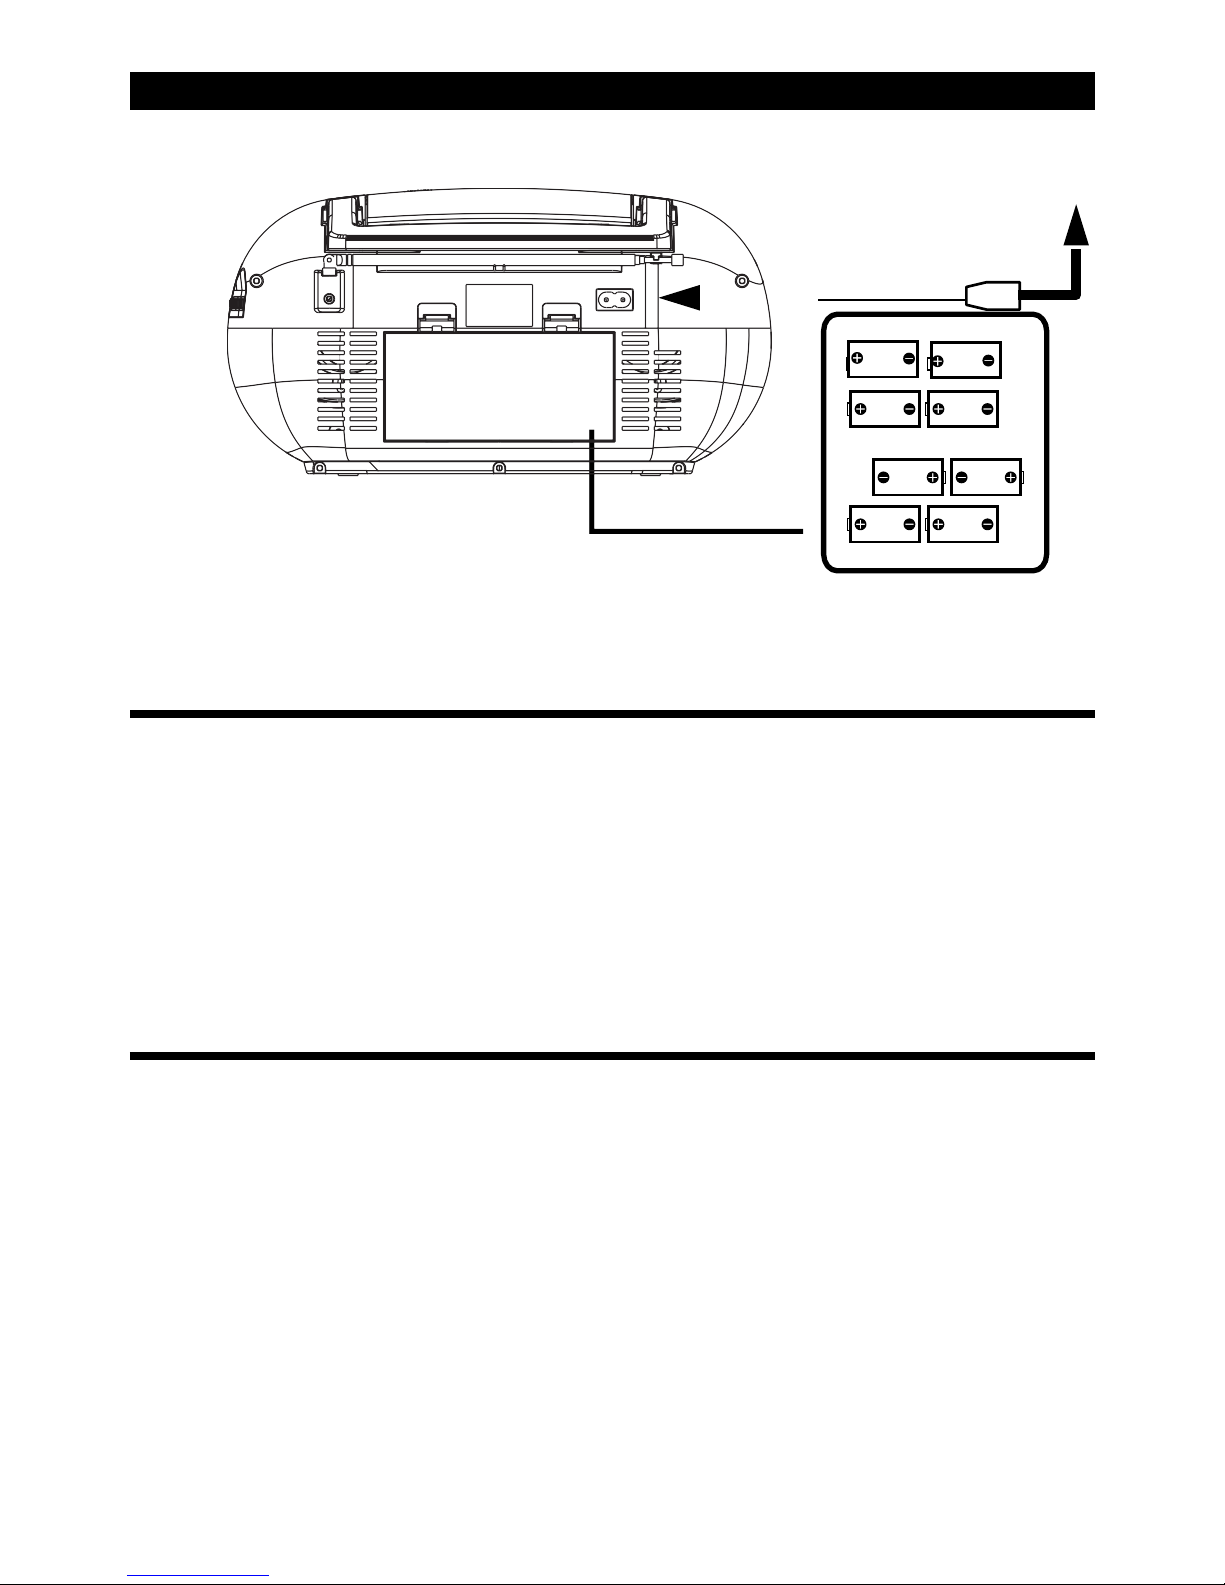
POWER SOURCES
t
o a wall outlet
Insert 8 x “C” size batteries
into the battery compartment
A
C POWER
Y
ou can power your portable system by plugging the det achable AC power cord into the AC inlet at
the back of the unit and into a wall AC power o utlet. Check that the rated voltage of your appliance
matches your local voltage. Make sure that the AC power cord is fully inserted into the appliance.
P
ower Source
AC 230V ~ 50Hz
Batteries: 8x1.5 "C" Size (UM-2/LR14)
(Optional, not supplied)
B
ATTERY POWER
Ins
ert 8 x “C” size batteries into the battery compartment. Be sure that the batteries are inserted
correctly to avoid damage to the appliance. Always remove the b atteries when the appliance will not
be used for a long period of time, as this will cause leakage from the batteries and subsequent
damage to your appliance.
N
otes:
- Use batteries of the same type. Never use different types of batteries together.
- To use the appliance with batteries, disconnect the AC power cord from it.
to
AC IN
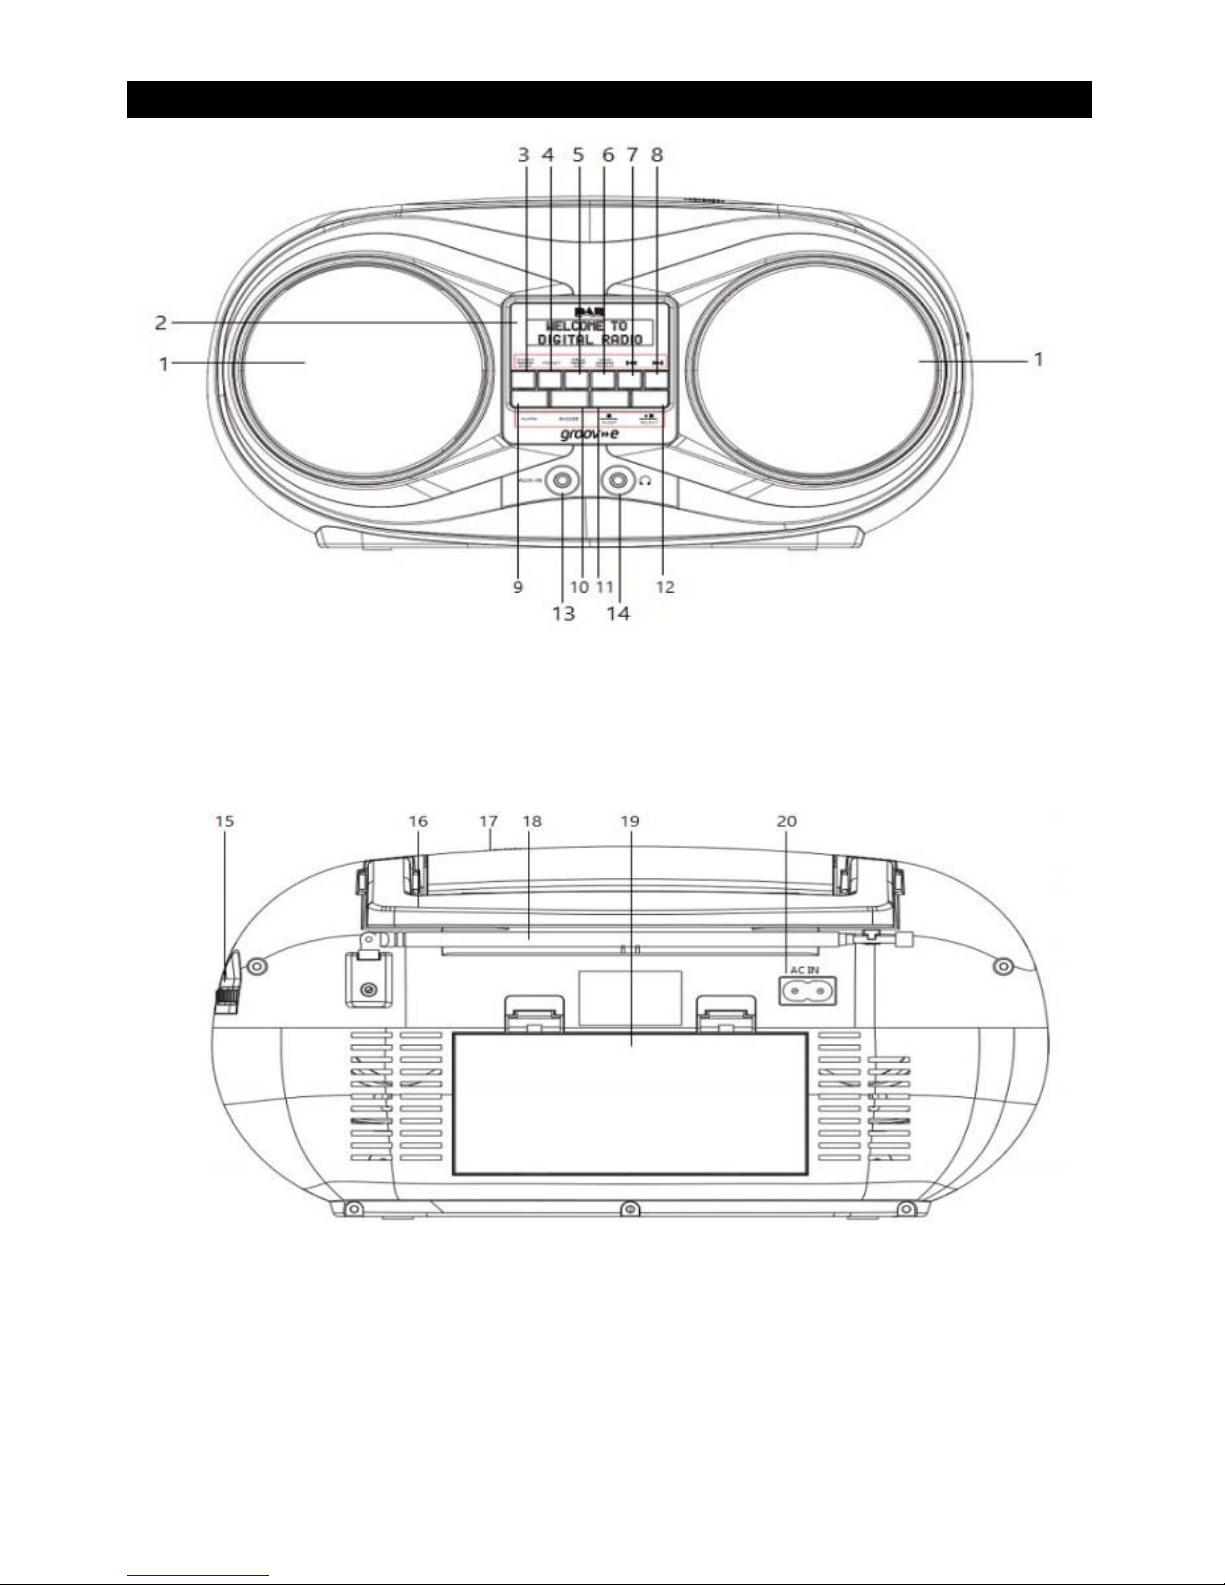
LOCATION OF CONTROLS
4
FM ANTENNA
CD DOOR
VOLUME
CONTROL

LOCATION OF CONTROLS
5
1.
Spe
aker
2.
LCD
Display
3.
Power/Mode
4.
Preset
5.
Menu/Info
6.
CD mode/Scan
7.
Prev/Skip/Tune-
8.
Next/Skip/Tune+
9.
Alarm
10.
Sleep/Snooze
11.
Stop
12.
Play/Pause/Select
13.
Aux in
14.
Headphones
15.
Volume Control
16.
Carry handle
17.
CD compartment
18.
Telescopic antenna
19.
Battery compartment
20.
Power cable

OPERATION
6
Initial set-up
Press and release the Power/Mode button. The first ti m e you switch on your
Boombox or if the station lis t is empty, your Boombox will automatically begin to scan
for DAB radio stations. A progress bar will show the progress of the scan and the
number of stations found dur ing the scan will also be displayed.
When the scan is complete your Boombox will select the first available station and
begin to play. Stations are listed in numerical and then alphabetical order by default.
Change the mode
Press and release the Power/Mode button to change between DAB radio, FM radio, CD,
and AUX modes. Please check the display, which will confirm the mode.
Adjusting the volume
Turn the rotary volume cont r ol away from you to increase the v ol ume and towards you to
decrease the volume.
Note: Always keep the volume within reasonable limits.
Time and date
T
he first time you listen to DAB radio, the time and date of your product will be
synchronized automatically to that broadcast by the DA B service in 24-hour mode; which
is in line with daylight saving, so there is no need to set the time and date manually.
If y
ou do wish to set the time and date manually, turn on the Boombox and follow the
steps below:
1.
Pre
ss and hold the Menu/Info button until <Full scan> is displayed.
2.
Pre
ss the or button to <System>. Press and release the Select button.
3.
<T
ime> is displayed. Press and release the Select button. <Set Time/Date> is
displayed. Press and release the Select button.
4.
Set time is displayed and the hour digits will flash. Use or to scroll
to the correct hour. Press and r el ease the Select button.
5.
T
he minutes will now flash. Press the or button to the correct minutes.
Press and release the Select button.
 Loading...