

Grizzly T1227, T1228, T1229 Instructions Manual
MODEL T1227/T1228/T1229
MAGNETIC CHUCK
INSTRUCTIONS
For questions or help with this product contact Tech Support at (570) 546-9663 or techsupport@grizzly.com
Introduction
The T1227-29 Magnetic Chucks are designed to
safely secure flat ferrous metal workpieces to the
work table for grinding operations. The ON/OFF
function of this chuck allows for easy adjustment
of a workpiece.
Inventory
Description Qty
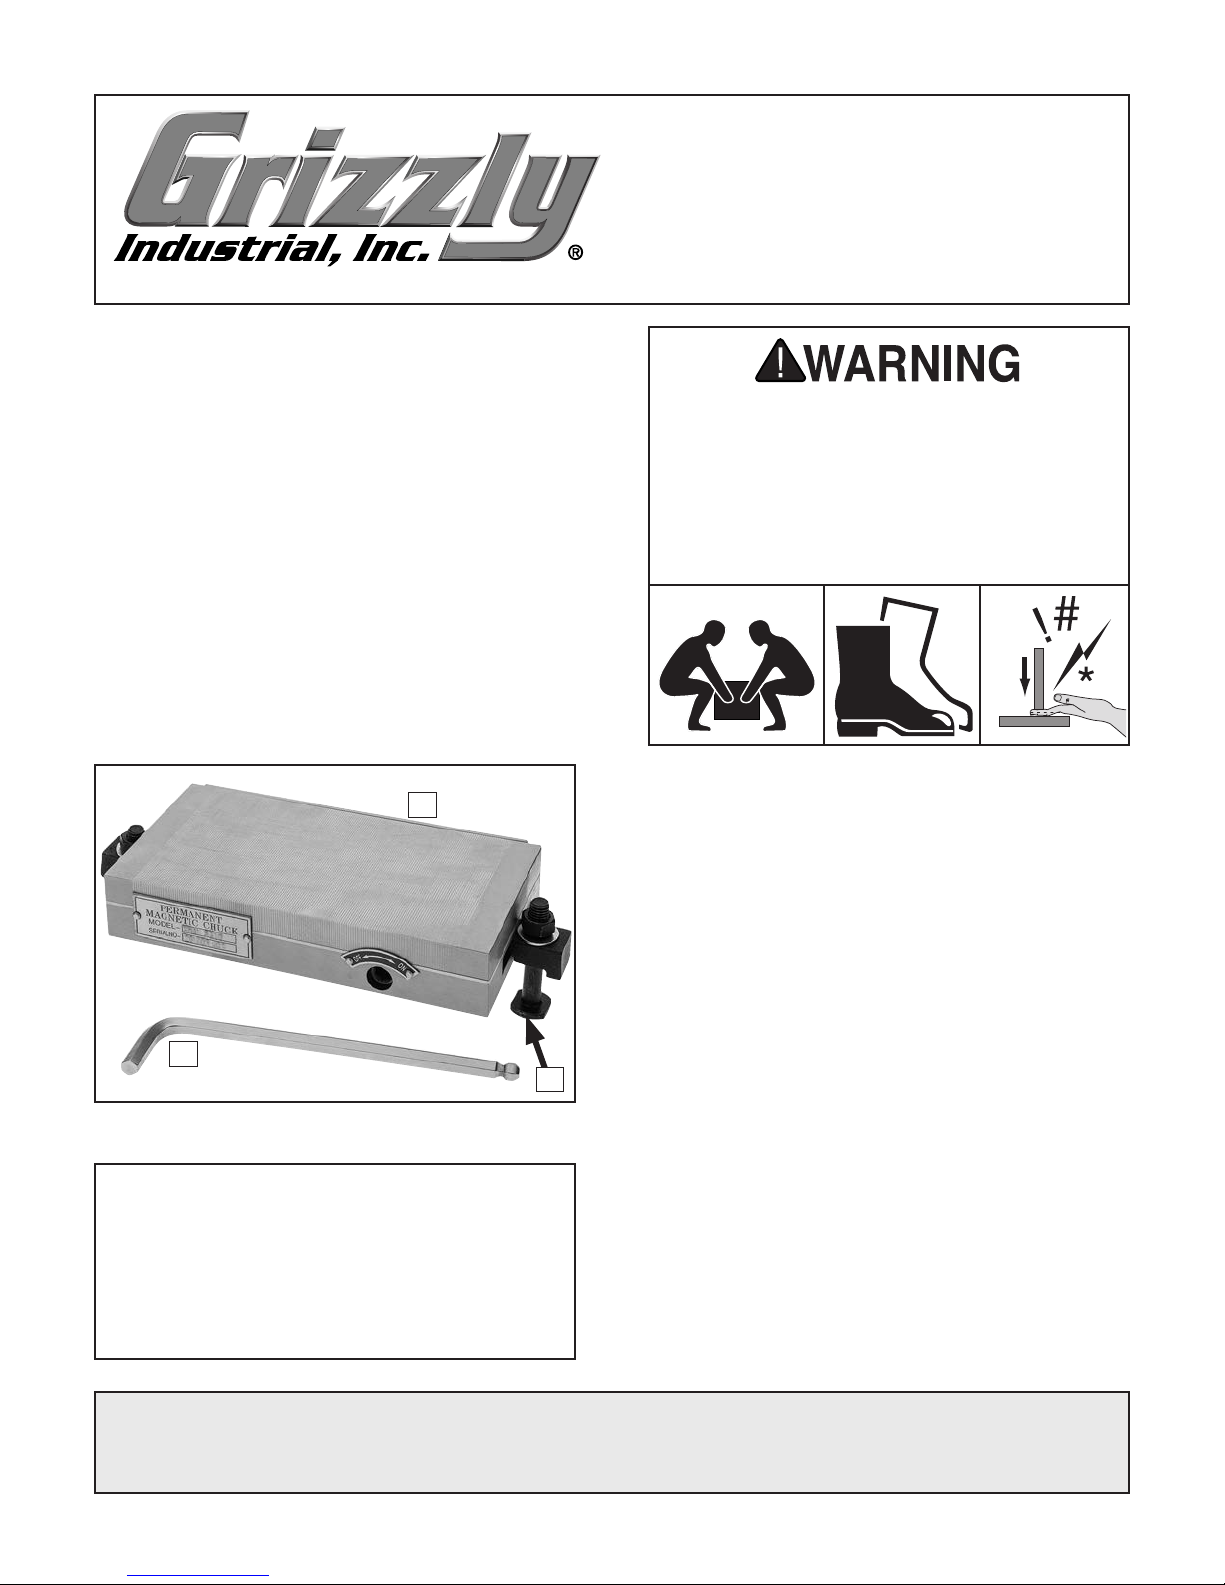
A. Magnetic Chuck .......................................... 1
B. Hex Wrench 8mm ....................................... 1
C. Step Clamp Hold-Down Assemblies .......... 2
—T-Slot Bolts M12-1.75 x 70....................... 2
—Hex Nuts M12-1.75 .................................. 2
—Flat Washers 12mm ................................ 2
Magnetic chucks are heavy! Get assistance
if needed when installing or removing the
magnetic chuck from the surface grinder.
Wear heavy-duty leather boots for foot and
toe protection, and keep hands and fingers
away from all pinch points. Ignoring this
warning can lead to crushing injuries.
A
B
C
Figure 1. Models T1227-29 inventory.
NOTICE
If you cannot find an item on this list, carefully check around/inside the machine and
packaging materials. Often, these items get
lost in packaging materials while unpacking or they are pre-installed at the factory.
Magnetic Chuck Safety
1. STRONG MAGNETIC FIELD: A magnetic
chuck generates a powerful magnetic field.
Keep all objects sensitive to magnetic fields
(watches, cellular phones, magnetic cards,
etc.) away from the magnetic chuck to prevent damaging them.
2. PINCHING/CRUSHING INJURY: A magnetic
chuck generates significant clamping power.
When a magnetic object is moved near a
chuck that is turned ON, it will be attracted.
Any body parts caught between the object
and chuck will be pinched or crushed by the
magnetic force. Turn magnetic chuck OFF
any time it is not in operation.
3. WORKPIECE EJECTION: The workpiece
could be ejected during operation, causing it
to hit the operator with deadly force. Never
stand directly behind the workpiece (in the
direction of spark travel).
COPYRIGHT © OCTOBER, 2017 BY GRIZZLY INDUSTRIAL, INC.
NO PORTION OF THIS MANUAL MAY BE REPRODUCED IN ANY SHAPE
OR FORM WITHOUT THE WRITTEN APPROVAL OF GRIZZLY INDUSTRIAL, INC.
(FOR MODELS MFD. SINCE 9/17) #JH19252 PRINTED IN CHINA
V1.10.17

4. MAGNETIC FORCE VARIATION: Clamping
force generated varies greatly depending on
the material, thickness, flatness, and cleanliness of the workpiece. A workpiece that does
not clamp securely may be ejected from
the chuck during use and thrown into the
operator or bystanders. ALWAYS check for
adequate clamping force before beginning an
operation.
Grinder Preparation
Before placing your magnetic chuck onto your
surface grinder table, you must ensure that your
grinder table is flat. Variations in table flatness can
occur as a result of shipping and storage, manufacturer's production tolerances, overheating during use, previously mounted magnetic chucks, or
for various other reasons.
5. SUDDEN WORKPIECE MOVEMENT: When
the magnetic force is released, workpieces
may shift or fall unexpectedly and could result
in crushing injuries or personal injury. Fully
support any clamped workpieces before turning the magnetic chuck OFF.
6. PROPER MOUNTING: If magnetic chuck
shifts during use, chuck and workpiece could
be ejected from machine and thrown into
operator or bystanders, resulting in impact
or crushing injuries. Make sure the magnetic
chuck is properly secured to grinding table
before operation.
7. CHUCK STOPS: If the workpiece is not resting against the stops during operations, it may
shift and could be ejected from the machine
and thrown into the operator or bystanders,
resulting in impact or crushing injuries. Make
sure the workpiece rests against the rear and
side stops during operation. If necessary, use
spacers between the stops and workpiece.
8. SURFACE GRINDER SAFETY: Failure to
follow surface grinder safety could result in
serious personal injury or even death. Follow
all safety guidelines provided by your surface
grinder manufacturer.
9. RELEASING CLAMPING FORCE: Turning
the magnetic chuck OFF during operation
will release the workpiece, which may cause
the workpiece to shift and be thrown into the
operator or bystanders. Never turn the chuck
selector OFF during grinding operation.
To prepare the grinder table for chuck mounting,
very lightly grind, or "dust", the entire table surface
to make sure it is perfectly flat.
Chuck Preparation
Before putting your new magnetic chuck to use,
there are a few steps you must take to ensure
optimal performance and accuracy from your
grinding operation.
Removing Surface Imperfections
If damage was done to the crate during shipping,
the bottom surface may have scratches or dings.
If any imperfections are detected, perform the following steps.
To remove surface imperfections:
1. Very carefully clean grinder table and top sur-
face of magnetic chuck to remove any foreign
material.
2. Use a polishing stone to remove any surface
imperfections on machine table and top surface of magnetic chuck. Rough table finish
may reduce holding power during the following steps.
3. Carefully place magnetic chuck upside-down
onto table surface.
4. Engage magnet by turning chuck selector to
the ON position to lock it to the table.
10. FERROUS METALS: This magnetic chuck
will only work on metals containing iron. Nonferrous metals will be ejected from grinder
during use and could be thrown into operator
or bystanders, resulting in impact or crushing
injuries. DO NOT expect the chuck to hold
aluminum or other non-ferrous metals.
-2-
5. Use surface grinder to grind bottom surface
flat and remove any imperfections. Be careful
to remove only as much material as necessary, and DO NOT attempt to remove more
than 0.0001" per pass.
T1227/28/29 Magnetic Chuck (Mfd. Since 09/17)
Surface Flatness
The surfaces of your magnetic chuck were ground
flat during production. However, it's a good idea to
double-check that the chuck is still flat after shipping and handling.
To test for flatness:
5. After allowing magnetic chuck to sit over-
night, perform Steps 1–3 again. Repeat as
necessary until there is no longer any trace
of warping.
If, after several attempts, magnetic chuck is still
warped, you must correct warping by grinding.
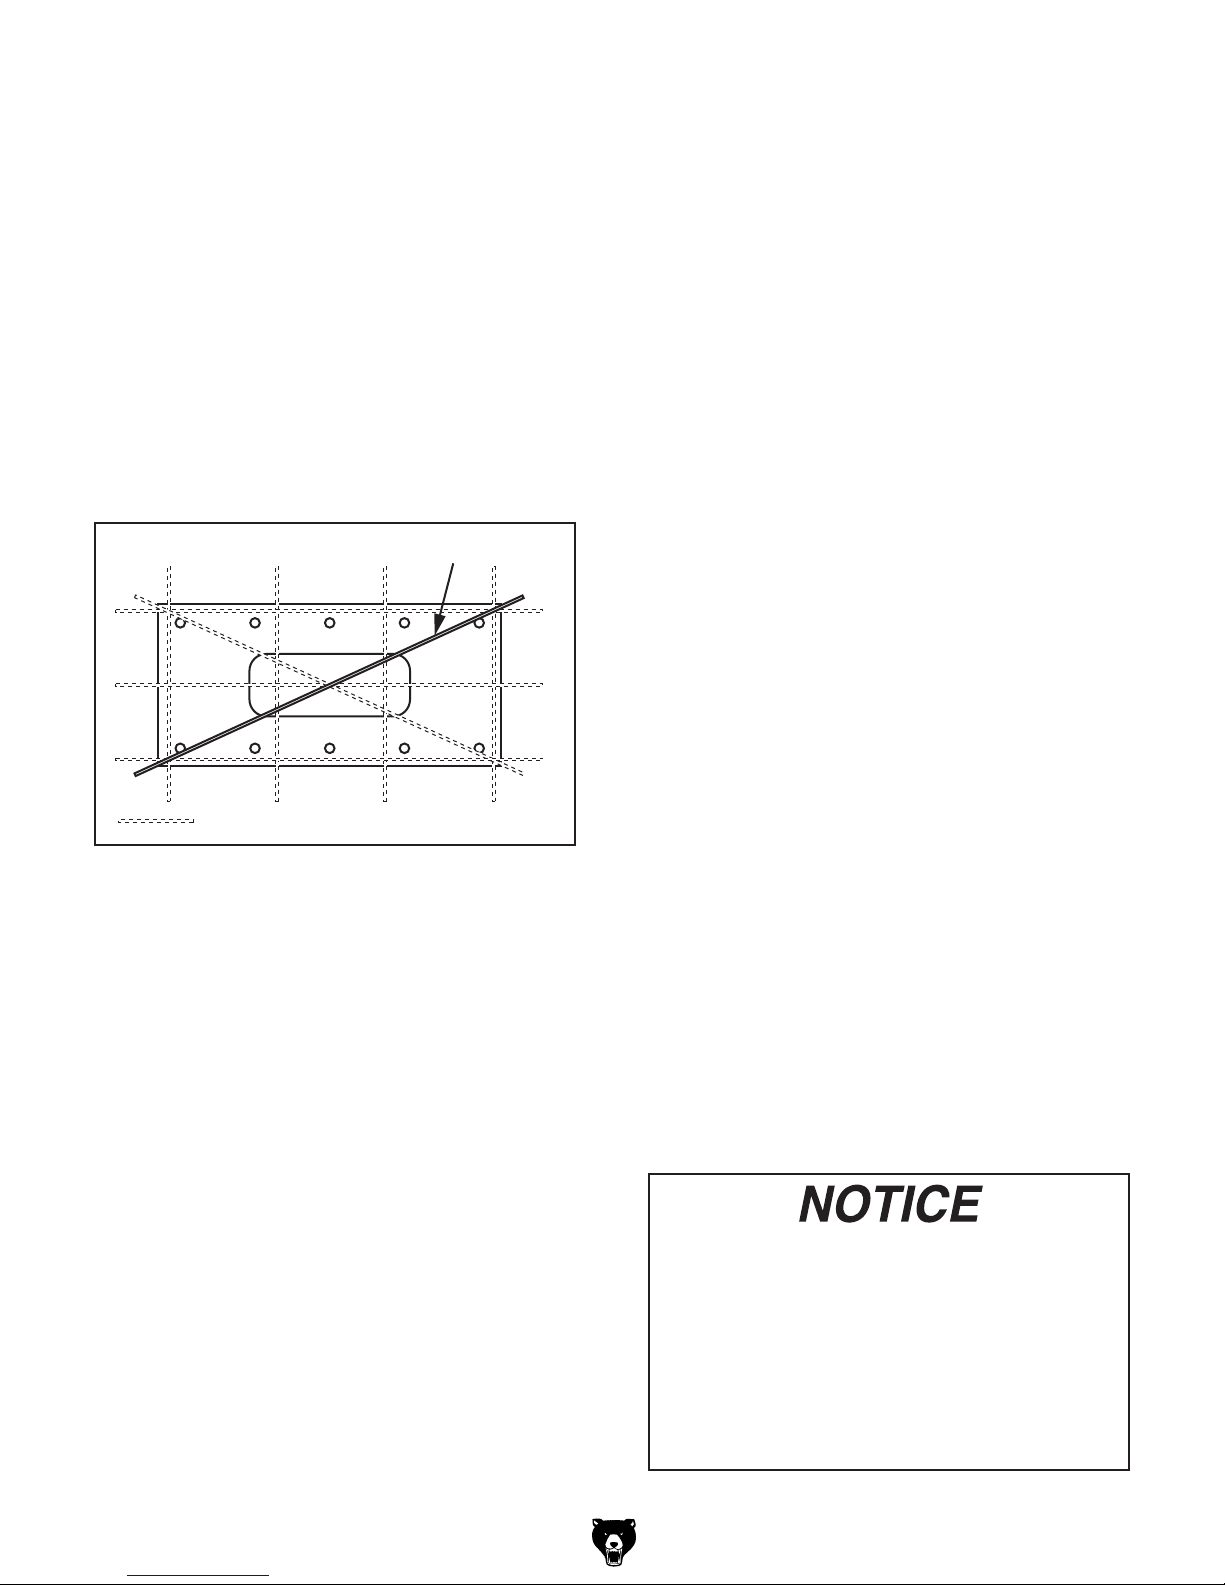
1. Make sure magnetic chuck is turned OFF,
then carefully place it upside-down on a clean
work surface.
2. Use a precision straightedge to check for flatness along length, width, and diagonals, as
shown in Figure 2.
Straightedge
= Additional Straightedge Positions
Figure 2. Testing surface flatness.
3. Carefully flip magnetic chuck over, then per-
form the same check on top surface of chuck.
— If no space is detected between mag-
netic chuck surfaces and the straightedge, proceed to Removing Surface
Imperfections.
— If any space is detected between the bot-
tom surface and the straightedge at any
point, the chuck has warped slightly during
shipping. Perform Step 4 to correct
warpage.
4. Clean, then use a polishing stone on bottom
surface of chuck and table surface of your
surface grinder to remove any foreign material and surface imperfections. Then carefully place magnetic chuck right-side up onto
grinder table in the position you plan to mount
it. Allow it to sit overnight. During this time,
any warping will be corrected as the chuck
becomes matched to table.
If you attempt to correct for warping by grinding
away high points, you will create variations in
overall thickness of chuck across its length and
width. These variations must be corrected by
grinding portions of the other side of the chuck to
compensate.
For example, if your chuck bows upwards at
each end and you correct this by slightly grinding away the surface at each end, your chuck will
be left thicker in the middle. You will have to flip
the chuck, then grind away the middle portion to
restore flatness.
Matching Chuck to Table
To ensure that the top surface of your new chuck
stays equidistant from the grinding wheel during
table travel, you must grind the surface of your
magnetic chuck to match your table.
To match your chuck to your table:
1. Very carefully clean grinder table and bottom
surface of magnetic chuck. Place magnetic
chuck on table, positioning it as desired, then
clamp it with the included holddowns.
2. Grind entire surface of magnetic chuck, making sure chuck stays as cool as possible during this process to avoid damaging magnets
and keep it from warping. DO NOT attempt to
remove more than 0.0001 inch per pass.
Avoid overheating chuck during grinding.
Too much heat during grinding will bow
chuck, causing middle portion to be
ground more than ends. Once chuck cools
again, it will flatten, leaving center area
thinner than the edges. Excessive heat
will damage magnets and reduce holding
power. DO NOT attempt to remove more
than 0.0001" per pass.
T1227/28/29 Magnetic Chuck (Mfd. Since 09/17)
-3-
 Loading...