

Page 1
MODEL H7509Z
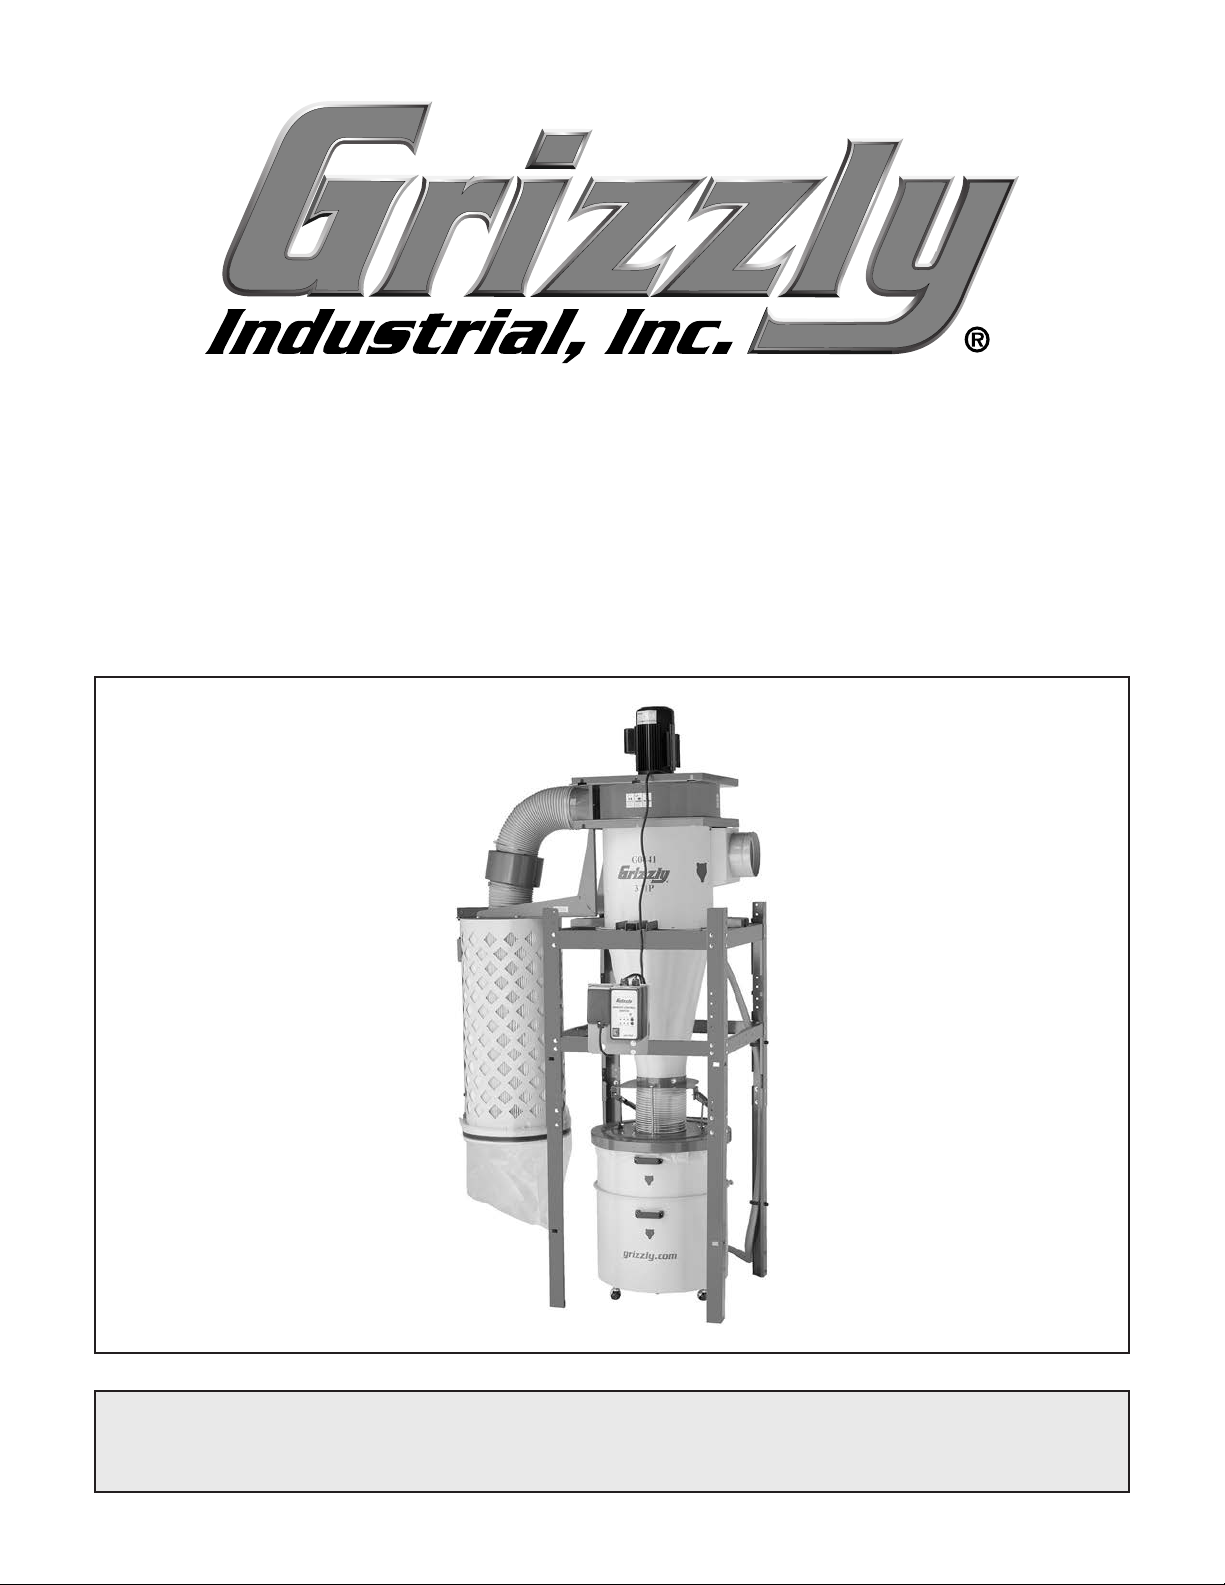
STAND FOR G0441 DUST COLLECTOR
OWNER'S MANUAL
(For models manufactured since 01/21)
COPYRIGHT © FEBRUARY, 2021 BY GRIZZLY INDUSTRIAL, INC., REVISED OCTOBER, 2022
WARNING : NO PORTION OF THIS MANUAL MAY BE REPRODUCED IN ANY SHAPE
OR FORM WITHOUT THE WRITTEN APPROVAL OF GRIZZLY INDUSTRIAL, INC.
#CS21711 PRINTED IN TA I WAN
V1.1 0 . 2 2
Page 2

SECTION 1: SETUP
Unpacking
This cyclone dust collector stand was carefully
packaged for safe transport. When unpacking,
separate all enclosed items from packaging materials and inspect them for shipping damage. If
items are damaged, please call us immediately at (570) 546-9663.
IMPORTANT: Save all packaging materials until
you are completely satisfied with the stand and
have resolved any issues between Grizzly or the
shipping agent. You MUST have the original pack-
aging to file a freight claim. It is also extremely
helpful if you need to return your stand later.
Needed for Setup
The following items are needed, but not included,
for the setup/assembly of this stand.
Anchoring to Floor
Number of Mounting Holes ............................ 4
Diameter of Mounting Hardware
Anchoring machinery to the floor prevents tipping
or shifting and reduces vibration that may occur
during operation, resulting in a machine that runs
slightly quieter and feels more solid.
If the stand and machine will be installed in
a commercial or workplace setting, or if the
machine is permanently connected (hardwired) to
the power supply, local codes may require that it
be anchored to the floor.
If not required by any local codes, fastening the
stand to the floor is an optional step. If you choose
not to do this, we recommend placing your stand
on machine mounts, as these provide an easy
method for leveling and they have vibrationabsorbing pads.
.................1⁄2"
Description Qty
• Model G0441 (Mfd. 09.20+). ....................... 1
• Additional People ....................................... 1
• Lifting Equipment ........................................ 1
• Safety Glasses (For Each Person) ............. 1
• 90° Square ................................................. 1
• Scrap Cardboard ........................ As Needed
• Wrenches or Sockets 1/2" ........................... 2
• Wrench or Socket 8mm, 9/16" ................1 Ea.
• Open-End Wrench 9/16", 30mm .............1 Ea.
• Phillips Head Screwdriver #2 ..................... 1
Aside from the information in this manual, all other
content in the Model G0441 owner's manual and
manual update applies and MUST be read and
understood for your own safety. IMPORTANT:
Keep this manual with the G0441 owner's
manual for future reference.
For questions or help, contact our Tech Support
at (570) 546-9663 or techsupport@grizzly.com.
Anchoring to Concrete Floors
Lag shield anchors with lag screws (see below)
are a popular way to anchor machinery to a concrete floor, because the anchors sit flush with the
floor surface, making it easy to unbolt and move
the stand and machine later, if needed. However,
anytime local codes apply, you MUST follow the
anchoring methodology specified by the code.
Lag Screw
Flat Washer
Stand or Machine Base
Concrete
Lag Shield Anchor
Drilled Hole
-2-
Figure 1. Popular method for anchoring
machinery to a concrete floor.
Model H7509Z (Mfd. Since 01/21)
Page 3

Inventory
To reduce your risk of
serious injury, read this
entire manual BEFORE
using machine.
The following is a list of items shipped with your
stand. Before beginning setup, lay these items out
and inventory them.
If any non-proprietary parts are missing (e.g. a
nut or a washer), we will gladly replace them; or
for the sake of expediency, replacements can be
obtained at your local hardware store.
NOTICE
If you cannot find an item on this list, carefully check around/inside the machine and
packaging materials. Often, these items get
lost in packaging materials while unpacking or they are pre-installed at the factory.
Box Contents (Figure 2) Qty
A. Lower Stand Legs ...................................... 4
Upper Stand Legs ...................................... 4
B.
Upper Stand Braces ................................... 4
C.
Lower Bracket Braces ................................ 4
D.
Collector Mounting Brackets ...................... 4
E.
F. Switch Box Base Panel .............................. 1
Handle Hook ............................................... 1
G.
. Handle Hook Base ..................................... 1
H
Hardware (Not Shown)
I.
—Carriage Bolts 5⁄16"-18 x 3⁄4" .................... 56
—Hex Bolts
—Hex Bolts
—Hex Bolts
—Flat Washers
—Flat Washers
—Hex Nuts
—Hex Nuts
—Lock Nuts
— Vacuum Hose Clips ................................ 2
5
⁄16"-18 x 1" .............................. 8
3
⁄8"-16 x 3⁄4" .............................. 3
3
⁄8"-16 x 1" ............................... 3
5
⁄16" .................................. 72
3
⁄8" ................................... 12
5
⁄16"-18 .................................... 64
3
⁄8"-16 ....................................... 3
3
⁄8"-16 ...................................... 3
A
B
C D
F
E
G
H
Figure 2. Model H7509Z inventory.
IMPORTANT: Because the H7509Z stand replac-
es the wall-mount that comes with the Model
G0441 dust collector, you will not use and can set
aside (1) large wall mounting bracket, (1) small
3
wall mounting bracket, (6)
3
⁄8" flat washers, and (6) 3⁄8"-16 hex nuts.
(12)
⁄8"-16 x 3⁄4" hex bolts,
Model H7509Z (Mfd. Since 01/21)
-3-
Page 4

Assembly
Before beginning the assembly process, refer to
Needed for Setup in this manual and Inventory
on Page 3 of the Model G0441 Manual Update
and gather all listed items.
IMPORTANT: Use these steps instead of those
listed in the Model G0441 Manual Update to
assemble your dust collector to the H7509Z stand.
2. Attach upper stand braces to top of assembly
from Step 1, with (16) 5⁄16"-18 x 3⁄4" carriage
5
bolts,
⁄16" flat washers, and 5⁄16"-18 hex nuts
(see Figure 4).
Note: Use third and fourth holes from top of
stand assembly for this step.
x 16
HEAVY LIF T!
Straining injury may occur
from improperly lifting
stand/collector parts. To
reduce this risk, get help
from other people and use
lifting equipment rated for
weight of stand/collector.
To assemble dust collector on stand:
1.
Connect upper stand legs with lower bracket
braces with (16)
5
⁄16" flat washers, and 5⁄16"-18 hex nuts (see
5
⁄16"-18 x 3⁄4" carriage bolts,
Figure 3).
Note: Be sure to build frame using bolt holes
indicated in Figures 3–4 and 14. Machine will
not fit correctly on frame if wrong holes are
used, and you will need to rebuild frame.
Upper
Stand
Brace
Figure 4. Upper braces attached to stand
assembly.
Square stand, then tighten all hardware.
3.
Place intake cylinder on floor and apply 3 x
4.
6 x 1800mm foam tape to intake cylinder top
rim, between mounting holes and inside edge
(see Figure 5).
Foam Tape
Upper
Stand
Leg
x 16
Lower Bracket
Brace
Figure 3. Initial assembly of upper stand legs
connected to lower bracket braces.
Note: Only finger tighten hardware in Steps
1–2 for now.
-4-
Figure 5. Foam tape applied to intake cylinder
rim.
5. Place motor/blower housing on a large piece
of cardboard to prevent scratches.
Attach intake cylinder to bottom of housing,
6.
as shown in Figure 6, with (4)
5
hex bolts and
⁄16" flat washers.
5
⁄16"-18 x 3⁄4"
Model H7509Z (Mfd. Since 01/21)
Page 5

Note: This part of dust collector is not acces-
sible after assembly. Consider using thread
locker on bolts to ensure that fasteners will
not come loose with vibration.
9. Attach cyclone funnel to intake barrel with
barrel gasket between them with (12) 5⁄16"-18
hex bolts, (24)
x 1"
5
⁄16"-18 hex nuts (see Figure 8).
5
⁄16" flat washers, and (12)
Intake
Cylinder
Motor/Blower
Housing
x 4
Figure 6. Intake cylinder attached to bottom of
motor housing.
Apply 3 x 6 x 300mm foam tape to mating
7.
surface of cyclone vacuum port.
Attach vacuum tube port to cyclone funnel
8.
with (4)
5
⁄16"-18 x 3⁄4" hex bolts and 5⁄16" flat
washers (see Figure 7).
Note: Vacuum port on cyclone funnel should
face away from labels on intake barrel.
Cyclone
Funnel
x 12
Barrel
Gasket
Intake
Barrel
Figure 8. Cyclone funnel attached to intake
barrel.
Note: At places where you see three holes
close together, only use center hole for this
step. The two outside holes will be used in
the next step.
Vacuum
Tube Port
x 4
Cyclone
Funnel
Figure 7. Cyclone funnel vacuum tube port
installed.
We strongly recommend using a generalpurpose silicone sealant on mating surfaces
during assembly process. For components
assembled with a rubber gasket between
them, apply sealant evenly on both sides of
gasket before assembly.
Attach (4) Model H7509Z collector mounting
10.
brackets to intake assembly, as shown in
5
Figure 9, with (8)
5
⁄16" flat washers, and (8) 5⁄16"-18 hex nuts.
⁄16"-18 x 1" hex bolts, (16)
x 8
Figure 9. Collector mounting brackets and
securing fasteners.
11. Place large piece of cardboard on ground to
prevent scraping parts on bare floor during
next steps.
Model H7509Z (Mfd. Since 01/21)
-5-
Page 6

its parts. To reduce this
With help of another person, lay stand assem-
12.
bly on its side on cardboard and slide collector assembly into stand assembly, as shown
in Figure 10.
Fasten collector assembly to stand with (8)
13.
5
⁄16"-18 x 3⁄4" carriage bolts, 5⁄16" flat washers,
5
⁄16"-18 hex nuts, as shown in Figure 10.
and
Barrel Gasket
Here
x 8
Figure 10. Collector assembly fastened to stand.
14. Lift assembly upright and rotate it so inlet/
outlet directions are suitable for your shop.
HEAVY LIF T!
Straining or crushing injury
may occur from improperly
lifting machine or some of
Figure 11. Aligning mounting holes.
Note: In next step, when installing two bolts
above intake port, use duct tape on bottom of
your wrench, as shown in Figure 12, to hold
bolts in place. This will enable you to start the
bolts more easily.
Figure 12. Using tape on wrench in tight spot.
Attach assembly to intake barrel, as shown
17.
in Figure 13, with (12) 5⁄16"-18 x 3⁄4" hex bolts
5
⁄16" flat washers.
and
risk, use a forklift (or other
lifting equipment) rated for
weight of this machine.
Place remaining barrel gasket on top of
15.
intake barrel.
Using two punches or Phillips screwdrivers,
16.
align mounting holes, as shown in Figure 11,
and lower assembly onto intake barrel.
-6-
x 12
Figure 13. Securing blower on intake barrel.
Model H7509Z (Mfd. Since 01/21)
Page 7

18. Using forklift or assistants, raise assembly
and attach lower stand legs to upper stand
5
legs, as shown in Figure 14, with (16)
3
⁄4" carriage bolts, 5⁄16" flat washers, and
x
5
⁄16"-18 hex nuts.
⁄16"-18
Mount filter to L-braces with brace gaskets
20.
between them, as shown in Figure 16, using
5
⁄16"-18 x 3⁄4" hex bolts and 5⁄16" fender
(4)
washers.
x 16
Figure 14. Attaching lower legs to the initial
stand assembly.
Attach outlet port and filter L-braces to blower
19.
housing with outlet gasket between outlet
port and housing, as shown in Figure 15,
5
using (8)
washers, and (8)
⁄16"-18 x 1" hex bolts, (16) 5⁄16" flat
5
⁄16"-18 hex nuts.
Note: One brace attaches directly to hous-
ing with the following extra hardware:
5
⁄16"-18 x 1" hex bolts, (4) 5⁄16" flat washers,
(2)
and (2)
5
⁄16"-18 hex nuts.
Brace Gasket Here
x 4
Filter
Figure 16. Mounting filter to braces.
Apply 3 x 15mm foam tape rolls to lips of
21.
outlet port, canister adapter, and both ends
of muffler, as shown in Figure 17.
Foam
Tape
Outlet Port
x 10
Figure 15. Outlet port and filter L-braces
installed.
Model H7509Z (Mfd. Since 01/21)
Foam
Tape
Figure 17. Foam tape applied to upper
components.
L-Braces
-7-
Page 8

22. Attach 8" x 5" gray flexible hose between
canister adapter and muffler with (2) 8" hose
clamps, then attach 8" x 20" gray flexible
hose between muffler and outlet port with (2)
8" hose clamps (see Figure 18).
Note: It may be necessary to reposition can-
ister L-braces down one bolt hole or shorten
length of longer piece of flexible hose to
accommodate bend in hose.
Muffler
Figure 18. Muffler properly positioned between
two gray flexible hoses.
23. Attach casters to bottom of lower collection
drum, as shown in Figure 19, with (4) 3⁄8"-16
3
hex nuts, (8)
⁄8" flat washers, and (4) 3⁄8" lock
washers included in box with casters.
Plastic Collection
Drum Handle
x 2
x 4
Figure 19. Casters and handle attached to lower
collection drum.
25.
Attach (1) plastic collection drum handle to
upper collection drum using (2) 5⁄16"-18 x 3⁄4"
Phillips head screws, 5⁄16" fender washers,
5
⁄16"-18 acorn nuts.
and
Place collection drum lid seal on top of upper
26.
collection drum and connect upper and lower
collection drums with included metal clamp
and provided hex bolt and nut, as shown in
Figure 20.
Drum Lid Seal
Note: Before attaching hardware in this step,
3
separate
⁄8" flat washers into two piles: one
for thin and one for thick. Do not use thin
washers until specified in Step 34.
Attach (1) plastic collection drum handle to
24.
lower collection drum using (2) 5⁄16"-18 x 3⁄4"
Phillips head screws, 5⁄16" fender washers, and
5
⁄16"-18 acorn nuts (see Figure 19).
Upper Drum
Metal Clamp
Lower Drum
Figure 20. Drums assembled and drum lid seal
installed.
-8-
Model H7509Z (Mfd. Since 01/21)
Page 9

Place collection drum vacuum ring on bottom
27.
of collection drum (see Figure 21).
Note: During operation, this ring and vacuum
connection to cyclone funnel will prevent collection bag from collapsing.
31. Install drum lid connecting plates with (2) 3⁄8"-
3
16 x 1" hex bolts, (4)
3
⁄8"-16 lock nuts (see Figure 23).
⁄8" flat washers, and (2)
Connecting Plate
(1 of 2)
x 2
Figure 21. Example of inserting collection drum
vacuum ring.
28.
Install larger plastic collection bag into drum.
Place collection drum lid on top of collection
29.
drum.
Position cyclone funnel adapter and drum lid
30.
together with (2) 3⁄8"-16 x 11" hex bolts, (2)
drum lid springs, and (4) 3⁄8" flat washers, as
shown in Figure 22.
Cyclone Funnel
x 2
Adapter
Drum Lid
Springs
Figure 23. Installing drum lid connecting plates
on drum lid.
32. Attach collection lid handle to cyclone funnel
adapter and drum lid connecting plates with
3
⁄8"-16 x 1" hex bolts, (8) 3⁄8" flat washers,
(4)
and (4)
3
⁄8"-16 lock nuts (see Figure 24).
Cyclone
x 4
Funnel
Adapter
Drum Lid
Handle
Connecting Plate
(1 of 2)
Figure 24. Attaching collection lid handle to
connecting plate and adapter.
Figure 22. Installing cyclone funnel adapter.
Model H7509Z (Mfd. Since 01/21)
33
. While holding assembly in place, move col-
lection drum assembly under cyclone assembly. Press cyclone funnel adapter and springs
down to fit under cyclone funnel.
-9-
Page 10

34. Align mounting holes of cyclone funnel and
cyclone funnel adapter then attach with (4)
3
⁄8"-16 x 1" hex bolts, (8) 3⁄8" thin flat washers,
and (4)
3
⁄8"-16 lock nuts (see Figure 25).
Cyclone
Funnel
Cyclone
Adapter
Funnel
38. Attach handle hook to handle hook base with
3
⁄8"-16 x 1" hex bolt, (2) 3⁄8" flat washers, and
(1)
3
⁄8"-16 lock nut (see Figure 27).
(1)
Note: Do not tighten nut completely to allow
hook to move.
Handle Hook
Base
x 4
Figure 25. Cyclone funnel attached to adapter.
35. Remove collection drum from under lid, and
3
secure hex bolts from Step 30 with (2)
⁄8"-16
lock nuts.
IMPORTANT: DO NOT overtighten. Only
tighten lock nuts until they are flush with bottom of hex bolts.
. Move collection drum back under lid.
36
. Connect bottom of cyclone funnel to collec-
37
tion drum lid with 9" flexible hose and (2) 9"
hose clamps (see Figure 26).
Cyclone
Funnel
Handle Hook
Figure 27. Handle hook attached to hook base.
39. Attach handle hook assembly to lower stand
3
brace above collection lid handle with (2)
3
16 x 1" hex bolts, (4)
3
⁄8"-16 lock nuts (see Figure 28).
⁄8" flat washers, and (2)
⁄8"-
x 2
Lower
Stand Brace
Handle Hook
Assembly
Figure 26. Cyclone funnel connected to drum lid
with flexible hose.
-10 -
Figure 28. Handle hook assembly attached to
lower stand brace.
Connect vacuum hose to collection drum
40.
vacuum port and cyclone vacuum port with
) 1 1⁄4" hose clamps (see Figure 29).
(2
Model H7509Z (Mfd. Since 01/21)
Page 11

1 1⁄4" Hose Clamp
Vacuum
Port
Remove hex nuts, external tooth washers,
43.
and Phillips head screw securing ground wire
to switch bracket (see Figure 32).
Remove strain relief shown in Figure 32.
44.
Vacuum
Hose
Vacuum Port
Figure 29. Vacuum hose connected.
41. Secure vacuum hose inside upper and lower
stand legs with (2) vacuum hose clips (see
Figure 30).
Remove (4) Phillips head screws, flat wash-
45.
ers, and hex nuts shown in Figure 32 to
remove junction box from switch bracket.
Strain Relief
x 4
Figure 32. Inside power junction box (shown
with power conduit attached for clarity).
46.
Install power junction box to left side of Model
H7509Z switch box base panel as it was
attached to G0441 switch bracket (see Steps
43–45).
Figure 30. Securing vacuum hose to stand legs.
Remove securing Phillips head screw and
42.
open power junction box on Model G0441
switch bracket (see Figure 31).
Power
Junction Box
Figure 31. Location of securing screw on power
junction box.
Close and secure power junction box.
47.
Remove securing Phillips head screw and
48.
washer and open magnetic switch box on
Model G0441 switch bracket (see Figure 33).
Figure 33. Location of securing fasteners on
magnetic switch box.
Model H7509Z (Mfd. Since 01/21)
-11-
Page 12

Remove (4) Phillips head screws, flat wash-
49.
ers, and hex nuts shown in Figure 34 to
remove magnetic switch from switch bracket.
x 4
Note: Hand-held remote control uses IR
(infrared) to communicate with control box
receiver port, and must have direct line-ofsight to switch box face. Locate control box
with this in mind.
x 3
Figure 35. Switch mounted to stand.
53. Slip canister collection bag around opening
under canister filter and secure with metal
bag clamp (see Figure 36).
Figure 34. Inside magnetic switch box.
50. Install magnetic switch box to right side of
Model H7509Z switch box base panel as it
was attached to G0441 switch bracket (see
Step 49).
Close and secure magnetic switch box.
51.
Mount switch box base panel on stand, as
52.
shown in Figure 35, with (3)
3
bolts, (6)
⁄8" flat washers, and (3) 3⁄8"-16 hex
3
⁄8"-16 x 3⁄4" hex
nuts.
Bag Clamp
Collection Bag
Figure 36. Canister collection bag secured to
filter.
54.
Refer to G0441 Manual for Test Run and
Operation procedures beginning on Page 25.
Note: Remaining 8" hose clamp is for secur-
ing woodworking machine dust hose to inlet
port.
-12-
Model H7509Z (Mfd. Since 01/21)
Page 13

2
SECTION 2: PARTS
We do our best to stock replacement parts when possible, but we cannot guarantee that all parts shown
are available for purchase. Call (800) 523-4777 or visit www.grizzly.com/parts to check for availability.
Main
30
31
3
5
8
21
20
7
13
23
12
18
24
22
10
19
25
20
17
16
9
6
11
15
3
1
3
4
27
29
28
4
26
Model H7509Z (Mfd. Since 01/21)
BUY PARTS ONLINE AT GRIZZLY.COM !
Scan QR code to visit our Parts Store.
14
-13-
Page 14

REF PART # DES CRIPTION REF PART # DESCRIP TION
Main Parts List
1 PH7509Z001 MOUNTI NG B RACKE T 17 PH7509Z017 HEX NUT 5/16-18
2 PH7509Z002 CARRIAGE BOLT 5/16-18 X 3/4 18 PH7509Z018 HANDLE HOOK BASE
3 PH7509Z003 FLAT WASHER 5/16 19 PH7509Z019 HEX BOLT 3/8-16 X 1
4 PH7509Z004 HEX NUT 5/16-18 20 PH7509Z020 FLAT WASHER 3/8
5 PH7509Z005 UPP ER STA ND BRACE 21 PH7509Z021 LOCK NUT 3/8-16
6 PH7509Z006 CARRIAGE BOLT 5/16-18 X 3/4 22 PH7509Z022 HANDLE HOOK
7 PH7509Z007 FLAT WASHER 5/16 23 PH7509Z023 HEX BOLT 3/8-16 X 1
8 PH7509Z008 HEX NUT 5/16-18 24 PH7509Z024 FLAT WASHER 3/8
9 PH7509Z009 UPPER STAND LEG 25 PH7509Z025 LOCK NUT 3/8-16
10 PH7509Z010 LOWER BRACKET BRACE 26 PH7509Z026 VACUUM HOSE CLI P 2-1/2"
11 PH7509Z011 CARRIAGE BOLT 5/16-18 X 3/ 4 27 PH7509Z027 SWI TCH BOX BASE PANEL
12 PH7509Z012 FLAT WASHER 5/16 28 PH7509Z028 HEX BOLT 3/8-16 X 3/ 4
13 PH7509Z013 HEX NUT 5/16-18 29 PH7509Z029 FLAT WASHER 3/8
14 PH7509Z014 LOWER STAND LEG 30 PH7509Z030 HEX NUT 3/8-16
15 PH7509Z015 CARRIAGE BOLT 5/16-18 X 3/ 4 31 PH7509Z031 HEX BOLT 5/16-18 X 1
16 PH7509Z016 FLAT WASHER 5/16
-14-
BUY PARTS ONLINE AT GRIZZLY.COM !
Scan QR code to visit our Parts Store.
Model H7509Z (Mfd. Since 01/21)
Page 15

WARRANTY & RETURNS
Grizzly Industrial, Inc. warrants every product it sells for a period of 1 year to the original purchaser from
the date of purchase. This warranty does not apply to defects due directly or indirectly to misuse, abuse,
negligence, accidents, repairs or alterations or lack of maintenance. This is Grizzly’s sole written warranty
and any and all warranties that may be implied by law, including any merchantability or fitness, for any particular purpose, are hereby limited to the duration of this written warranty. We do not warrant or represent
that the merchandise complies with the provisions of any law or acts unless the manufacturer so warrants.
In no event shall Grizzly’s liability under this warranty exceed the purchase price paid for the product and
any legal actions brought against Grizzly shall be tried in the State of Washington, County of Whatcom.
We shall in no event be liable for death, injuries to persons or property or for incidental, contingent, special,
or consequential damages arising from the use of our products.
The manufacturers reserve the right to change specifications at any time because they constantly strive to
achieve better quality equipment. We make every effort to ensure that our products meet high quality and
durability standards and we hope you never need to use this warranty.
In the event you need to use this warranty, contact us by mail or phone and give us all the details. We will
then issue you a “Return Number,’’ which must be clearly posted on the outside as well as the inside of
the carton. We will not accept any item back without this number. Proof of purchase must accompany the
merchandise.
Please feel free to write or call us if you have any questions about the machine or the manual.
Thank you again for your business and continued support. We hope to serve you again soon.
To
you can
applicable information for
take advantage of this warranty, you must register it at https://www.grizzly.com/forms/warranty, or
scan the QR code below to be automatically directed to our warranty registration page. Enter all
the product.
WARRANTY
Page 16

 Loading...