

Page 1
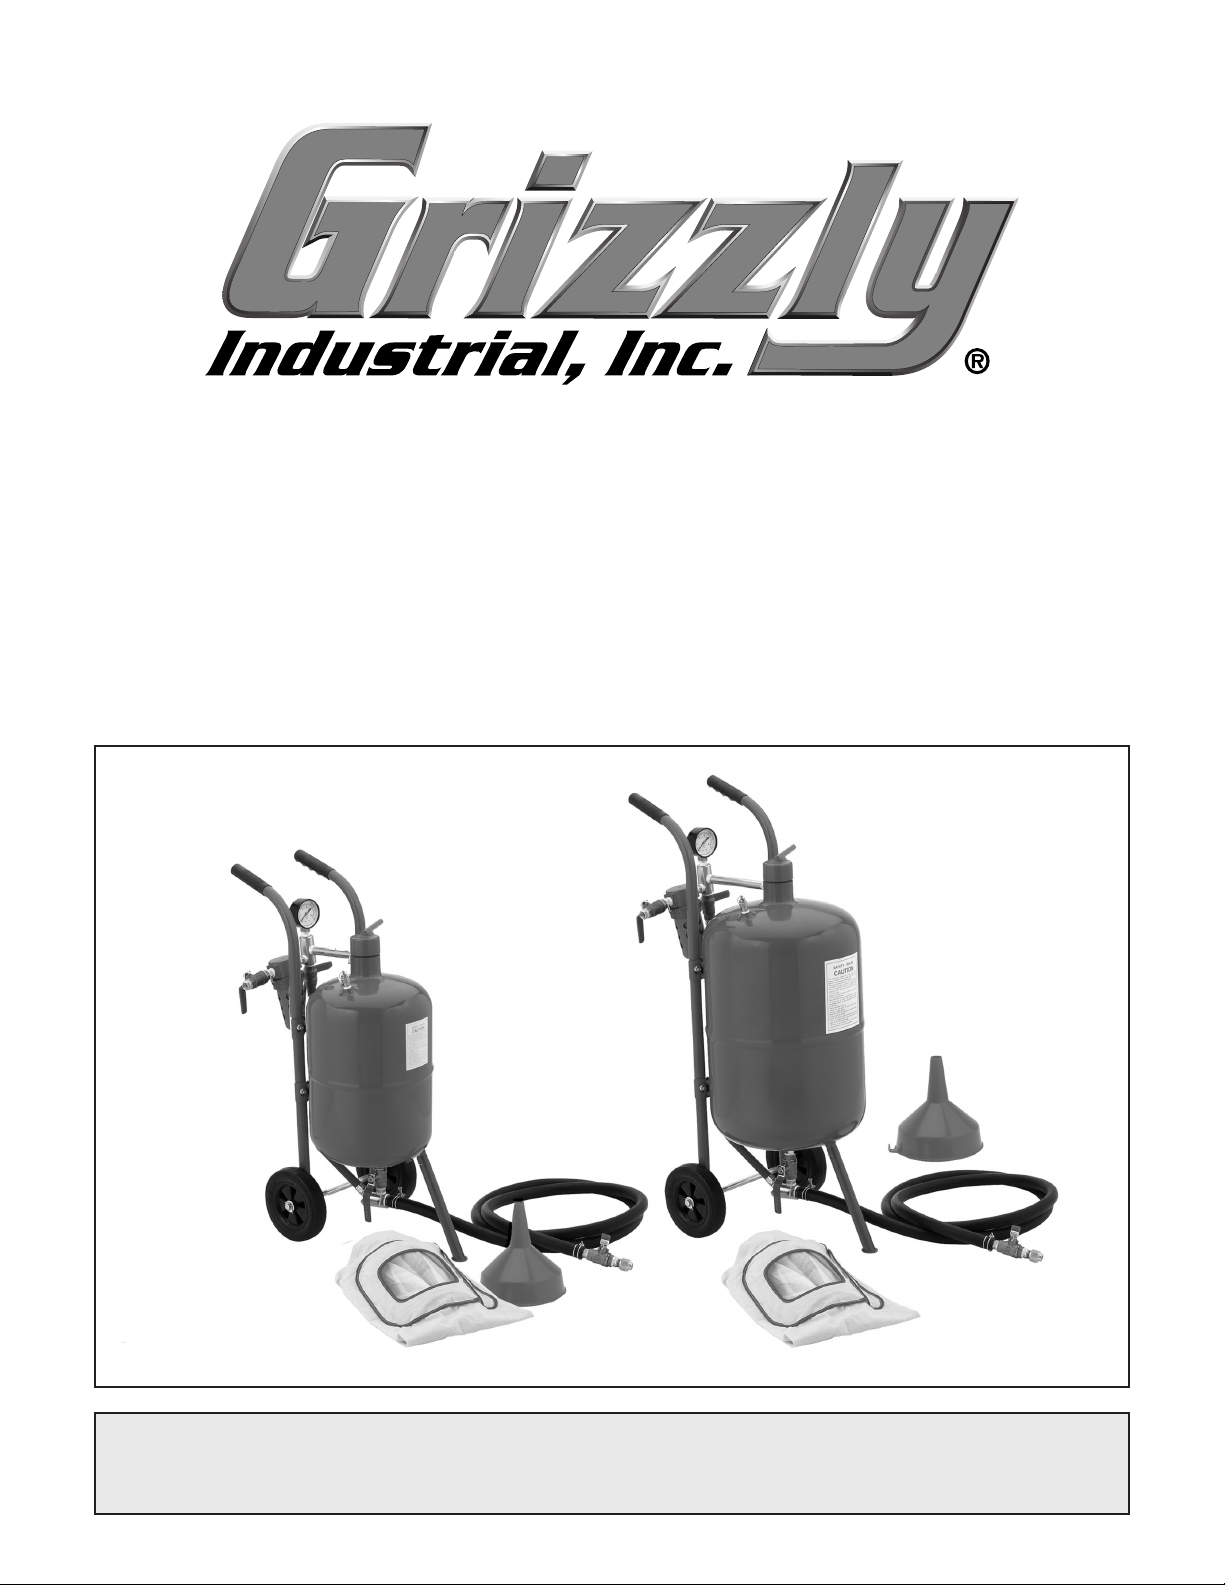
MODEL G0474 20-GALLON
& G0475 10-GALLON
SANDBLASTER
OWNER'S MANUAL
G0474
G0475
COPYRIGHT © NOVEMBER, 2005 BY GRIZZLY INDUSTRIAL, INC.
WARNING: NO PORTION OF THIS MANUAL MAY BE REPRODUCED IN ANY SHAPE
OR FORM WITHOUT THE WRITTEN APPROVAL OF GRIZZLY INDUSTRIAL, INC.
#CR7569 PRINTED IN CHINA
Page 2

Page 3

Table of Contents
INTRODUCTION ............................................................................................................................... 2
Foreword .................................................................................................................................... 2
Contact Info ................................................................................................................................
Machine Data Sheet ...................................................................................................................
SECTION 1: SAFETY .......................................................................................................................
Safety Instructions for
Additional Safety Instructions for
SECTION 2: SET UP ........................................................................................................................
Set Up Safety .............................................................................................................................
Items Needed for Set Up ........................................................................................................... 7
Unpacking .................................................................................................................................. 7
Compressor ................................................................................................................................ 7
Assembly .................................................................................................................................... 8
SECTION 3: OPERATIONS ...........................................................................................................
Operation Safety ......................................................................................................................
Basic Operation ........................................................................................................................ 10
Abrasive Options ......................................................................................................................
Nozzle Options .........................................................................................................................
Maintenance ............................................................................................................................. 13
Parts Breakdown ......................................................................................................................
Parts List ..................................................................................................................................
WARRANTY AND RETURNS ........................................................................................................
Machinery ............................................................................................... 4
Sandblasters ......................................................................... 6
10
10
13
13
14
15
16
2
3
4
7
7
Page 4

INTRODUCTION
Foreword
We are proud to offer the Model G0474/G0475
Sandblasters. This equipment is a part of a growing Grizzly family of fine wood and metalworking
machinery. When used according to the guidelines
set forth in this manual, you can expect years of
trouble-free, enjoyable operation and proof of
Grizzly’s commitment to customer satisfaction.
We are pleased to provide this manual with the
Model G0474/G0475. It was written to guide you
through assembly, review safety considerations,
and cover general operating procedures.
The specifications, drawings, and photographs
illustrated in this manual represent the Model
G0474/G0475 as supplied when the manual was
prepared. For your convenience, we always keep
current Grizzly manuals available on our website
at www.grizzly.com. Any updates to your equipment will be reflected in these manuals as soon
as they are complete.
Contact Info
If you have any comments regarding this manual,
please write to us at the address below:
C
/O Technical Documentation Manager
We stand behind our equipments. If you have any
service questions or parts requests, please call or
write us at the location listed below.
Grizzly Industrial, Inc.
P.O. Box 2069
Bellingham, WA 98227-2069
Grizzly Industrial, Inc.
1203 Lycoming Mall Circle
Muncy, PA 17756
Phone: (570) 546-9663
Fax: (800) 438-5901
E-Mail: techsupport@grizzly.com
Web Site: http://www.grizzly.com
-2-
G0474/G0475 Sandblasters
Page 5

MACHINE DATA
Machine Data Sheet
SHEET
Customer Service #: (570) 546-9663 • To Order Call: (800) 523-4777 • Fax #: (800) 438-5901
MODEL G0475 SANDBLASTER
Design Type ........................................................................................Portable Floor Model
General Specifications:
Width ........................................................................................................................
Height .................................................................................................................
Depth ........................................................................................................................
Operating Air Pressure Range ....................................................................
Recommended Air Supply .............................................................................
Hose Length ..........................................................................................................
Tank Size ...........................................................................................................
Abrasive Capacity ...............................................................................................
Abrasive Type .................................................................................................Dry Only
Weight ..................................................................................................................40 lbs
65-125 PSI
MODEL G0474 SANDBLASTER
Design Type ........................................................................................Portable Floor Model
General Specifications:
Width ........................................................................................................................
Height .................................................................................................................
Depth ..................................................................................................................
Operating Air Pressure Range ....................................................................
Recommended Air Supply .............................................................................
Hose Length ..........................................................................................................
Tank Size ...........................................................................................................
Abrasive Capacity ...............................................................................................
Abrasive Type .................................................................................................Dry Only
Weight ..................................................................................................................55 lbs
65-125 PSI
13"
34-1/2"
20"
6-25 CFM
10 ft.
10 gal.
40 lbs.
15"
35-1/2"
27-1/2"
6-25 CFM
10 ft.
20 gal.
80 lbs.
G0474/G0475 Sandblasters
Specifications, while deemed accurate, are not guaranteed.
-3-
Page 6

SECTION 1: SAFETY
For Your Own Safety, Read Instruction
Manual Before Operating this Machine
The purpose of safety symbols is to attract your attention to possible hazardous conditions. This
manual uses a series of symbols and signal words which are intended to convey the level of
importance of the safety messages. The progression of symbols is described below. Remember
that safety messages by themselves do not eliminate danger and are not a substitute for proper
accident prevention measures.
Indicates an imminently hazardous situation which, if not avoided,
WILL result in death or serious injury.
Indicates a potentially hazardous situation which, if not avoided,
COULD result in death or serious injury.
Indicates a potentially hazardous situation which, if not avoided,
MAY result in minor or moderate injury. It may also be used to alert
against unsafe practices.
This symbol is used to alert the user to useful information about
NOTICE
proper operation of the equipment.
Safety Instructions for Machinery
1. READ THROUGH THE ENTIRE MANUAL
BEFORE STARTING MACHINERY.
Machinery presents serious injury hazards
to untrained users.
2. ALWAYS USE ANSI APPROVED
SAFETY GLASSES WHEN OPERATING
MACHINERY. Everyday eyeglasses only
have impact resistant lenses, they are
NOT safety glasses.
4. ALWAYS USE HEARING PROTECTION
WHEN
Machinery noise can cause permanent
hearing damage.
5. WEAR PROPER APPAREL. DO NOT
wear loose clothing, gloves, neckties, rings,
or jewelry which may get caught in moving
parts. Wear protective hair covering to con
tain long hair and wear non-slip footwear.
OPERATING MACHINERY.
-
3. ALWAYS WEAR AN ANSI APPROVED
RESPIRATOR WHEN OPERATING
MACHINERY THAT PRODUCES DUST.
Wood dust is
cancer and severe respiratory illnesses.
-4-
a carcinogen and can cause
6. NEVER OPERATE MACHINERY WHEN
TIRED, OR UNDER THE INFLUENCE OF
DRUGS OR ALCOHOL. Be mentally alert
at all times when running equipment.
G0474/G0475 Sandblasters
Page 7

Safety Instructions for Machinery
7. ONLY ALLOW TRAINED AND PROPERLY SUPERVISED PERSONNEL TO
OPERATE EQUIPMENT. Make sure
operation instructions are safe and clearly
understood.
8. KEEP CHILDREN AND VISITORS AWAY.
Keep all children and visitors a safe distance from the work area.
9. MAKE WORKSHOP CHILD PROOF. Use
padlocks, master switches, and remove
start switch keys.
10. NEVER LEAVE WHEN MACHINE IS
RUNNING. Turn power OFF and allow all
moving parts to come to a complete stop
before leaving equipment unattended.
11. DO NOT USE IN DANGEROUS
ENVIRONMENTS. DO NOT use this equip-
ment in damp, wet locations, or where any
flammable or noxious fumes may exist.
12. KEEP WORK AREA CLEAN AND WELL
LIT. Clutter and dark shadows may cause
accidents.
13. USE A GROUNDED EXTENSION CORD
RATED FOR THE MACHINE AMPERAGE.
Undersized cords overheat and lose power.
Replace extension cords if they become
damaged. DO NOT use extension cords
for 220V equipment.
WRENCHES. Make a habit of checking for
keys and adjusting wrenches before turn
ing equipment
18. CHECK FOR DAMAGED PARTS
BEFORE USING MACHINERY. Check
for binding and alignment of parts, broken
parts, part mounting, loose bolts, and any
other conditions that may affect equipment
operation. Repair or replace damaged
parts.
19. USE RECOMMENDED ACCESSORIES.
Refer to the instruction manual for recom
mended accessories. The use of improper
accessories may cause risk of injury.
20. DO NOT FORCE MACHINERY. Work
at the speed for which the equipment or
accessory was designed.
21. SECURE WORKPIECE. Use clamps or a
vise to hold the workpiece when practical.
A secured workpiece protects your hands
and frees both hands to operate the equipment.
22. DO NOT OVERREACH. Keep proper foot
ing and balance at all times.
23. MANY MACHINES CAN EJECT
THE WORKPIECE TOWARD THE
OPERATOR. Know and avoid conditions
that cause the workpiece to "kickback."
ON.
-
-
-
14.
ALWAYS DISCONNECT FROM POWER
SOURCE BEFORE SERVICING
MACHINERY. Make sure switch is in
position before reconnecting.
15. MAINTAIN MACHINERY WITH CARE.
Keep blades sharp and clean for best and
safest performance. Follow instructions for
lubricating and changing accessories.
16. MAKE SURE GUARDS ARE IN PLACE
AND WORK CORRECTLY BEFORE
USING MACHINERY.
17. REMOVE ADJUSTING KEYS AND
G0474/G0475 Sandblasters
OFF
24. ALWAYS LOCK MOBILE BASES
(IF USED) BEFORE OPERATING
MACHINERY.
25. BE AWARE THAT CERTAIN DUST MAY
CAUSE AN ALLERGIC REACTION in
people and animals, especially when
exposed to fine dust. Make sure you know
what type of dust you will be exposed to
and always wear an approved respirator.
-5-
Page 8

Additional Safety Instructions for
Sandblasters
1. CORRECT ABRASIVES. Never use wet
abrasives in this sandblaster, it is designed
for dry abrasives only.
2. PROTECTING LUNGS. Make sure that you
always use an OSHA approved respirator
when using or cleaning the sandblaster.
3. LEAVING THE AREA. Always disconnect
air supply when leaving the sandblaster.
4. PROTECTING EYES. Make sure that you
always use the dust hood when using or
cleaning the sandblaster.
5. PROTECTING ENVIRONMENT. Always
sandblast in an area where the spread of
abrasive dust can be contained.
6. WORK AREA SAFETY. Clean compressor
and equipment air filters often, and repair
any air hose leaks immediately.
8. MAINTAINING EQUIPMENT. Check air
lines and fittings for any leaks, and replace
lines and reseal fittings immediately.
9. SAFE SAND BLASTING. Do not use sys
tem over the rated PSI.
10. CORRECT LIGHTING. Always make sure
that you have adequate lighting when sand
blasting.
11. LOADING & UNLOADING. Close the air
supply ball valve and discharge the air tank
before disconnecting the air supply line.
12. SAFE MAINTENANCE. Disconnect air
supply and discharge the air tank and all
lines before doing maintenance.
13. SAFE SANDBLASTING. Always secure
the workpiece before sandblasting.
-
-
7. MAINTAINING COMPONENTS. Replace
nozzles, hoses, lenses, and safety gear
when they become worn.
There is potential danger when operating
this equipment. Accidents are frequently
caused by lack of familiarity or failure to pay
attention. Use this equipment with respect
and caution to lessen the possibility of
operator injury. If normal safety precautions
are overlooked or ignored, serious personal
injury may occur.
No list of safety guidelines can be complete.
Every shop environment is different. Always
consider safety first, as it applies to your
individual working conditions. Use this and
other equipment with caution and respect.
Failure to do so could result in serious personal injury, damage to equipment, or poor
work results.
-6-
G0474/G0475 Sandblasters
Page 9

SECTION 2: SET UP
Set Up Safety
This equipment presents serious injury haz
ards to untrained users.
Read through this entire
manual to become famil
iar with the controls and
operations before start
ing the equipment!
-
-
-
Items Needed for
Set Up
The following items are needed to complete the
set up process, but are not included with your
equipment:
Unpacking
The Model G0474/G0475 was carefully packed
when it left our warehouse. If you discover the
equipment is damaged after you have signed
for delivery, please immediately call Customer
Service at (570) 546-9663
Save the containers and all packing materials for
possible inspection by the carrier or its agent.
Otherwise, filing a freight claim can be difficult.
for advice.
Compressor
Sandblasting operations are extremely demanding on some compressors and can cause a compressor overload or overheated condition. Refer
to your compressor Owner's Manual and make
sure that it can handle the load of sandblasting. If
it can, you must follow these setup recommenda
tions:
-
Description Qty
• Phillips Screwdriver #2 ............................... 1
• Standard Screwdriver #2 ............................
• Teflon Tape ................................................
• Wrench 10mm ............................................
• Wrench 17mm ............................................ 1
• Wrench 22mm ............................................ 1
We recommend using a compressor that is 5 HP
and above with a minimum of a 12 CFM rating.
1
1
1
Keep your compressor completely isolated from
your sandblasting environment, or keep the work
area downwind from the compressor. Airborne
abrasive dust will destroy rings, pistons, valves,
and bearings.
Make sure to increase the maintenance interval of
your compressor if using it in sandblasting opera
tions.
-
G0474/G0475 Sandblasters
-7-
Page 10

Assembly
To assemble the sandblaster:
3. Assemble one of the remaining three ball
valves with a
3⁄8" hose nipple, and the nozzle
arbor as shown in Figure 3.
1. Install the wheels, handles, and leg to the tank
with the screws, washers, nuts, and cotter
pins as shown in Figure 1.
Figure 1. Wheel and handle installation.
2. Seal all pipe threads with Teflon tape, and
assemble and install one of the four ball
3
valves to the bottom of the tank with two
nipples, and the sand out
let elbow as shown
⁄8"
in Figure 2.
the nozzle arbor as shown in Figure 3.
Nozzles
Ball Valve
Nozzle
4. Install one of four sand blasting nozzles into
Arbor
3⁄8" Hose Nipple
Figure 3. Sand blaster handle and nozzle
assembly.
5. With the two hose clamps, secure the
sandblaster hose to the sand outlet elbow and
the sand blaster nozzle assembly
as shown in
Figure 4.
Sand Blaster Nozzle Assembly
Hose
Tank
3
⁄8" Nipple
Ball Valve
3
⁄8" Nipple
Figure 2. Sand outlet control installation.
-8-
Hose Clamp
Outlet Elbow
Figure 4. Sand blaster hose installation.
Sand
Outlet
Elbow
G0474/G0475 Sandblasters
Page 11

6. Attach to the manifold one of the remaining
ball valves and
pressure gau
3⁄8" hose nipple, the red hose,
ge, and the pipe as shown in
Figure 5.
Air Pressure Gauge
Pipe
Manifold
Ball Valve
Nipple
8. Connect the water separator assembly to the
air supply Manifold as shown in Figure 7.
9. Now connect the gauge and water separator
assembly to the top of the tank as shown in
Figure 7.
Air Supply
Manifold
Water
Separator
Assy.
Tank
Figure 5. Gauge/air supply control installation.
7. Install the remaining ball valve to the water
3
separator with two
⁄8" nipples, and the 3⁄8"
female nipple as shown in Figure 6.
Ball Valve
Nipple
Nipple
Female Nipple
Figure 6.
Water separator assembly.
Figure 7. Air supply control system installation.
10. Connect the tank air supply hose to the sand
outlet elbow at the bottom of the tank, and the
other end to the air pressure gauge ball valve
nipple.
G0474/G0475 Sandblasters
-9-
Page 12

SECTION 3: OPERATIONS
Sandblasting presents a real hazard of silicosis and other lung contamination injuries! These
Injuries are permanent and can get worse over time. If you use sandblasting equipment without
the proper headgear, eye protection, and respirator, your lungs and eyes may become irreversibly
contaminated. DO NOT use this sandblaster unless you know how to use it, protect yourself
correctly, and keep all unprotected bystanders away. For latest types of protective equipment and
acceptable respirator types, contact your local OSHA or NIOSH office.
4. Move the tank air supply lever to the OFF or
Operation Safety
NOTICE
If you have never used this type of equip-
nt before, WE STRONGLY RECOMMEND
me
that you read books, trade magazines, or
get formal training before beginning any
projects. Regardless of the content in this
section, Grizzly Industrial will not be held
liable for accidents caused by lack of training.
closed position (see Figure 8).
Figure 8. Tank air supply valve, closed.
Basic Operation
The Model G0474/G0475 Sandblasters are
equipped with an industrial-duty blast nozzle,
tank, ball valves, hoses, pressure gauge, and
water separator.
To use the sandblaster:
1. PUT ON safety glasses, gloves, and
respirator. Always wear these protective
items when operating and while servicing
your sandblaster!
2. Select the appropriate sanblasting abrasive
for your sandblaster.
types.
3. Install the correct nozzle into the arbor for the
abrasive type hose size, air pressure and CFM
you will use. Refer to Page 13 for options.
Refer to Page 13 for
5. Move the blast hose air supply lever to the
OFF or the closed position (see Figure 9).
Figure 9. Blast hose air supply valve, closed.
-10-
G0474/G0475 Sandblasters
Page 13

6. Point the blast nozzle in a safe direction, and
slowly move the blast nozzle lever to the ON
or open position to exhaust any air from the
tank (see Figure 10).
7. Make sure the air pressure gauge reads zero
(see Figure 10).
10. Close the blast nozzle lever, and turn the
compressor on (see Figure 11).
Figure 11. Blast nozzle valve, closed.
Figure 10. Tank air pressure at zero PSI.
8. Remove the filler cap, insert the funnel, and
carefully—without causing a hazardous dust
cloud—pour or spade-in the abrasive into the
sandblaster. Use only enough abrasive for
your project.
Note: For the Model G0475 10 gallon tank,
you can use up to 40 lbs of abrasive, or you
3
can fill the tank to
⁄4 full. The Model G0474 20
gallon tank can use up to 80 lbs of abrasive,
or be filled to 3⁄4 also.
Note:
If you fill the tank to 3⁄4 full, and the local
humidity is 90-100%, the water trap will not
be able to trap all of the moisture from the
compressed air. So you must reduce the load
of abrasive and fill the tank more often and
empty the water trap more often. Otherwise,
the sand will clog in the tank outlet and in the
blast hose.
11. Adjust the air supply line regulator to an air
pressure between 65-125 PSI, depending on
your requirements.
12. Move the tank air supply lever to ON or the
open posi
tion (Figure 12), and the tank will
pressurize to your regulated air pressure
indicated by the tank gauge.
Note: If the tank relief valve trips open and
exhausts air, immediately
turn the compressor
off and correct the over-pressurization
problem with the compressor. If the tank
exceeds its rated pressure, it may explode,
causing severe injury or death.
9. Brush sand away from the sealing cap and
O-ring, and close the filler cap.
G0474/G0475 Sandblasters
Figure 12. Tank air supply valve, opened.
-11-
Page 14

13. Move the blast nozzle air supply lever to ON
or the open position (see Figure 13).
Figure 13. Blast nozzle air supply valve, opened.
14. Move the sand metering valve lever to your
required sand flow volume requiremen
Figure 14).
t (see
15. Point the blast nozzle at the workpiece and
slowly move the blast nozzle lever
15) to the ON or open position. Sand blasting
will begin.
Figure 15. Blast nozzle valve, open.
16. Move the blast nozzle in a slow circular
motion.
(Figure
Figure 14. Sand metering valve in the full-open
position.
Note: A good starting point for tip distance is
four inches away from the workpiece. Start
out with a low air pressure setting to avoid
excess peening and abrasive wear.
Note:
Note: Keep the sandblasting abrasives
17. When sandblasting is complete, ALWAYS
Experiment with different pressures,
abrasives, sand flow, and tips to gain practical
experience.
moisture-free; otherwise, the sand elbow and
the sand flow valve at the bottom of the tank
will clog frequently.
close the air supply lever before you disconnect
the air supply line. Otherwise the residual air
in the tank will expel sand backwards through
the water separator and out of the air supply
fitting, damaging the water separator.
-12-
G0474/G0475 Sandblasters
Page 15

Abrasive Options
Hose Hose Nozzle Compressor CFM at Sand Use
ID Length ID HP 125 PSI Per-Hour
3/8" 50 ft 3/32" 2 6 60 lbs
3/8" 25 ft 7/64" 4 12 100 lbs
1/2" 50 ft 1/8" 7 20 150 lbs
1/2" 25 ft 9/64" 10 25 200 lbs
Nozzle Options
Grizzly Blasting Media Part #
G6535: 15 lbs. Aluminum Oxide 220 Grit.
G6536: 15 lbs. Aluminum Oxide 120 Grit.
G6537: 15 lbs. Aluminum Oxide 60 Grit.
G6538: 15 lbs. Glass Bead 50-Micron Grit.
Some common blasting abrasives are listed below.
All abrasives have benefits and drawbacks such
as quality of surface finish, abrasive life, toxicity,
and what precautions you must take to prevent
environmental damage or personal injury to your
respiratory system.
Steel Type Abrasives
This aggressive abrasive creates a rough finish that accepts paint well. The abrasive is very
durable and has a long life; however, it MUST be
kept very dry to prevent rusting.
Alumina Type Abrasives
This multi-purpose abrasive creates a smoother
finish than the steel abrasives, but has a shorter life span. Less of the workpiece surface is
removed with this more forgiving abrasive.
Grizzly Blast Nozzles Part #
P0574002: Nozzle Set (9⁄64",1⁄8",7⁄64",3⁄32" ID).
P0574002-1: #1 Nozzle (9⁄64" ID).
P0574002-2: #2 Nozzle (1⁄8" ID).
P0574002-3: #3 Nozzle (7⁄64" ID).
P0574002-4: #4 Nozzle (3⁄32" ID).
Sandblasting requires a high volume of compressed air. The quality of sandblasting can be
reduced by using the incorrect combination of
nozzle, hose size, air pressure and CFM. Use the
chart below as an estimate to get you started.
Experimentation will lead you to your optimum
settings for your particular sandblasting task.
Maintenance
Glass and Garnet Type Abrasives
Typically this abrasive works well for soft metals
and addressing surface issues with equipment
parts where tolerances cannot be affected. The
life of this abrasive is limited and not well suited
for repetitive recycling.
Sand Type Abrasives
This abrasive is easy to find and gives an average
finish that is acceptable for most projects. Sand
has a good recycling life and is very economical.
Other Types of Abrasives Available
Plastic beads.
Ground walnut or peanut shells.
Ground corn cob.
Sodium bicarbonate.
Wheat starch.
G0474/G0475 Sandblasters
Depressurize the sandblaster, and check
the following items each time you use the
sandblaster and replace any parts immediately
if found to be worn:
• Look for excessively worn or cracked noz-
zles.
• Look for leaking thread fittings with soapy
water and a spray bottle.
• Look at the sand blasting hose for thin walls
and bubbling.
• Look for worn or leaking ball valves with
soapy water and a spray bottle.
-13-
Page 16

Parts Breakdown
-14-
G0474/G0475 Sandblasters
Page 17

REF PART # DESCRIPTION REF PART # DESCRIPTION
1 P0474001 NOZZLE ARBOR NUT 23 P0474023 LEG (G0474)
2 P0474002 NOZZLE SET 23 P0475023 LEG (G0475)
2-1 P0474002-1 9/64" NOZZLE 24 P0474024 TANK 20 GALLON (G0474)
2-2 P0474002-2 1/8" NOZZLE 24 P0475024 TANK 10 GALLON (G0475)
2-3 P0474002-3 7/64" NOZZLE 25 P0474025 SAFETY RELIEF VALVE
2-4 P0474002-4 3/32" NOZZLE 26 P0474026 SPECIAL O-RING
3 P0474003 GASKET 27 P0474027 FILLER CAP
5 P0474005 3/8" BALL VALVE 28 P0474028 FUNNEL
8 P0474008 NOZZLE ARBOR 29 P0474029 HOOD W/LENSE
9 P0474009 3/8" FEMALE CONNECTOR 30 P0474030 HANDLEBAR (G0474)
10 P0474010 WATER TRAP FILTER 30 P0475030 HANDLEBAR (G0475)
11 P0474011 PRESSURE GAUGE 31 PN01M HEX NUT M6-1
14 P0474014 AXLE 32 PS62M PHLP HD SCR M6-1 X 30
15 P0474015 AIR HOSE 33 P0474033 PIPE
17 P0474017 1/8" X 1" COTTER PIN 34 P0474034 HANDLE GRIP
18 P0474018 WHEEL 35 PW06M FLAT WASHER 12MM
19 P0474019 1" HOSE CLAMP 36 P0474036 MANIFOLD
20 P0474020 1" THICK-WALLED BLAST HOSE 38 P0474038 3/8" PUSH-ON HOSE NIPPLE
21 P0474021 SAND ELBOW
Parts List
G0474/G0475 Sandblasters
-15-
Page 18

WARRANTY AND RETURNS
Grizzly Industrial, Inc. warrants every product it sells for a period of 1 year to the original purchaser from
the date of purchase. This warranty does not apply to defects due directly or indirectly to misuse, abuse,
negligence, accidents, repairs or alterations or lack of maintenance. This is Grizzly’s sole written warranty
and any and all warranties that may be implied by law, including any merchantability or fitness, for any par
ticular purpose, are hereby limited to the duration of this written warranty. We do not warrant or represent
that the merchandise complies with the provisions of any law or acts unless the manufacturer so warrants.
In no event shall Grizzly’s liability under this warranty exceed the purchase price paid for the product and
any legal actions brought against Grizzly shall be tried in the State of Washington, County of Whatcom.
We shall in no event be liable for death, injuries to persons or property or for incidental, contingent, special,
or consequential damages arising from the use of our products.
To take advantage of this warranty, contact us by mail or phone and give us all the details. We will then
issue you a “Return Number,’’ which must be clearly posted on the outside as well as the inside of the
carton. We will not accept any item back without this number. Proof of purchase must accompany the
merchandise.
The manufacturers reserve the right to change specifications at any time because they constantly strive to
achieve better quality equipment. We make every effort to ensure that our products meet high quality and
durability standards and we hope you never need to use this warranty.
-
Please feel free to write or call us if you have any questions about the equipment or the manual.
Thank you again for your business and continued support. We hope to serve you again soon.
-16-
G0474/G0475 Sandblasters
Page 19

WARRANTY CARD
Name _____________________________________________________________________________
Street _____________________________________________________________________________
City _______________________ State _________________________ Zip _____________________
Phone # ____________________
Model # ____________________ Order # _______________________ Serial # __________________
The following information is given on a voluntary basis. It will be used for marketing purposes to help us develop
better products and services. Of course, all information is strictly confidential.
1. How did you learn about us?
____ Advertisement ____ Friend ____ Catalog
____ Card Deck ____ Website ____ Other:
2. Which of the following magazines do you subscribe to?
____ Cabinet Maker
____ Family Handyman
____ Hand Loader
____ Handy
____ Home Shop Machinist
____ Journal of Light Cont.
____ Live Steam
____ Model Airplane News
____ Modeltec
____ Old House Journal
3. What is your annual household income?
____ $20,000-$29,000 ____ $30,000-$39,000 ____ $40,000-$49,000
____ $50,000-$59,000 ____ $60,000-$69,000 ____ $70,000+
Email ________________________ Invoice # _________________
____ Popular Mechanics
____ Popular Science
____ Popular Woodworking
____ Practical Homeowner
____ Precision Shooter
____ Projects in Metal
____ RC Modeler
____ Rifle
____ Shop Notes
____ Shotgun News
____ Today’s Homeowner
____ Wood
____ Wooden Boat
____ Woodshop News
____ Woodsmith
____ Woodwork
____ Woodworker West
____ Woodworker’s Journal
____ Other:
CUT ALONG DOTTED LINE
4. What is your age group?
____ 20-29 ____ 30-39 ____ 40-49
____ 50-59 ____ 60-69 ____ 70+
5. How long have you been a woodworker/metalworker?
____ 0-2 Years ____ 2-8 Years ____ 8-20 Years ____20+ Years
6. How many of your equipments or tools are Grizzly?
____ 0-2 ____ 3-5 ____ 6-9 ____10+
7. Do you think your equipment represents a good value? _____Yes _____No
8. Would you recommend Grizzly Industrial to a friend? _____ Yes _____No
9. Would you allow us to use your name as a reference for Grizzly customers in your area?
Note: We never use names more than 3 times.
10. Comments: _____________________________________________________________________
_________________________________________________________________________________
_________________________________________________________________________________
_____Yes _____No
_________________________________________________________________________________
Page 20

FOLD ALONG DOTTED LINE
FOLD ALONG DOTTED LINE
Place
Stamp
Here
GRIZZLY INDUSTRIAL, INC.
P.O. BOX 2069
BELLINGHAM, WA 98227-2069
Send a Grizzly Catalog to a friend:
Name_______________________________
Street_______________________________
City______________State______Zip______
TAPE ALONG EDGES--PLEASE DO NOT STAPLE
 Loading...