

Griots Garage 10412 User Manual
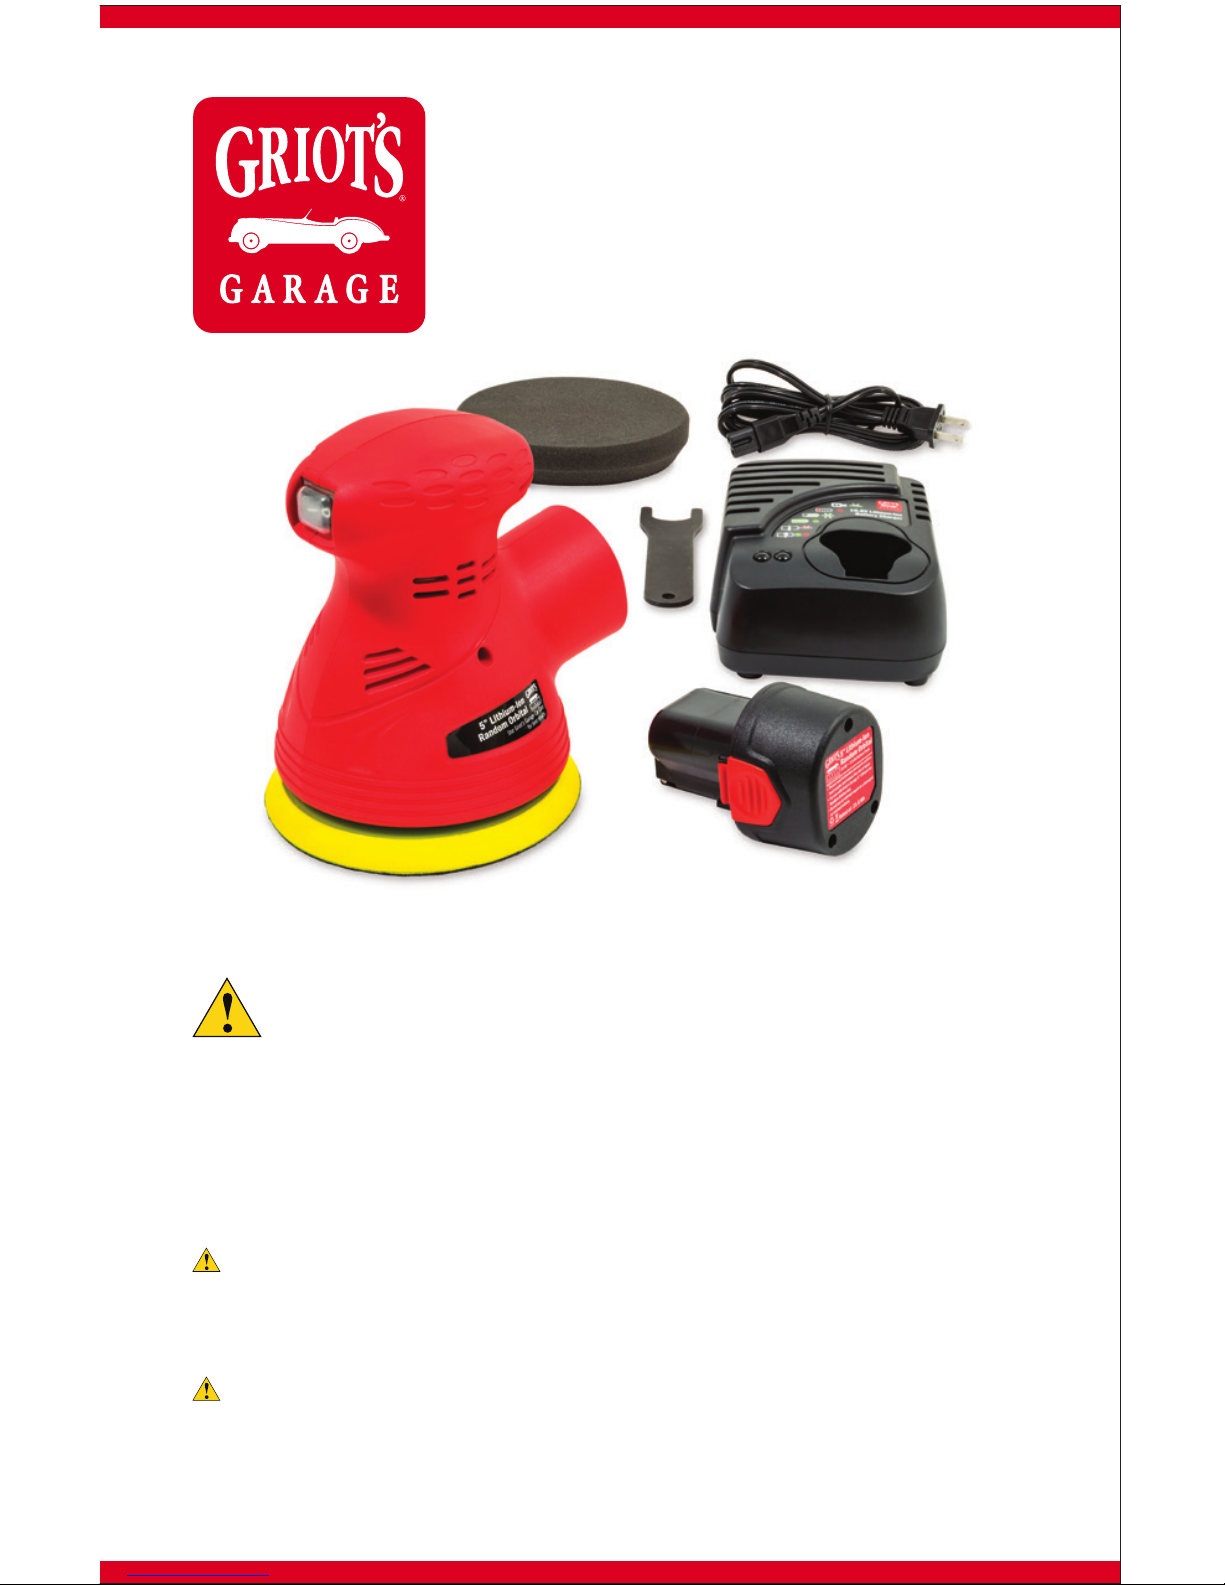
5" Lithium-Ion
Random Orbital
Perfect for paint protection anytime, anywhere.
user Manual & care InstructIons
Please carefully read, understand, and follow all safety information
in this manual prior to and during use of this tool. Keep these
instructions handy for future reference.
As lifelong car lovers we’re always seeking tools that make it easier to produce a flawless finish…
That’s why we design our own Random Orbitals. The Griot’s Garage® 5” Lithium-Ion Random
Orbital cuts the cord and allows you to take your waxing on the road… even if it’s just down the
driveway. Designed for paint perfecting, your 5” Lithium-Ion Random Orbital will produce a
swirl-free finish when teamed with any of our polishes, all-in-ones, waxes, or sealants.
INTENDED USE:
w
arnIng
: The 5” Lithium-Ion Random Orbital is intended for use as a paint polisher for
automotive, marine, and RV vehicles, as well as household surfaces like glass, porcelain, and suitable
composite surfaces. Use in any other application has not been evaluated by Griot’s Garage and may
lead to an unsafe condition. This machine is NOT intended for sanding or grinding purposes.
c
autIon
: Before attempting to use your orbital, familiarize yourself with all operating features
and safety requirements. Pay attention to the Useful Information for Safe Operation, Warnings, and
Cautions. If you use your Random Orbital properly and only for what it is intended, you will enjoy
years of safe, reliable service.
Have fun in your garage!
®
features & InstructIons
Power swItch
The power switch is located on the palm grip of the orbital on the opposite side of the battery pack.
This single-pole switch requires the user to depress switch on the right side to turn the unit on or off.
InstallIng & reMovIng BatterY Pack
To remove the battery pack, push the Battery Release Buttons on both sides of the battery pack and
pull the battery pack from the tool in an outward direction. To insert the battery pack, align the tool
unit slides with the battery pack sliding groove and push the battery pack into place. Do not force the
battery pack into the tool. If the battery pack does not slide in easily, it is not being inserted correctly.
chargIng the BatterY Pack
Your new battery pack is not charged. You need to charge it before use. Plug the fast charger into a
110-volt power source. Slide the battery pack into the charger according to the arrow direction shown
on the charger. Push the battery pack into place and make sure the red light on the charger is “ON.”
When the light turns a solid green, the battery is fully charged. Only use authorized Griot’s Garage
Lithium-Ion Battery (Item #10413 - Extra Lithium-Ion Battery). Use with any other battery may lead to
property damage or personal injury.
w
arnIng
: Avoid short circuiting the contacts. Avoid mechanical damage of the battery pack. Do
not open or disassemble. Keep away from open flames, hot surfaces, and sources of ignition. Never
burn or incinerate battery pack even if it’s damaged, dead, or completely discharged.
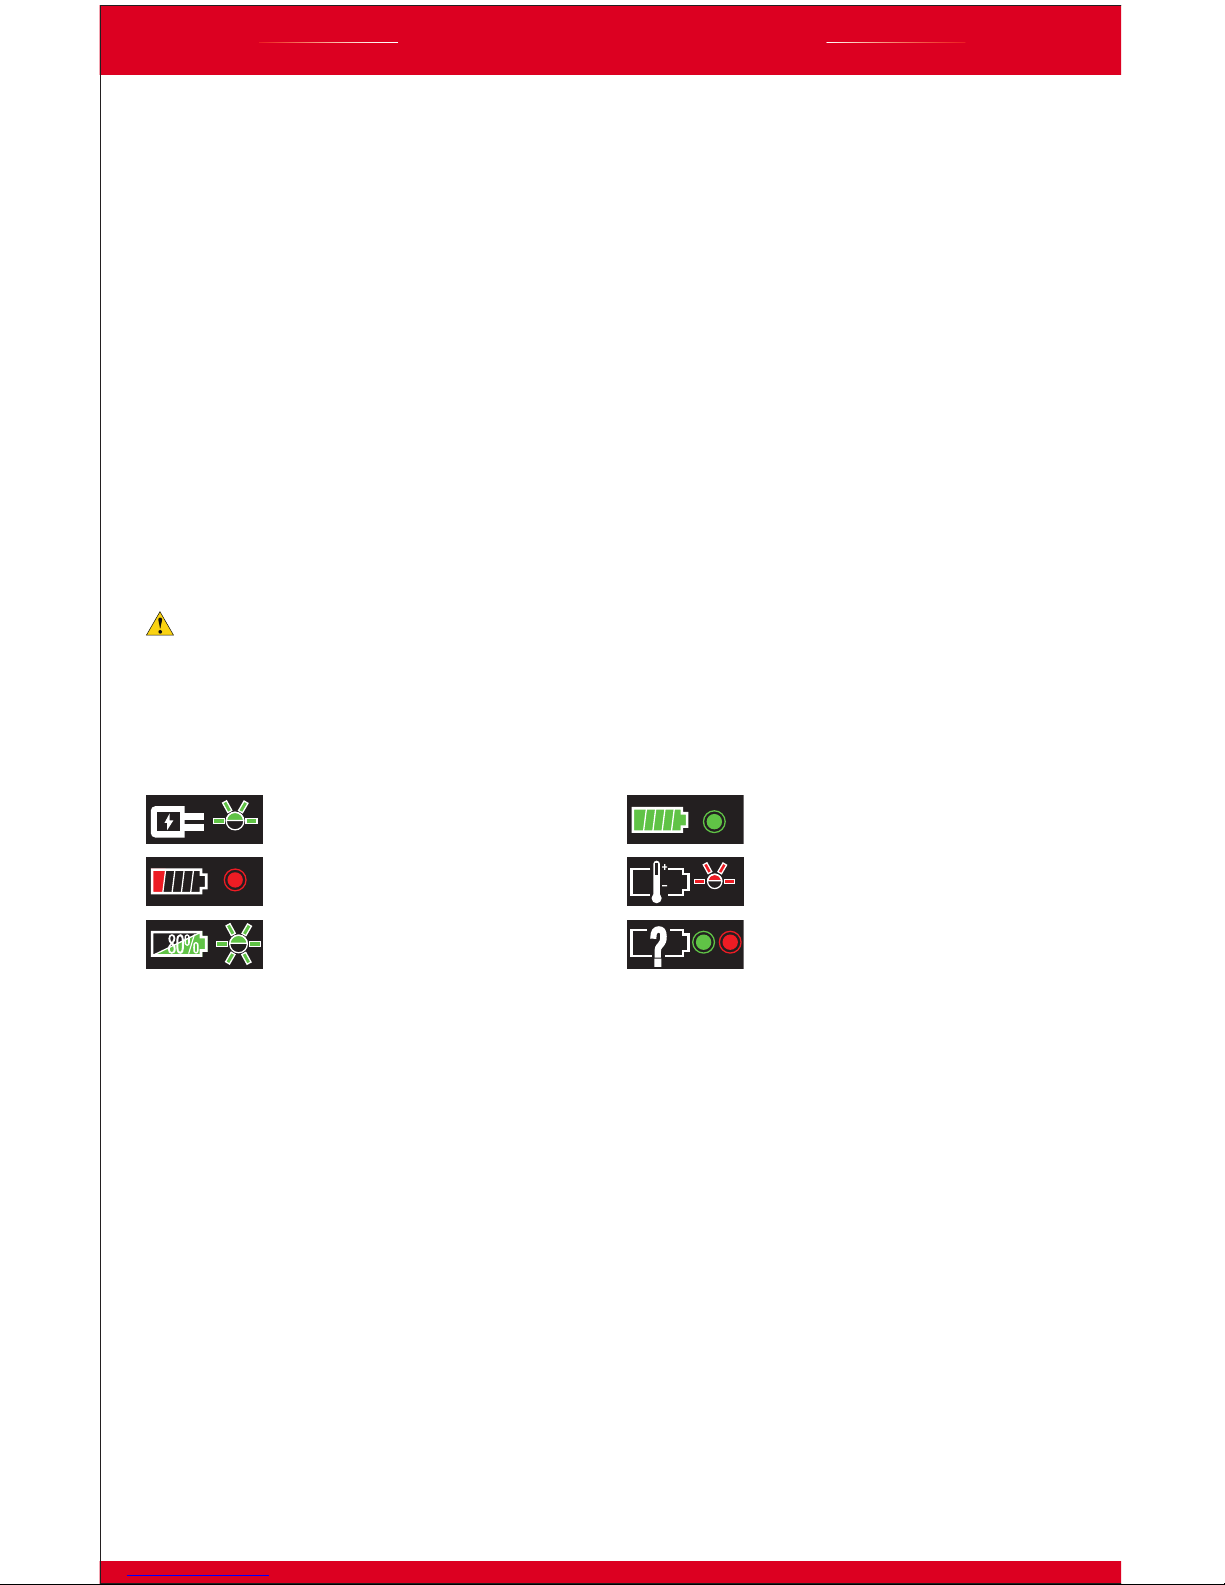
leD InDIcator lIghts exPlaIneD
Power On Battery Charged 100%
(Green light flashes slowly) (Green light stays illuminated)
Battery Low
Battery Pack Temperature Alert
(Red light stays illuminated) (Red light flashes slowly)
Battery Charged 80% Battery Pack Malfunction
(Green light flashes rapidly) (Red & Green lights stay illuminated)
BatterY Pack recYclIng
Do not discard electric power tools or batteries into household waste receptacles!
Separate collection of used products and packaging allows materials to be recycled. Use of recycled
materials helps prevent environmental pollution and reduces the demand for raw materials.
In accordance with the European Directive 2002/96/EG on Waste Electrical and Electronic
Equipment and transposition into national law, used electric power tools must be collected separately
and recycled in an environmentally friendly manner.
BackIng Plate InstallatIon
(See illustration on back page)
Prior to installation, remove battery pack from tool. Use included flange wrench to hold the
hexagonal nut. Align the polisher backing pad bolt thread with the thread hole on the eccentric
wheel assembly. Use flange wrench to hold the hexagonal nut and stabilize the eccentric wheel
assembly counterweight disc, spin the polisher backing pad in clockwise direction until tightened.
InstallIng 5.5" foaM PaDs
•
Inspect polish and/or wax pad before installing.
•
DO NOT use torn or worn-out pads.
•
Remove your battery pack.
•
Center pad on backing plate and press firmly around pad.
2
 Loading...