

Page 1
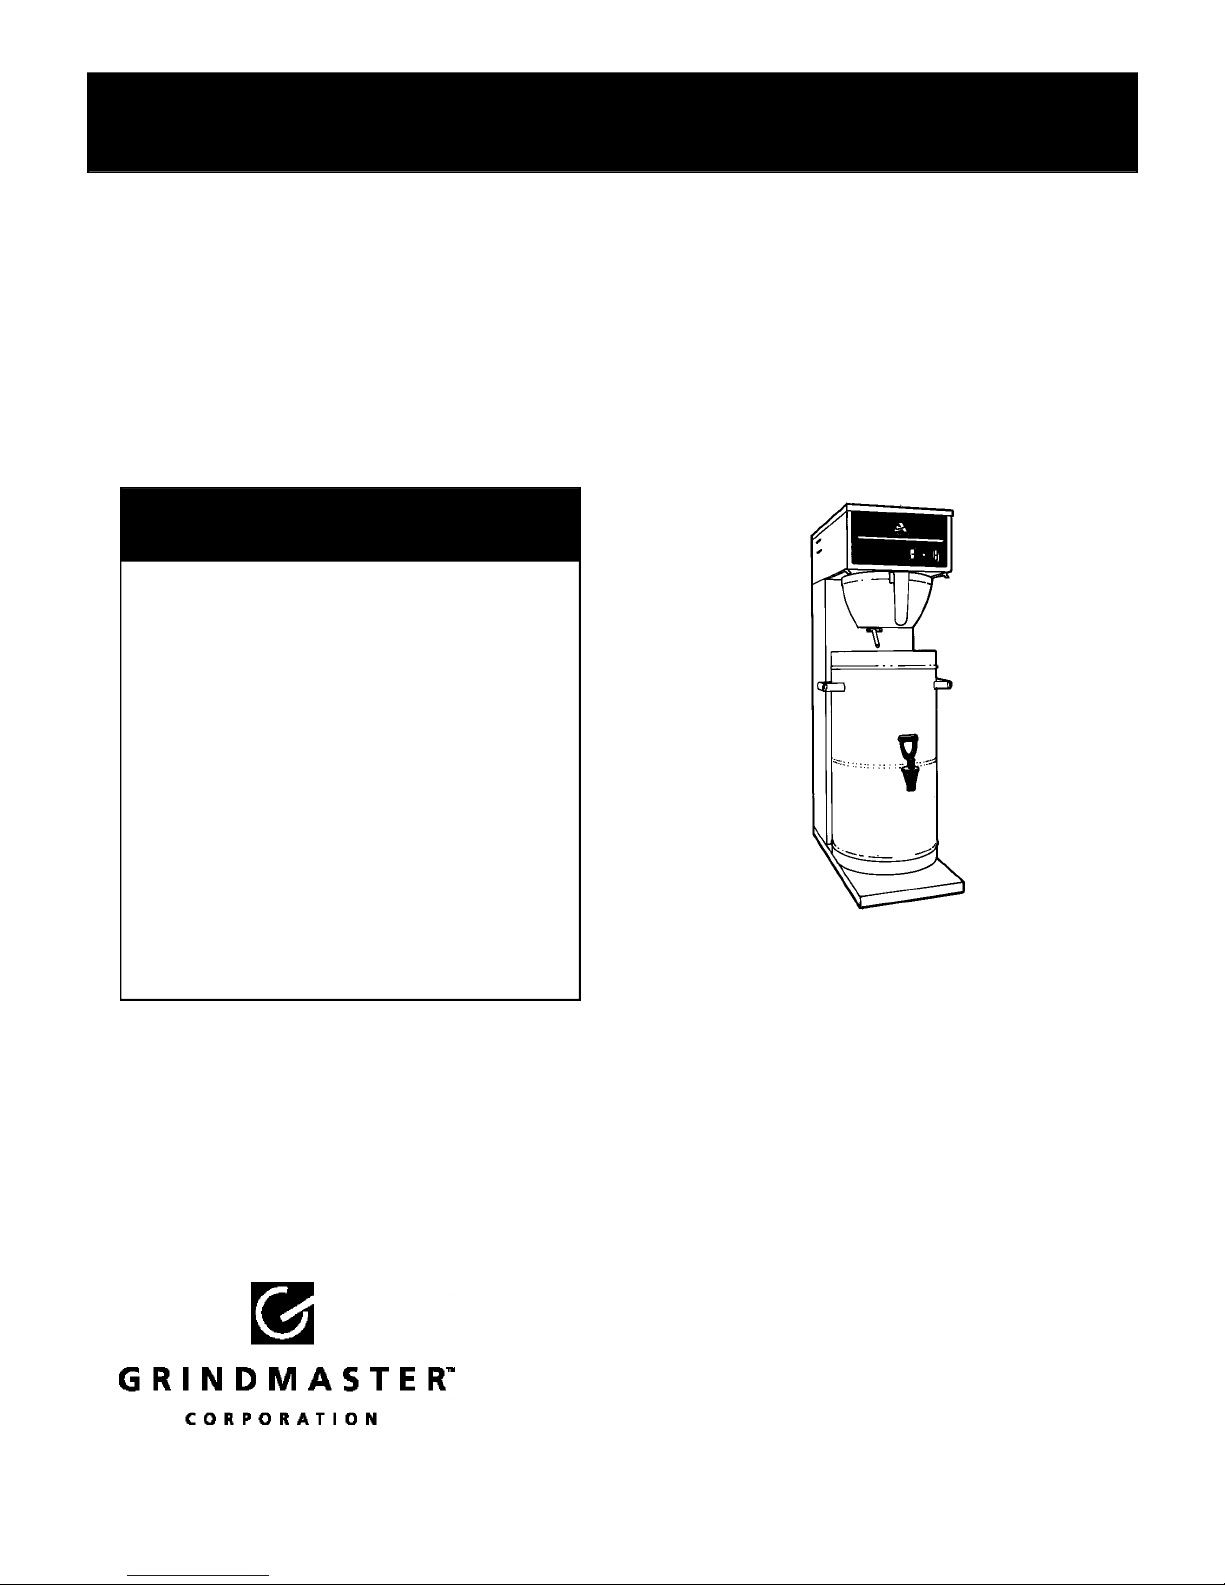
American Metal Ware® Tea Brewers
Operation and Instruction Manual
TEA-300
Tea Brewer Series
TABLE OF CONTENTS
Warning Labels . . . . . . . . . . . . . . . . . . . . . . . .2
Set Up/Position . . . . . . . . . . . . . . . . . . . . . . . .3
Water Hook-Up . . . . . . . . . . . . . . . . . . . . . . . . .3
Electrical Requirements . . . . . . . . . . . . . . . .3-4
Initial Start-Up . . . . . . . . . . . . . . . . . . . . . . . . . .4
Use Control Functions . . . . . . . . . . . . . . . . . . .4
Operation . . . . . . . . . . . . . . . . . . . . . . . . . . . . .5
Adjustments . . . . . . . . . . . . . . . . . . . . . . . . .5-6
Cleaning Procedures . . . . . . . . . . . . . . . . . .6-7
Service . . . . . . . . . . . . . . . . . . . . . . . . . . . . .7-8
Troubleshooting Guide . . . . . . . . . . . . . . . .9-10
Exploded View . . . . . . . . . . . . . . . . . . . . . .11-12
Wiring Diagrams . . . . . . . . . . . . . . . . . . . . . . .13
for
TEA-300
Prior authorization must be obtained
from Grindmaster Corporation for all
warranty claims.
Grindmaster Corporation, 1999
PRINTED IN THE USA
Grindmaster Corporation
4003 Collins Lane
Louisville, Kentucky 40245 USA
(502) 425-4776 800-695-4500
(800) 568-5715 (technical service only)
FAX (502) 425-4664
www.grindmaster.com
1103 Form # AM-325-04
Part # A090-103
Page 2

Page 3
Warning Labels
The following warning and caution statements are contained in different sections of this manual.
Please read this manual and follow all safety precautions when operating or servicing this
equipment.
WARNING: ELECTRIC SHOCK HAZARD
!
ONLY QUALIFIED SERVICE PERSONNEL SHOULD PERFORM INSTALLATION OF THIS
APPLIANCE. IMPROPER INSTALLATION COULD RESULT IN ELECTROCUTION.
CAUTION: HOT LIQUID HAZARD
!
WATER USED FOR BREWING TEA IS VERY HOT. USE CAUTION WHEN BREWING,
POURING, OR TRANSPORTING HOT TEA. NEVER ATTEMPT TO MOVE THE BREWER
WITHOUT FIRST DRAINING THE WATER TANK. ACCIDENTAL SPILLS MAY RESULT IN
SEVERE BURNS.
!
WARNING: BURN HAZARD
HOT LIQUIDS AND SURFACES ARE PRESENT IN THIS EQUIPMENT. TO AVOID BURNS
USE CAUTION WHEN CLEANING. RINSE HOT PARTS WITH COLD WATER BEFORE
CLEANING. USE GLOVES OR HEAVY CLOTH WHEN REMOVING HOT PARTS FROM
BREWER.
WARNING: ELECTRIC SHOCK HAZARD
!
NEVER USE THE GROUND CONDUCTOR AS A NEUTRAL. THIS COULD CAUSE
ELECTROCUTION.
!
CAUTION: HOT LIQUID HAZARD
TEA BASKET CONTAINS VERY HOT LIQUID UNTIL THE DRIP-THROUGH IS COMPLETED.
EARLY REMOVAL OF THE BASKET COULD RESULT IN BURNS.
! WARNING: ELECTRIC SHOCK HAZARD
DANGEROUS ELECTRIC VOLTAGES ARE PRESENT NEAR ADJUSTABLE COMPONENTS.
ONLY QUALIFIED SERVICE PERSONNEL SHOULD MAKE ADJUSTMENTS.
HOT LIQUIDS AND SURFACES ARE PRESENT IN THIS EQUIPMENT. TO AVOID BURNS
USE CAUTION WHEN SERVICING EQUIPMENT. ALLOW UNIT TO COOL BEFORE SERVICING EQUIPMENT.
American Metal Ware®Tea Brewers Page 2
WARNING: BURN HAZARD
!
Page 4

WARNING: ELECTRIC SHOCK HAZARD
!
ONLY QUALIFIED SERVICE PERSONNEL SHOULD PERFORM INSTALLATION OF THIS
APPLIANCE. IMPROPER INSTALLATION COULD RESULT IN ELECTROCUTION.
Set-Up / Position
1. Position the brewer on a strong, stable counter top or table.
2. Check the level front to back and side to side. Adjust the legs to the correct level.
3. See rough-in drawing in this manual for dimensions and locations of electrical and water input.
Water Hook-Up
IMPORTANT
WATER PIPE CONNECTIONS AND FIXTURES DIRECTLY CONNECTED TO A POTABLE WATER SUPPLY
SHALL BE SIZED, INSTALLED, AND MAINTAINED IN ACCORDANCE WITH FEDERAL, STATE AND LOCAL
CODES.
1. The water line should be a 1/4" (6.35 mm) copper or flexible water line to prevent strain. Do not use low temperature plastic tubing. The connector on the fill valve is a 1/4" (6.35 mm) male flare fitting.
2. Water line pressure must be from 30 to 70 psi.
3. Install a shut-off valve near the brewer.
4. Install a backflow prevention device that conforms to ASSE Standard #1024.
IMPORTANT
THIS EQUIPMENT IS TO BE INSTALLED WITH ADEQUATE BACKFLOW PROTECTION TO COMPLY WITH
APPLICABLE FEDERAL, STATE AND LOCAL CODES.
5. Installing a filtering system can improve the taste of brewed tea and extend the life of the brewer. The use of a
filter is especially important if your water has a high calcium (lime), chlorine, or iron content. Contact our
Technical Service department to select the filter for your water conditions.
Electrical Requirements
IMPORTANT
THE PERSON INSTALLING THIS APPLIANCE IS RESPONSIBLE FOR ENSURING THAT ELECTRICAL
CONNECTIONS MEET THE REQUIREMENTS OF THE NATIONAL ELECTRIC CODE, STATE AND ANY
LOCAL CODES.
1. The electric ratings for your brewer are printed on its nameplate. The electrical rating is one of the following:
• 120 Volt, 15 Amp, 1 Phase
• 120/208-240 Volt, 20 Amp, 1 Phase, 4 supply wires
2. The brewer should be connected to its own circuit with a fused disconnect switch or a circuit breaker near the
brewer.
American Metal Ware®Tea Brewers Page 3
Page 5

Electrical Requirements (cont.)
WARNING: ELECTRIC SHOCK HAZARD
!
NEVER USE THE GROUND CONDUCTOR AS A NEUTRAL. THIS COULD CAUSE
ELECTROCUTION.
3. The body of the brewer must be grounded. A ground lug is provided for this purpose.
Initial Start-Up
1. Turn on the water supply to the brewer. Check for leaks at supply line to fill valve connection.
2. Make sure the power switch is turned to the “Off” position. The power switch is located on the upper back
panel of the brewer.
3. Plug in the unit’s power cord into a properly grounded receptacle.
4. Place the brew basket into the brew rails of the brewer.
5. With the dispenser’s cover removed, place the tea dispenser onto the tea brewer’s base.
6. The water tank needs to be primed. Press the Start switch to begin filling the water tank. After approximately
5 minutes the brew will terminate and the water fill valve will turn off. Drain off the dispensed water from the
dispenser and press the Start switch again to continue. You will have to perform this step until the water begins
to exit through the sprayhead. When this occurs, press the Stop switch. At this point the water tank is primed.
7. Turn off the power switch to energize the heating element .
8. When the water temperature has reached the preset temperature the Water Hot lamp will illuminate. This may
take between 15 and 35 minutes.
9. Check the brewer water temperature at the sprayhead. If the temperature needs to be adjusted, refer to
Adjustments section of this manual for instructions.
Use Control Functions
Power Switch: Controls the power to the heating element for the water tank.
Start Switch: Press to start a brew cycle.
Stop Switch: Pressing this switch during a brew cycle stops the cycle prematurely. Note: After the switch is
pressed, adequate time must be given to drain the brew basket before removing from the unit.
!
CAUTION: HOT LIQUID HAZARD
TEA BASKET CONTAINS VERY HOT LIQUID UNTIL THE DRIP-THROUGH IS COMPLETED.
EARLY REMOVAL OF THE BASKET COULD RESULT IN BURNS.
Hot Water Light: Light illuminates when the water reaches the proper brewing temperature.
American Metal Ware®Tea Brewers Page 4
Page 6

Operation
!
CAUTION: HOT LIQUID HAZARD
WATER USED FOR BREWING TEA IS VERY HOT. USE CAUTION WHEN BREWING,
POURING OR TRANSPORTING HOT TEA. NEVER ATTEMPT TO MOVE THE BREWER
WITHOUT FIRST DRAINING THE WATER TANK. ACCIDENTAL SPILLS MAY RESULT IN
SEVERE BURNS.
1. Place an empty tea dispenser on the base of the tea brewer. The placement should allow the bypass and the
brew basket drain to empty into the container.
2. Remove the brew basket and line it with a paper filter. Paper size is 13" x 5" (Filter #BB1.5WP).
3. Place tealeaves in the filter basket. Your tea supplier can help you select the right amount of tea to use. Tea
experts recommend 1 oz. (28 g) of loose tea for each gallon (3.8 litre) of finished product.
4. Slide the basket into the brewer, making sure the basket is pushed completely back. In the proper position the
basket and the dispenser are pushed back onto the brewer.
5. Check that the Water Hot light is illuminated. If not then wait for the water to reach proper brewing temperature
and the light will turn on.
6. Press the Start switch to start the cycle. Total brew time is dependent upon brewer settings.
!
CAUTION: HOT LIQUID HAZARD
TEA BASKET CONTAINS VERY HOT LIQUID UNTIL THE DRIP-THROUGH IS COMPLETED.
EARLY REMOVAL OF THE BASKET COULD RESULT IN BURNS.
7. During the brewing process the hot tea is mixed with cold water in the dispenser. Add sweetener if desired and
serve over ice.
8. After brewing place the cover over the tea dispenser to keep fresh.
9. Dump the used tea and filter from the basket and rinse for the next brew.
Adjustments
WARNING: ELECTRIC SHOCK HAZARD
!
DANGEROUS ELECTRIC VOLTAGES ARE PRESENT NEAR ADJUSTABLE COMPONENTS.
ONLY QUALIFIED SERVICE PERSONNEL SHOULD MAKE ADJUSTMENTS.
All adjustable components are located under the top cover or behind the lower front cover.
Timer Adjustment
Change timer setting if the total volume of dispensed liquid requires adjustment.
1. Shut off power and unplug the brewer.
2. Remove the screw fastening the top cover . Remove the top cover by pulling
forward and lifting upwards.
American Metal Ware®Tea Brewers Page 5
Figure A
Page 7

Timer Adjustment (cont.)
3. This timer is adjustable from 15 seconds to 8 minutes.
4. Make the desired adjustments by turning the adjusting knob clockwise to increase timer setting; turning counter
clockwise to reduce time.
5. Re-install top cover with screw then plug unit in, return to use.
Thermostat Adjustment
Change thermostat setting if spray over water temperature requires adjustment. Factory setting is 195°F (90.56°C).
This is the ideal temperature for brewing tea. Water should never boil in the tank. If water is boiling in the tank,
adjust the temperature appropriately.
1. Shut off power and unplug the brewer.
2. Remove the screw fastening the top cover. Remove the top cover
by pulling forward and upwards.
3. Locate thermostat mounted on tank.
4. Turn the shaft clockwise to increase the water temperature, counter
clockwise to decrease water temperature. (Refer to Figure B.)
5. Re-install top cover with screw then plug unit in and return to use.
Figure B
Bypass Adjustment
Change bypass adjustment if desired volume of brewed liquid requires
adjustment.
1. Shut off power and unplug the brewer.
2. Remove the lower front panel by removing the screws securing the panel.
3. Make the desired adjustments by turning the adjusting knob clockwise
to decrease the total brewed volume; turning counter clockwise to
increase volume.
Cleaning Procedures
Figure C
! WARNING: BURN HAZARD
HOT LIQUIDS AND SURFACES ARE PRESENT IN THIS EQUIPMENT. TO AVOID BURNS
USE CAUTION WHEN CLEANING. RINSE HOT PARTS WITH COLD WATER BEFORE
CLEANING. USE GLOVES OR HEAVY CLOTH WHEN REMOVING HOT PARTS FROM
BREWER.
Cleaning After Each Brew
Dispose of used tealeaves and rinse brew basket.
American Metal Ware®Tea Brewers Page 6
Page 8

Cleaning Procedures (cont.)
Daily Cleaning
Cabinet: The outside of the machine can be cleaned with a damp cloth, a household dusting spray or a stainless
steel cleaner. Do not use an abrasive such as Scotchbrite or Brillo pads. These may mar the finish.
Wipe the underside of the cabinet hood with a clean cloth. Be especially careful when using soap or detergent
around the sprayhead. Any soap left on the deflector may impart an unpleasant taste to the first brews.
Weekly Cleaning
Brew Basket: Use commercial grade urn cleaner (as directed by manufacturer) and rinse thoroughly.
Service
The remainder of this manual contains information to aid the service person making repairs to this equipment. This
section has information on performing common service tasks. A section on troubleshooting follows and can be used
to help determine the cause of problems with the equipment.
An illustrated parts breakdown follows and will aid in correctly identifying replacement parts. For factory assistance,
call 1-800-695-4500 between 8:00 a.m. and 5:00 p.m. Eastern time.
Finally, wiring diagrams are provided for the various models covered by this manual.
To Drain Water Tank
WARNING: BURN HAZARD
!
HOT LIQUIDS AND SURFACES ARE PRESENT IN THIS EQUIPMENT. TO AVOID BURNS
USE CAUTION WHEN CLEANING. RINSE HOT PARTS WITH COLD WATER BEFORE
CLEANING. USE GLOVES OR HEAVY CLOTH WHEN REMOVING HOT PARTS FROM
BREWER.
1. Turn off the power to the brewer and allow to cool before draining.
2. Remove the lower front panel.
3. Pinch or clamp the tube from the needle valve assembly to the tank and
disconnect the tube from the needle valve assembly. Place the tube over
a drain, release the clamp, and allow the tank to drain.
4. Reconnect tube to bottom of tank when finished draining.
American Metal Ware®Tea Brewers Page 7
Figure D
Page 9

To Remove the Water Tank Heating Element
1. Disconnect the power cord and remove the top cover .
2. Disconnect the wire leads to the heater and thermodisc.
3. Remove the spray head and the spray head nut.
4. Remove the tank cover after removing the (8) nuts securing
the cover to the tank. Lift the tank cover with the heating
element attached.
5. Remove the thermostat bulb bracket retaining the thermostat
bulb to the heating element.
6. Remove the heating element from the tank cover.
7. Replace the heating element with the sealing washers in the
same configuration; hold the element so that it does not twist
when tightening the element nuts .
8. Reinstall the tank cover in reverse order beginning with
item number 5.
Figure E
American Metal Ware®Tea Brewers Page 8
Page 10

TROUBLESHOOTING GUIDE
Only a qualified service technician should perform electrical and mechanical adjustments or
!
repairs. Always disconnect power before attempting any maintenance procedures.
BREWING PROBLEMS
Problem/Cause
Weak tea
• Not enough tea used
• Water not hot enough
• Water not hot enough
• Sprayhead clogged
• Tea steeping time too short
Strong tea
• Too much tea used
• Tea steeping time too short
Grounds in tea
• Paper filter collapsed during brewing
• Using filter packs
Brew basket overflowed
• Volume of hot water set too high
• Brew basket drain blocked
• Brew basket drain blocked
Unpleasant taste
• Tea dispenser or brew basket needs cleaning
• Water tank has lime build-up
• Taste is coming from water supply
Brew volume too large or too small
• Timer setting set too long or too short
• Water service not supplying adequate water
pressure or flow rate
Brew volume erratic (small variations from
batch to batch are normal)
• Water supply pressure fluctuates
• Fill valve faulty or clogged
Sprayhead will not stop dripping water
• Brew valve does not close completely
Water boiling in water tank
• Temperature in water tank too hot
Remedy
• Use 1 oz. (28 g) tea per 1 gallon (3.8 litre) finished product
• Wait for Water Hot light to illuminate
• Check sprayhead temperature, should be greater than
185° F (85°C)
• Remove sprayhead for cleaning. Follow cleaning procedures
for sanitizing
• Water ratio of bypass to spray over not set properly, ideal
setting is 70 to 90 oz. (1960 to 2520 g) of hot water for
3 gallons (11.4 litres)
• Use 1 oz. (28 g) tea per gallon (3.8 litre) finished product
• Water ratio of bypass to spray over not set properly, ideal
setting is 70 to 90 oz. (1960 to 2520 g) of hot water for
3 gallons (11.4 litres)
• Use proper filter
• Add screen kit to brew basket
• Water ratio of bypass to spray over not set properly, ideal
setting is 70 to 90 oz. (1960 to 2520 g) of hot water for
3 gallons (11.4 litres)
• Paper filter collapsed during brewing
• Add screen kit to brew basket
• Clean and sanitize
• De-lime water tank
• Install a water filtration system
• Adjust timer to desired value
• Water pressure measured at the unit’s water inlet valve
should be between 30 psi to 70 psi delivering a minimum of
1 gallon (3.8 litre) per minute
• Plumb water supply so that water pressure is not significantly
affected by other appliances
• Check for power at fill valve when unit is calling for water. If
water flow is slow or valve not operating then repair valve
• Visually inspect valve. Clean lime from valve. Seat, cup, or
entire valve may need replacement
• Reduce the water tank temperature. Adjustment knob is
located on the control board face
American Metal Ware®Tea Brewers Page 9
Page 11

FILLING PROBLEMS
Problem/Cause
Overfilling of water tank when power is off
• Fill valve not sealing properly
Overfilling of water tank when power is on
• Fill valve not sealing properly
• Fill valve not de-energizing
HEATING PROBLEMS
Problem/Cause
Water is hot but hot light not illuminated
• Light burned out
Water tank will not heat
• Thermostat faulty or out of calibration
• Bad electrical connection of heating circuit
Recovery time is very long
• Bad electrical connection of heating circuit
• Bad high limit switch
• Faulty heating element
Remedy
• Disassemble, clean and reassemble valve. If needed service
kits are available
• Disassemble, clean and reassemble valve. If needed service
kits are available
• Check wiring of timer, switches and fill valve, if o.k.
then defective timer board
Remedy
• Replace light
• Recalibrate thermostat. If no remedy or thermostat does
not cycle, replace thermostat
• Check each electrical connection of heating circuit
• Check each electrical connection of heating circuit
• Check resistance across high limit switch, should be no
resistance. If resistance present then replace
• Check resistance across element with power conductors
disconnected. If resistance is much less than 8 Ohms or
much more than 15 Ohms, replace part
If you still need help, call our service department at (800) 568-5715 (Monday through Friday, 8 am - 6 pm EST) or an
authorized service center in your area. Please have the model numbers ready so that accurate information may be
given.
Prior authorization must be obtained from Grindmaster Corporation’s Technical Service Department for all
warranty claims.
American Metal Ware®Tea Brewers Page 10
Page 12

Tea-300 Isometric
American Metal Ware®Tea Brewers Page 11
Page 13

Tea-300 3-Gallon Dispenser Isometric
American Metal Ware®Tea Brewers Page 12
Page 14

Tea-300 Wiring Schematic
American Metal Ware®Tea Brewers Page 13
Page 15

Page 16

 Loading...