

Grid 1 Pedal Jeanie, Pedal Jeanie JR User Manual

Pedal Jeanie™
Pedal Jeanie Jr™
User Manual
Copyright ©2009-2011 by Grid 1 Audio LLC.
This document is protected by copyright and all rights are reserved.
Pedal Jeanie is a trademark of Grid 1 Audio LLC.
2/08/11
Pedal Jeanie Introduction
The Pedal Jeanie is a rechargeable batterypowered pedalboard with a DC panel built-in
under the chassis and will power up to 10 9v
effect pedals simultaneously. All DC cables, tie
wraps, and battery charger are included in the
box. The Pedal Jeanie was designed to be clean
and quiet. When we say clean we mean all your
cables (DC and audio) can be run through the
supplied holes on top of the Pedal Jeanie and
connected underneath on the DC panel. This
keeps the top of your pedalboard free from cable
clutter. See images on our website for examples.
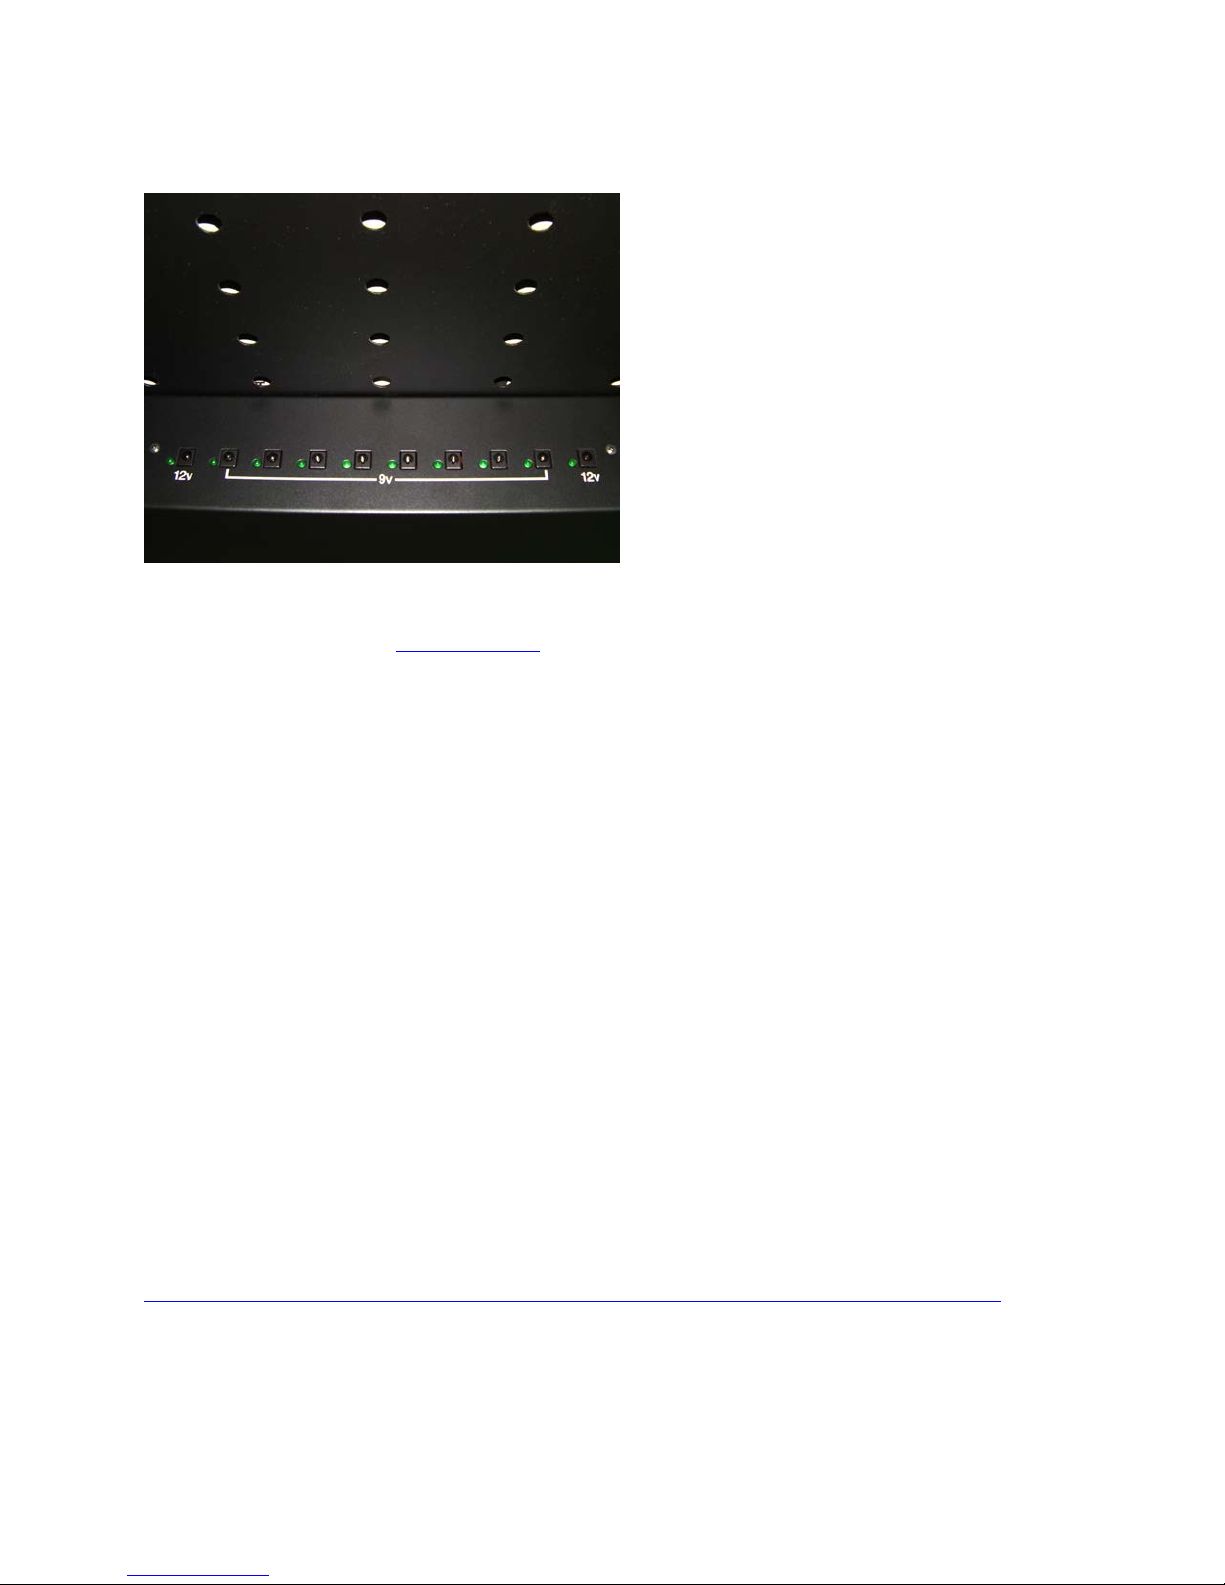
Each 9v DC connection is regulated and fused for independent operation. There is also an LED next to
every connection that will glow green to show you have connectivity. We will be posting wiring and setup videos on our website at www.grid1.com
, so check back often for tips, how-to’s, and set-up
examples.
Recommendation: We highly recommend you plug in the supplied battery charger to the barrel
connection located on the back of the Pedal Jeanie just under the handle to charge the internal batteries
back to full capacity. We charge every Pedal Jeanie prior to shipping them out, but if they have been in a
dealer warehouse or stored for a long period they may need to be re-charged prior to your first use. The
charger will light green when the batteries are fully charged. You cannot over-charge the batteries as
there is overcharge protection built in. Additional wall chargers and optional car chargers are available
from Grid 1.
Pedal Jeanie Set-up
The first thing you should do is check if any of your effect pedals, stomp boxes, or tuners have standard
9v connectors (do they run on a 9v battery). Then check the polarity of your effect unit’s input jack. The
cables that are provided with the Pedal Jeanie support a standard 9v connection of positive (+) barrel
and negative (-) center. If your effects unit is configured differently, or if you’re not sure, you should
wait to install those pedals until you check the rest of this manual for polarity and AC pedal connectivity
issues. We will also be updating our website with supported and unsupported pedals.
Another good thing to do is check the voltage requirement of each of your effect pedals. The Pedal
Jeanie supports eight 9V connections and two 12v connections. If you have 18v or 24 volt DC pedals you
should get this ISO Pump cable:
http://www.godlyke.com/power-all/godlyke-power-all-accessories/iso-pump-voltage-converter
Ten DC power cords are included with the Pedal Jeanie and six cables with the Pedal Jeanie Jr. Each
cable has a 5.5mm x 2.1mm standard plug for your effects. One side of the cable has a right angle
connection, and the other end has a straight barrel connection. The straight barrel fits through the hole
for easy connectivity under the pedalboard. If the right angle does not fit well on your pedal, you can
 Loading...