


>>assembly instructions
Page 1 of 5
Congratulations on your latest purchase.
Now what? Don’t start sweating over this box of parts. This will be easy. We did the hard work for you.
All you need to do is follow our simple instructions and you’ll be on your way to transforming your
room in no time. Good luck --though we’re confident you won’t need it.
before you begin
1. Check for damaged or missing parts. Call to order missing supplies.
2. Use the carton as a working surface to prevent product damage during assembly.
3. Gather all tools prior to assembly.
Assembly Tips:
1. Remove hardware from box and sort by size.
2. Please check to see that all hardware and parts are present prior to start of assembly.
3. Please follow attached instructions in the same sequence as numbered to assure fast &
easy assembly.
Warning:
1. Don’t attempt to repair or modify parts that are broken or defective please contact the store
immediately.
2. This product is for home use only and not intended for commercial establishment.
A friendly reminder from us:
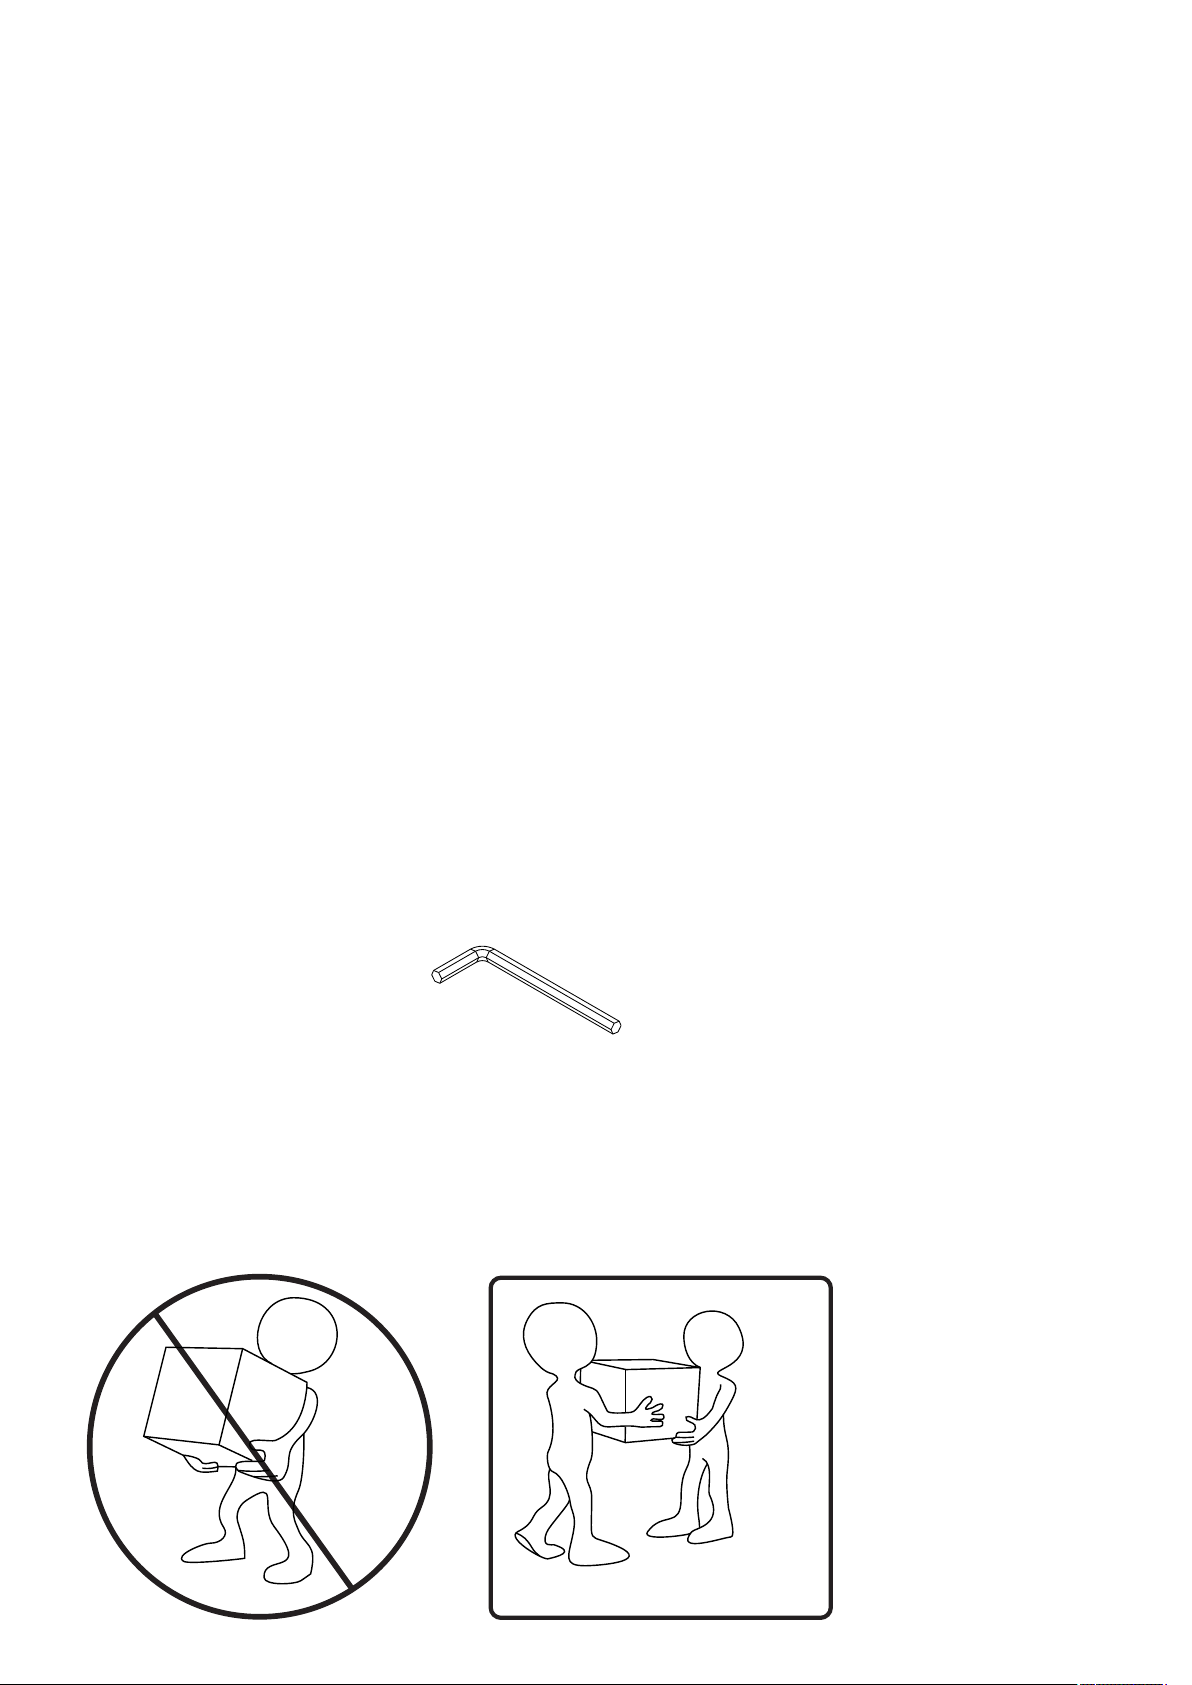
Please keep the Allen wrench.
After a period of time, there may be a chance the
KD furniture may become loose, please use an
Allen wrench to tighten the loose bolts.
YES
Page 2 of 5

ITEM DESCRIPTI O N QUANTI T Y
1
2
3
4
bench
metal frame 1
metal frame 2
metal frame 3
1
2
2
1
1
2
3
4
hardware
(A) x 4
6 x 35mm
round hex screw
(D) x 1
4mm Hex wrench
(B)
x 10
6 x 16 x 2
flat washer
(E ) x 14
6 x 25mm
round hex screw
(C)
x 6
8mm lock washer
Page 3 of 5
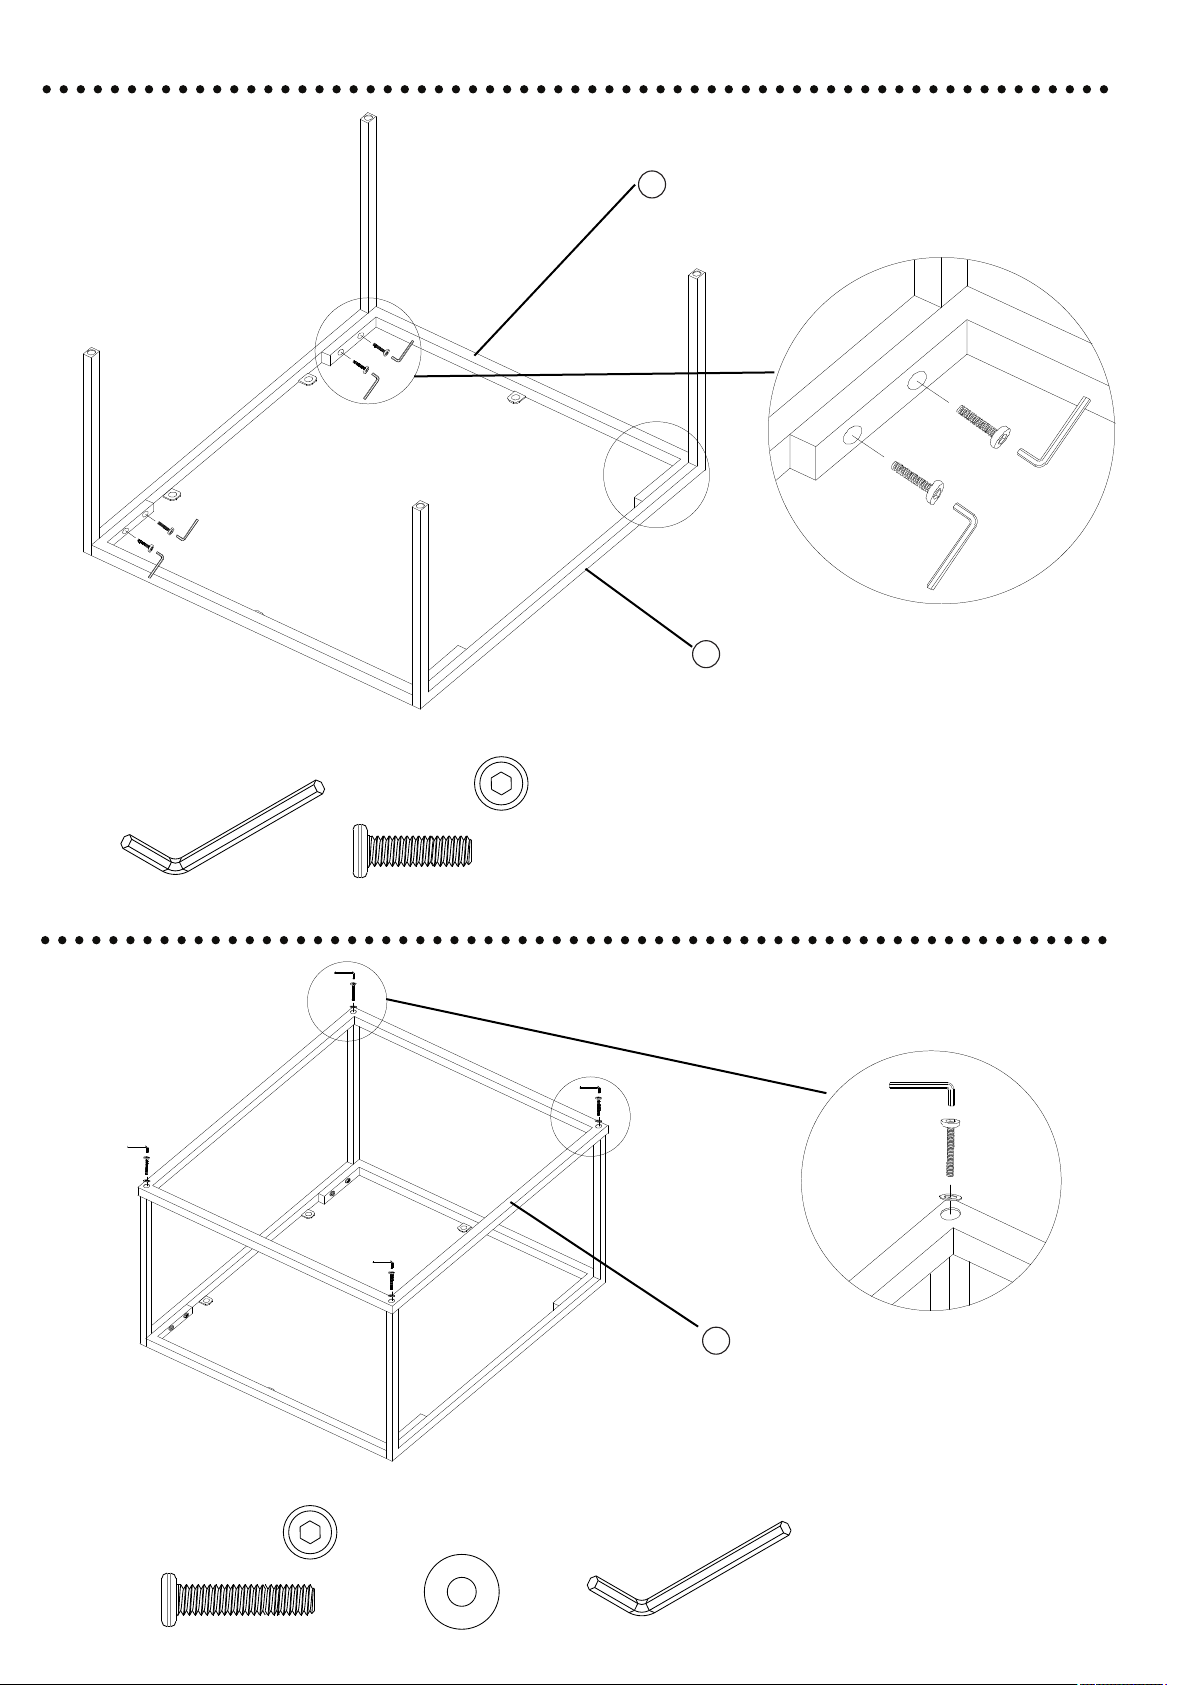
step 1.
2
(D)
4mm Hex w rench
ste .
p 2
x1
(E)
x8
6 x 25mm
round h ex scre w
3
(A)
x4
6 x 35mm
round h ex scre w
(B)
x 4
6 x 16 x 2
fla t washer
4
(D)
x1
4mm Hex w rench
Page 4 of 5

step 3.
(B)
x 6
6 x 16 x 2
flat washer
step 4.
(C)
x 6
8mm lock washer
(D) x 1
4mm Hex wrench
(E ) x 6
6 x 25mm
round hex screw
Page 5 of 5
 Loading...