

Gremon Trutina Hydro Installation Instructions Manual

Trutina Hydro
Installation Instructions
1 www.gremonsystems.com

Contents
1. Introduction
1.1 About this document
1.2 Marks system
2. Content of the package
3. Additional accessories necessary for installation
3.1 Summary
3.2 List of additionalaccessories
4. Steps of installation
4.1 Preparation
4.1.1 Electricity
4.1.2 Internet connection
4.2 Mounting the gutter
4.3 Installation of the Trutina
4.4 Installation of the 100 kg sensors on the gutter
4.5 Installation of the 10 kg sensors
4.6 Installation of the 25 kg sensor
4.7 Connection of Ethernet cable
4.8 Power on
4.8.1 Steps of first start
4.8.2 Operations, LEDs
2 www.gremonsystems.com
● Trutina web application
● Trutina measuring unit
● Power supply
● Fixing kit
● Sensors (Trutina Hydro)
- 3 pcs 10 kg plant sensor
- 1 pc 25 kg plant sensor
- 2 pcs 100 kg gutter sensor
● Sensors (Trutina Soil)
- 5 pcs 10 kg plant sensor
- 1 pc 25 kg gutter sensor
1. Introduction
1.1 About this document
This document is a summary about the installation and setting up the Trutina system, issued by Gremon
Systems Ltd. Further information is provided at www.gremonsystems.com.
1.2 Marks system
Various icons and visually displaying images can be found in the document in order to guide the reader and
also to highlight the importance of a given part. The symbols used in the document have the following
meaning:
This symbol indicates some useful information or tip within the paragraph.
This symbol refers to content which may require increased focus.
This symbol refers to a step-by step list. In case of these paragraphs a process of setting is
shown, please pay attention to the correct order.
2. Content of the package
3 www.gremonsystems.com
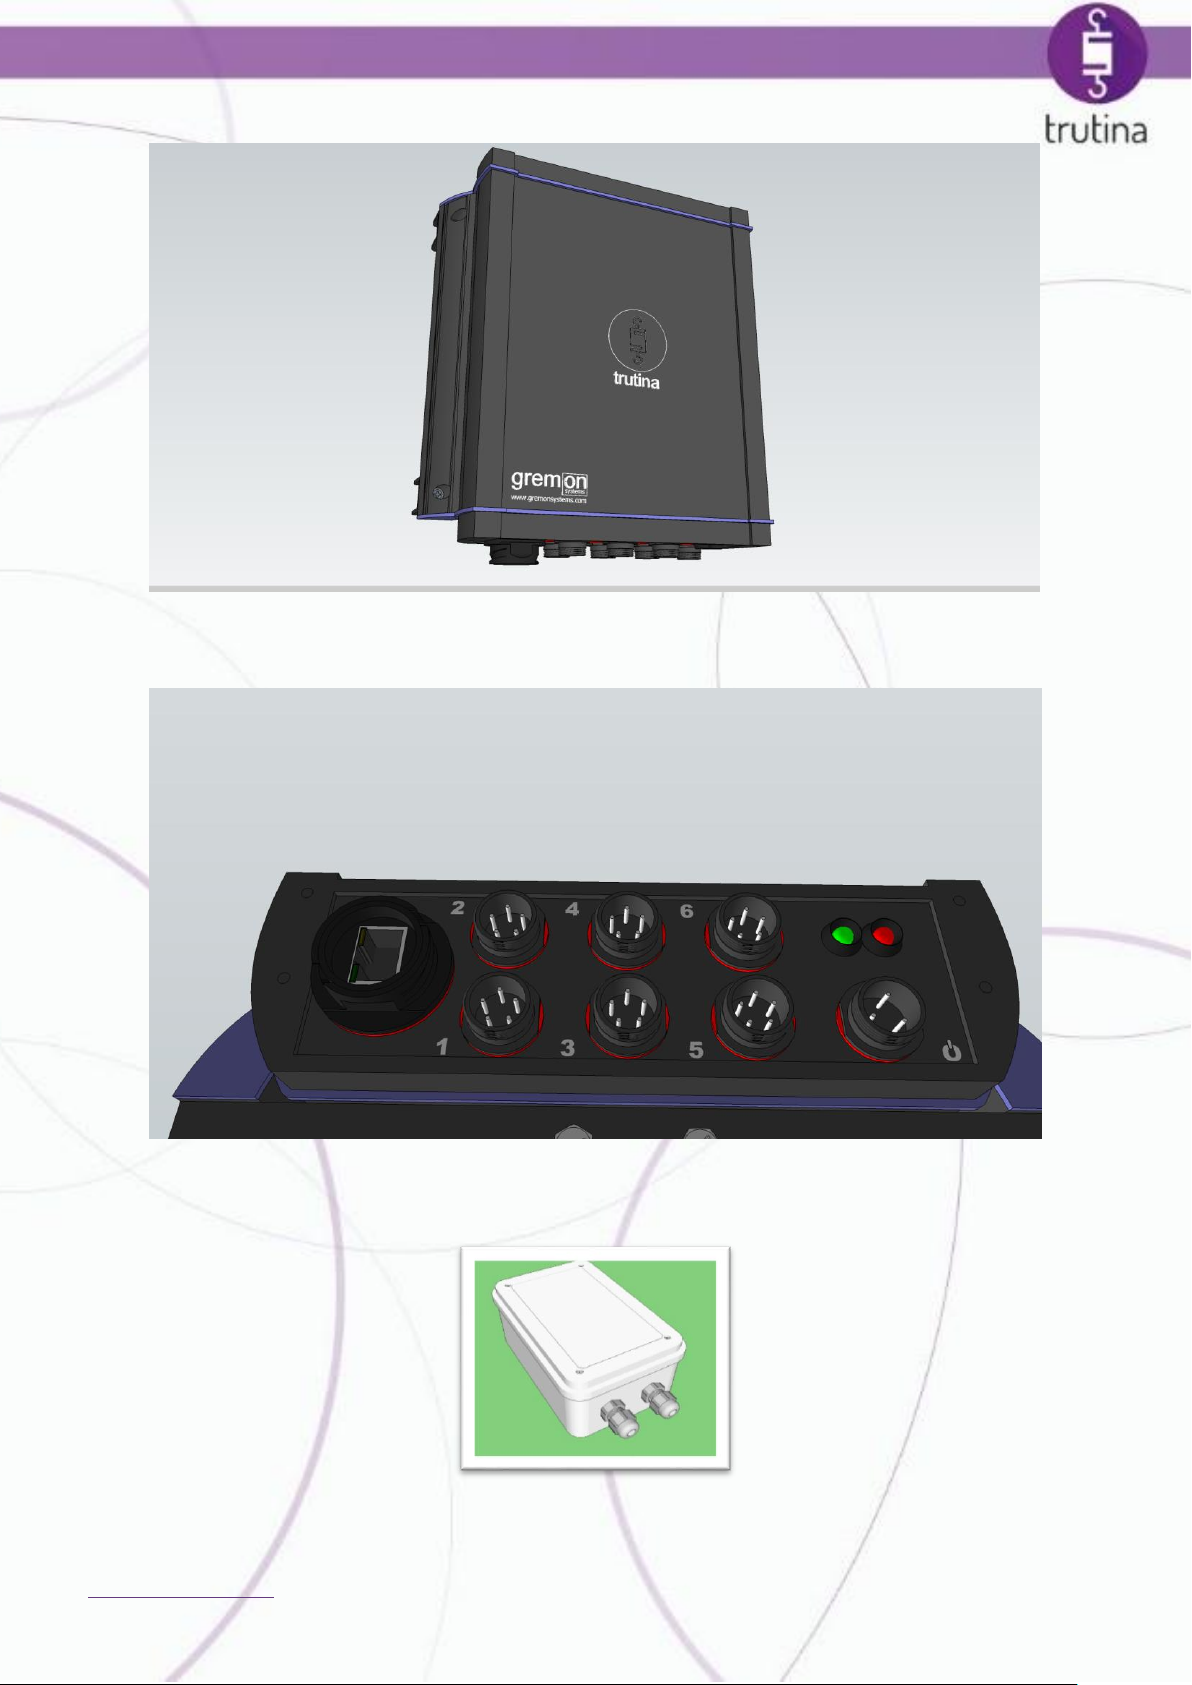
Trutina measuring unit
Bottom of the measuring unit
4 www.gremonsystems.com
Power supply
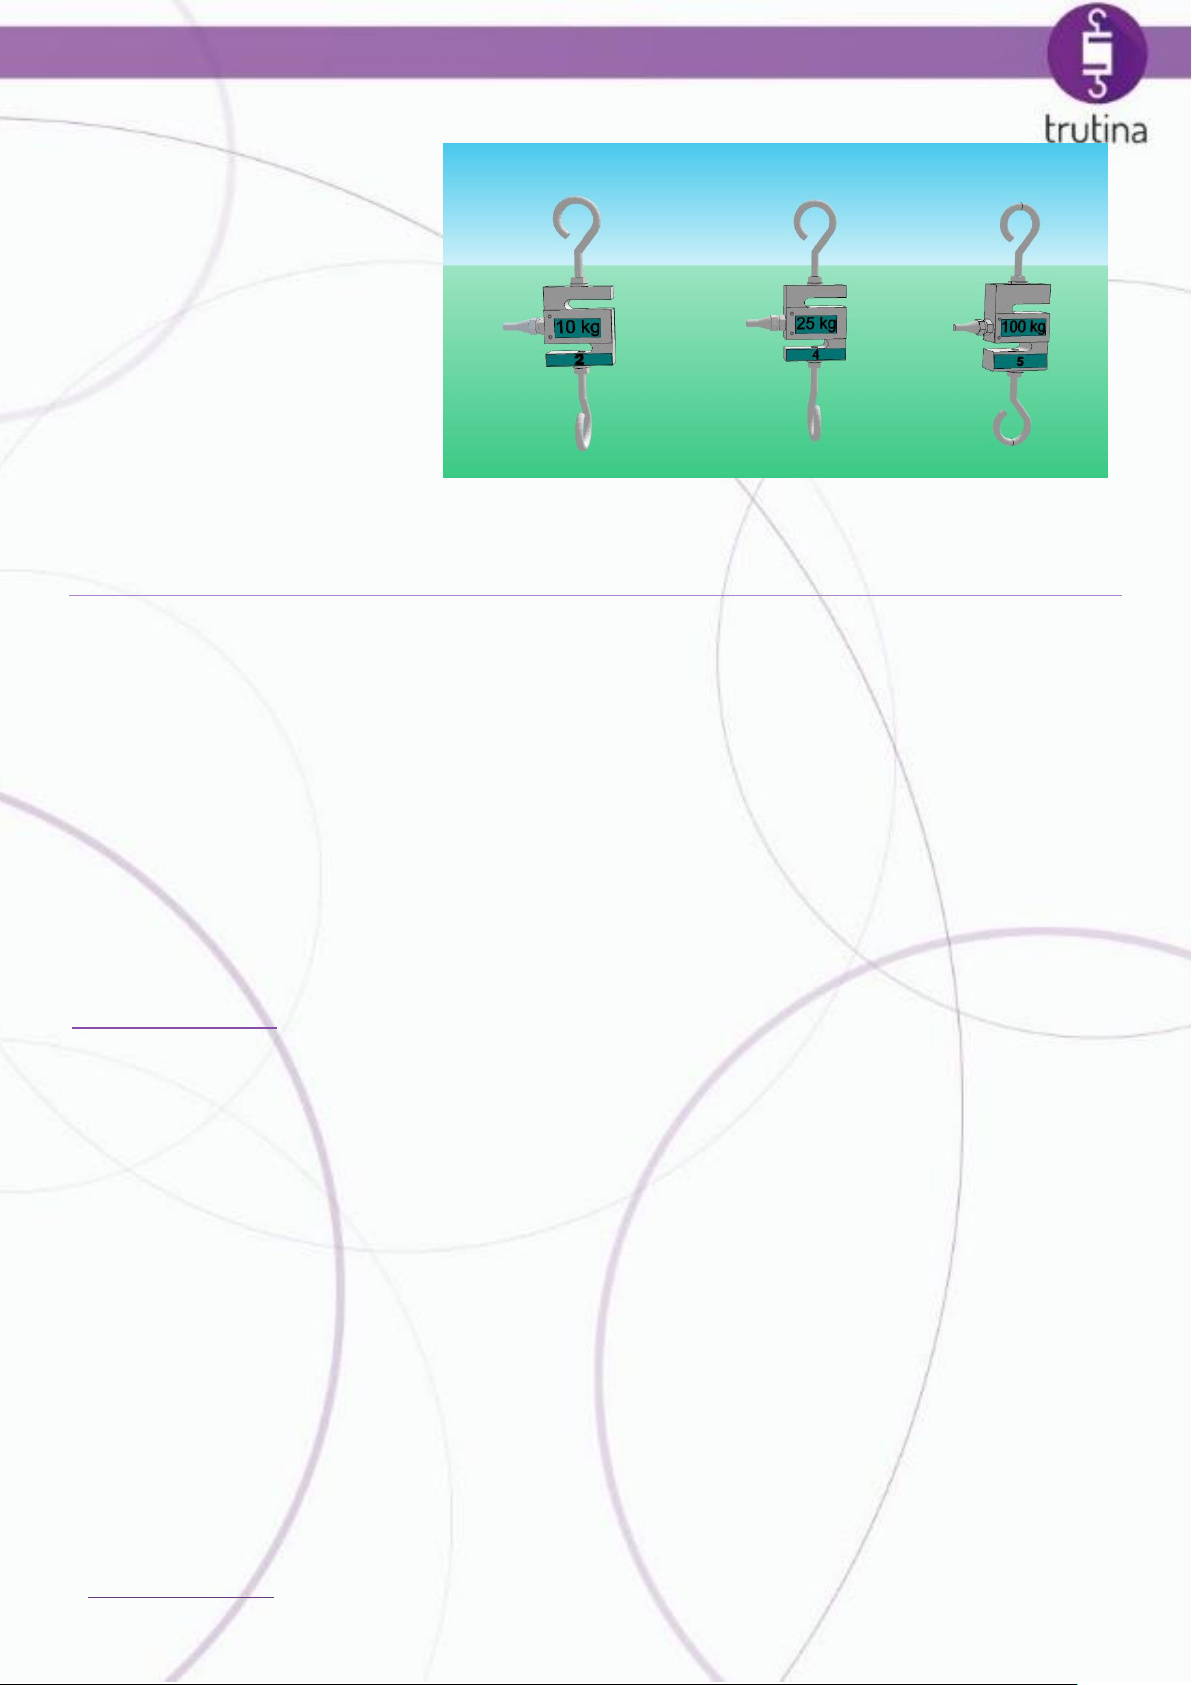
3 pcs 10 kg sensor
1 pcs 25 kg sensor
2 pcs 100 kg sensor
3.Additional accessories necessary for installation
3.1 Summary
Installation consists of two steps. First we need to separate a section of plants so that we can measure them.
Then we need to fix the Trutina unit and its additional accessories to the suitable place of the separated part.
The aim is to create a well-separated scales system, that is to create the suitable conditions for the smooth
running of measurement.
Besides the Trutina, the following accessories are necessary for the installation. These accessories need to
be procured separately. Further information on the procurement of these accessories can be found at
www.brinkman.com.
3.2 List of additional accessories
Gutter: length depends on the place of installation. The system will measure the weight of the plants placed
on this gutter. The length of the gutter is determined by the distance between the balusters in the path
selected as the place of the measurement.
5 www.gremonsystems.com
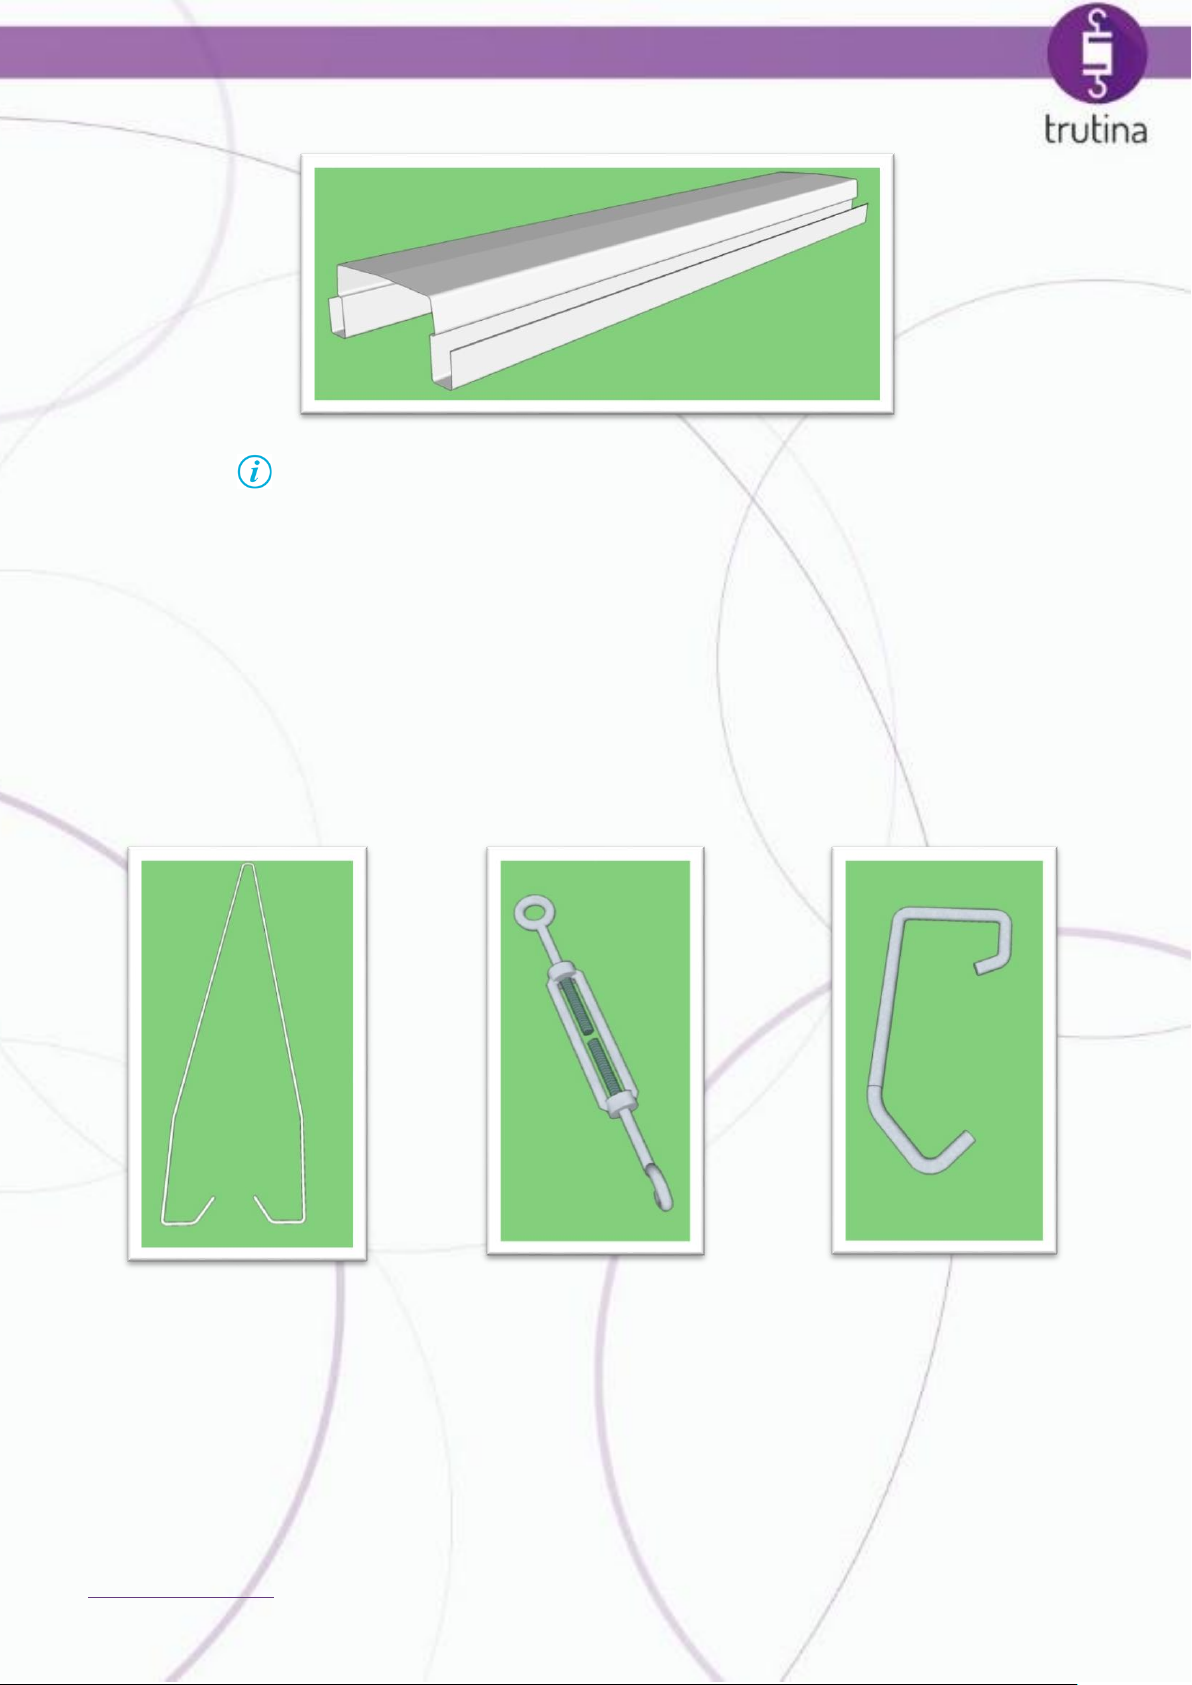
Gutter-holding triangle
Turnbuckle
Hook
It is advisable to cut the gutter 10-05 cm shorter than the distance
between the balusters in order to make the mounting easier.
Technical aids: The following accessories are necessary to fasten the gutter. When fixing, place the gutter in
the gutter-holding triangle and fasten it to an upper stabile point of the structure of the greenhouse. The
suitable pitch (2-3%) is provided with the help of the turnbuckle. These accessories can be replaced with
others tailored to your needs.
6 www.gremonsystems.com
 Loading...