

Greiner Vibrograf Compact 900 User Manual
1
User manual English
Helmut Klein GmbH
Fritz-Neuert-Strasse 31
75181 Pforzheim
Germany
Tel. +49 7231 9535 0
Fax +49 7231 9535 95
info@klein-messtechnik.de
www.klein-messtechnik.de
Greiner
Compact 900
Version 11.2011
Greiner Vibrograf AG
Mittelstrasse 2
4900 Langenthal
Switzerland
T: +41 62 916 60 80
F: +41 62 916 60 81
info@greinervibrograf.ch
www.greinervibrograf.ch

2
Page Content
3 View of the Compact 900
4 The Compact 900 presents itself
5 Start up
6 Menu selection
7 Adjustment contrast
8 Adjustment date/time
9 Adjustment language
10 Adjustment printer
11 Testing mechanical watches
12 + 13 Display mechanical watch
14 Testing watches with no standard beat rate
15 + 16 Testing quartz watches with „QM06“
17+18 Testing quartz watches with „EM06“
19 Checking battery voltage
20 Measuring stepper motor ohms
21+22 Testing pendulum clocks with „OPTO6“ ( optical )
23+24 Testing pendulum clocks with „CM06“ ( acoustical )
25 Finding unknown beat rate for pendulum clocks
26 Programming of a button ( P1 to P9 )
27 Changing automatic adjustment
28 Changing a program name
29 Editing printoud header
30+31 Adapter, microphones for Compact 900
32 Standard - beat rates / CE – Conformity
33 +34 Co-Axial watch
3
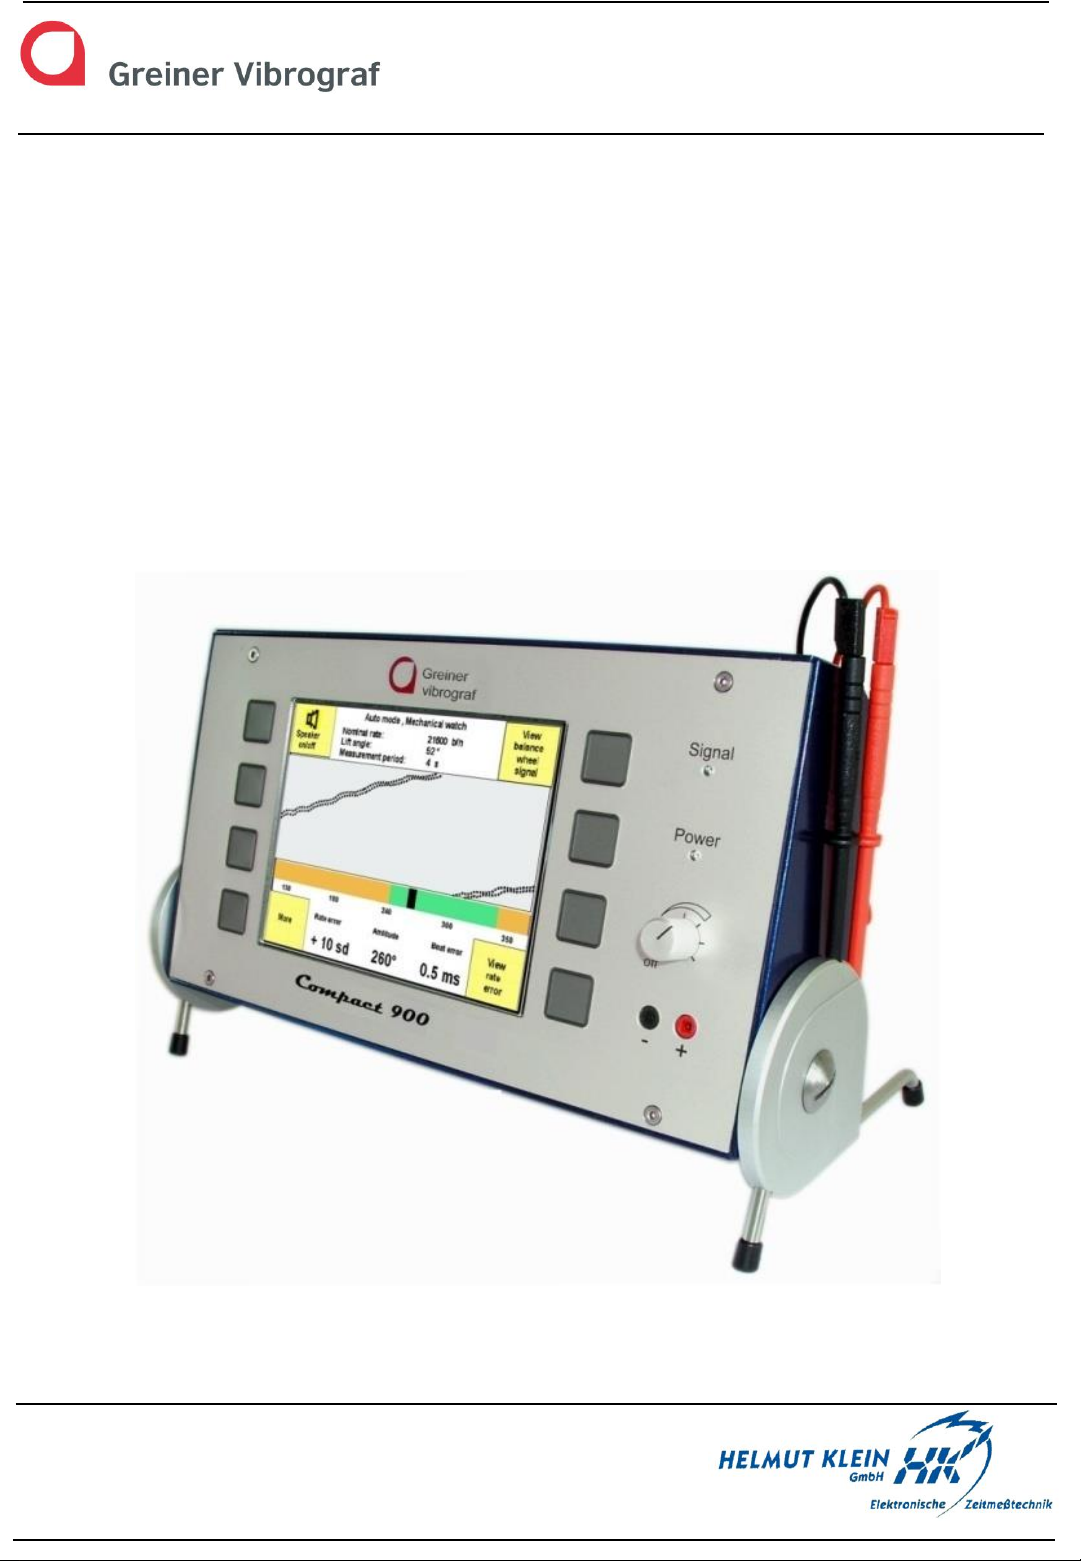
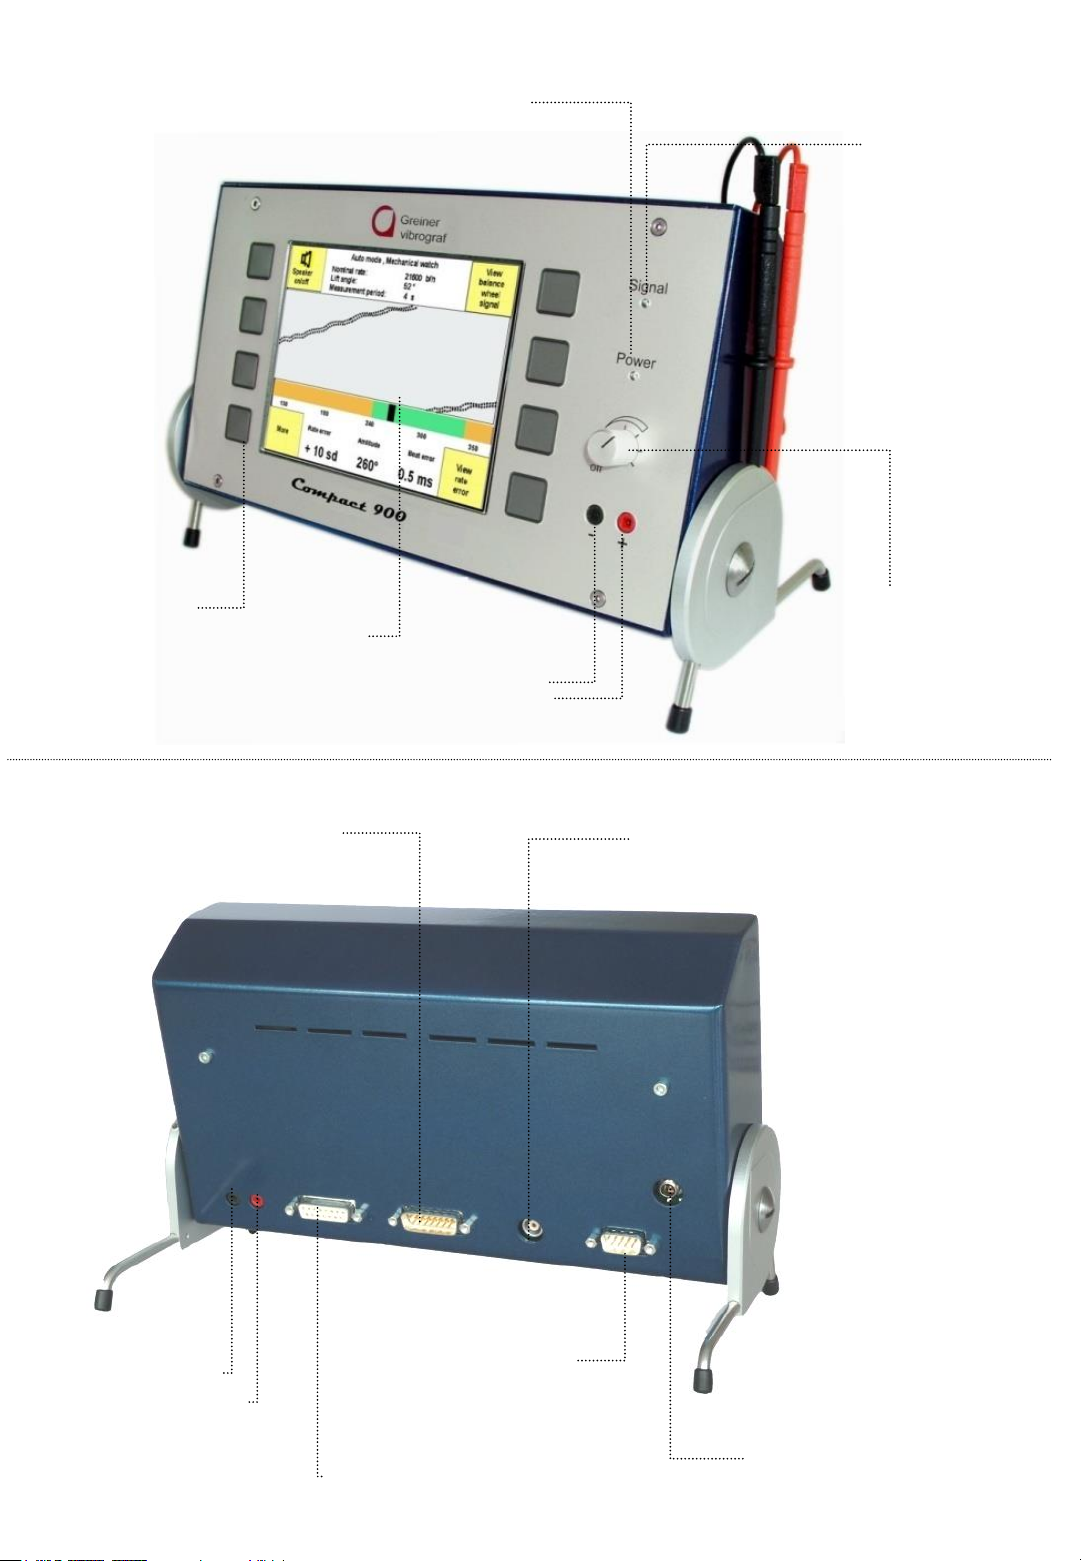
View of the Compact 900
Display
Touch Keys
ON/OFF
Regulator for
watch signal
Serial interface
for printer and PC
Plug for 12 Volt
adaptor
Plugs for electric measurements
Plugs for
electric
measurements
Plug for MP86M
Plug for CM06
Plug for QM06, OPTO06 and
AM10 (Automatic Microphone)
Control light ON/OFF
Watch signal

4
The Compact 900 presents itself !
The Compact 900 is an all purpose watch timing instrument for testing of
mechanical watches, quartz watches, pendulum clocks as well as pocket
watches.
Equipped with: Display 256 Colour, 12 x 9 cm
8 buttons for easily and quick handling of different functions
Automatic Standby (low current) while not measuring a watch signal
Mechanical Watches (special program for Co-Axial-escapement):
Graphical and alphanumerical indication of:
Rate error, amplitude, out of beat in milliseconds.
Oscillographical noise-meter.
Quartz watch:
Graphical and alphanumerical indication of:
Rate error, motor impulse (inductive), quartz frequency (acoustic).
Automatic calculation and indication of inhibition.
Consumption of electricity: operational current, quiescent current.
Supply Voltage for watches is adjustable from 0.5 to 3.3 Volt.
Checking of Battery as well as stepper motor ohms.
Pendulum clocks:
Graphical and alphanumeric indication of:
Measuring of rate error with light barrier « OPTO 06 »
or with acoustical clamp microphone « CM06 ».
Automatic calculation and indication of beat rate (if unknown).
Printing results:
The results can be printed alphanumerically with a serial printer or
transferred to your computer « PC(result) ».
Your company data (if given) are printed on the printout header.
Transform Parameters to the PC:
The measured data can be transferred automatically every (x) seconds to
your « PC(grafic) » and can be indicated as a long term graphic.
Following microphones (adapters) can be used:
MP86 Microphone for mechanical watches, fixable in all positions.
QM06 Microphone for mechanical and quartz watches.
CM 06 Clamp microphone for pocket watches, large watches, pendulum
clocks.
EM06 Watch holder with mirror for measuring electrical values of quartz
watches.
Opto06 Light barrier for optical measuring of pendulum clocks.

5
Start up
Connect the unit with the power transformer to the power supply line and
switch on with the turning knob. Put the mark of the knob on 12 o’clock.
After switching on you can see the following:
The green control lamp «Power» lights up if the unit is connected with the
power supply and switched on.
If your data as your name, address, tel., etc. have been programmed,
they will appear instead of the Greiner logo (printout header).
Standby
If the Compact 900 is on and during 10 minutes is no watch signal incoming
or any key pressed, then the display switches off automatically (black screen)
and the unit is on standby.
The green control lamp «Power» still lights up, and indicates that the unit
is still on hand and can be activated by pressing any button.
Software version xxx
10.06.2009 18:37
6
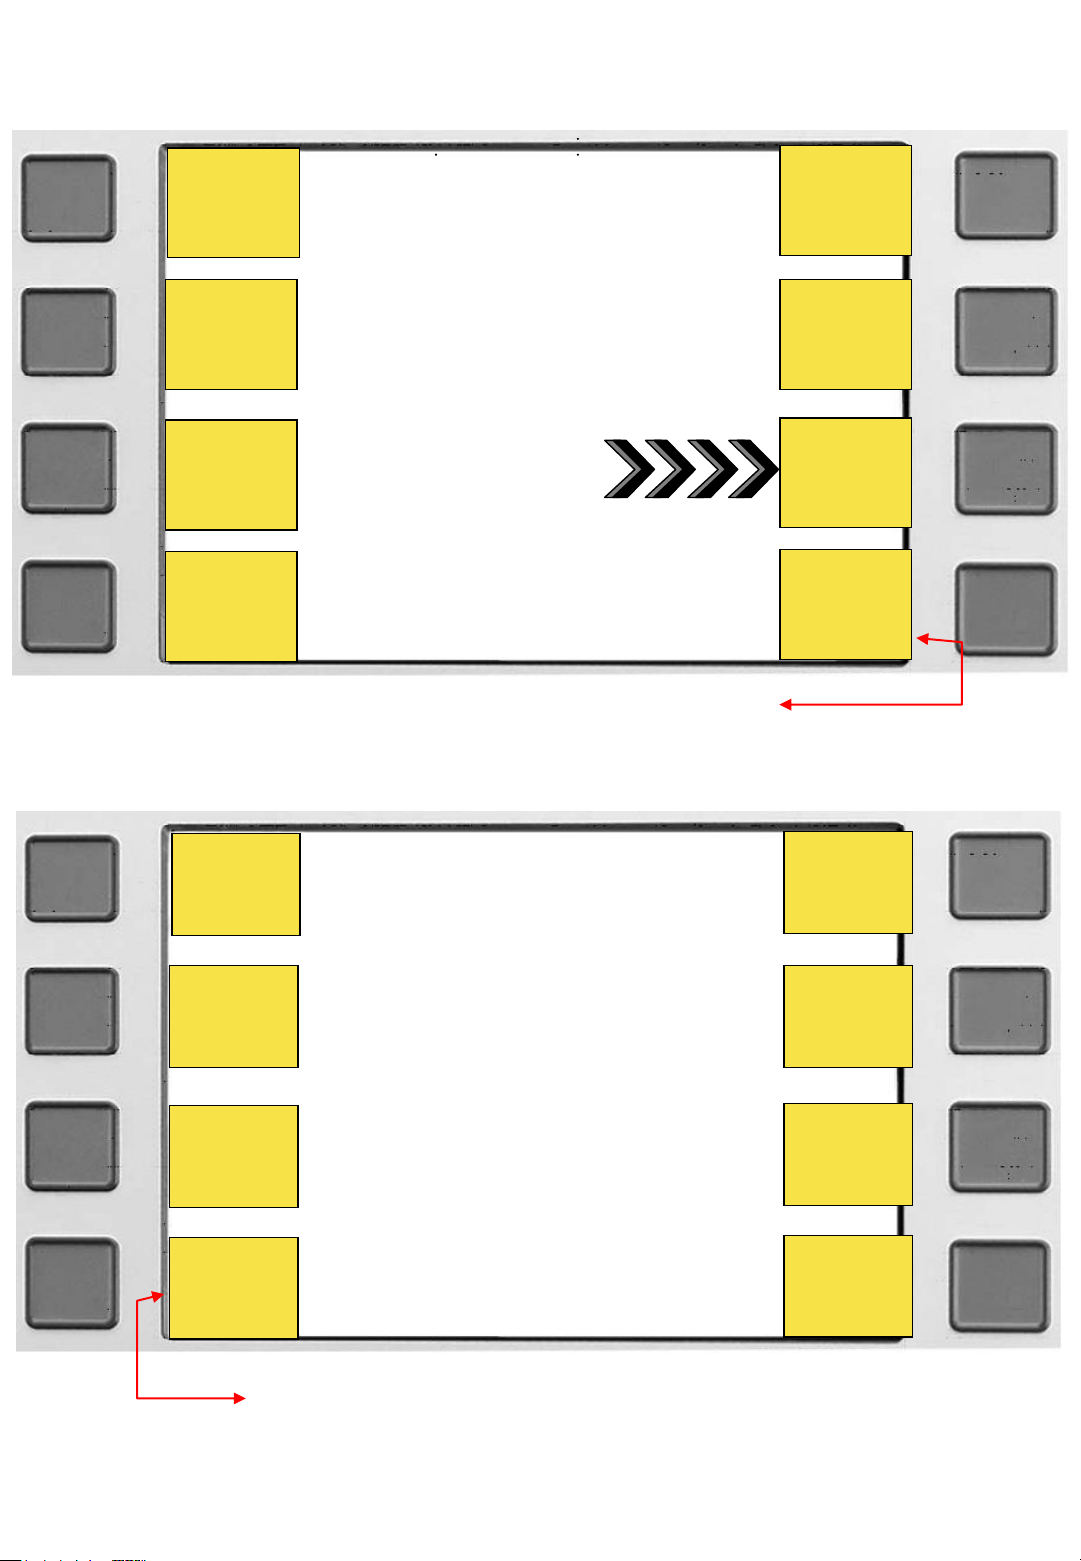
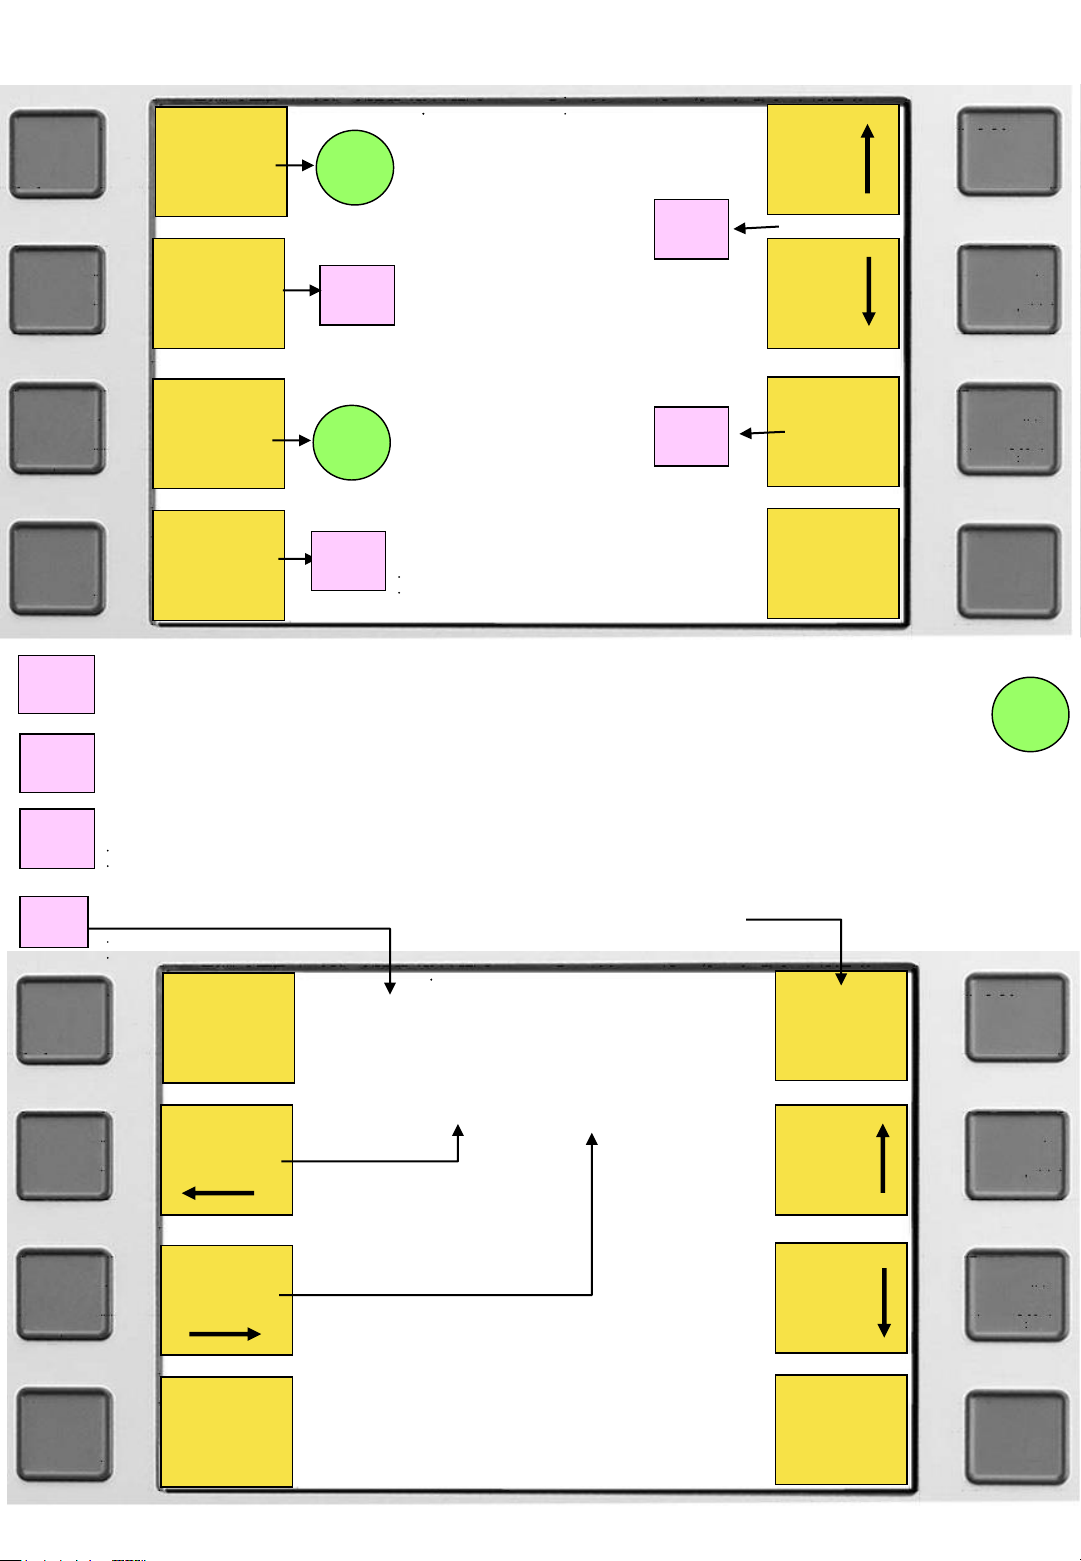
Menu selection
Press key
to switch between this 2 menus
Menu after startup
Press this key to change
various settings.
Menu
P 1
18000
52°
P 2
19800
52°
P 3
21600
52°
P 4
28800
52°
P 5
36000
52°
Co-Axial
Press this key for
automatic operation.
Auto
mode
More…
10.06.2009 18:37
Menu
P9
Pende
l
auto
P7
Quartz
32 kHz
P8
Quartz
Motor
Setting
s
Auto,
MP8
6
only
EM0
6
More
…
Auto,
QM0
6
only
10.06.2009 18:37
7
page No.
xx
Press button up or down for adjusting contrast.
02
Press button for indicating software version
03
Press button for changing to the last menu
01
Adjustment contrast
Button for more system adjustments
10.06.2009 18:37
Settings
System
Modify
auto
mode
settings
Modify
program
Dis-
play
contrast
Info
Back
08
27
26
01
02
03
Dis-
play
contrast
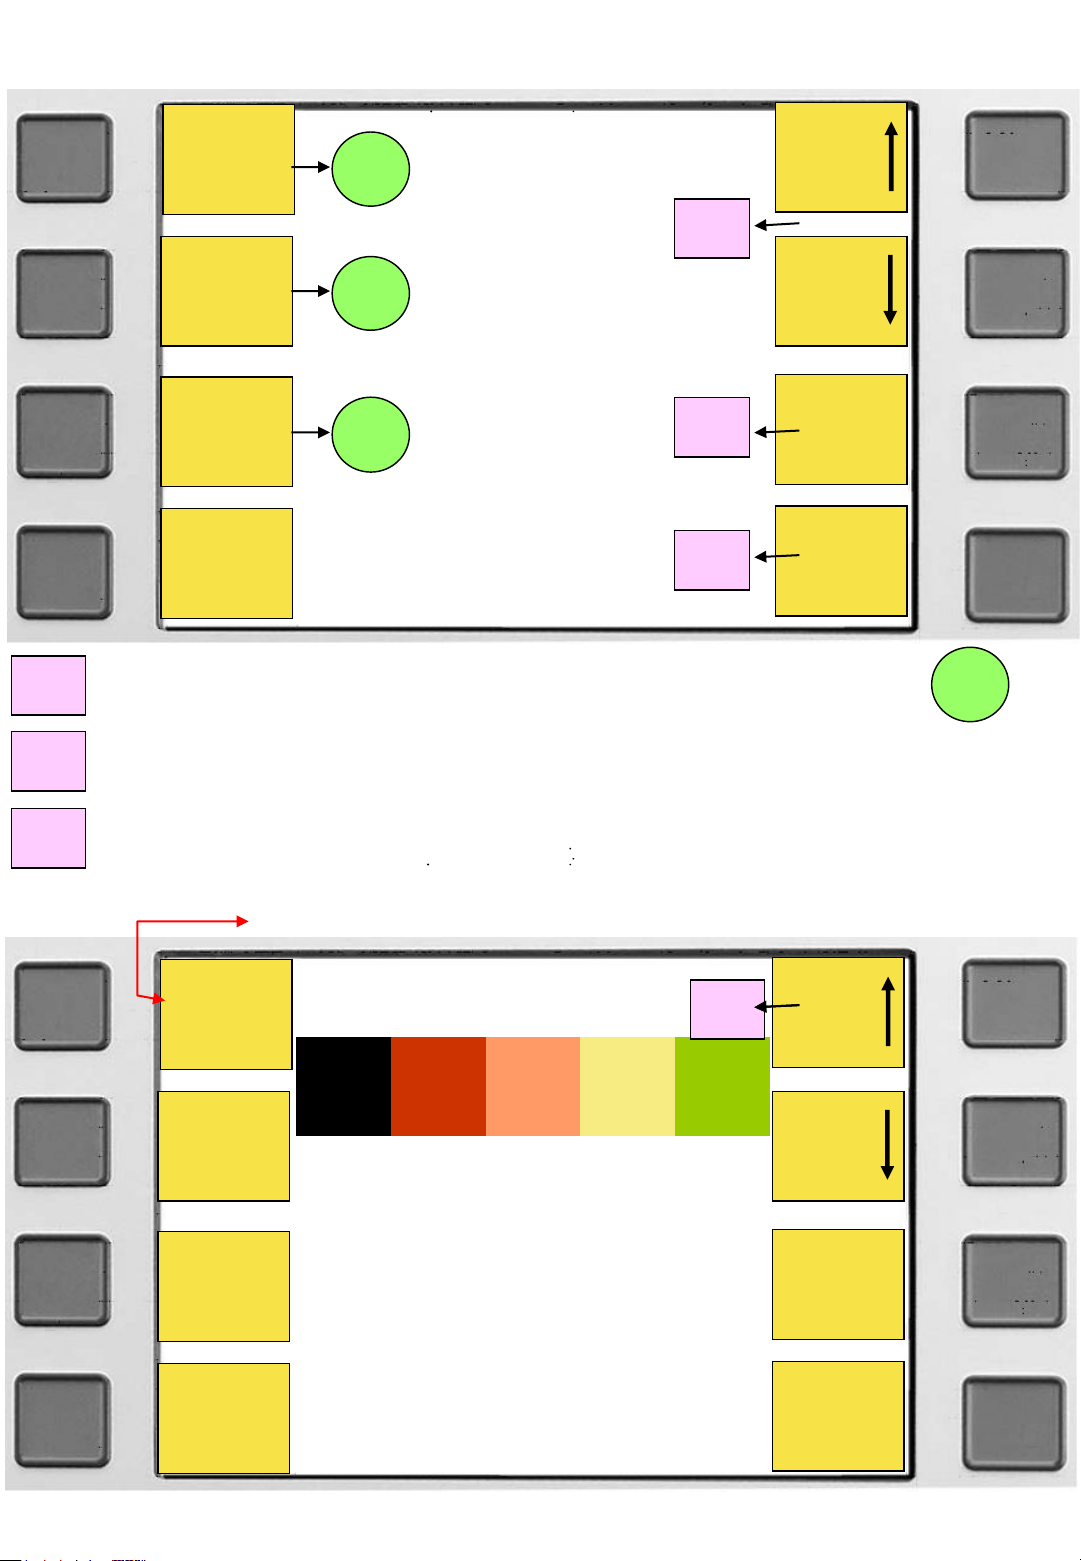
10.06.2009 18:37
System
Info
Back
Display contrast: 60
black red orange yellow green
01
Dis-
play
contrast
Display
contrast
Settings
Modify
auto
mode
settings
Modify
program
8
10.06.2009 18:37
System
Date/
time
Language
Sprache
Idioma
Jazyk
Key
click
View
service
centre
Edit
printout
header
More…
Back
29
09
Date / time
Value
Back
28.08.2007 15:12
Set
clock
Select
04
Press button up or down for adjusting the sound of the
click.
05
Press button for the service center.
07
Press button to select the printer.
Select date or time
Data takeover
Adjustment of Date / Time
04
05
07
06
06
page No.
xx
Key
click
Select
Value
9
1. button ( More ) 2. button ( Settings ) 3. button ( System )
4. button ( Language ), the following menu appears
Language selection
Set language
Select
Save
English Cesky
Deutsch Polski
Français
Italiano
Español
Português
Svenska
Menu after start
Select language by pressing buttons in following sequence.
Select language with the following buttons.
For saving the language
Menu
P 1
18000
52°
P 2
19800
52°
P 3
21600
52°
P 4
28800
52°
P 5
36000
52°
Press this key for
automatic operation.
Auto
mode
More…
10.06.2009 18:37
Select
Select
Select
Co-Axial
10
Printer selection
Set printer
Save
Select
Baudrate: 9600 Databits: 8
Stopbits: 1 Parity: none
1. button ( More ) 2. button ( Settings ) 3. button ( System )
4. button ( printer ), the following menu appears:
Menu
P 1
18000
52°
P 2
19800
52°
P 3
21600
52°
P 4
28800
52°
P 5
36000
52°
Co-Axial
More…
Menu after start
Select printer by pressing buttons in following sequence.
Select printer with these buttons
For saving the selected printer
10.06.2009 18:37
Press this key for
automatic operation.
Auto
mode
Select
Citizen iDP-460
Citizen iDP-3535
Citizen CBM-910
Citizen iDP-562
Greiner Thermoprint II
Citizen CT-S280
PC
11
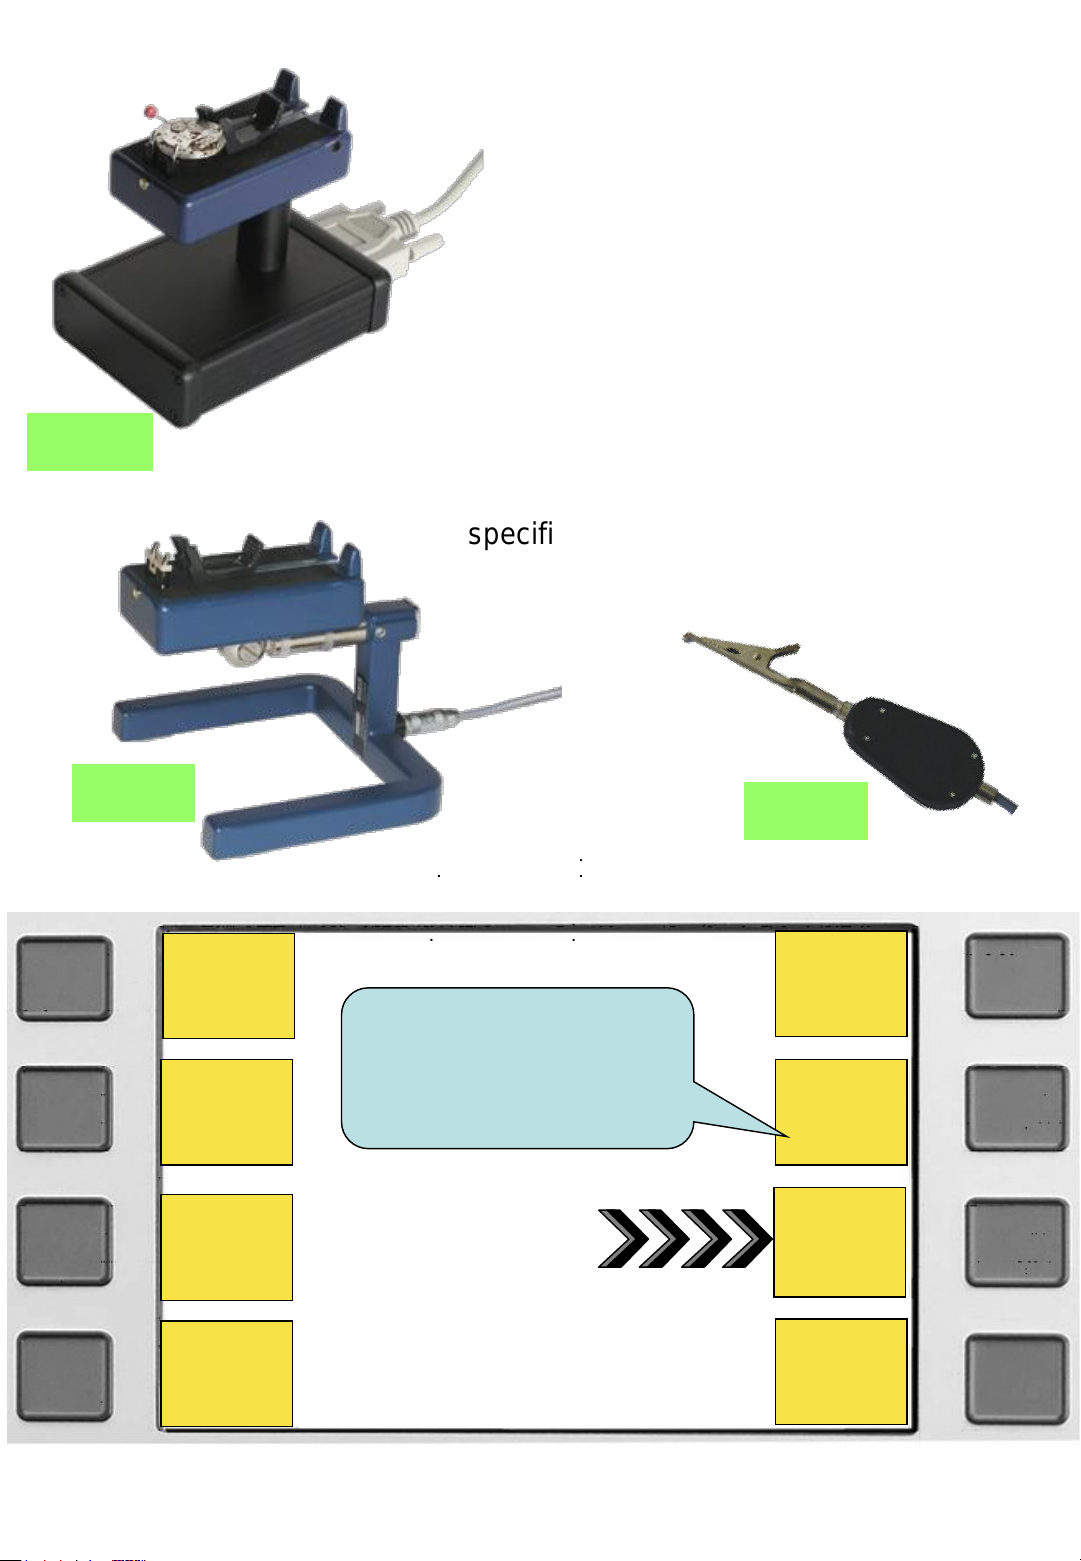
Testing mechanical watches
1.
Put the watch between the slider and the
Pins (fork) of the microphones “QM06”, or
“MP86”. For watches, for example pocket
watches or alarm clocks, you can use the
clamp microphone “CM06”.
2.
Press button “Auto Mode” for starting
the automatic measurement or
choose button P1 to P6 for selecting a
specific program, if the beat rate is known.
MP86
QM06
CM06
Menu
Co-Axial
P 1
18000
52°
P 2
19800
52°
P 3
21600
52°
P 4
28800
52°
P 5
36000
52°
More…
10.06.2009 18:37
For automatic operation:
press this key
Auto
Mode
Info:
Special menu for
Co-Axial watches
see page 33
 Loading...