

Green Stoves 4KW, 6KW, 7KW 8KW, 10KW, 20KW Installation And Operating Instructions Manual
...
GREEN STOVES
4, 6, 7, 8,10,20,25 and 30KW
F R E E S T A N D I N G
S T O V E S
Installation and Operating
Instructions
Please hand these instructions to the stove user when the
installation is complete. Leave the system ready for operation
and instruct the user in the correct use of the appliance and
operation of controls.
Installation – Must be installed by a qualified plumber or
suitably qualified fitter
Assembly Instructions
PLEASE READ THESE INSTRUCTIONS CAREFULLY
It is important that your stove is correctly installed, as Green
Stoves cannot accept responsibility for any fault arising through
incorrect installation.
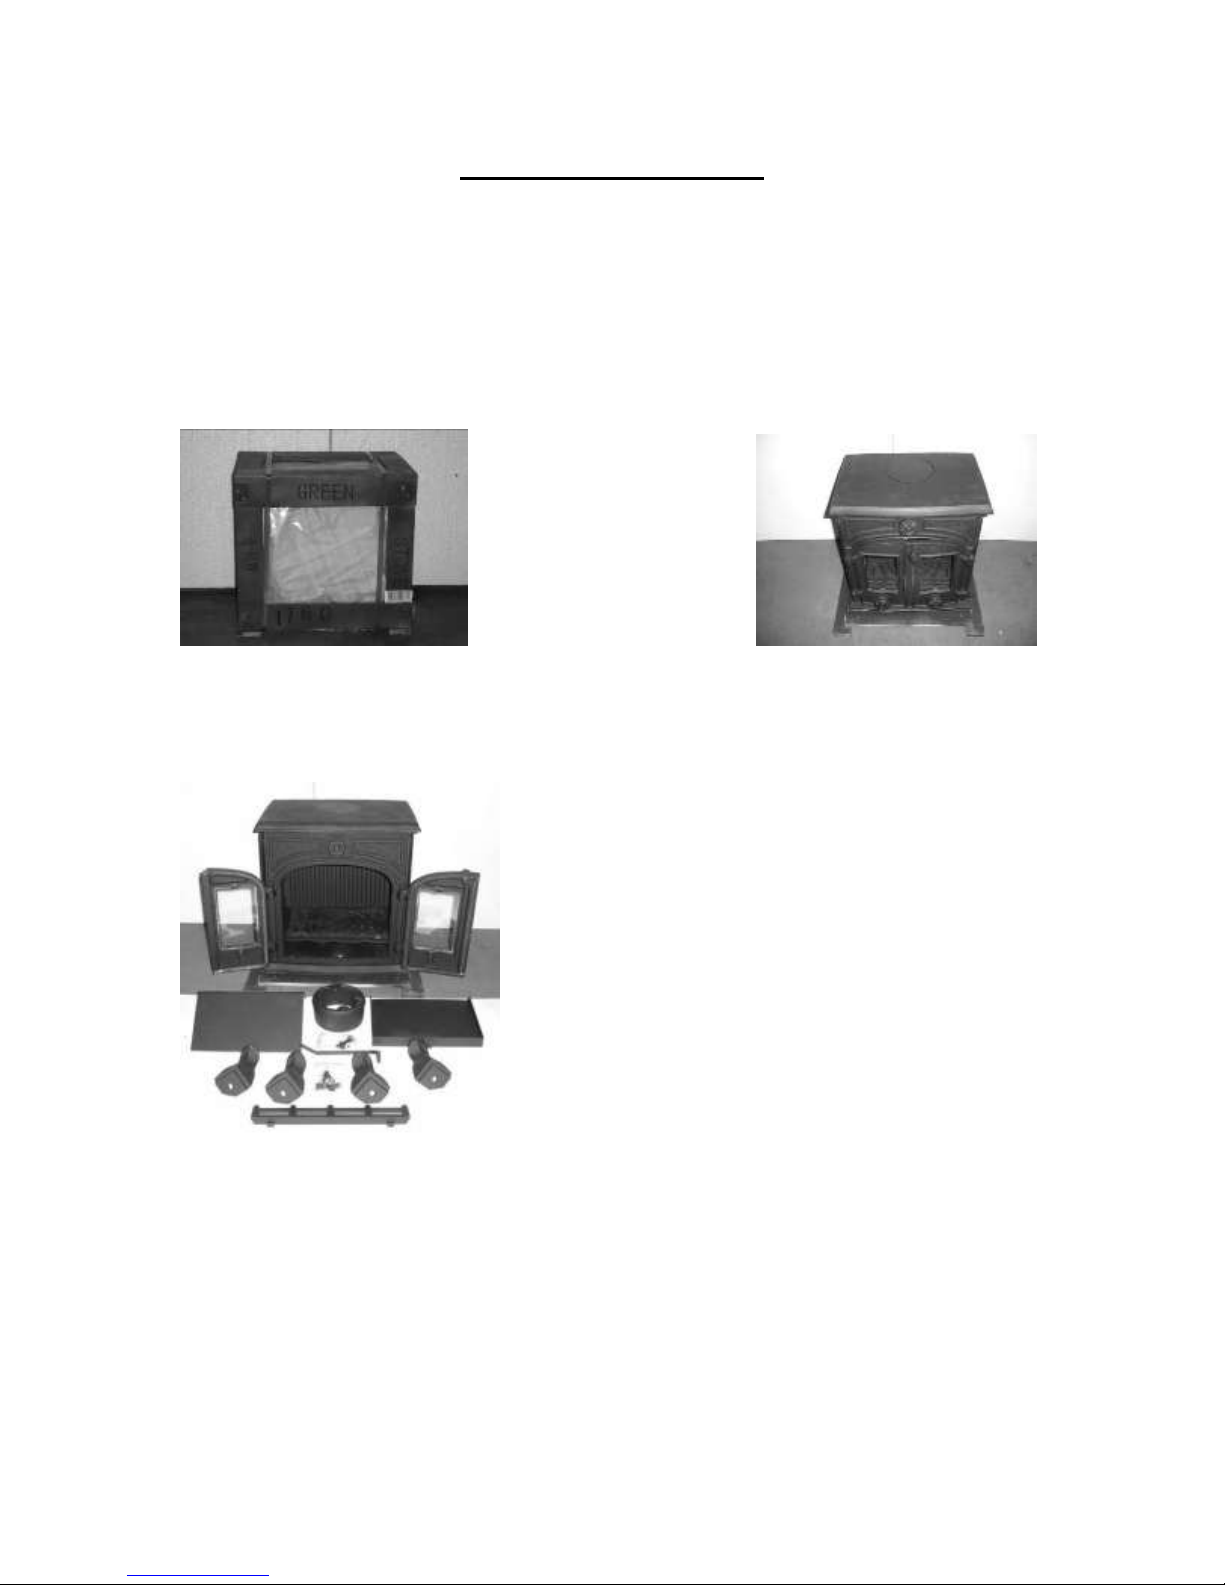
Your Green Stove comes Carefully remove the steel straps
packed in a plywood crate and lift off the upper crate.
opening the door, remove all the contents.
Remove the plastic bag and, upon
1. Tip the Stove onto its back and remove
the 2 X M8 set screws using a 14mm spanner.
2. Sort out the legs and fixings.
3. Ensure the tapped holes, on the base, are free from obstruction. Use a sharp
screwdriver to remove any fire cement.
1. Fit the Flue Collar using the 4-M6 set screws and washers supplied.
If the Top Flue position is required remove the fitted Flue Cover and refit on the
rear opening.
2. To fit the Baffle:
Insert the baffle, upside down, as shown, ensuring you are holding the shorter of the
two sides. Turn the baffle as you fit it, so that the edge that you are holding is placed
on the ledge at the rear of the stove. The other edge rests on a lip behind two holding
bars at the back of the Air Wash Chamber.

List of Components
Description of Parts
Door Handle 1
Secondary Air Caps 1
Primary Air Caps 2
Riddling Handle 1
Ash Pan 1
Ash Pan Tool 1
Coal Guard 1
Baffle Plate 1
Legs 4
Leg Screws M14 8
Leg Washers 8
Flue Collar 1
Flue Collar Screws 4
Flue Collar Nuts 4
Flue Collar Washers 4
 Loading...