

Green Mountain Grills DAVY CROCKETT Assembly And Operating Manual
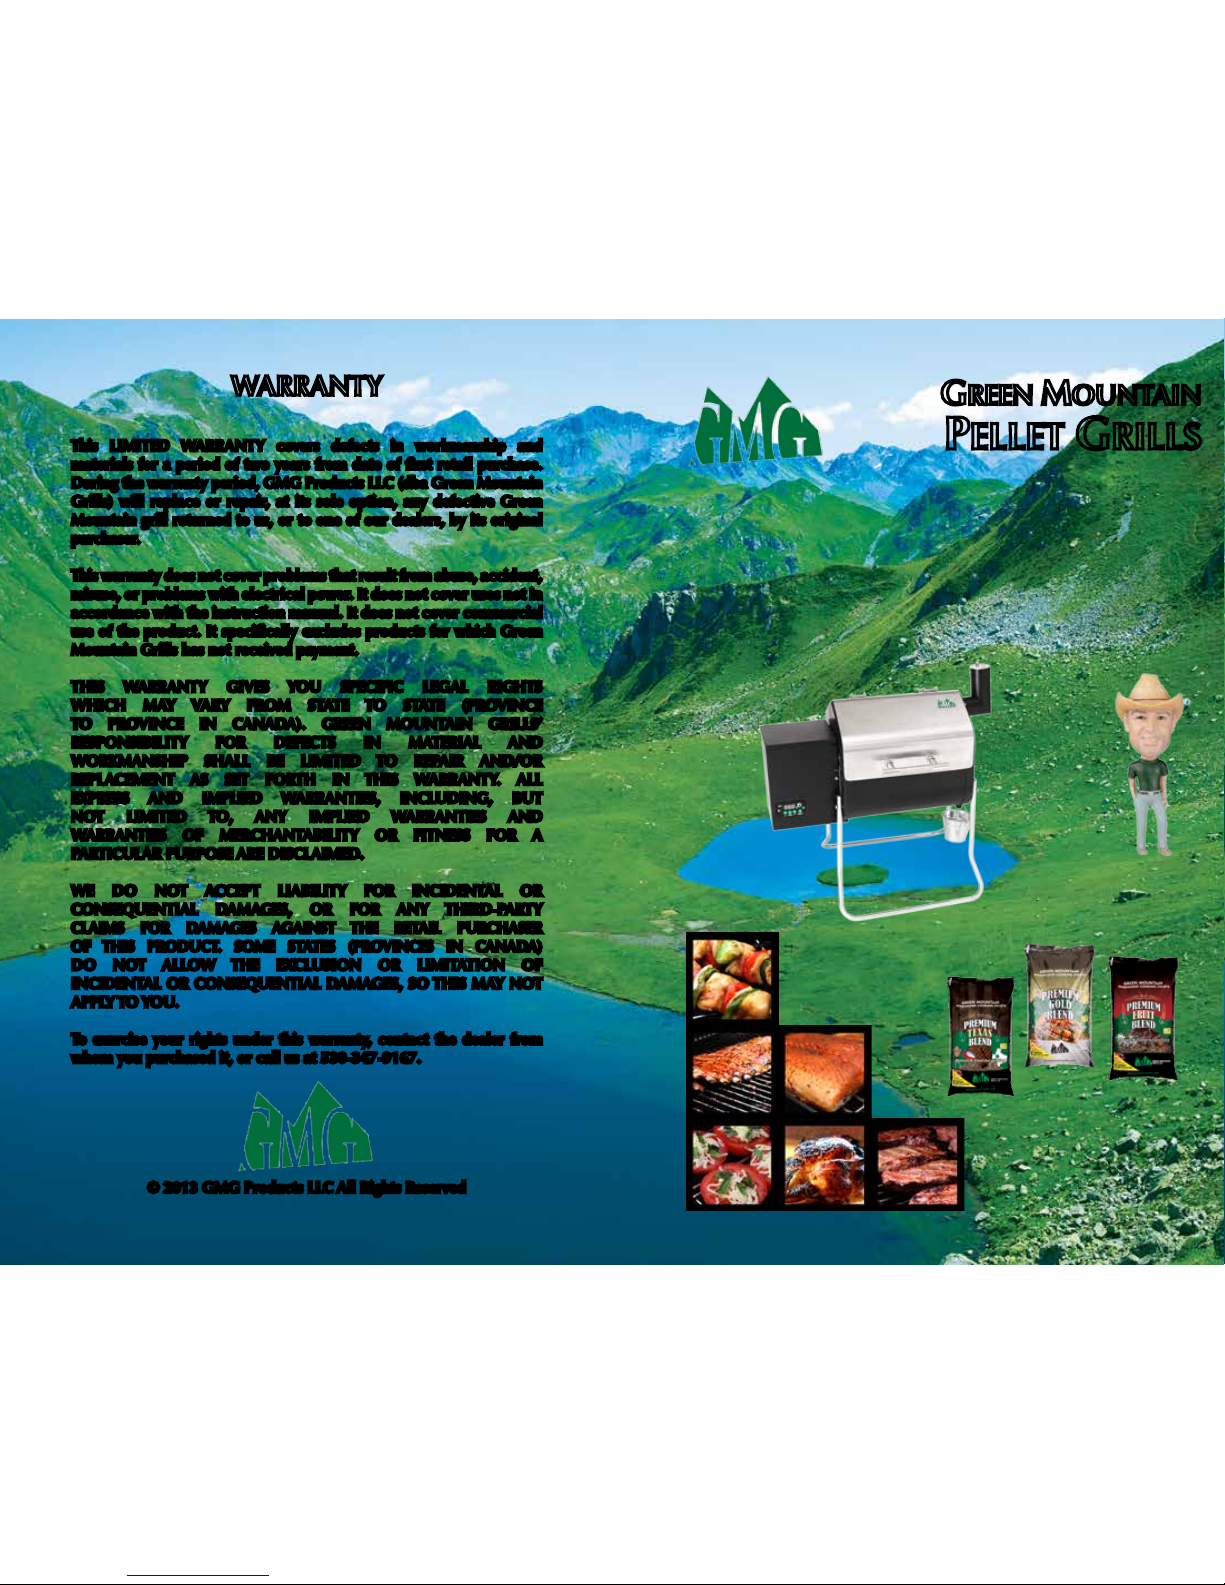
WARRANTY
This LIMITED WARRANTY covers defects in workmanship and
materials for a period of two years from date of rst retail purchase.
During the warranty period, GMG Products LLC (dba Green Mountain
Grills) will replace or repair, at its sole option, any defective Green
Mountain grill returned to us, or to one of our dealers, by its original
purchaser.
This warranty does not cover problems that result from abuse, accident,
misuse, or problems with electrical power. It does not cover uses not in
accordance with the instruction manual. It does not cover commercial
use of the product. It specically excludes products for which Green
Mountain Grills has not received payment.
THIS WARRANTY GIVES YOU SPECIFIC LEGAL RIGHTS
WHICH MAY VARY FROM STATE TO STATE (PROVINCE
TO PROVINCE IN CANADA). GREEN MOUNTAIN GRILLS’
RESPONSIBILITY FOR DEFECTS IN MATERIAL AND
WORKMANSHIP SHALL BE LIMITED TO REPAIR AND/OR
REPLACEMENT AS SET FORTH IN THIS WARRANTY. ALL
EXPRESS AND IMPLIED WARRANTIES, INCLUDING, BUT
NOT LIMITED TO, ANY IMPLIED WARRANTIES AND
WARRANTIES OF MERCHANTABILITY OR FITNESS FOR A
PARTICULAR PURPOSE ARE DISCLAIMED.
WE DO NOT ACCEPT LIABILITY FOR INCIDENTAL OR
CONSEQUENTIAL DAMAGES, OR FOR ANY THIRD-PARTY
CLAIMS FOR DAMAGES AGAINST THE RETAIL PURCHASER
OF THIS PRODUCT. SOME STATES (PROVINCES IN CANADA)
DO NOT ALLOW THE EXCLUSION OR LIMITATION OF
INCIDENTAL OR CONSEQUENTIAL DAMAGES, SO THIS MAY NOT
APPLY TO YOU.
To exercise your rights under this warranty, contact the dealer from
whom you purchased it, or call us at 530-347-9167.
© 2013 GMG Products LLC All Rights Reserved
GREEN MOUNTAIN
PELLET GRILLS
ASSEMBLY AND OPERATING MANUAL
DAVY CROCKETT MODEL
Congratulations and thank you for purchasing GMG’s
award-winning Davy Crockett model pellet grill!
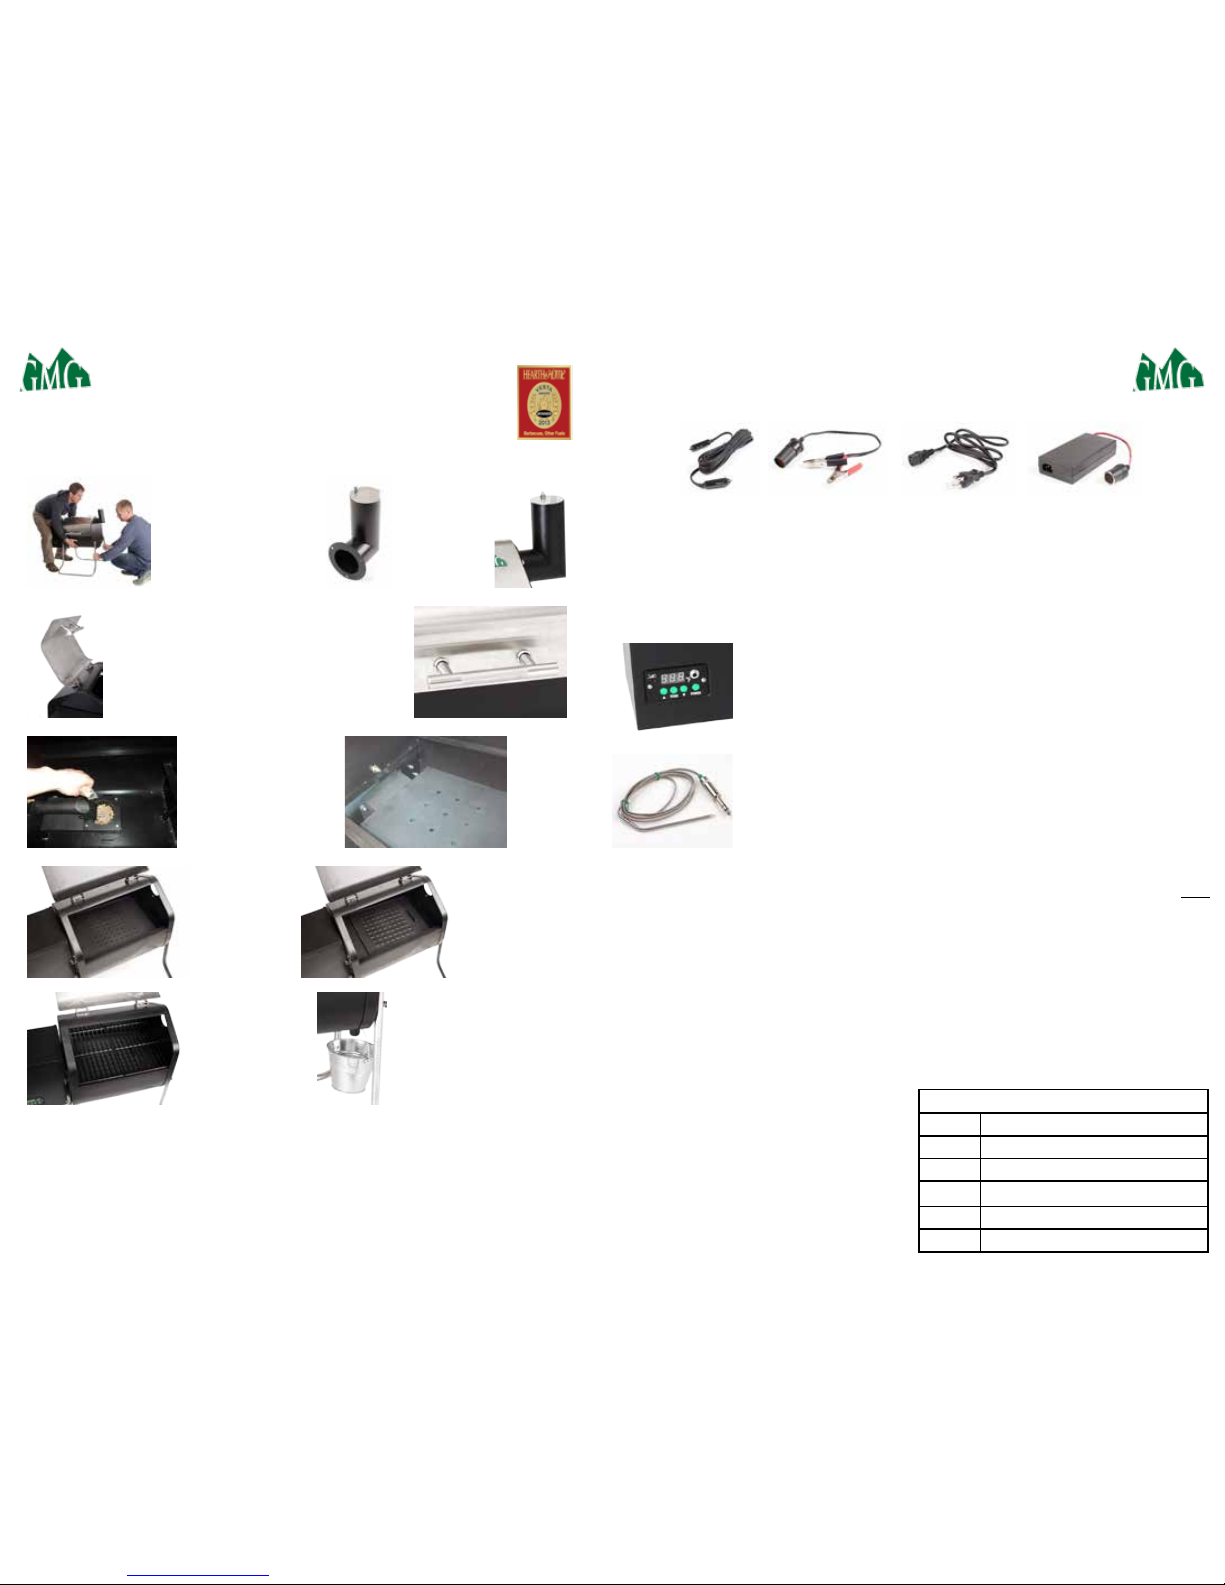
ASSEMBLY
Tools you will need: 10 mm wrench or adjustable wrench.
Use 2 people
to remove grill
from box and
fold legs into
position.
Bolt the
chimney into
position. Rain
cap always
open when
cooking.
Reverse the handle so it attaches outside
the grill’s lid. Make sure the thermal
isolation washers go between the metal
trim ring and the lid on the outside, and
between the washer and lid on the inside.
Charge the rebox
by pouring in the
contents of the
Zip-Lock bag.
Insert
the heat
shield.
(Large
holes to
the left.)
A B
C
D
E
F G
H
I
Insert the
bottom half
of the grease
tray. (Halfmoon cutout
to the left.)
Insert the top
half (slider) of
the grease tray.*
(Slider handle to
the right.)
Install the
grates.
Hang the
grease
pail on
the right
side of
the grill.
Fill the hopper with
pellets, and you can
now use your new grill.
OPERATION
You can power your grill three different ways: 1) plug one end of the vehicle
adapter (A) into the back of the grill and the other into a vehicle’s lighter/cell phone
connector; OR 2) connect A and B, and plug the adapter end into the back of the
grill and connect the alligator clips to a 12-volt battery (red to positive, back to
negative); OR 3) plug C into D and A into D and plug C into a 110-volt wall outlet
and the adapter (A) into the back of the grill. Be sure to open the rain cap.
A B
C
D
STARTING THE GRILL
To start the grill, simply press “POWER.”. The grill will slowly cycle
through 0-1-2-3. When it rst shows a temperature, you may use
the up button to choose one other than the default of 150°. You
can adjust from 150°-550°. Always close grease tray holes to start.
USING THE MEAT PROBE
Plug the adapter into the outlet on the control panel. Thread the
probe through the access panel on the left side of the grill, and push
it into the center of your food. Simply press “FOOD” to display the
internal temperature of what you’re cooking.
TURNING THE GRILL OFF
Just press “POWER” once again.
It will immediately go into “FAN”
mode for about ten minutes to quell
the remaining re. ALWAYS do this.
IF YOU RUN OUT OF PELLETS
If you accidentally run out of pellets and
empty the auger tube, then you will need
to re-charge the rebox as you did during
“ASSEMBLY.”
IN CASE OF A POWER FAILURE
You can return the grill to its prior state
by pressing POWER and then holding
the UP button for 10 seconds, but it will
go to 150, not your set temperature.
CLEANING YOUR GRILL
Unplug everything and remove interior
parts. Keep liquids away from auger tube
and pellets. Remove grease regularly.
Water will drain through bottom hole.
TROUBLESHOOTING
If the grill fails to light: make sure your
power source has sufcient wattage.
Try a different source as necessary.
If you receive the message “FAL”: the
grill did not light. Try again. If this persists, call GMG technical support.
*With the slider holes open, direct ame will contact your food. Holes
should be opened only at temps of 350+. Adjust grilling technique
accordingly. With holes open, digital temperature readout will be inaccurate.
Ambient conditions may affect grill temperatures, holes open or not.
RECIPES AND CONTACT INFO AT
www.greenmountaingrills.com
Controller Codes
LOV
Insufcient voltage to operate (<10V)
CO1 Igniter failure
CO2 Combustion fan jam or failure
CO4 Auger moto jam or failure
SEN Sensor failure or temp >590°
FAL Grill failed to light
 Loading...