

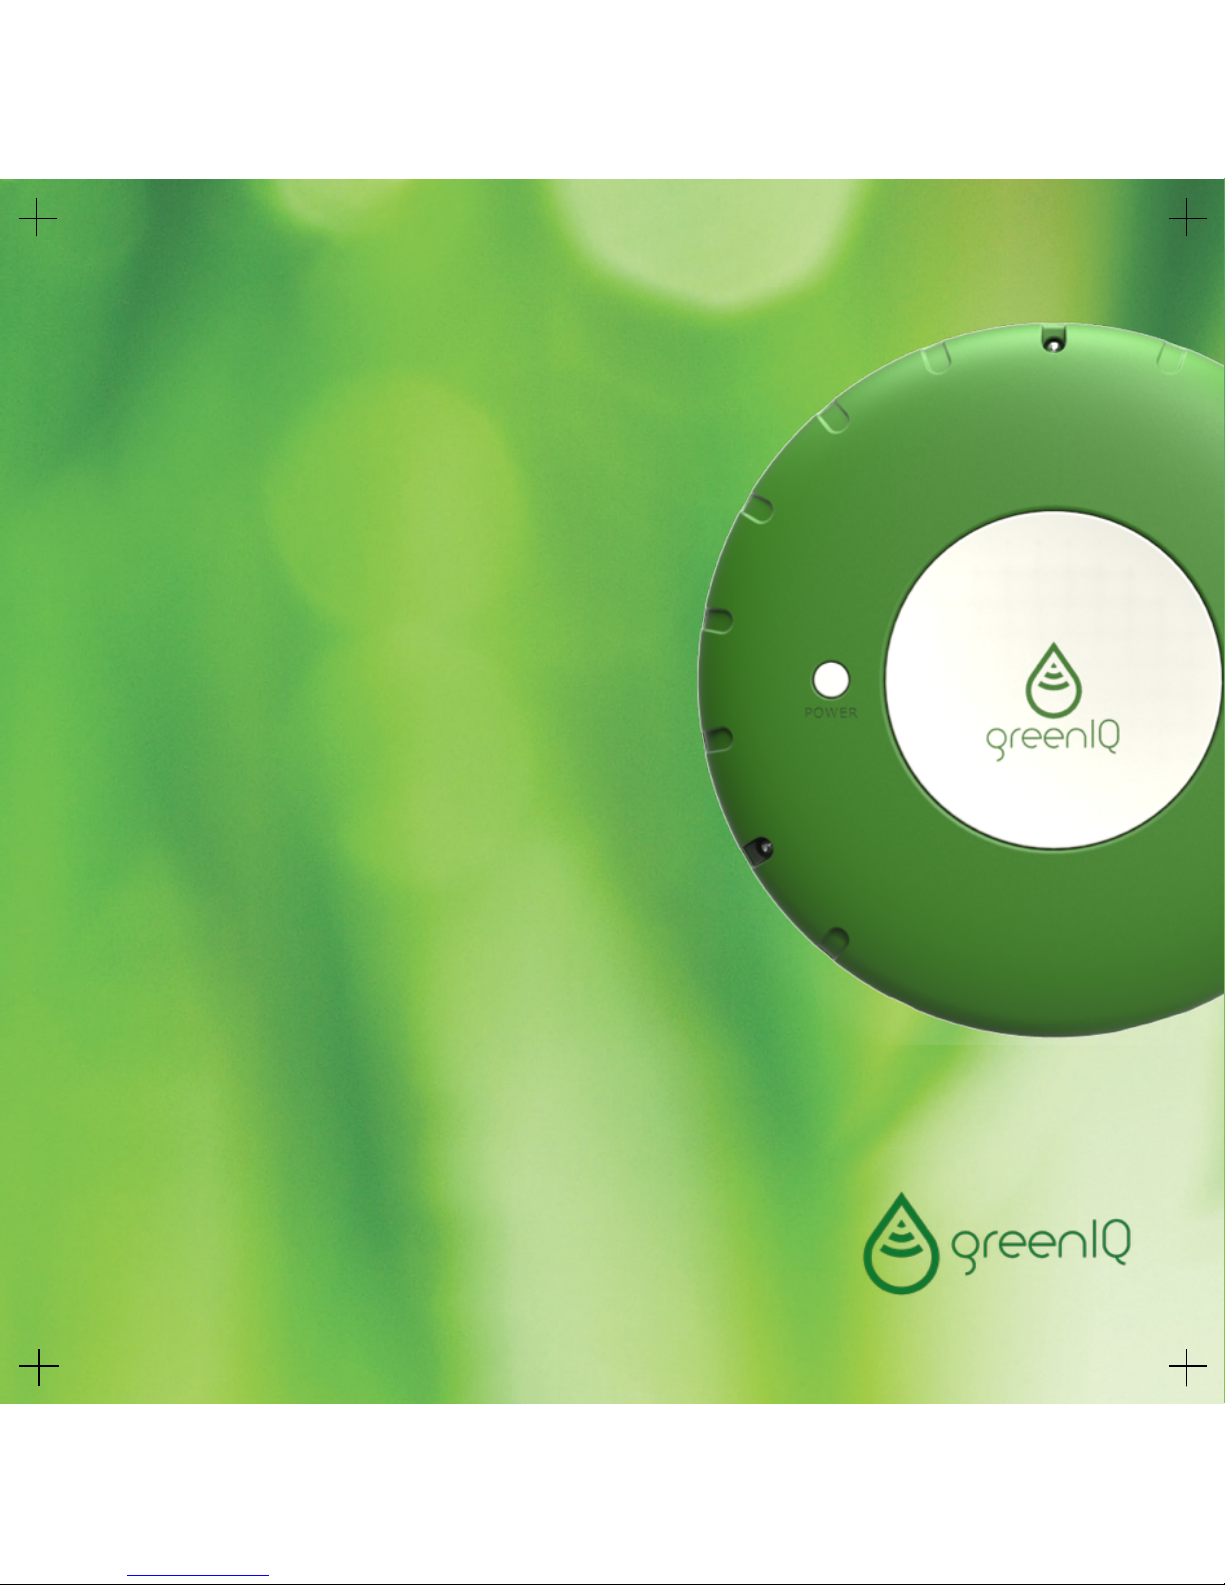
GreenIQ Smart Garden Hub Installation Manual
!
Smart Garden Hub"
Installation Guide
Revision 2.1, October 2014
www.greeniq-systems.com

!

1. Your GreenIQ Smart Garden Hub
1.1. Welcome
Thank you for purchasing the GreenIQ Smart Garden Hub. The GreenIQ
Smart Garden Hub allows you to easily control your garden's irrigation and
lighting, and save money on your water and electricity bills. Your GreenIQ
Smart Garden Hub:
• Automatically adjusts irrigation scheduling based on current and
weather forecast.
• Controls your garden lighting based on sunrise and sunset
schedule changes throughout the year.
• Connects to the Internet via Wi-Fi or Ethernet cable.
• Connects to rain, soil moisture, fertiliser-level and flow sensors.
• Connects to various Internet-of-Things (IoT) sensors such as
Parrot FlowerPower and Koubachi.
2
You have full control of your GreenIQ Smart Garden Hub via your iPhone,
iPad, Android smartphone/tablet, PC, Mac and other web-enabled
devices. For more details please visit our web site.
1.2. About this guide
This Installation Guide will walk you through all installation stages. Installing
the GreenIQ Smart Garden Hub is easy, but it requires some basic
technical skills. Please read all the instructions in this guide carefully before
starting the installation.
1.3. Inside the box
Inside the GreenIQ Smart Garden Hub box you will find the following items:
•
GreenIQ Smart Garden Hub
3
Incorrect installation might damage the
device, and even cause serious injuries or
death from electrical shock.

•
Installation Guide
•
User Guide
•
Wire Labels Kit
•
GreenIQ User Card
•
GreenIQ Screwdriver
•
Mounting Kit
•
Power Adapter
•
1-Meter Ethernet Cable
1.4. Technical Support
It is highly recommended that you will read the latest version of this
document. You can find it at the following link:
http://greeniq-systems.com/docs.html
GreenIQ offers technical support at the following link:
http://greeniq-systems.com/techsupport.html!
4
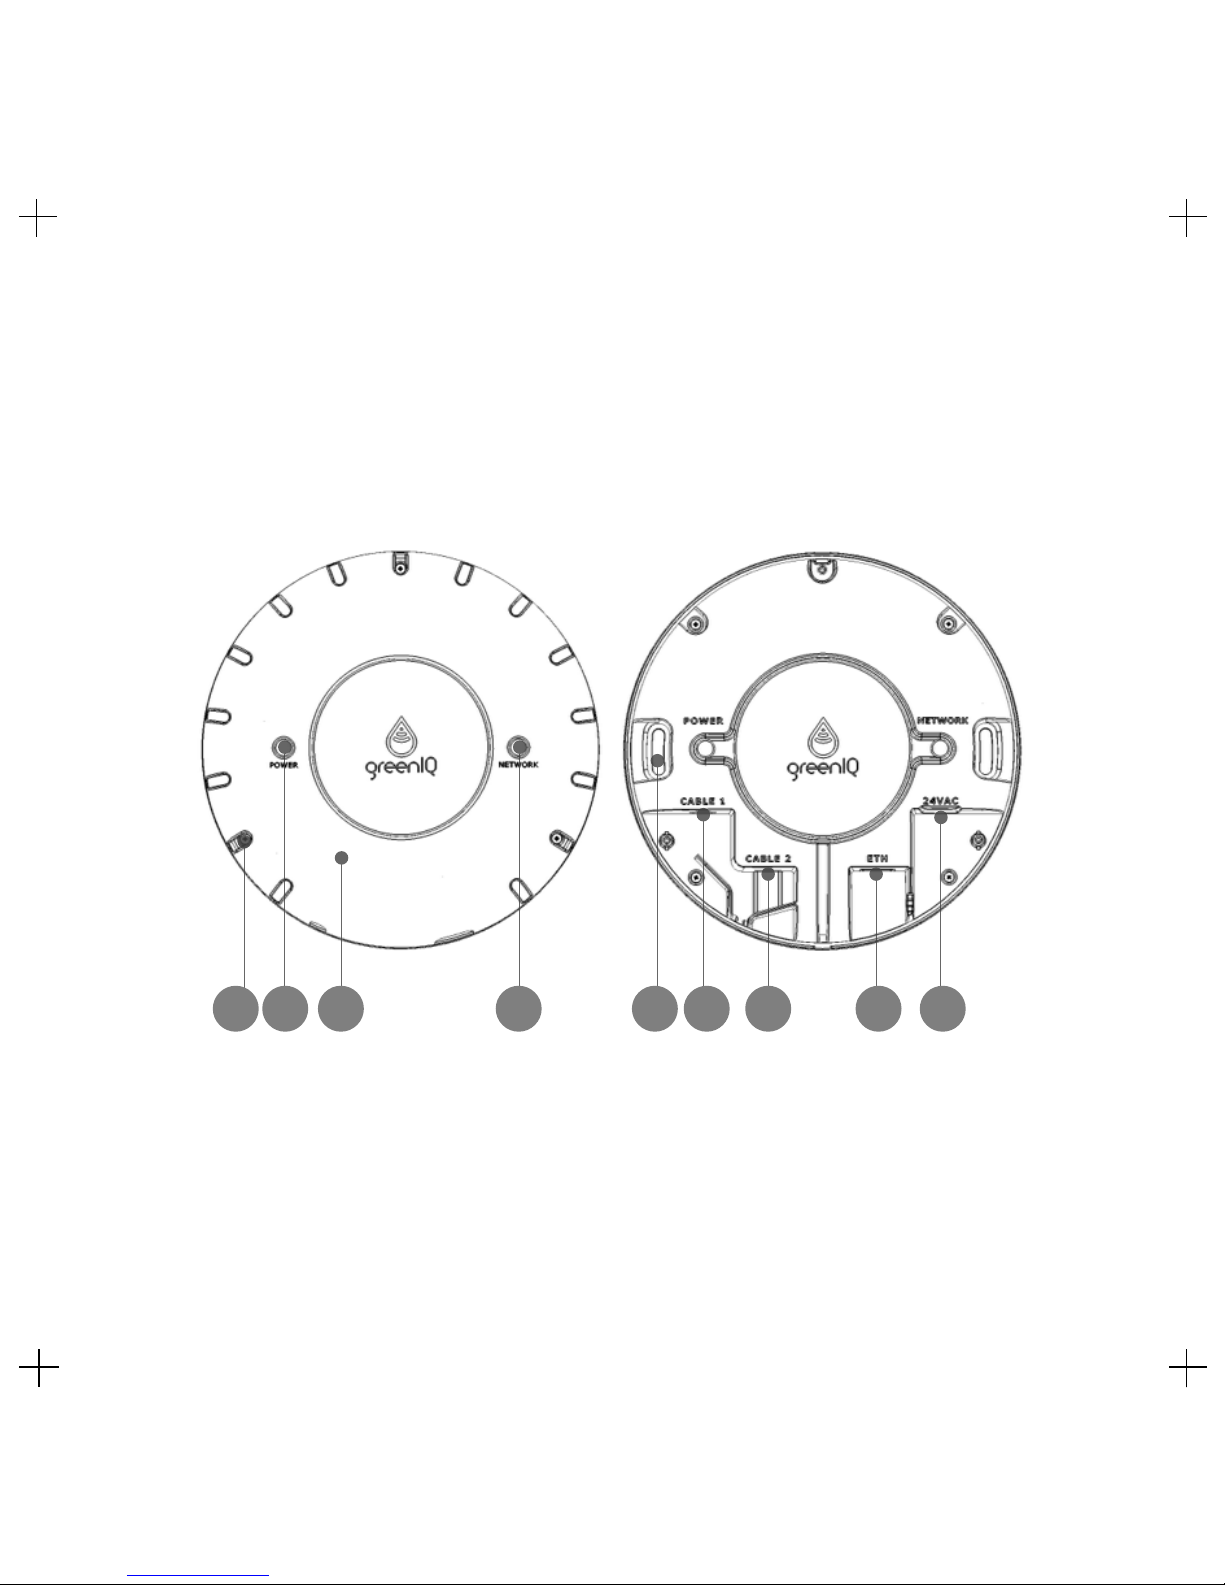
1.5. GreenIQ Smart Garden Hub diagram
Figure 1 shows the GreenIQ Smart Garden Hub diagram.
Figure 1
5
123456789

1. Cover
2. Power Indicator
3. Network Indicator
4. Cover Screws (x3)
5. Mounting Holes (x2)
6. Cable 1 Port
7. Cable 2 Port
8. Ethernet Port (RJ-45)
9. Power Adapter Port
6

2. Initial Configuration
2.1. General
It is highly important to activate the unit before installing it at its designated
location.
2.2. Activating your GreenIQ Cloud account
Your GreenIQ Smart Garden Hub must have an active GreenIQ Cloud
account in order to operate properly. Please follow the steps below to
activate your account.
1. Open GreenIQ Web App at http://greeniq.net from any browser on
your smartphone, tablet, PC or Mac.
2. Enter your username and password and press the “Sign In” button.
You can find your username and password on the plastic card
supplied with the unit.
3. If you’re using a mobile device that includes a GPS, make sure that the
GPS is enabled.
7

4. Follow the instructions on the screen. If the browser asks for
permission to access your location, you should accept. Your location is
being used only during the activation of your account, in order to allow
the unit to access weather and sunset/sunrise information. The web
app will not attempt to access your location information afterwards.
5. Fill out your name and e-mail address, and accept the Term Of
Service. If you wish to read the full Terms Of Service document, press
the “Terms Of Service” button, or access the document at the following
link: http://greeniq-systems.com/docs.html
6. Press the “Locate Me” button. Make sure that the location on the map
is your garden’s location.
7. Press the “Submit” button.
8. Check your e-mail inbox for a message from GreenIQ. Open the e-mail
message and click the e-mail validation link.
8
 Loading...