

Page 1

Part #457301
®
Models ERM-58, 64 and 74
Installation, Operation and Maintenance Manual
Please read and save these instructions for future reference. Read carefully before attempting to assemble,
install, operate or maintain the product described. Protect yourself and others by observing all safety
information. Failure to comply with instructions could result in personal injury and/or property damage!
Model ERM
General Safety Information
Only qualified personnel should install this system.
Personnel should have a clear understanding of these
instructions and should be aware of general safety
precautions. Improper installation can result in electric
shock, possible injury due to coming in contact with
moving parts, as well as other potential hazards.
Other considerations may be required if high winds
or seismic activity are present. If more information
is needed, contact a licensed professional engineer
before moving forward.
DANGER
Always disconnect power before working on or near
this equipment. Lock and tag the disconnect switch
or breaker to prevent accidental power up.
CAUTION
When servicing the unit, the internal components
may be hot enough to cause pain or injury. Allow
time for cooling before servicing.
CAUTION
Precaution should be taken in explosive
atmospheres.
1. Follow all local electrical and safety codes, as well
as the National Electrical Code (NEC), the National
Fire Protection Agency (NFPA), where applicable.
Follow the Canadian Electric Code (CEC) in
Canada.
2. All moving parts must be free to rotate without
striking or rubbing any stationary objects.
3. Unit must be securely and adequately grounded.
4. Do not spin fan wheel faster than maximum
cataloged fan RPM. Adjustments to fan speed
significantly affects motor load. If the fan RPM is
changed, the motor current should be checked to
make sure it is not exceeding the motor nameplate
amps.
5. Do not allow the power cable to kink or come in
contact with oil, grease, hot surfaces or chemicals.
Replace cord immediately if damaged.
6. Verify that the power source is compatible with the
equipment.
7. Never open access doors to the unit while it is
running.
®
Energy Recovery Modules
1
Page 2

Receiving
Upon receiving the product, check to make sure
all items are accounted for by referencing the bill
of lading to ensure all items were received. Inspect
each crate for shipping damage before accepting
delivery. Notify the carrier if any damage is noticed.
The carrier will make notification on the delivery
receipt acknowledging any damage to the product.
All damage should be noted on all the copies of the
bill of lading which is countersigned by the delivering
carrier. A Carrier Inspection Report should be filled out
by the carrier upon arrival and the Traffic Department.
If damaged upon arrival, file claim with carrier. Any
physical damage to the unit after acceptance is not
the responsibility of Greenheck Fan Corporation.
Unpacking
Verify that all required parts and the correct quantity
of each item have been received. If any items are
missing, report shortages to your local representative
to arrange for obtaining missing parts. Sometimes it
is not possible that all items for the unit be shipped
together due to availability of transportation and truck
space. Confirmation of shipment(s) must be limited to
only items on the bill of lading.
Handling
Units are to be rigged and moved by the provided
lifting points or fork lifting points (see page 4). Handle
each piece in such a way as to keep from scratching
or chipping the coating. Damaged finish may reduce
ability of the unit to resist corrosion.
Storage
Units are protected against damage during shipment.
If the unit cannot be installed and operated
immediately, precautions need to be taken to
prevent deterioration of the unit during storage.
The user assumes responsibility of the unit and
accessories while in storage. The manufacturer will
not be responsible for damage during storage. These
suggestions are provided solely as a convenience to
the user.
Inspection and Maintenance during
Storage
While in storage, inspect units once per month. Keep
a record of inspection and maintenance performed
If moisture or dirt accumulations are found on parts,
the source should be located and eliminated. At each
inspection, rotate all moving components by hand
ten to fifteen revolutions to distribute lubricant on
motor and bearings. If paint deterioration begins,
consideration should be given to touch-up or
repainting. Units with special coatings may require
special techniques for touch-up or repair.
Machined parts coated with rust preventive should
be restored to good condition promptly if signs of
rust occur. Immediately remove the original rust
preventive coating with petroleum solvent and clean
with lint-free cloths. Polish any remaining rust from
surface with crocus cloth or fine emery paper and oil.
Do not destroy the continuity of the surfaces. Wipe
clean thoroughly with Tectyl® 506 (Ashland Inc.) or
the equivalent. For hard to reach internal surfaces or
for occasional use, consider using Tectyl® 511M Rust
Preventive or WD-40® or the equivalent.
Table of Contents
Storage ................................. 2
Electrical Connection ...................... 2
Mounting ................................ 2
Start-Up ................................. 3
Drive Belt .............................. 4
Air Seals ............................... 4
Dimensional Data & Specifications ........... 5
Installation Clearances .................. 5
Rountine Maintenance
Energy Recovery Wheel .................. 6
Energy Recovery Wheel Maintenance ....... 6
Energy Recovery Wheel Access ........... 6
Removal of Segments .................... 6
Cleaning the Energy Recovery Wheel ....... 6
Energy Recovery Wheel Belt .............. 6
Energy Recovery Wheel Bearings .......... 6
Parts List ................................ 7
Troubleshooting ........................... 7
Maintenance Log ..................Backcover
Warranty .........................Backcover
Electrical Connections
The electrical supply must be compatible with that
shown on the wheel drive motor nameplate: voltage,
phase, and amperage capacity (see page 5 for
specific requirements). Units are supplied with a
receptacle for the cassette plug and service box for
wiring. Connect the ERM wiring directly to blower
wiring or to blower fan relay to power the ERM
whenever the fan is in operation. All wiring must be
properly fused and conform to local and national
electrical codes.
Do not operate the ERM for any extended period
without airflow across the energy wheel as the drive
motor is cooled by the airflow.
Energy Recovery Modules
2
®
Page 3
Mounting
Start-Up
IMPORTANT
ERM must be installed such that the energy wheel
cassette slides in and out of the cabinet parallel to
the floor.
NOTE
To reduce unit weight for handling purposes, the
cassette may be removed from the cabinet.
The ERM is shipped with a mounting kit containing
hanging brackets. These brackets will support the
ERM in either a vertical or horizontal position for
design flexibility.
To hang the ERM:
1. To remove the cassette from the cabinet, remove
the access panel and unplug the wheel drive motor
at the electrical receptacle in the cabinet.
2. Replace the access panel before mounting to
ensure squareness.
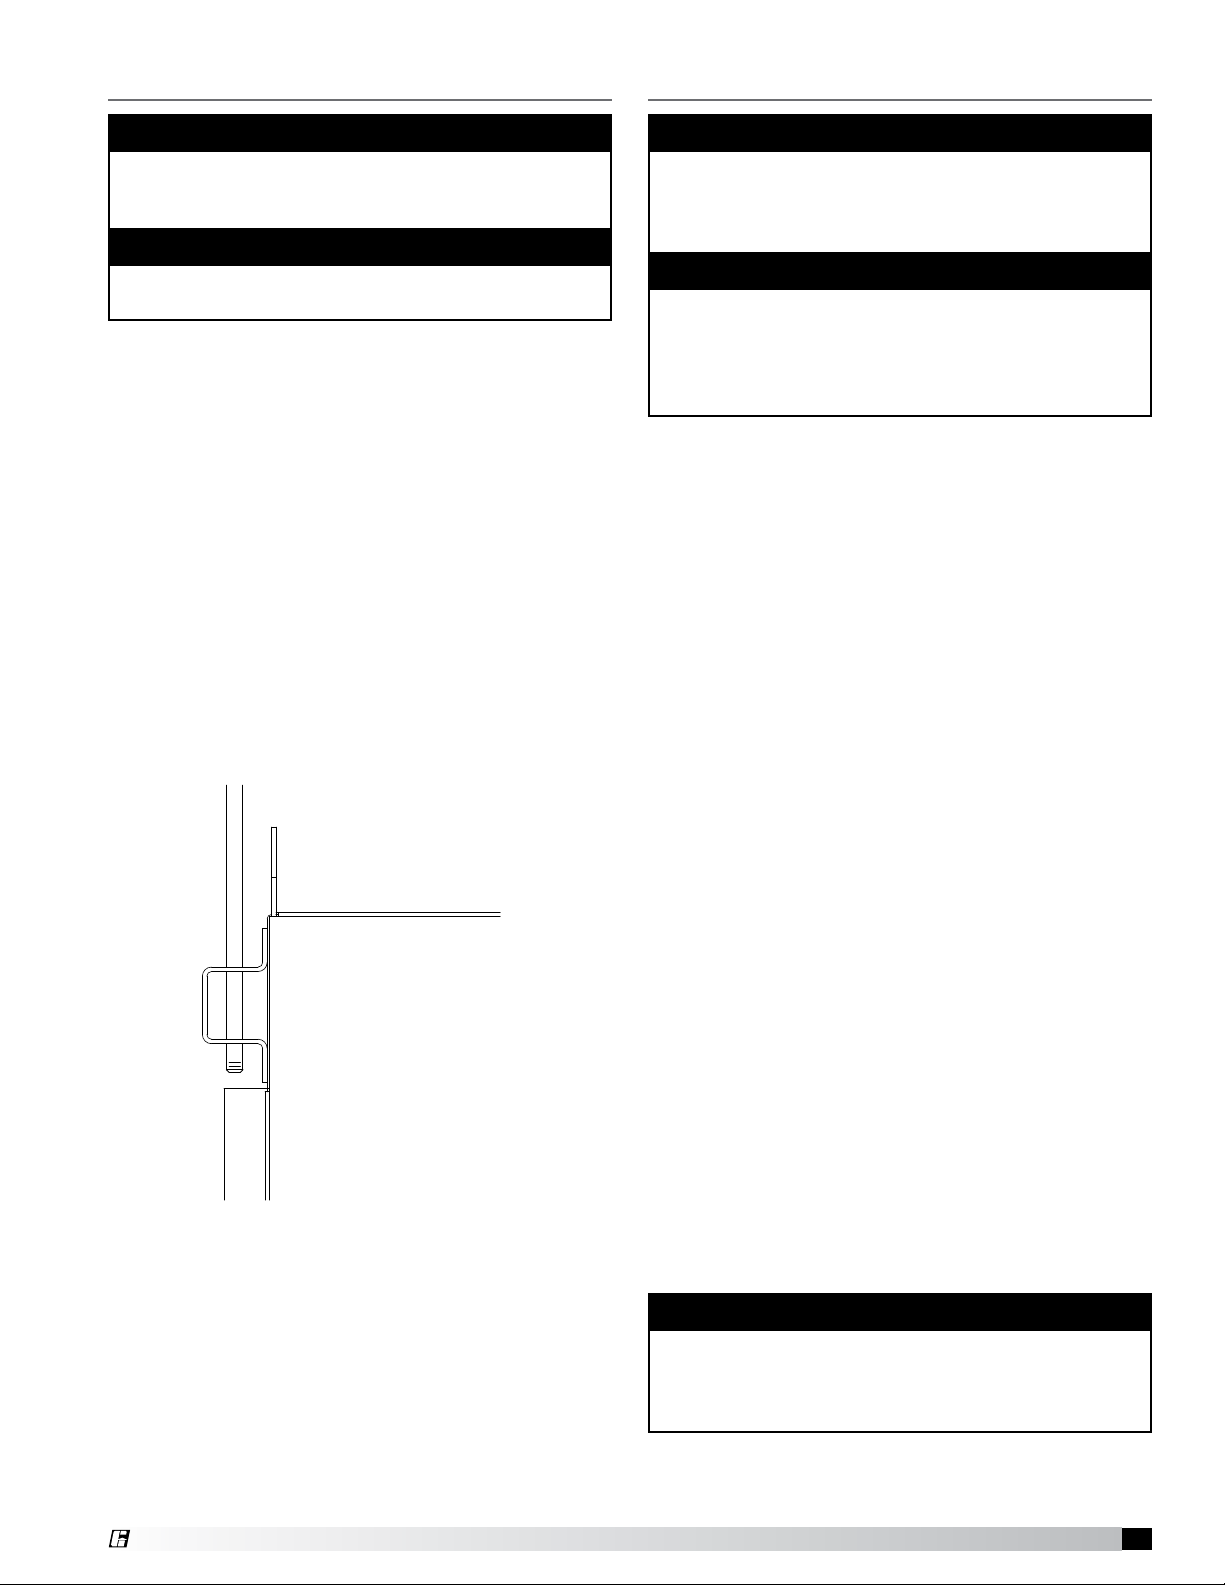
3. Use the brackets shown in Figure 1 to secure
the ERM. These brackets are designed for 3/8 in.
threaded hanging rods.
4. To reinstall the cassette in the mounted ERM
cabinet, align the cassette sliders with the
channels in the cabinet and slide the cassette in
place. Replace access panel when finished.
DANGER
Electric shock hazard. Can cause injury or death.
Before attempting to perform any service or
maintenance, turn the electrical power to unit to
OFF.
CAUTION
Use caution when removing access panels or other
unit components, especially while standing on a
ladder or other potentially unsteady base. Access
panels and unit components can be heavy and
serious injury may occur.
Every installation requires a comprehensive startup to ensure proper operation of the unit. As part
of that process, the following information must be
recorded. Should an issue arise which requires factory
assistance, this important information will allow unit
experts to provide quicker resolve. Qualified personnel
should perform start-up to ensure safe and proper
practices are followed.
Unit Model Number _________________________
(e.g. ERM-58H-15)
Unit Serial Number _________________________
(e.g. 04C99999 or 10111000)
Energy Wheel Date Code _________________________
(e.g. 0450)
Start-up date _________________________
(MM/DD/YYYY)
Start-up Personnel Name _________________________
Start-up Company _________________________
Phone Number _________________________
The ERM models contain a total energy recovery
wheel. The wheels are inspected for proper
mechanical operation at the factory. However, during
shipping and handling, shifting can occur that may
affect wheel operation. The wheel is accessible
through the cassette access panel.
Turn the energy recovery wheel by hand to verify
free operation. The wheel should rotate smoothly at
Figure 1
approximately 50-60 rpm and should not wobble. If
the wheel does not rotate when power is applied, it
may be necessary to adjust excessively tight diameter
air seals.
WARNING
Do not operate Energy Recovery Module without
duct filters or screens installed. The filters and
screens prevent the entry of foreign objects such as
leaves, birds, etc.
®
Energy Recovery Modules
3
Page 4

Drive Belt
Inspect the drive belt. Make sure the belt rides
smoothly through the pulley and over the rim.
Air Seals
Check that the air seals located around the outside of
the wheel and across the center (both sides of wheel)
are secure and in good condition. Air seal clearance
is determined by placing a sheet of paper, to act as
a feeler gauge, against the wheel face. To access
seals, remove cassette access panel. To adjust their
seals, loosen all eight seal retaining screws. These
screws are located on the bearing support that spans
the length of the cassette through the wheel center.
Tighten the screws so the air seals tug slightly on the
sheet of paper.
Replace cassette into ERM cabinet, plug in wheel
drive, replace access door and apply power. Confirm
that the wheel rotates freely at about 50-60 rpm.
Bearing Support
Adjustable
Air Seals
Drive Belt
Drive Pulley
Label showing cassette
serial number and date code
Energy Recovery Modules
4
®
Page 5

Dimensional Data and Specifications
F
C
A
E
D
B
Model A B C D E F G H Voltage Hertz Phase Amps
1
ERM-58H-15 62
ERM-58H-30 62
ERM-64H-30 68
ERM-74H-30 78
⁄2 621⁄2 541⁄4 71⁄2 241⁄4 213⁄4 181⁄2 161⁄2 200-230/460 60 3 1.3-1.2/0.6 1/4 150 290
1
⁄2 621⁄2 541⁄4 71⁄2 241⁄4 213⁄4 181⁄2 161⁄2 200-230/460 60 3 1.3-1.2/0.6 1/4 150 290
1
⁄4 681⁄4 601⁄4 71⁄2 27 251⁄4 22 20 200-230/460 60 3 1.3-1.2/0.6 1/4 170 363
1
⁄4 781⁄4 701⁄4 81⁄2 301⁄2 251⁄4 22 20 200-230/460 60 3 1.3-1.2/0.6 1/4 205 454
H
G
Motor
HP
Weight (lbs.)
Cabinet Cassette
All dimensions shown are in inches.
Installation Clearances
Provide proper clearance for cassette inspection, service or removal. Do not install ducting, piping or wiring
where it will interfere with cassette removal. Wheel cassette does not slide out. Access to wheel for service must
be provided through ductwork.
®
Energy Recovery Modules
5
Page 6

Routine Maintenance
Bracket Segment Retainer
Once the unit has been put into operation, a routine
maintenance program should be set up to preserve
reliability and performance. Items to be included in
this program are:
Energy Recovery Wheel
Check for cleanliness - clean if required
Check belt for wear
Check pulley, bearings, and motor
Energy Recovery Wheel Maintenance
Annual inspection of the energy recovery wheel is
recommended. Units ventilating smoking lounges
and other non-clean air spaces should have energy
recovery wheel inspections more often based upon
need. Inspections for smoke ventilation applications
are recommended bimonthly to quarterly until a
regular schedule can be established.
Accessing the Energy Recovery Wheel
Disconnect power to the ERM unit. Remove access
panel and UNPLUG the wheel drive motor. Pull the
cassette halfway out.
Removing the Energy Recovery Wheel Segments
Rotate the wheel by hand clockwise (as viewed from
the pulley side of cassette) to check each segment.
Steel retainers are located on the inside of the wheel
rim (see diagram). Push the retainer toward center of
wheel, then lift up and away to release segments.
Reverse the above instructions to reinstall the energy
recovery wheel segments.
Lift Away
From Segment
CatchSegment Retainer
Push Toward Center
IMPORTANT
Place retainers back in the original position before
rotating the energy recovery wheel. Otherwise,
damage to the retainer will occur.
Inside of Wheel Rim
Spoke
Center of Wheel
Cleaning the Energy Recovery Wheel
If the wheel appears excessively dirty, it should be
cleaned to ensure maximum operating efficiency.
Only excessive buildup of foreign material needs to
be removed. Discoloration and staining of energy
recovery wheel does not affect its performance.
Thoroughly spray wheel matrix with household
cleaner such as Fantastik® or equivalent. Gently rinse
with warm water and using a soft brush remove any
heavier accumulation. A detergent/water solution can
also be used. Avoid aggressive organic solvents, such
as acetone. The energy recovery wheel segments
can be soaked in the above solution overnight for
stubborn dirt or accumulation.
After cleaning is complete, shake the excess water
from the wheel or segments. Dry wheel or segments
before placing them back into the cassette. Place
wheel or segments back into cassette by reversing
removal procedures.
CAUTION
Do not clean energy recovery wheel segments with
water in excess of 140ºF (60ºC).
Do not dry energy recovery wheel segments in air in
excess of 140ºF (60ºC).
The use of a pressure washer to clean segments is
not recommended. Damage could result.
Energy Recovery Wheel Belt
Inspect belts each time
filters are replaced. Belts
that look chewed up
or are leaving belt dust
near the motor pulley
may indicate a problem
with the wheel. Be sure
to inspect wheel for
smooth and unrestricted
rotation. If a belt requires
replacement, contact
the local Greenheck
Wheel Belt & Pulley
representative. Instructions
for replacement will ship with the new belt.
Energy Recovery Wheel Bearing
In the unlikely event that
a wheel bearing fails,
the bearing is behind a
removable plate on the
wheel support beam
(slide cassette halfway
out of cabinet to access).
Contact the local
Greenheck representative
for detailed instructions
on how to replace the
bearing.
Wheel Bearing
Energy Recovery Modules
6
®
Page 7

Parts List
5
1
2
4
1. Cassette
2. Energy Wheel Segments
3. Energy Wheel Drive Belt and Pulley
4. Energy Wheel Motor
5. Cabinet
4
3
The ERM mounting bracket kit has a separate parts list.
Troubleshooting
Symptom Possible Cause Corrective Action
Air seals are too tight. See air seals under Start-Up section.
Energy Wheel
does NOT turn
Energy Wheel
runs intermittently
Broken belt. Replace.
No power to wheel motor.
Wheel motor overloads are tripping due
to rubbing between wheel and air seals.
Make sure wheel drive is plugged in. Verify
power is available.
Recheck air seals, make sure they are not
too tight. See Air Seals under Start-Up
section.
®
Energy Recovery Modules
7
Page 8

Maintenance Log
Date __________________ Time _____________ AM/PM
Notes:___________________________________________
_________________________________________________
_________________________________________________
_________________________________________________
_________________________________________________
Date __________________ Time _____________ AM/PM
Notes:___________________________________________
_________________________________________________
_________________________________________________
_________________________________________________
_________________________________________________
Date __________________ Time _____________ AM/PM
Notes:___________________________________________
_________________________________________________
_________________________________________________
_________________________________________________
_________________________________________________
Date __________________ Time _____________ AM/PM
Notes:___________________________________________
_________________________________________________
_________________________________________________
_________________________________________________
_________________________________________________
Date __________________ Time _____________ AM/PM
Notes:___________________________________________
_________________________________________________
_________________________________________________
_________________________________________________
_________________________________________________
Date __________________ Time _____________ AM/PM
Notes:___________________________________________
_________________________________________________
_________________________________________________
_________________________________________________
_________________________________________________
Warranty
Greenheck warrants this equipment to be free from defects in material and workmanship for a period of five year from the
shipment date. This warranty limits our responsibility to repairing or replacing—to the original purchaser—any part or parts
of said equipment which prove to be defective upon examination by representatives of Greenheck. Additionally, said part(s)
will be returned to and received by the factory only after prior authorization, with transportation charges prepaid.
Greenheck shall not be obligated under this warranty for payment of any delivery, removal or installation charges with
regard to repair or replacement of any defective part(s).
Motors are warranted by the motor manufacturer for a period of one year. Should motors furnished by Greenheck prove
defective during this period, they should be returned to the nearest authorized motor service station. Greenheck will not be
responsible for any removal or installation costs.
As a result of our commitment to continuous improvement, Greenheck reserves the right to change specifications without notice.
Greenheck Model ERM catalog provides additional
information describing the equipment, fan performance,
available accessories, and specification data.
®
Phone: (715) 359-6171 • Fax: (715) 355-2399 • E-mail: gfcinfo@greenheck.com • Website: www.greenheck.com
457301 • ERM-58, 64 and 74, Rev. 4, July 2011 Copyright 2011 © Greenheck Fan Corporation
8
AMCA Publication 410-96, Safety Practices for Users and
Installers of Industrial and Commercial Fans, provides
additional safety information. This publication can be
obtained from AMCA International, Inc. at www.amca.org.
 Loading...