

GreenHalse Electronics RComLow Installation Manual & User Manual

Installation Guide
& User Instructions
RCom Installation Guide & User Instructions
Table of Contents
Introduction...........................................................................................3
Installation.............................................................................................4
Cabling............................................................................................4
Cable size.........................................................................................4
Power supply....................................................................................4
Headsets..........................................................................................4
Auxiliary Input.................................................................................5
Compatibility....................................................................................5
Operation..............................................................................................6
Configuration........................................................................................7
Default settings.................................................................................7
Adjustable settings............................................................................7
Level control.....................................................................................8
Indicators..........................................................................................8
Adjustment procedure.......................................................................9
Specifications.......................................................................................11
COM-DOC-002-A
Page 2
RCom Installation Guide & User Instructions
Introduction
Thank you for purchasing the RCom. This guide will take you through
some important information that should be considered when installing and
using your new device. Please take the time to read this booklet carefully to
ensure years of trouble-free operation.
The RCom is a communication system to allow a number
of people to talk to each other all at the same time. Each
station in the system consists of a belt back and a headset,
and the stations are connected together using standard
microphone XLR cables, in a 'daisy chain'. Once a
microphone is turned on, all parties in the system can hear
what is being said into that microphone.
Each belt back is equipped with a volume control, a CALL
button and a MIC ON button. The volume control adjusts
the sound level in the headphones connected to the belt
pack, and does not affect any of the other stations. The
CALL button flashes a bright blue light on all belt pack in
the system to attract attention. The MIC ON button is used
to turn the microphone on and allow all parties in the system
to hear that microphone. When the microphone is off,
nobody on the system can hear that microphone, but all
others continue to operate.
The system is powered from one station that is connected to
a standard 12V DC power adapter - indeed this could easily
be from a vehicle battery. It is important that only one
station is powered in order for the system to function
properly. Since standard 3.5mm jacks are used, a ready
supply of headsets for all budgets is available from the
computer industry.
Page 3

RCom Installation Guide & User Instructions
Installation
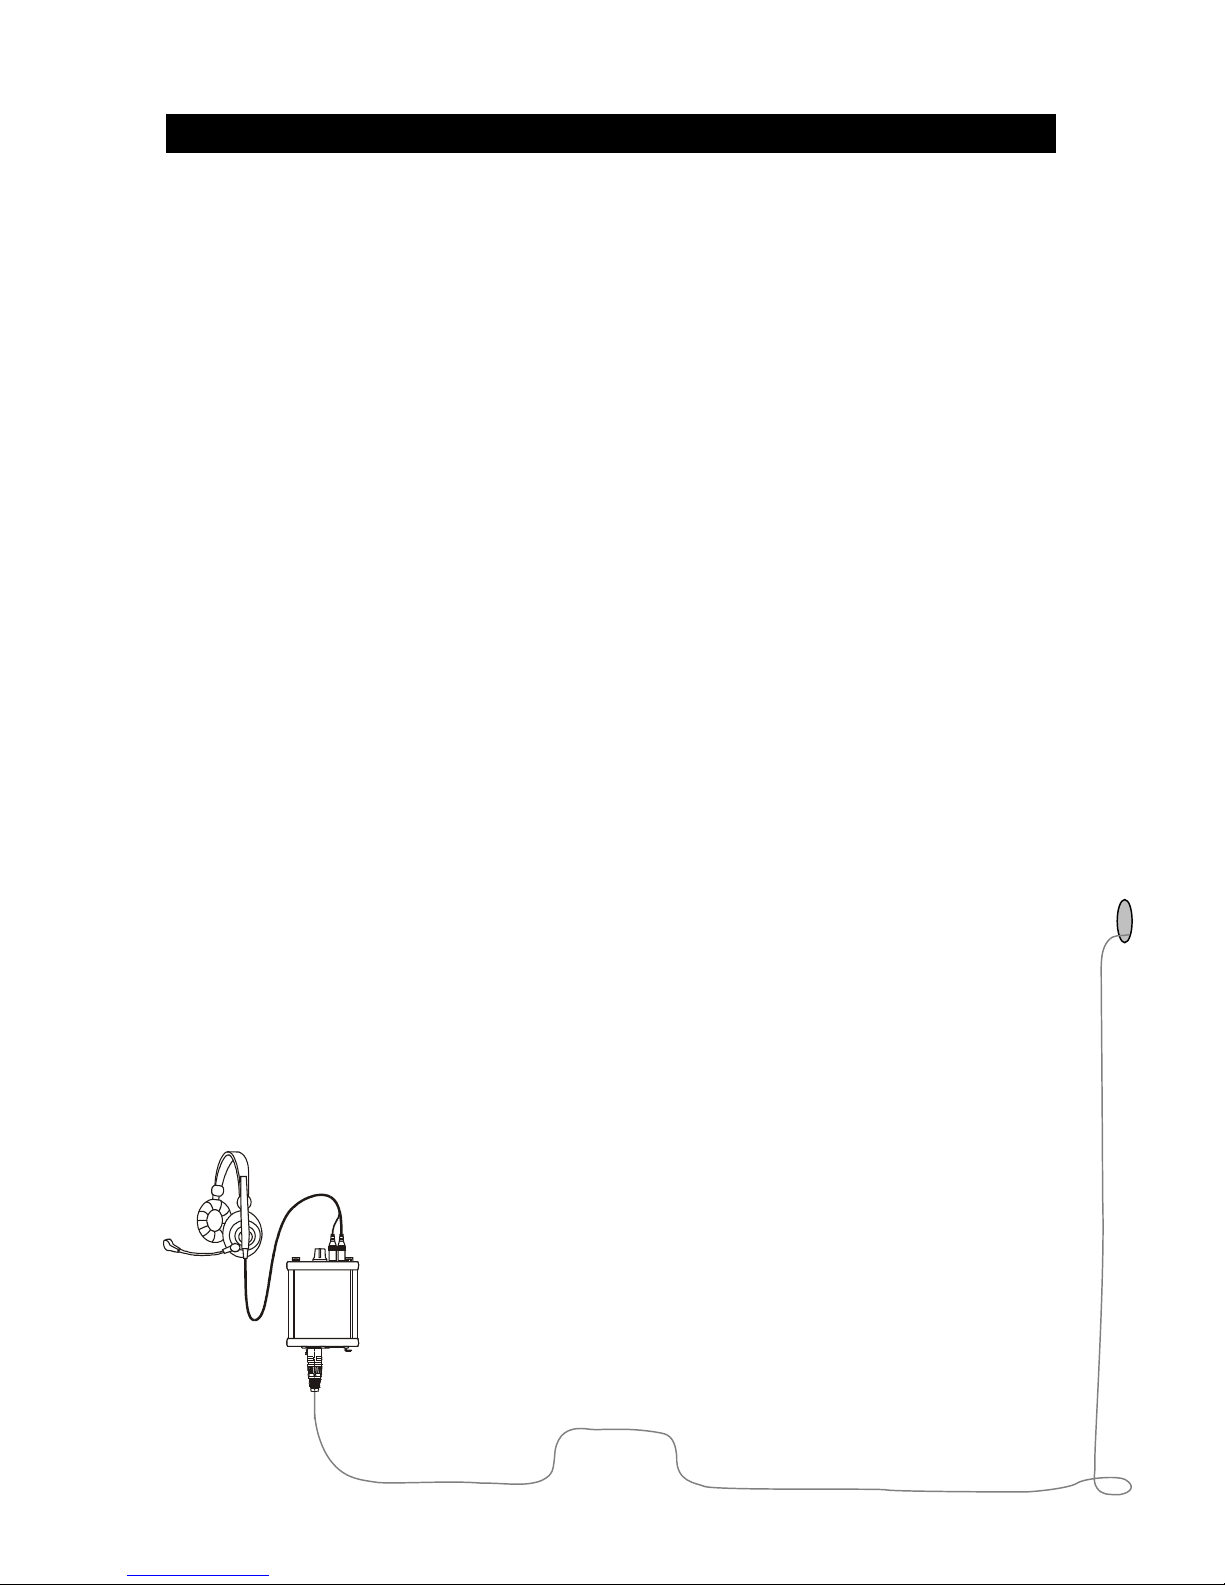
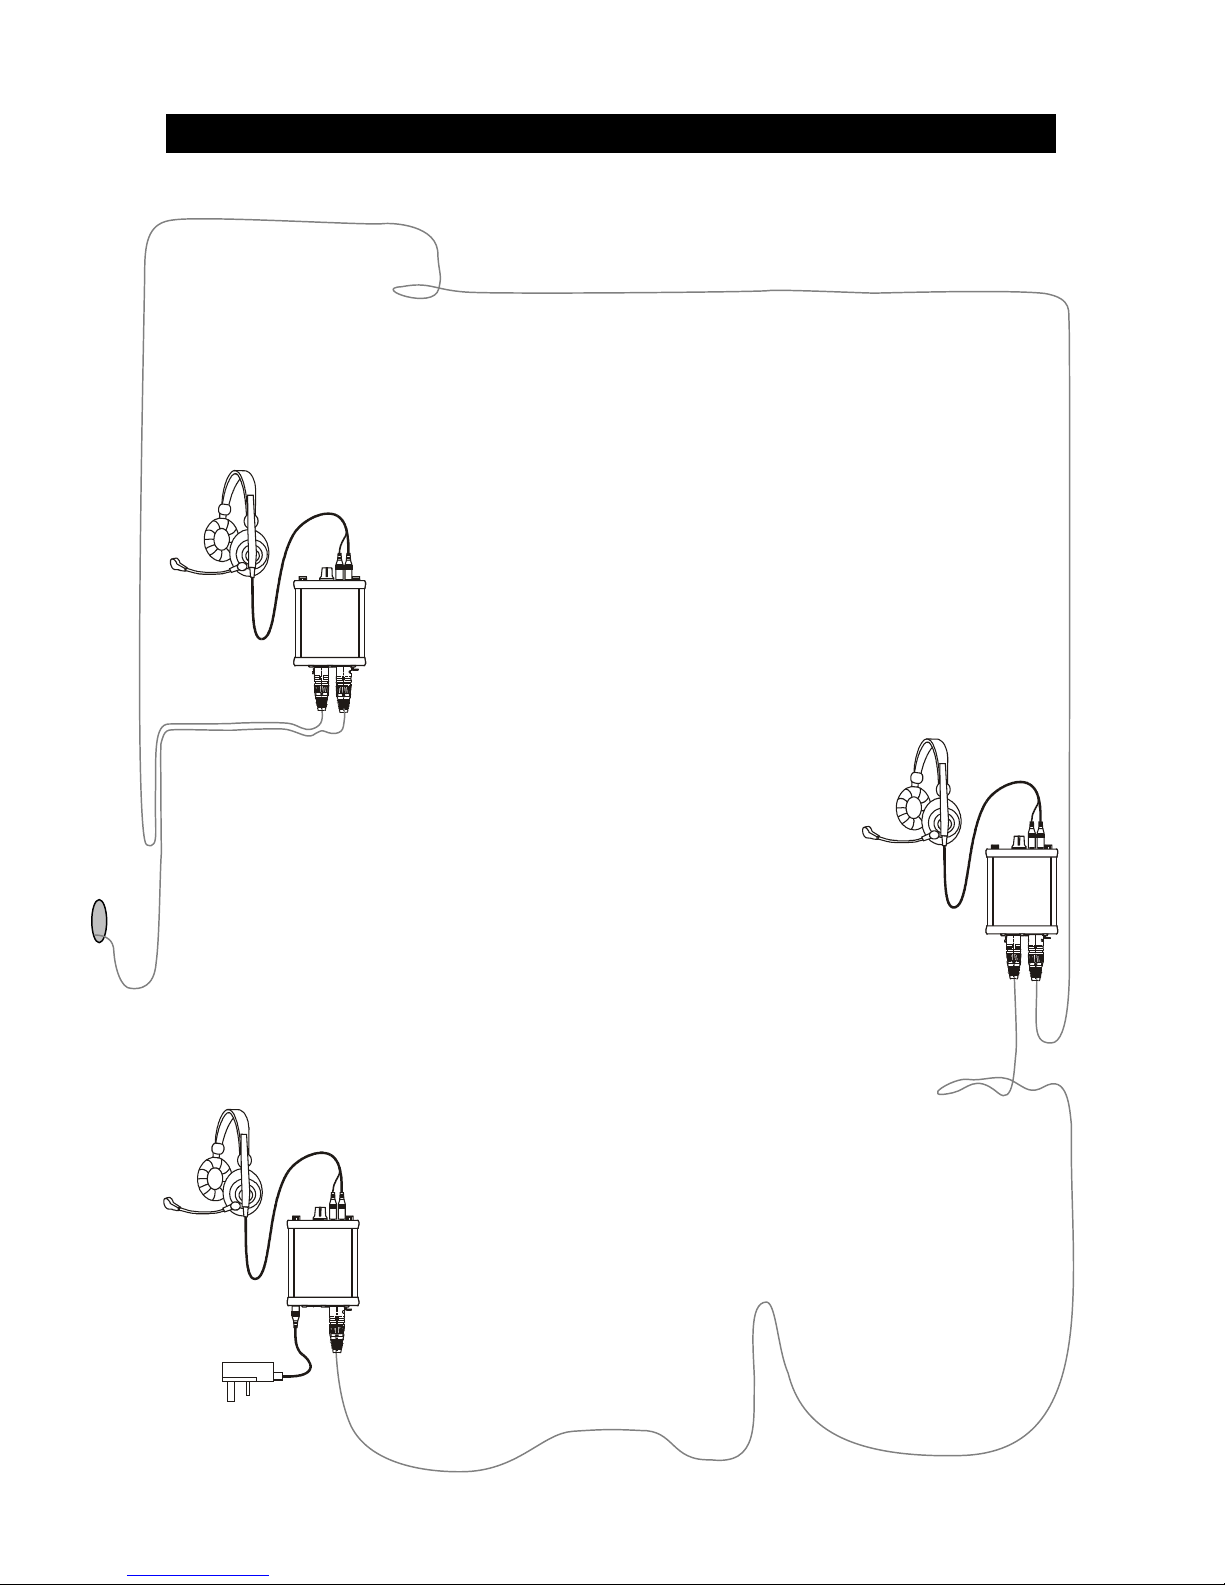
Cabling
The basic requirement is to connect all the belt packs in parallel. Standard
microphone cable can be used between the belt packs, with pin 1 connected
to ground. The male and female connectors on the belt packs are simply
paralleled, enabling the units to be easily 'daisy chained' together.
Cable size
Standard microphone cable of 20/0.1, 7/0.2 or similar construction is
adequate for most installations of up to 10 belt packs and about 100m total
in length. For installation larger than this, heavy duty cable is
recommended. For installations of greater than 20 belt packs, special
considerations need to be made (please contact is for details).
Power supply
A single power supply is required, and only one must be used. The
recommended supply voltage is 12V DC, but anything up to 25V can be
used. The supply current is approximately 60mA per belt pack with both
LEDs illuminated.
The GreenHalse 12V 1200mA power supply is recommended for use
with the RCom, and can supply up to 20 units.
Headsets
Most headset types can be used with the system, and it is possible to switch
on a 2V bias voltage for use with electret microphones.
Page 4
 Loading...