

Green Air Designs Su-27 Flanker Instruction Manual
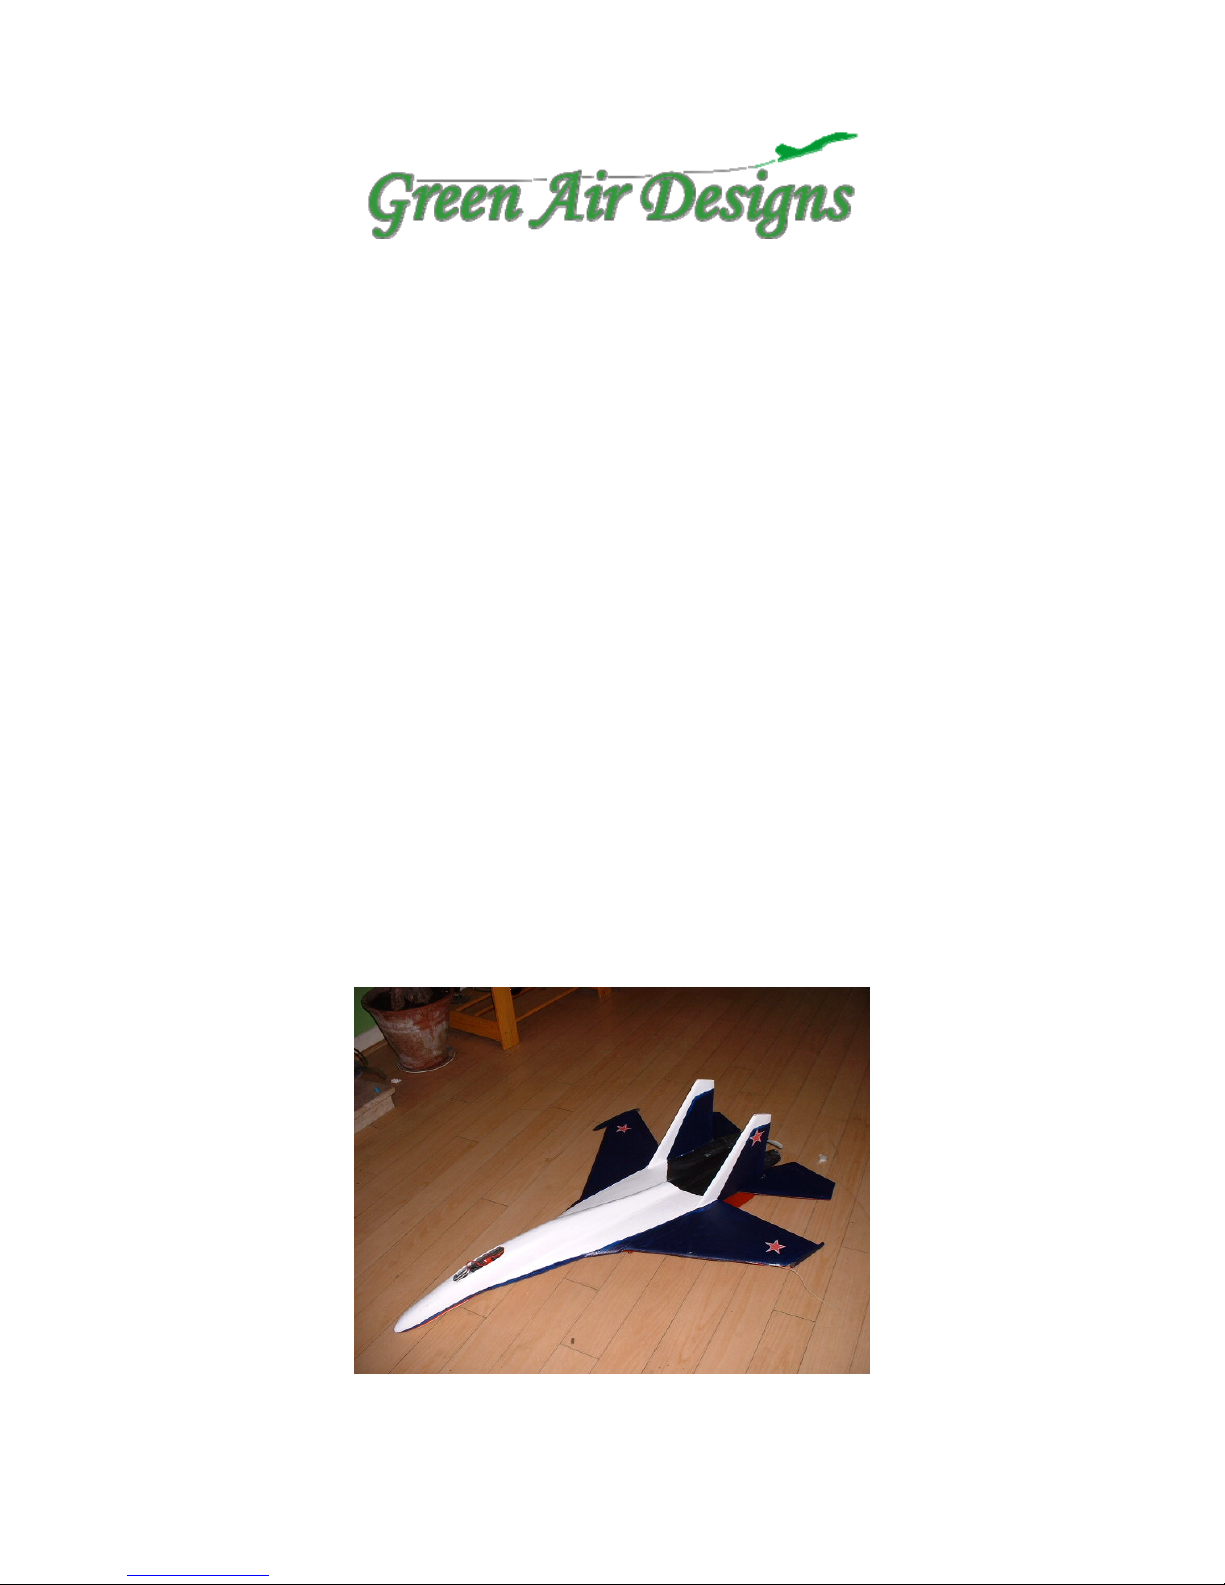
Su-27 Flanker Instruction Manual
We would like to thank you for purchasing our Green Air Designs Su-27
Flankers and hope you have as much fun building and flying yours as we
have ours.
Parts not supplied
• Glue
• Lightweight filler
• Velcro
• Paints – Water based acrylics/enamel LOW VOC applied thinly (no
responsibility for paints will be held by Green Air Designs.)
• Micro Rx – i.e. Schultz 535, Corona 6ch
• Micro servos – i.e. 9g Servos x 2
Power Train – Single pusher set-up:-
GAD 21g Brushless + 3s 1000-1500 Lipos
Micro 6 outrunner
Note: Our set-ups are a safe recommendation to give a fun safe aircraft. We
do not take any responsibility for damage to aircraft, persons or items, in the
use of this kit!

Step 1 – Basic Fuse Construction
Refer to Drawings on page “step one” for basic build.
1. Glue the carbon tube/Ally Box spar in to wing slot (trim to length If
required).
2. Shape wing to aerofoil (shown on wing shaping page).
3. Dry fit fuse parts FB1, FB2, and wing.
4. Lay F2, F3 and F4 on to place using drawings provided, and check for
alignment.
5. When happy, glue, or use the glueless method, the parts into place.
6. Rough shape the lifting section to shape shown.
What we are attempting to do here is to build the model into modules for
assembly later. It is also a good idea to sand the majority of shapes in when
building the modules so less shaping is required later.
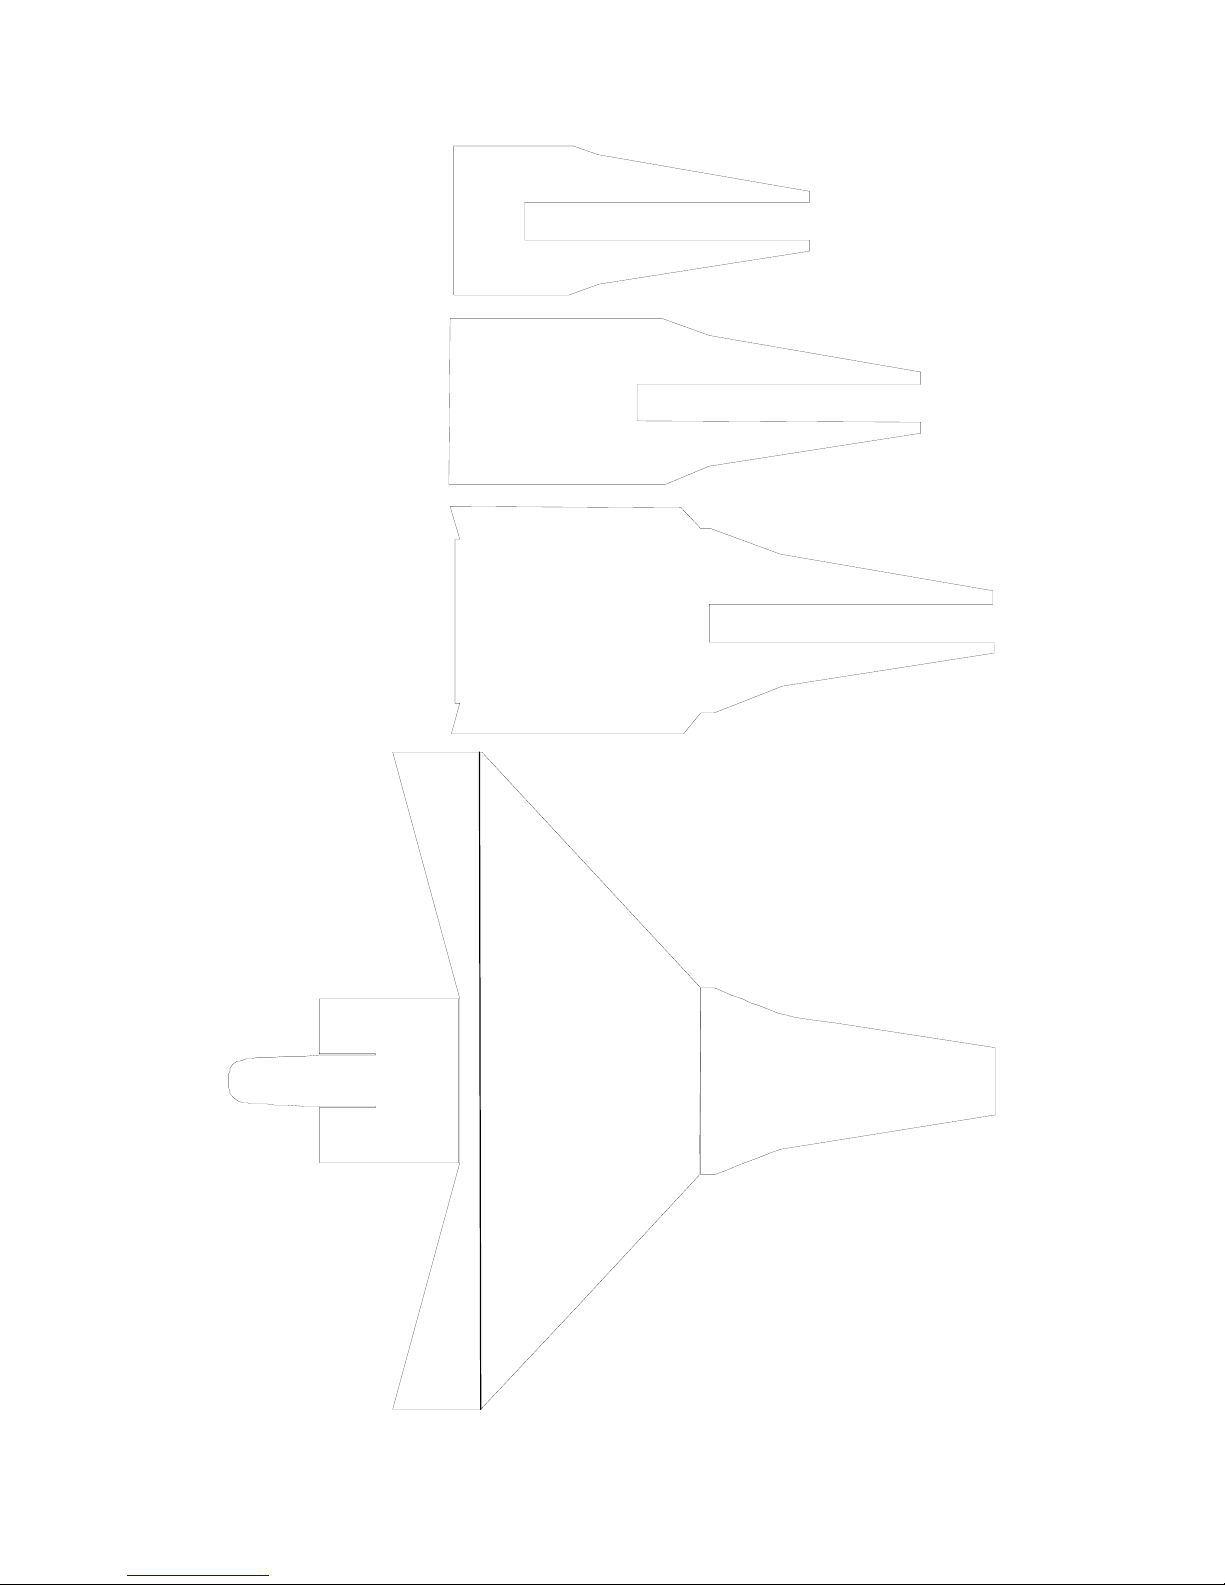
FB1
FB2
WING
F2
F3
F
4
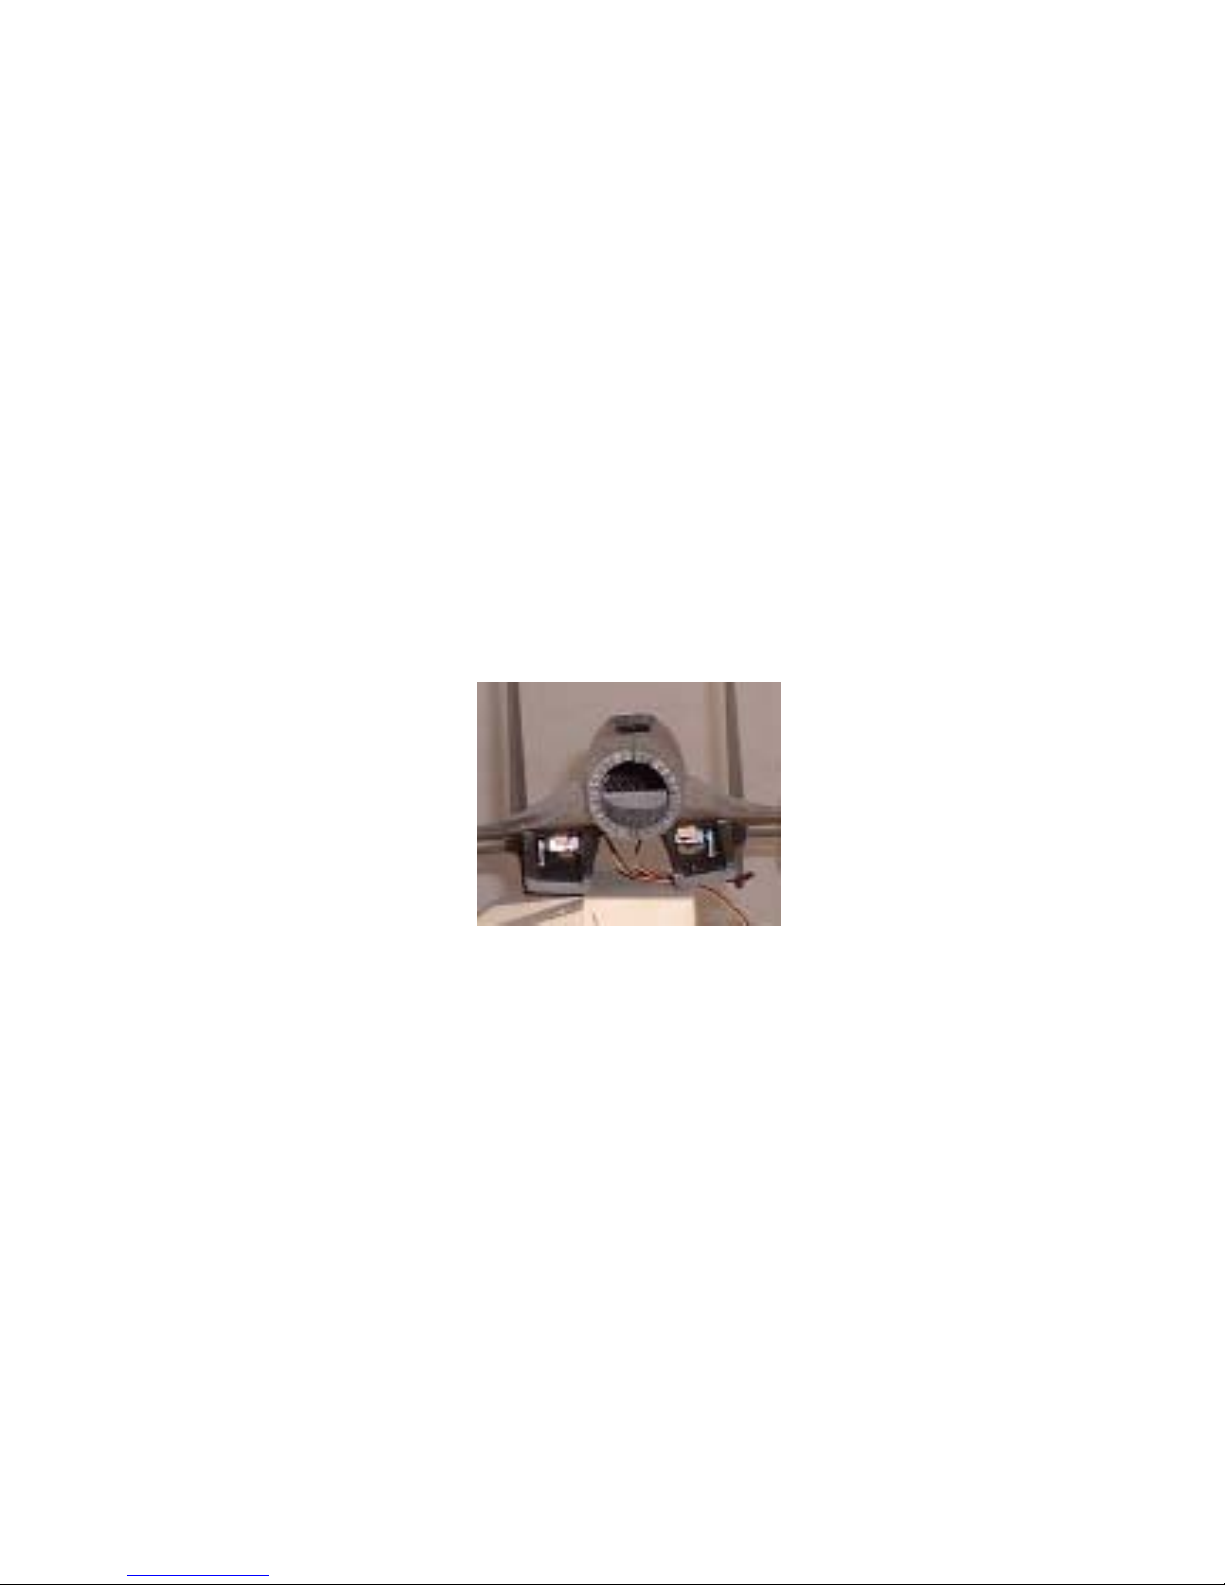
Step 2 – Main Fuse Fitment
Refer to drawings on page “step 2” for basic build.
Our next task is to make up the main fuse section.
1. Tape up main fuse with packing tape on the outside only (stops the
Depron from cracking when rolling and forming).
2. Groove the inside of the fuse to allow them to roll. (Refer to drawings If
Not Laser cut).
3. Hand form the fuse to nicely curved shape and tape into position.
4. Roll the nose section of the fuse into a circle, epoxy both top and
bottom joints and tape together at correct angle, allow to set.
5. You can use fairly warm water (NOT BOILING) to set the shape into
fuse. Alternatively, just tape the shape and leave over night. You will
cause hysterisis in the foam and take the shape over time.
6. Glue top of fuse together and sand as necessary to make nice fit.
7. Once set, trial fit the fuse to the base. Sand any inaccuracies so fuse
fits snugly, pin, tape and then glue into place, allow to set completely
before removing pins, tape etc.
Great now you the basis of your Su-27 Flanker!!!!!

Front View
Side View
Step 2A
S
a
n
d
u
s
i
n
g
a
b
l
o
c
k
, S
u
g
g
e
s
t
8
0
g
r
i
t
f
o
r
b
a
s
i
c
s
h
a
p
e
t
h
e
n
2
4
0
f
o
r
f
i
n
i
s
h
.
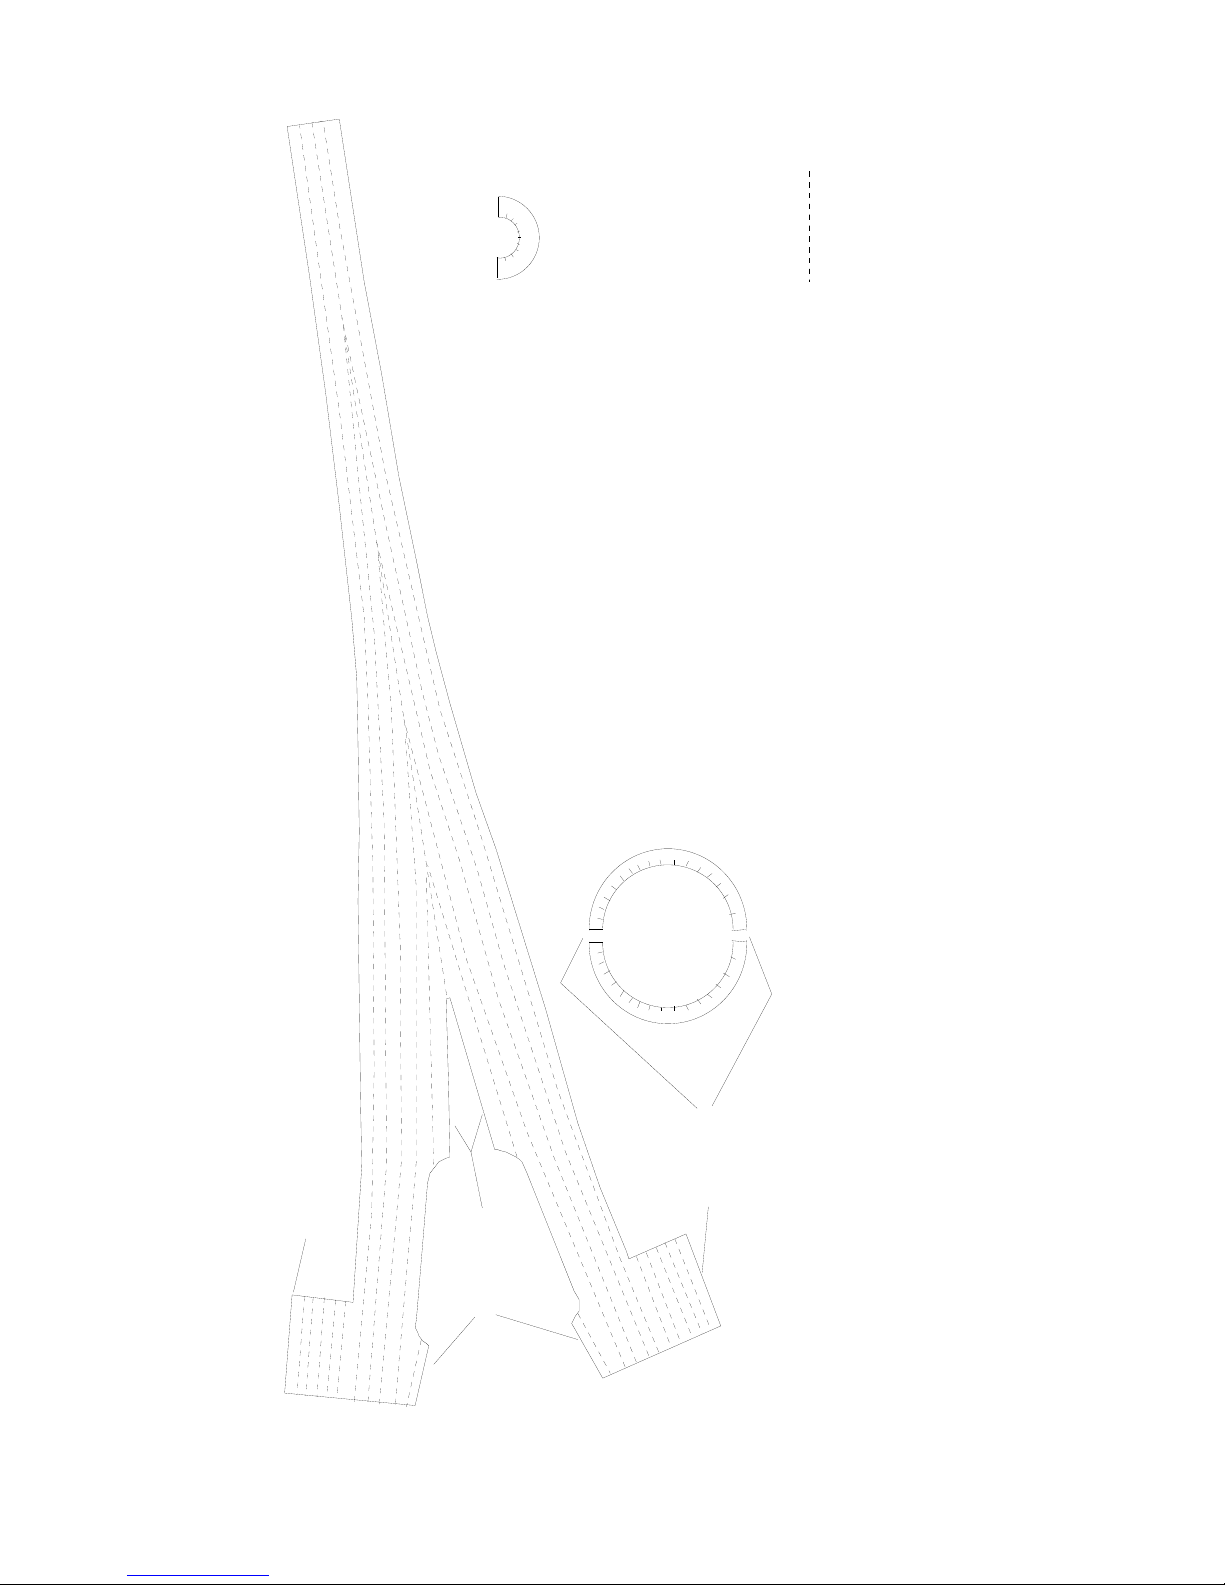
Step 2B
G
r
o
o
v
e
t
h
e
i
n
s
i
d
e
t
o
a
l
l
o
w
t
h
e
f
u
s
e
t
o
r
o
l
l
.
GLUE
GLUE
GLUE
Shape once rolled.
 Loading...